In an era where home burglaries are on the rise—with over 1 million reported annually in the US alone—setting up a security camera system provides essential peace of mind. Whether you're protecting your family, valuables, or property, a well-installed system can deter intruders and offer real-time alerts. This guide is tailored for intermediate users who have basic DIY skills but want detailed instructions to avoid common pitfalls.
You'll learn everything from planning your setup to testing the system, covering both wired and wireless options. The process involves selecting cameras, mounting them strategically, connecting to your network, and configuring software for optimal performance. By the end, you'll have a functional system that integrates seamlessly with smart home devices.
Expect to spend 2-4 hours on the initial setup, depending on the number of cameras (we'll assume 4-6 for a typical home). It's intermediate difficulty, requiring some wiring knowledge and comfort with apps, but no professional electrician skills are needed.
▸What You'll Need
- •Security cameras (wired or wireless, e.g., 4-6 units based on coverage needs)
- •Mounting hardware (screws, anchors, brackets—included with most cameras)
- •Power tools: Drill with bits, screwdriver set
- •Ladder for high placements
- •Ethernet cables or Wi-Fi router (for network connectivity)
- •Smartphone or computer for app installation
- •Optional: Cable management clips, extension cords, weatherproof sealant for outdoor use
Estimated Time: 2-4 hours
Difficulty: intermediate
▸Step-by-Step Instructions
Step 1: Plan Your Camera Placement
Before purchasing or installing anything, map out your home's layout to determine optimal camera positions. Identify key areas like entry points (doors, windows, garage), blind spots, and high-traffic zones. Consider factors such as field of view (typically 110-130 degrees for most cameras), lighting conditions, and privacy—avoid pointing cameras into neighbors' yards to comply with local laws.
Sketch a simple diagram on paper or use a free app like Home Design 3D. Aim for overlapping coverage without gaps. For a standard home, place 2-3 cameras outdoors (front/back doors) and 1-2 indoors (living room/hallway). This step ensures your system is effective from day one, preventing the need for repositioning later.
Success looks like a coverage plan that captures all entrances without redundancy. Expect 15-30 minutes here.
💡 Tips:
- •Use your home's blueprint if available for precise angles.
- •Test natural light at different times to avoid glare.
⚠️ Warnings:
- •Don't overlook power sources—plan routes to outlets or use battery-powered options.
Step 2: Choose and Purchase Your Cameras
Select cameras based on your needs: wireless for easy setup (battery or solar-powered) or wired for reliability. Look for features like 1080p HD resolution, night vision, motion detection, two-way audio, and weatherproofing (IP65 rating for outdoors). Budget $50-200 per camera; start with a kit for multi-camera systems.
Research compatibility with your smart home ecosystem (e.g., Alexa, Google Home). Wireless options like battery cams are ideal for renters, while PoE (Power over Ethernet) wired cams suit permanent installs. Check reviews for app reliability and cloud storage options.
Success: A shopping cart with 4-6 compatible cameras that match your plan. This takes 30-60 minutes online.
💡 Tips:
- •Opt for systems with local storage (SD card) to avoid subscription fees.
- •Buy expandable kits for future additions.
⚠️ Warnings:
- •Avoid cheap no-name brands; they often have poor app support and false alerts.
Step 3: Gather Tools and Unbox Components
Assemble all required tools and unpack your cameras. Check the box for mounts, power adapters, manuals, and any included cables. Test each camera's power-on sequence indoors to ensure no defects—plug in and look for LED lights or a test image on the screen if applicable.
Organize tools by step: drill nearby for mounting, cables for wiring. For wireless setups, charge batteries fully. This prep prevents mid-install frustrations.
Success: All items laid out and functional, ready for installation. Allow 10-15 minutes.
💡 Tips:
- •Label cables if using multiple to avoid mix-ups.
- •Download the manufacturer's app ahead of time.
⚠️ Warnings:
- •Inspect for damage immediately; return faulty units promptly.
Step 4: Mount the Cameras
Start with outdoor cameras. Use a ladder to reach mounting spots, mark drill holes with a pencil using the bracket as a template. Drill pilot holes, insert anchors if on masonry, then secure the bracket with screws. Attach the camera to the bracket and adjust the angle for optimal view—use the app's live feed if possible for real-time aiming.
For indoor mounts, use adhesive strips or screws on walls/ceilings. Ensure cameras are 8-10 feet high to avoid tampering. Why it matters: Proper height and angle capture clear footage without obstructions.
Success: All cameras securely mounted and pointed correctly. This is the most physical step, taking 45-90 minutes for 4-6 units.
💡 Tips:
- •Mount in shaded areas to reduce sun glare on lenses.
- •Use a level tool for straight alignments.
⚠️ Warnings:
- •Secure ladders firmly; falls are a common injury risk.
- •Avoid mounting near sprinklers or vents that could damage electronics.
Step 5: Connect Power and Network
For wired cameras, run Ethernet or power cables from the camera to your router or outlet, using clips for neat routing. Plug into power sources. Wireless cameras: Sync via the app by scanning QR codes or pressing sync buttons—ensure your Wi-Fi signal is strong (use a extender if needed, signal strength > -60dBm).
Power on each camera and confirm connection lights. This step bridges hardware to digital monitoring.
Success: Green connection indicators on all cameras. Expect 30-45 minutes, longer for cabling.
💡 Tips:
- •Test Wi-Fi speed at mount locations before finalizing.
- •Use outdoor-rated cables for exterior runs.
⚠️ Warnings:
- •Overloading circuits can trip breakers; use a surge protector.
Step 6: Install and Configure the App
Download the camera system's app (e.g., Ring, Arlo) from the App Store or Google Play. Create an account, add devices by following on-screen prompts—scan codes or enter serial numbers. Set up zones for motion detection, enable notifications, and customize alerts (e.g., person vs. animal detection).
Link to cloud storage if subscribed, or set up local NVR/DVR for wired systems. Adjust video quality and schedules.
Success: Live view accessible on your phone from anywhere. Takes 20-30 minutes.
💡 Tips:
- •Enable two-factor authentication for account security.
- •Integrate with smart hubs for automated lights on motion.
⚠️ Warnings:
- •Weak passwords invite hacks; use strong, unique ones.
Step 7: Test and Fine-Tune the System
Walk around your property to trigger motions and verify coverage—no blind spots or false alerts. Check night vision by testing in low light, and simulate alerts by waving in view. Review recordings to ensure clarity and storage works.
Adjust angles or sensitivity as needed. This validates your setup's effectiveness.
Success: Reliable alerts and clear footage from all angles. 15-30 minutes.
💡 Tips:
- •Involve family in testing to cover all scenarios.
- •Update firmware via the app for latest features.
⚠️ Warnings:
- •Test during peak Wi-Fi usage to catch bandwidth issues.
▸Pro Tips
- •Position cameras to cover multiple angles with one unit to save money.
- •Use solar panels for outdoor wireless cams to eliminate battery swaps.
- •Schedule recording modes (e.g., arm at night) to conserve battery and storage.
- •Integrate with smart lights for illuminated deterrence on motion.
- •Regularly clean lenses with a microfiber cloth to maintain image quality.
- •Opt for PoE switches for wired systems to simplify cabling.
- •Backup footage to external drives for redundancy beyond cloud.
▸Common Mistakes to Avoid
- •Poor placement leading to blind spots: Always map coverage first to avoid repositioning.
- •Ignoring Wi-Fi range: Weak signals cause dropouts; use mesh networks if needed.
- •Skipping firmware updates: Leaves vulnerabilities; check monthly via app.
- •Overlooking privacy laws: Angle away from public views to prevent legal issues.
- •Not testing thoroughly: Results in unreliable alerts; simulate real scenarios.
▸Troubleshooting
Problem: Camera not connecting to Wi-Fi
Solution: Restart router and camera, ensure 2.4GHz band (not 5GHz), move closer to router or add extender. Check app for signal strength.
Problem: No motion detection alerts
Solution: Verify notifications are enabled in app settings and phone permissions. Adjust sensitivity slider and test zones.
Problem: Poor video quality at night
Solution: Clean lens, ensure IR lights are on, upgrade to color night vision models if needed. Avoid direct light sources.
Problem: Power issues with wired cams
Solution: Check connections and use surge protectors. For outdoors, seal cables against weather. Consult electrician if voltage drops.
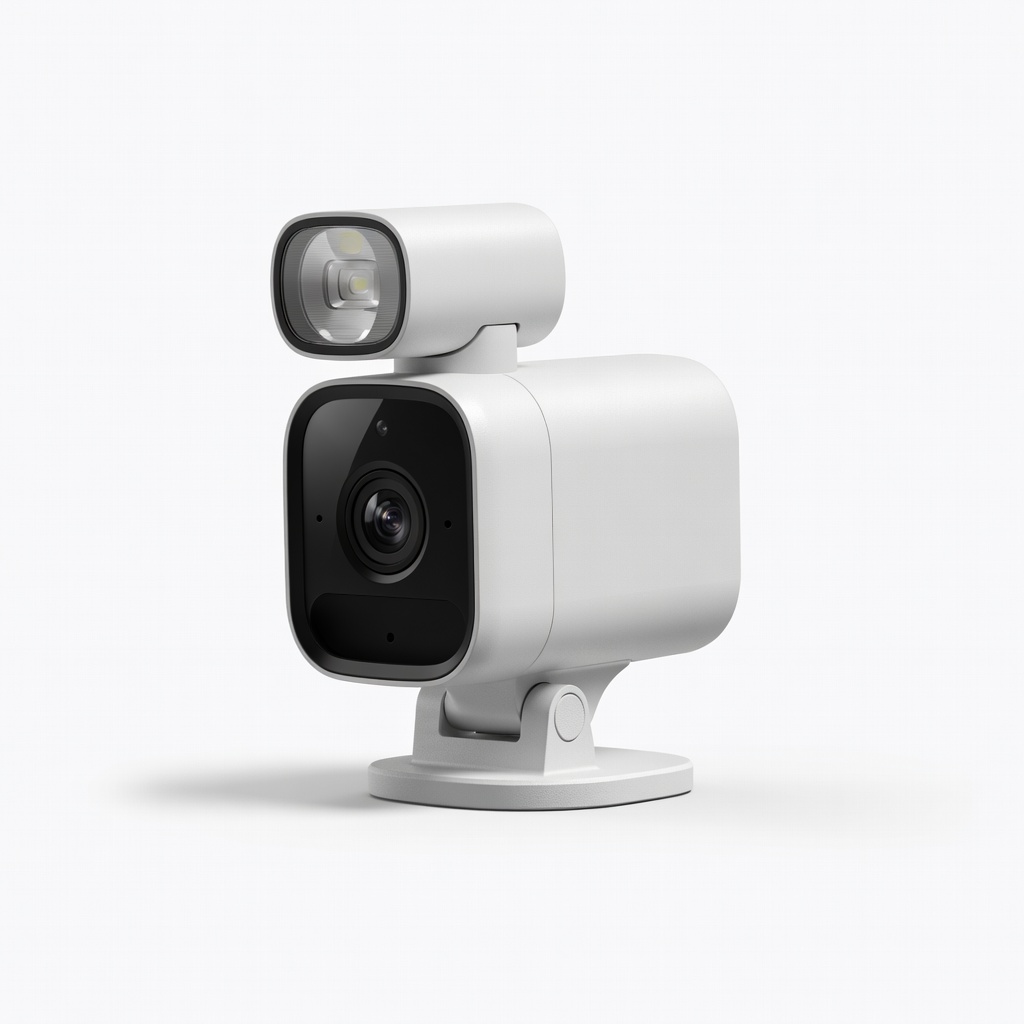
Arlo Pro 4 Spotlight Camera (Wireless, 2K Resolution)
Excellent for wireless setups with superior battery life, color night vision, and easy app integration—ideal for intermediate users wanting flexibility without wiring.
Best for: Outdoor monitoring of entry points; perfect for homes without easy cable access.
Price Range: $150-$200
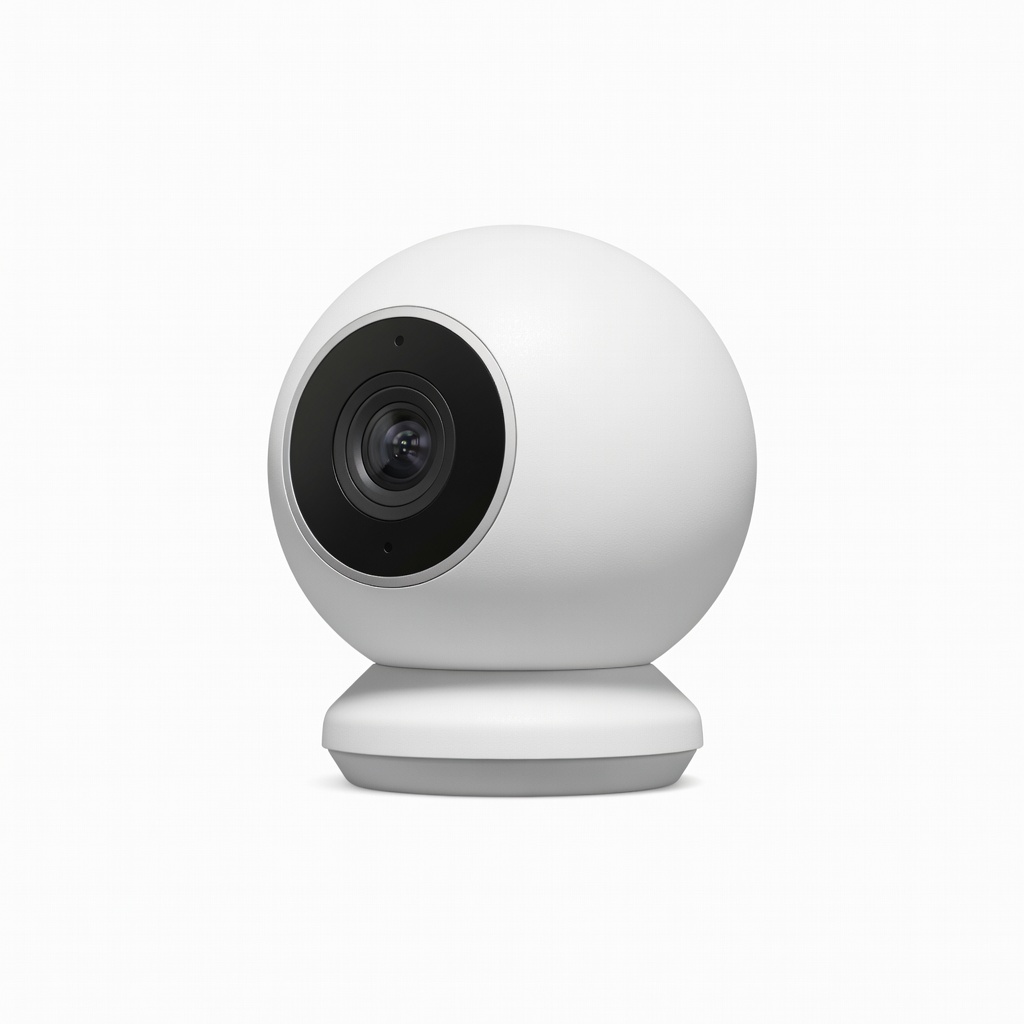
Ring Stick Up Cam Battery
Affordable, user-friendly with Alexa integration and no monthly fee for basic use; reliable motion zones reduce false alerts.
Best for: Indoor/outdoor versatile placement for renters or quick installs.
Price Range: $80-$100
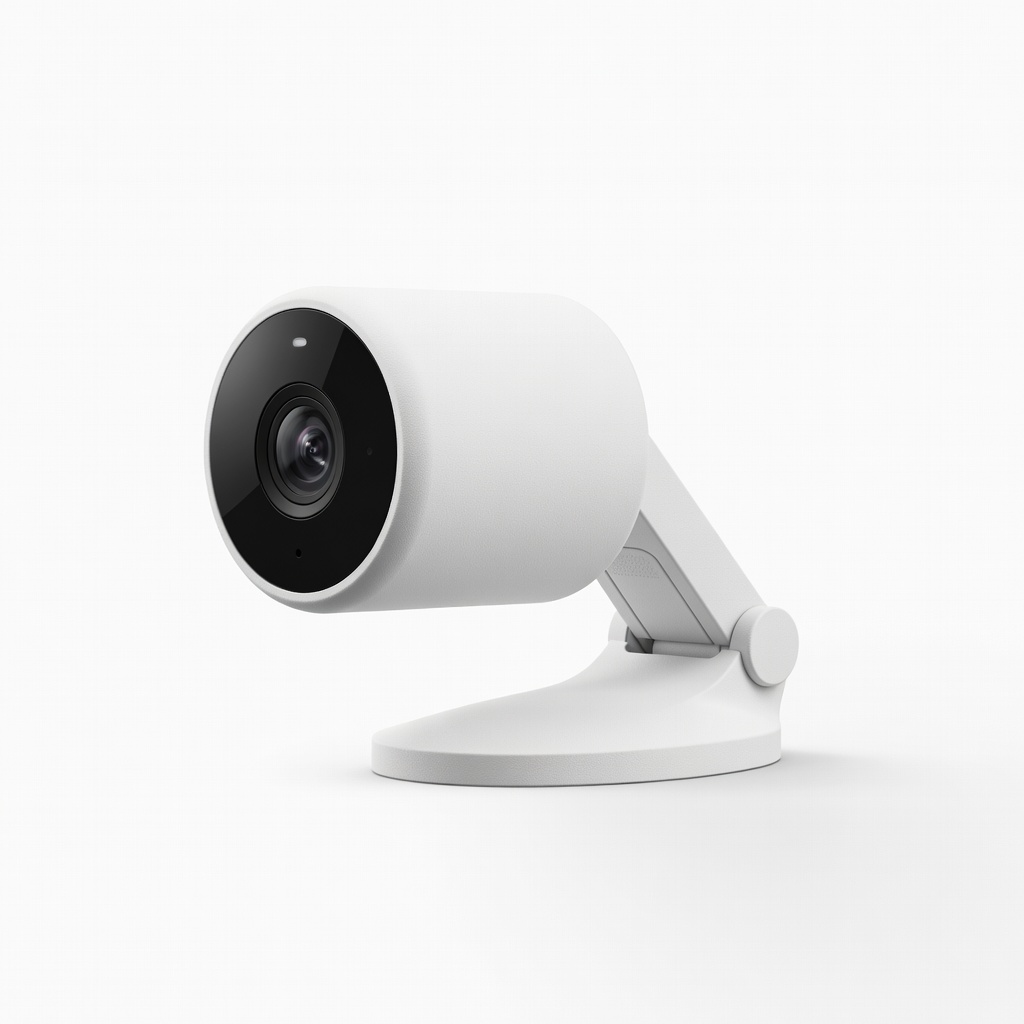
Google Nest Cam (Battery) Outdoor/Indoor
Seamless Google Home ecosystem compatibility, 1080p HDR video, and intelligent alerts; great for smart home enthusiasts.
Best for: Full-home coverage with facial recognition for distinguishing visitors.
Price Range: $100-$130
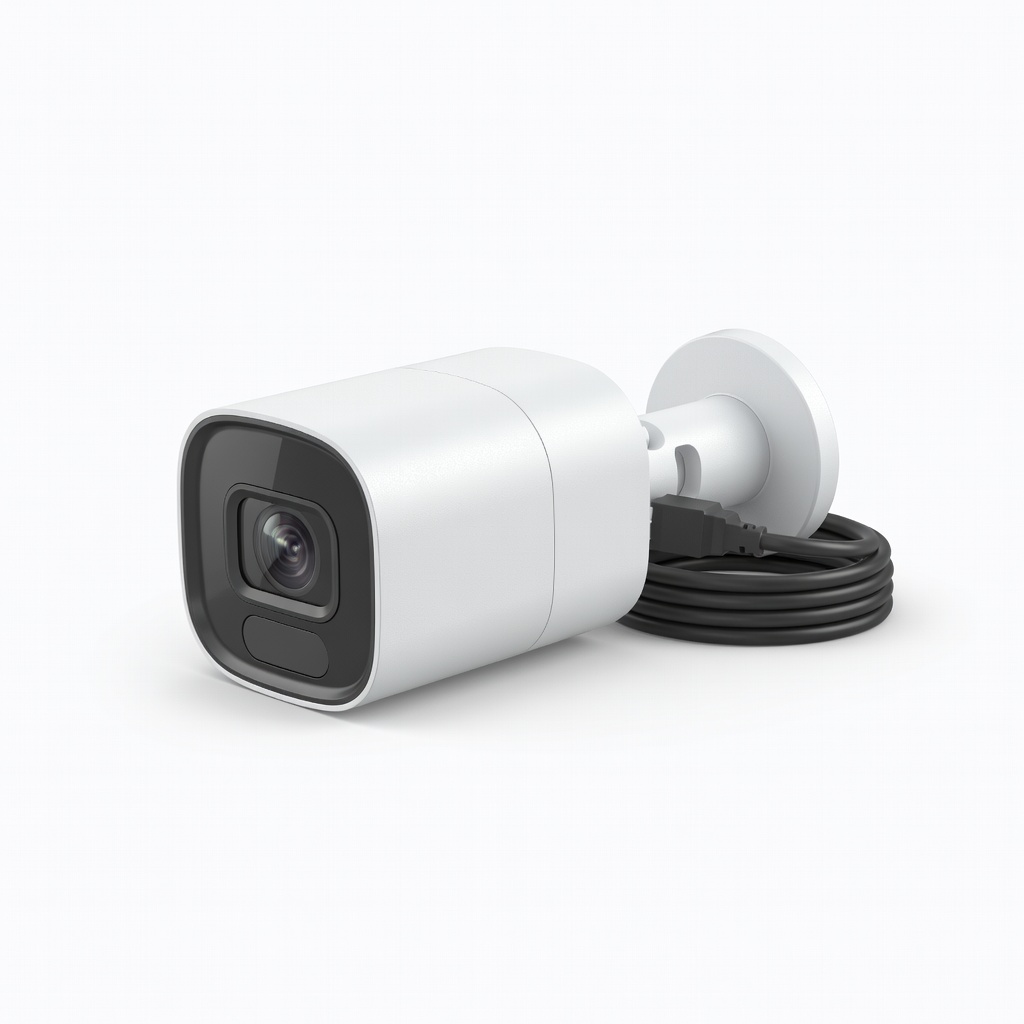
Reolink PoE IP Camera (Wired, 4K)
High-resolution wired option with local storage, no subscriptions needed; robust for permanent, high-quality surveillance.
Best for: Large properties requiring stable, continuous recording without Wi-Fi dependency.
Price Range: $70-$90
TP-Link Kasa Smart Wi-Fi Plug (for Power Management)
Helps automate power to plugged-in cams, saving energy and enabling remote reboots via app.
Best for: Controlling indoor camera power schedules or troubleshooting remotely.
Price Range: $20-$25