
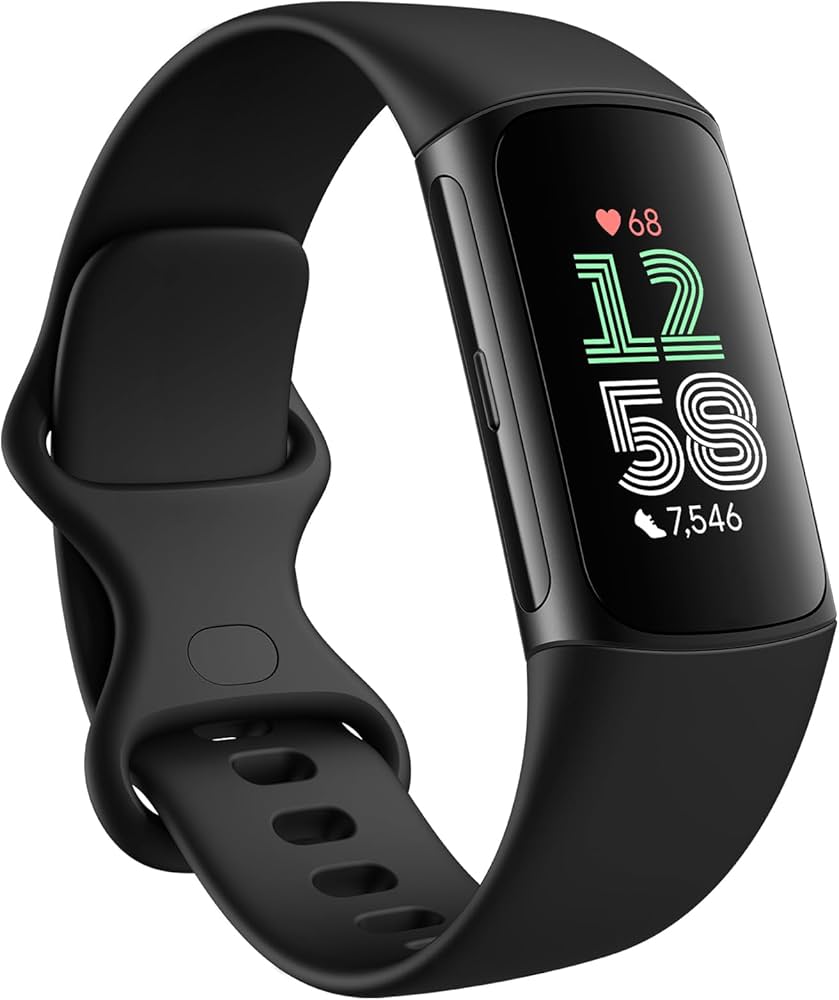
Fitbit Charge 6
If you want an all-around tracker for steps, sleep, and heart health without breaking the bank.
$150–$160
Fitbit Charge 6 Excellent choice for beginners with a clear app, built-in GPS, and stress management features.
Get the App
Better experience on mobile
Learn how to unbox, charge, sync, and configure your new fitness tracker in just 15 minutes.
So you just got a shiny new fitness tracker—maybe a Fitbit, Garmin, or Apple Watch. It’s packed with sensors and promises to track every step, calorie, and heartbeat. But before you can start racking up steps, you need to set it up correctly. This guide will walk you through the entire first-time setup process, from charging and pairing to customizing your goals and understanding your dashboard. Whether you’re a complete beginner or just want a refresher, you’ll be up and running in no time. Expect to spend about 15–20 minutes for a smooth setup.
Estimated Time: 15–20 minutes Difficulty: beginner
Take your fitness tracker out of the box and remove any plastic stickers. Locate the charging cable—most trackers use a proprietary clip or magnetic charger. Connect the cable to a USB port on your computer or a wall adapter (not included with some models). Attach the tracker to the charger; you should see a battery icon or LED indicating it's charging. Let it charge until full (usually 1–2 hours, but you can start setup once it has enough power). Why this matters: A fully charged battery prevents interruptions during the initial sync and firmware update.
💡 Tips:
⚠️ Warnings:
On your smartphone, go to the Apple App Store or Google Play Store and search for the official app for your tracker brand—for example, “Fitbit” for Fitbit devices, “Garmin Connect” for Garmin, “Samsung Health” for Galaxy Fit, or “Mi Fitness” for Xiaomi. Download and install the app. Why this matters: The app is your control center: it syncs data, updates firmware, and lets you customize settings. Without it, your tracker is just a fancy pedometer.
💡 Tips:
⚠️ Warnings:
Open the app and tap “Create Account” (or “Sign Up”). You’ll need to provide your email address, create a password, and enter basic profile info like your name, birth date, height, and weight. Some apps also ask for your activity level goals. If you already have an account (e.g., from a previous device), tap “Log In” instead. Why this matters: Your personal data helps the tracker calculate calories burned, distance, and heart rate zones more accurately. It also syncs your history across devices.
💡 Tips:
⚠️ Warnings:
In the app, look for an option like “Set Up a Device,” “Add Device,” or “Pair New.” The app will ask you to turn on Bluetooth on your phone. Place the tracker close to your phone (within 3 feet). The app will search for devices; when your tracker appears on the screen, tap it to confirm pairing. You may see a code or pattern on the tracker—verify it matches what's shown in the app. Why this matters: Bluetooth pairing is the wireless link that allows data to flow between your tracker and the app. Without it, you can't sync steps, receive notifications, or update settings.
💡 Tips:
⚠️ Warnings:
After pairing, the app will often check for a firmware update. If a new version is available, you’ll see a prompt to download and install it. Make sure your tracker is charged above 50% (or plugged in) and keep your phone nearby. The update may take 5–15 minutes and might cause the tracker to restart. Why this matters: Firmware updates fix bugs, improve accuracy, and sometimes add new features. Skipping them can lead to glitches or missing functionality.
💡 Tips:
⚠️ Warnings:
Once your tracker is paired and updated, it's time to make it yours. In the app, adjust daily goals: steps (common 10,000), active minutes, sleep hours, water intake, and weight. Set your activity level (sedentary, light, active) so the tracker estimates calories accurately. Configure heart rate zones, if available. Also turn on or off features like all-day heart rate tracking, sleep monitoring, and notifications (calls, texts, calendar). Why this matters: Default settings are generic. Customizing aligns the tracker with your lifestyle, making data more relevant and motivating.
💡 Tips:
⚠️ Warnings:
Put the tracker on your non‑dominant wrist (unless the device manual says otherwise). The band should be snug but not tight—you should be able to slide one finger underneath. For accurate heart rate readings, ensure the optical sensor on the back is in full contact with your skin, and position the tracker an inch above your wrist bone. Why this matters: Incorrect wearing can produce inaccurate step counts, heart rate readings, and sleep data. For example, a loose band may cause the green LED light to bleed, skewing heart rate.
💡 Tips:
⚠️ Warnings:
After wearing the tracker for a few minutes, open the app and check if data appears. Swipe on the tracker to see your step count or heart rate, then pull down in the app to manually sync (or wait for auto‑sync, which happens every few minutes). Verify that the stats match roughly between the tracker and app. Why this matters: A successful sync confirms that everything is working. If data isn't transferring, you'll catch the issue early before relying on the tracker all day.
💡 Tips:
⚠️ Warnings:
To receive call, text, and app notifications on your wrist, enable them in the app's settings. You can typically select which apps send alerts (e.g., WhatsApp, calendar). Also set silent alarms for morning wake‑up or reminders to move. Why this matters: Notifications help you stay connected without pulling out your phone, and alarms provide gentle wake‑ups without disturbing others.
💡 Tips:
⚠️ Warnings:
Spend a few minutes browsing the app's dashboard: daily summary, heart rate graph, sleep stages (after a night's sleep, of course). Then, try logging your first activity: on the tracker, select an exercise mode (e.g., Walk, Run, Bike) and start for a minute. Stop and save. Check how the data appears in the app. Why this matters: Familiarizing yourself with the interface now means you'll confidently use the tracker long‑term. Logging a sample activity confirms that GPS (if available) and motion sensors are working.
💡 Tips:
⚠️ Warnings:
Problem: Tracker won't pair with phone
Solution: Ensure Bluetooth is on and the tracker is charged. Restart both devices. If still failing, try resetting the tracker (check manual) and clearing the app's cache.
Problem: Data not syncing
Solution: Open the app and pull down to force sync. Toggle Bluetooth off/on. If problem persists, unpair the tracker in phone settings and re-pair from scratch.
Problem: Heart rate readings seem off
Solution: Clean the optical sensor on the back. Make sure the band is snug. Avoid wearing over a tattoo. If using a wrist-based tracker, consider a chest strap for more accuracy during high-intensity workouts.
Problem: Battery drains too fast
Solution: Reduce screen brightness, disable always-on display, limit notifications, turn off all-day heart rate tracking if not needed, and check for pending firmware updates (sometimes updates fix battery issues).
Excellent choice for beginners with a clear app, built-in GPS, and stress management features.
Best for: If you want an all-around tracker for steps, sleep, and heart health without breaking the bank.
Price Range: $150–$160
Packed with workout modes and a vivid AMOLED screen; great for fitness enthusiasts.
Best for: If you plan to track multiple sports and want advanced metrics like VO2 max and body battery.
Price Range: $250–$300
Seamless integration with iPhone, safety features like fall detection, and a huge app ecosystem.
Best for: If you own an iPhone and want a smartwatch that also does fitness tracking.
Price Range: $249–$279
Budget-friendly with a large color display, SpO2 monitoring, and 18-day battery life.
Best for: If you want a basic tracker for steps and sleep without spending much.
Price Range: $40–$50
Gold standard for accurate heart rate tracking during workouts.
Best for: If your wrist-based tracker is inaccurate during high-intensity exercise and you need precise data.
Price Range: $80–$90
If you want an all-around tracker for steps, sleep, and heart health without breaking the bank.
Fitbit Charge 6 Excellent choice for beginners with a clear app, built-in GPS, and stress management features.
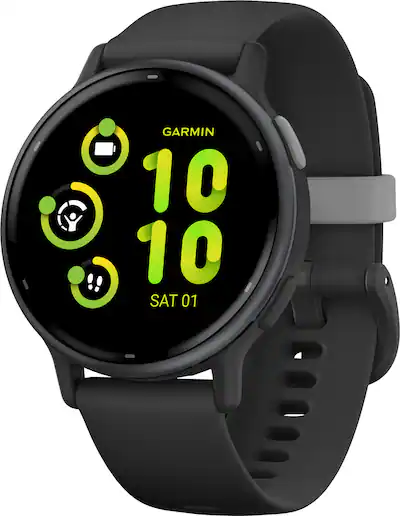
If you plan to track multiple sports and want advanced metrics like VO2 max and body battery.
Garmin Vivoactive 5 Packed with workout modes and a vivid AMOLED screen; great for fitness enthusiasts.
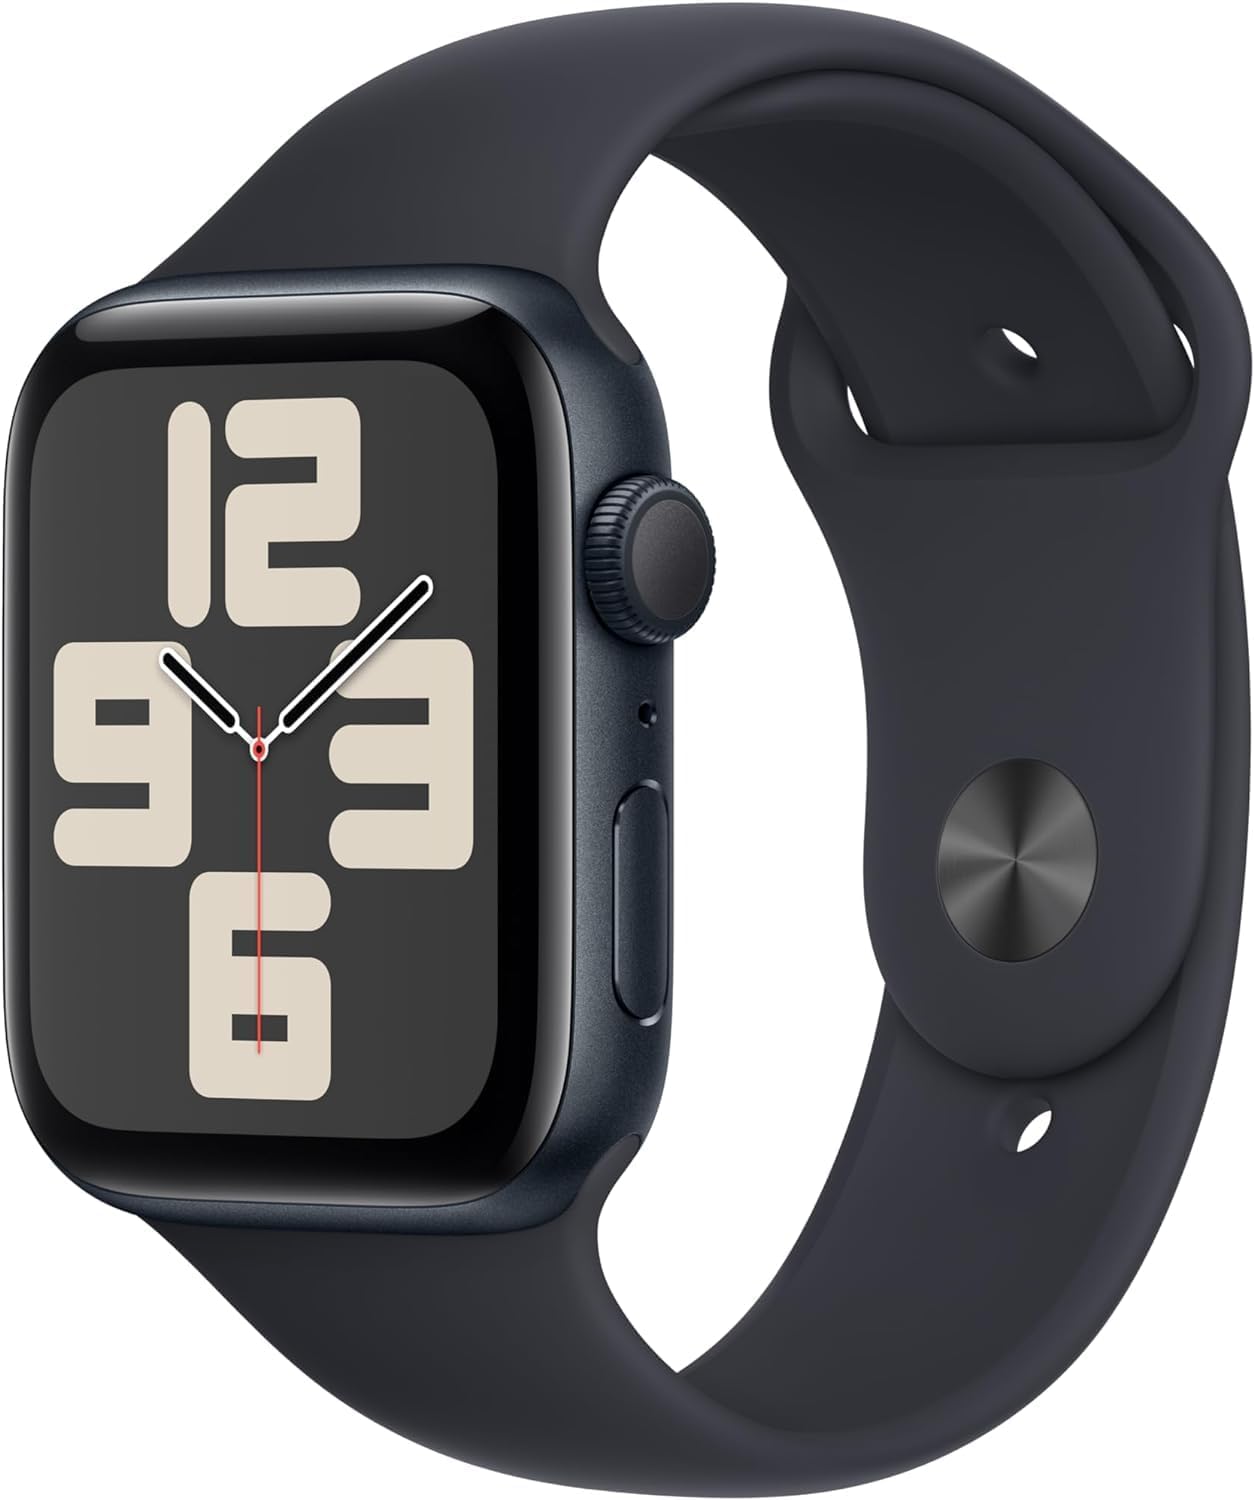
If you own an iPhone and want a smartwatch that also does fitness tracking.
Apple Watch SE (2nd generation) Seamless integration with iPhone, safety features like fall detection, and a huge app ecosystem.
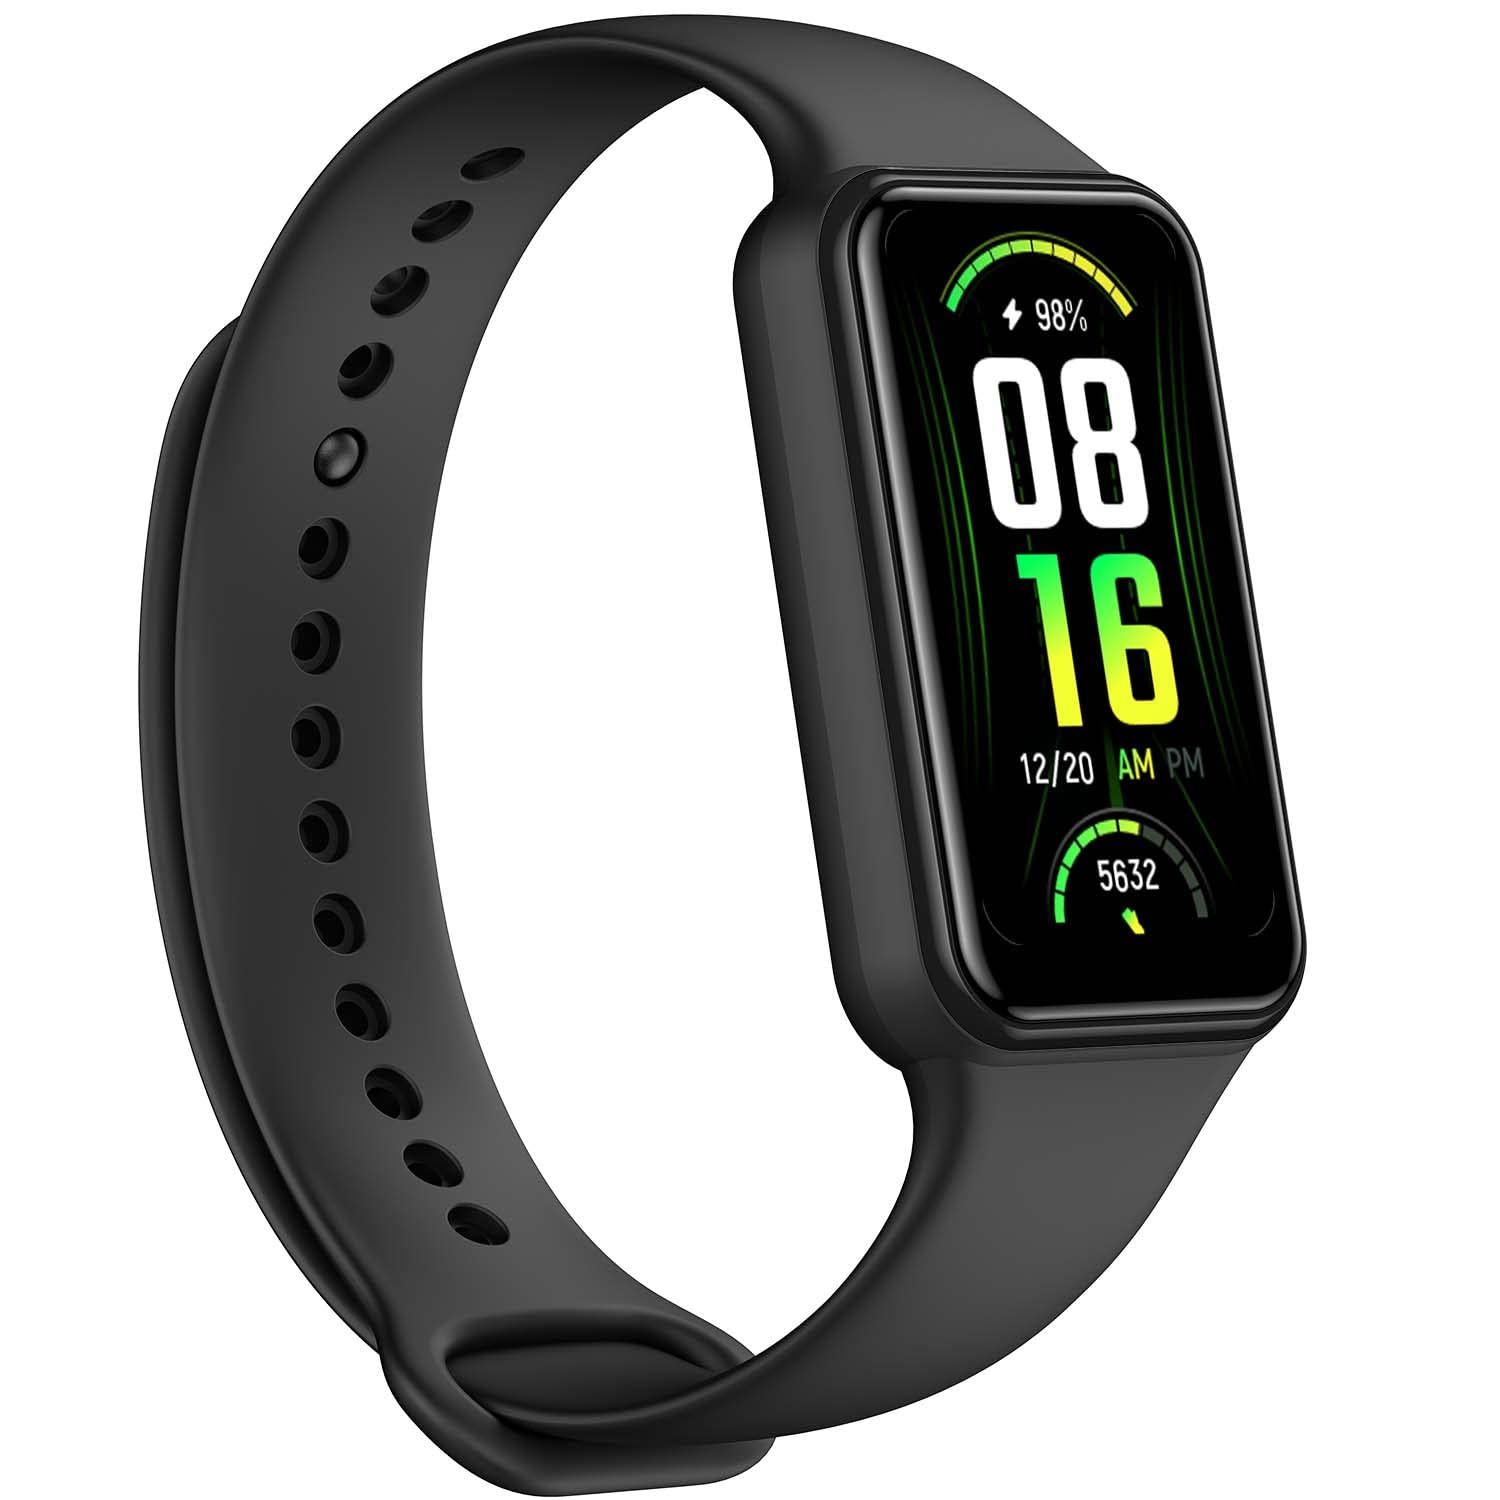
If you want a basic tracker for steps and sleep without spending much.
Amazfit Band 7 Budget-friendly with a large color display, SpO2 monitoring, and 18-day battery life.
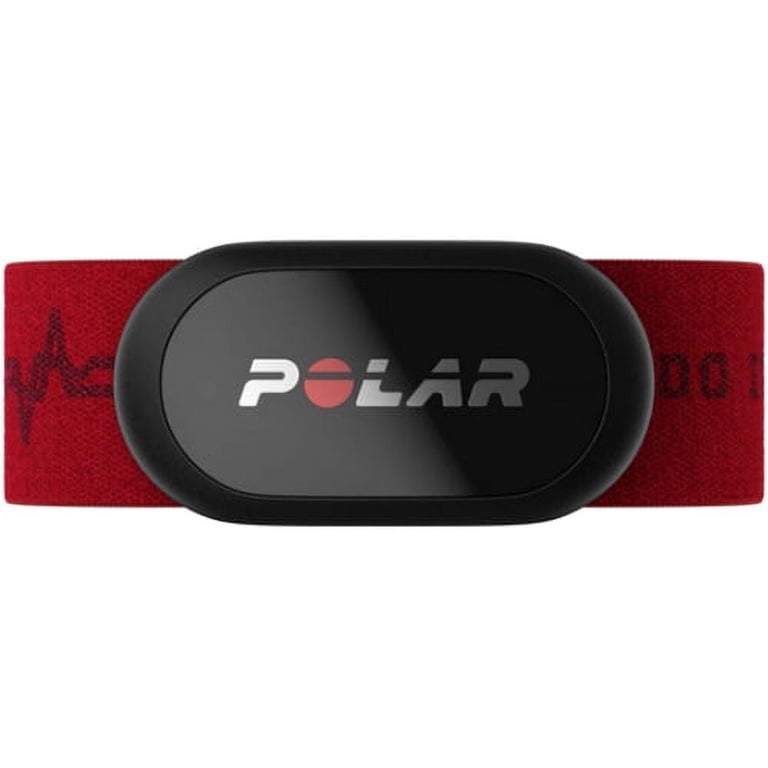
If your wrist-based tracker is inaccurate during high-intensity exercise and you need precise data.
Chest Strap Heart Rate Monitor (e.g., Polar H10) Gold standard for accurate heart rate tracking during workouts.