Printing ABS filament can be frustrating without an enclosure—warping, layer splits, and toxic fumes are common issues due to drafts and temperature fluctuations. An enclosure stabilizes the environment at 40-60°C, traps odors, and boosts print quality dramatically.
In this guide, you'll learn to build a budget-friendly IKEA LACK-based enclosure tailored for printers like the Ender 3 or Prusa MK3. We'll cover planning, assembly, ventilation, heating, and testing. Expect professional results with fire safety in mind.
Total build time is 3-5 hours for intermediate makers; no advanced skills needed beyond basic cutting and wiring.
▸What You'll Need
- •2x IKEA LACK shelves (riser tables, 22x22x11 inches)
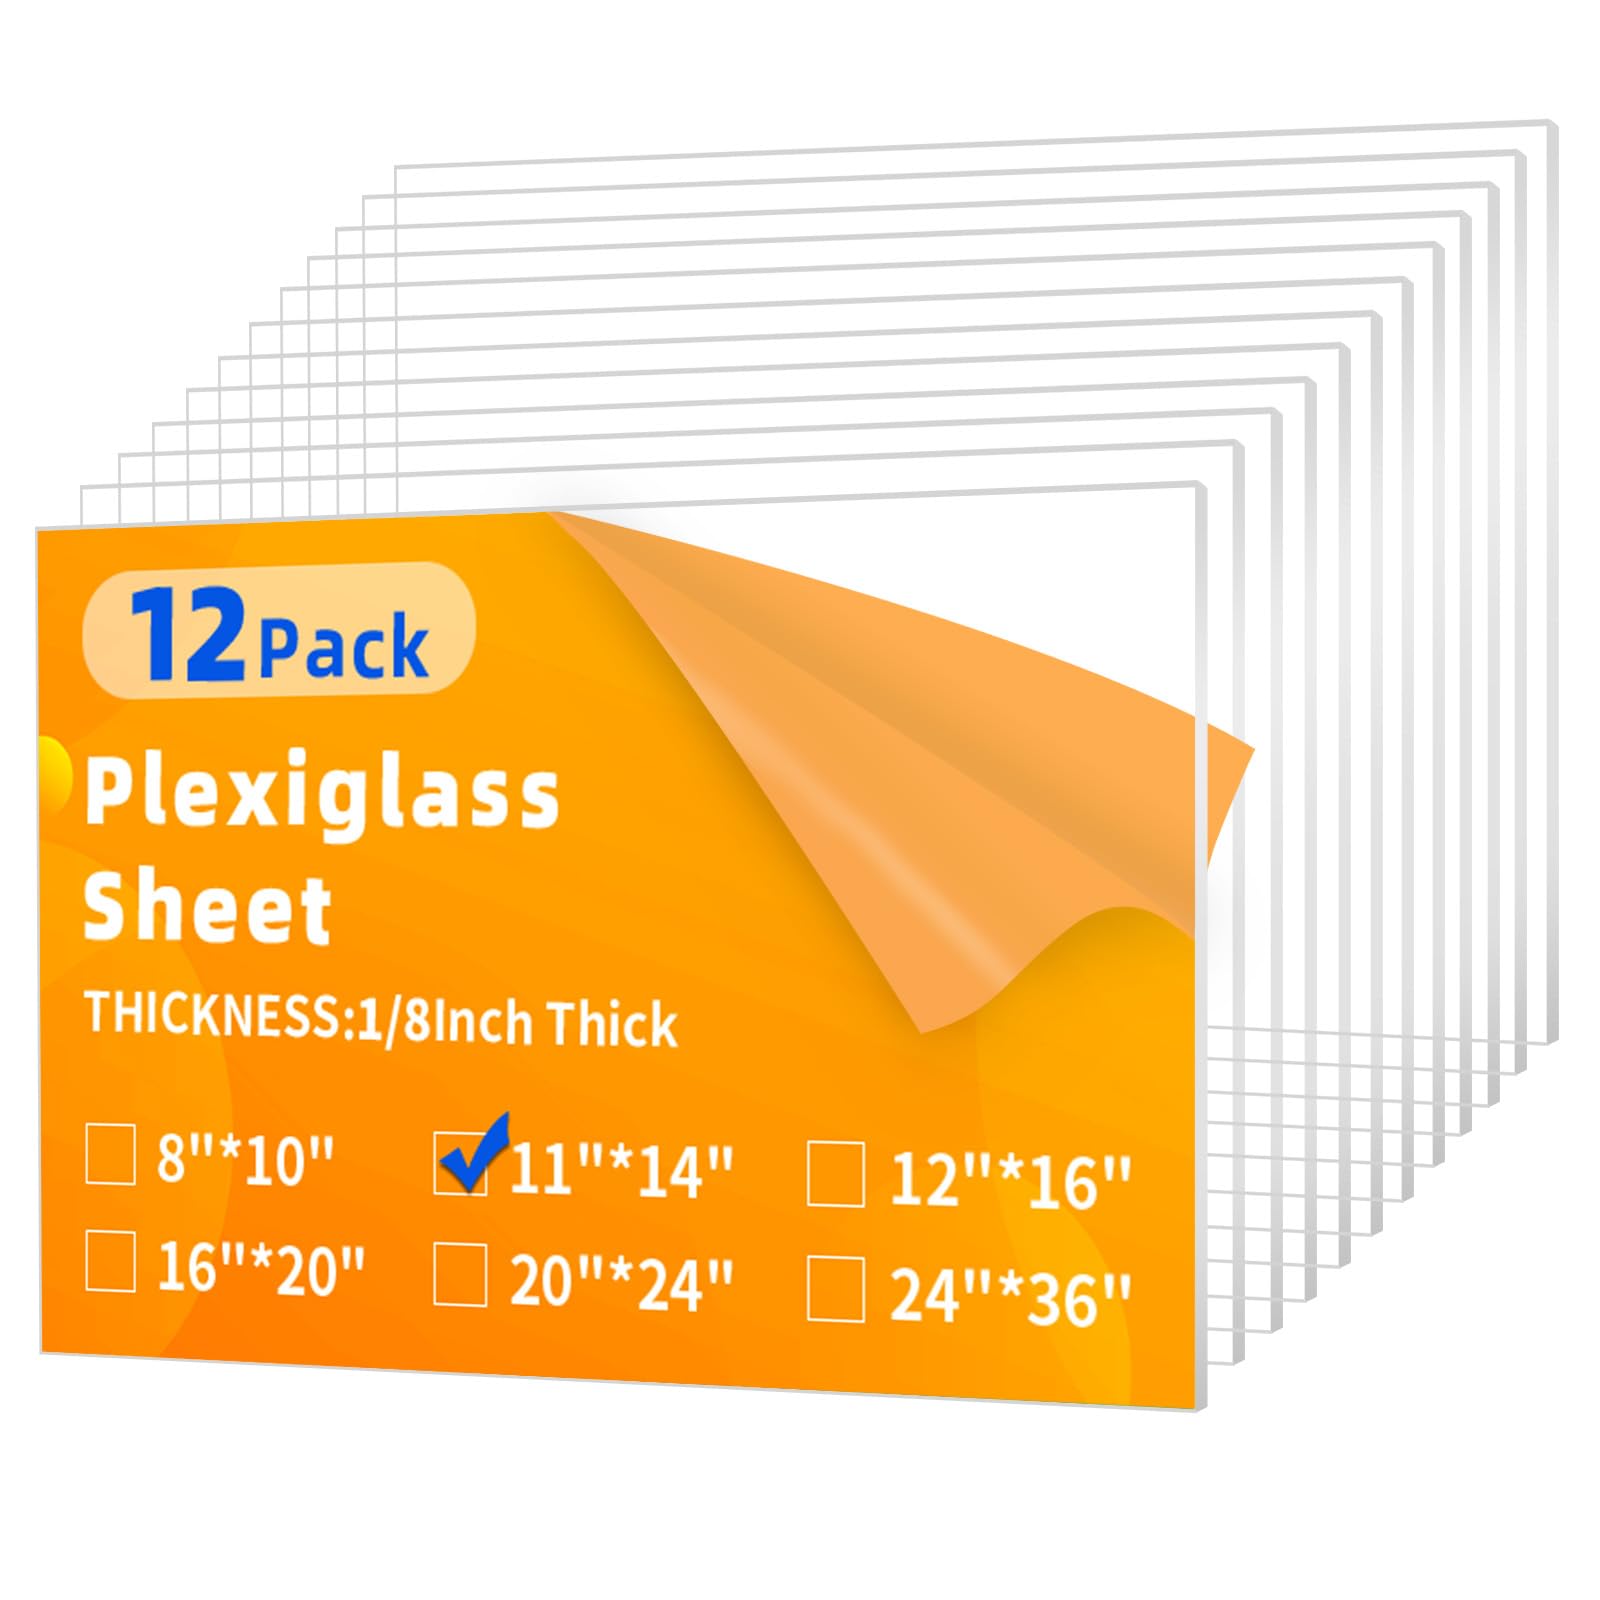
- •Clear acrylic or polycarbonate sheets (1/8-inch thick, total ~10 sq ft—e.g., 4x 24x24-inch panels)
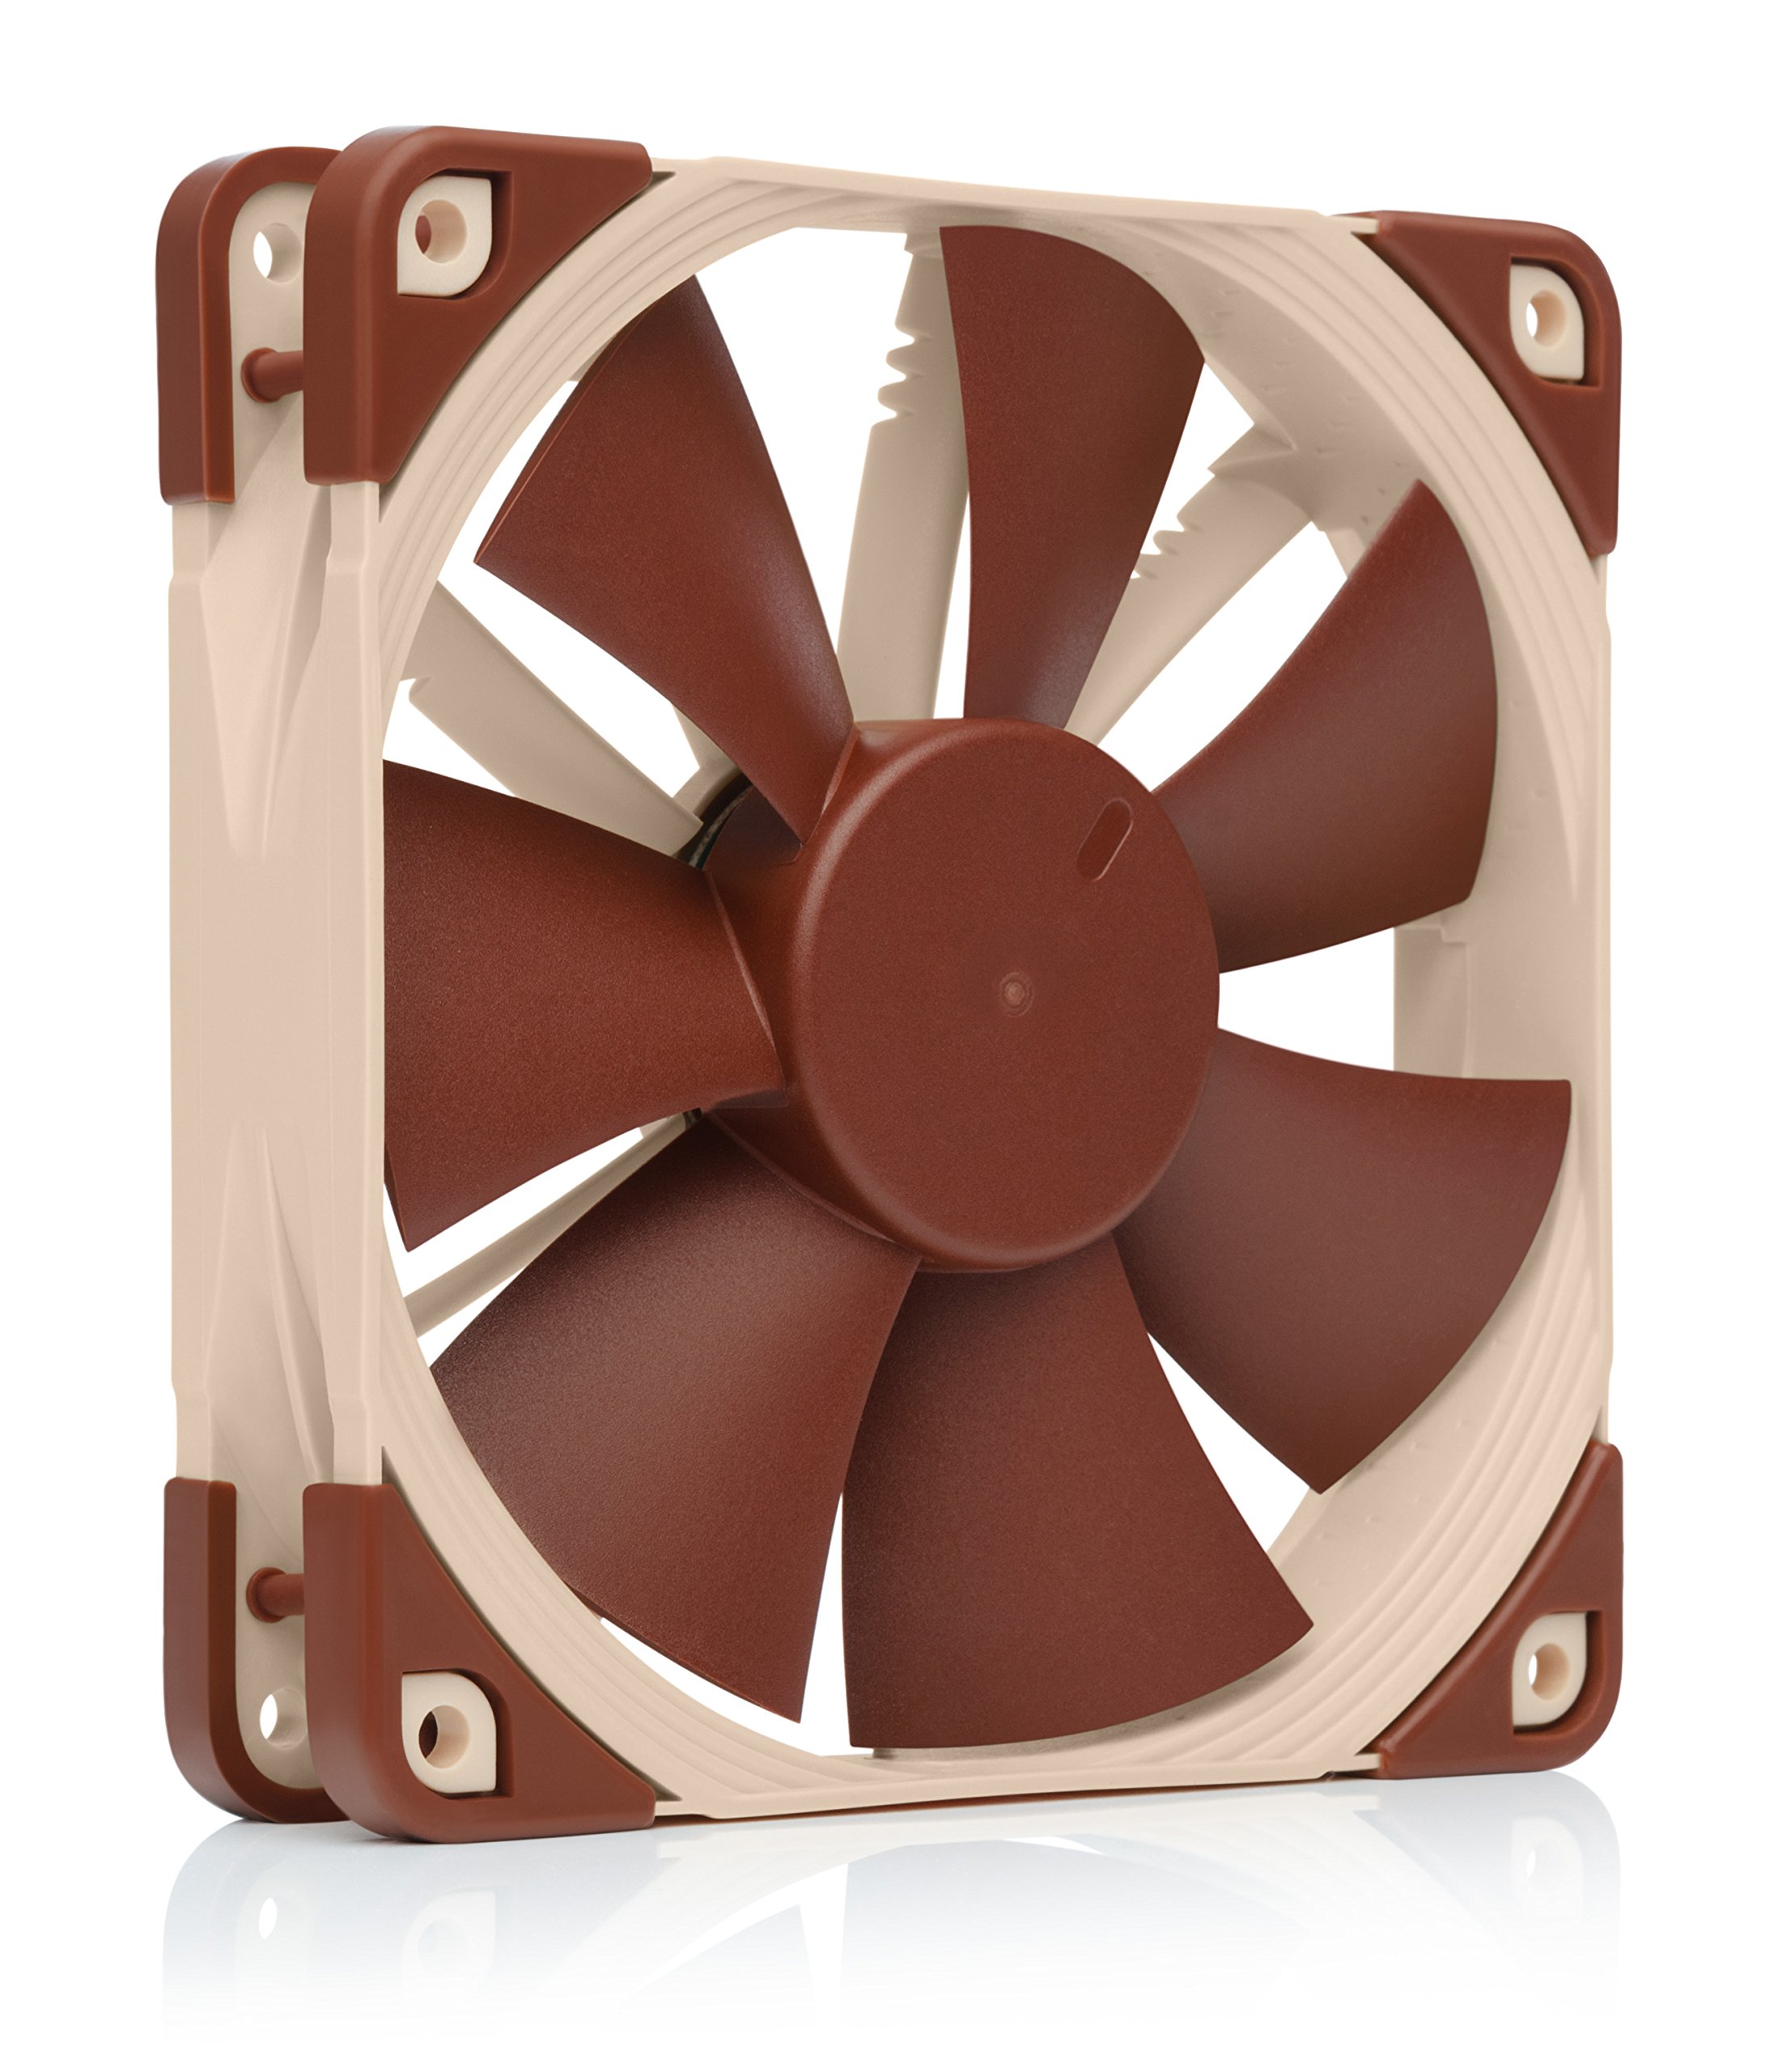
- •2x 120mm fans (one intake, one exhaust)
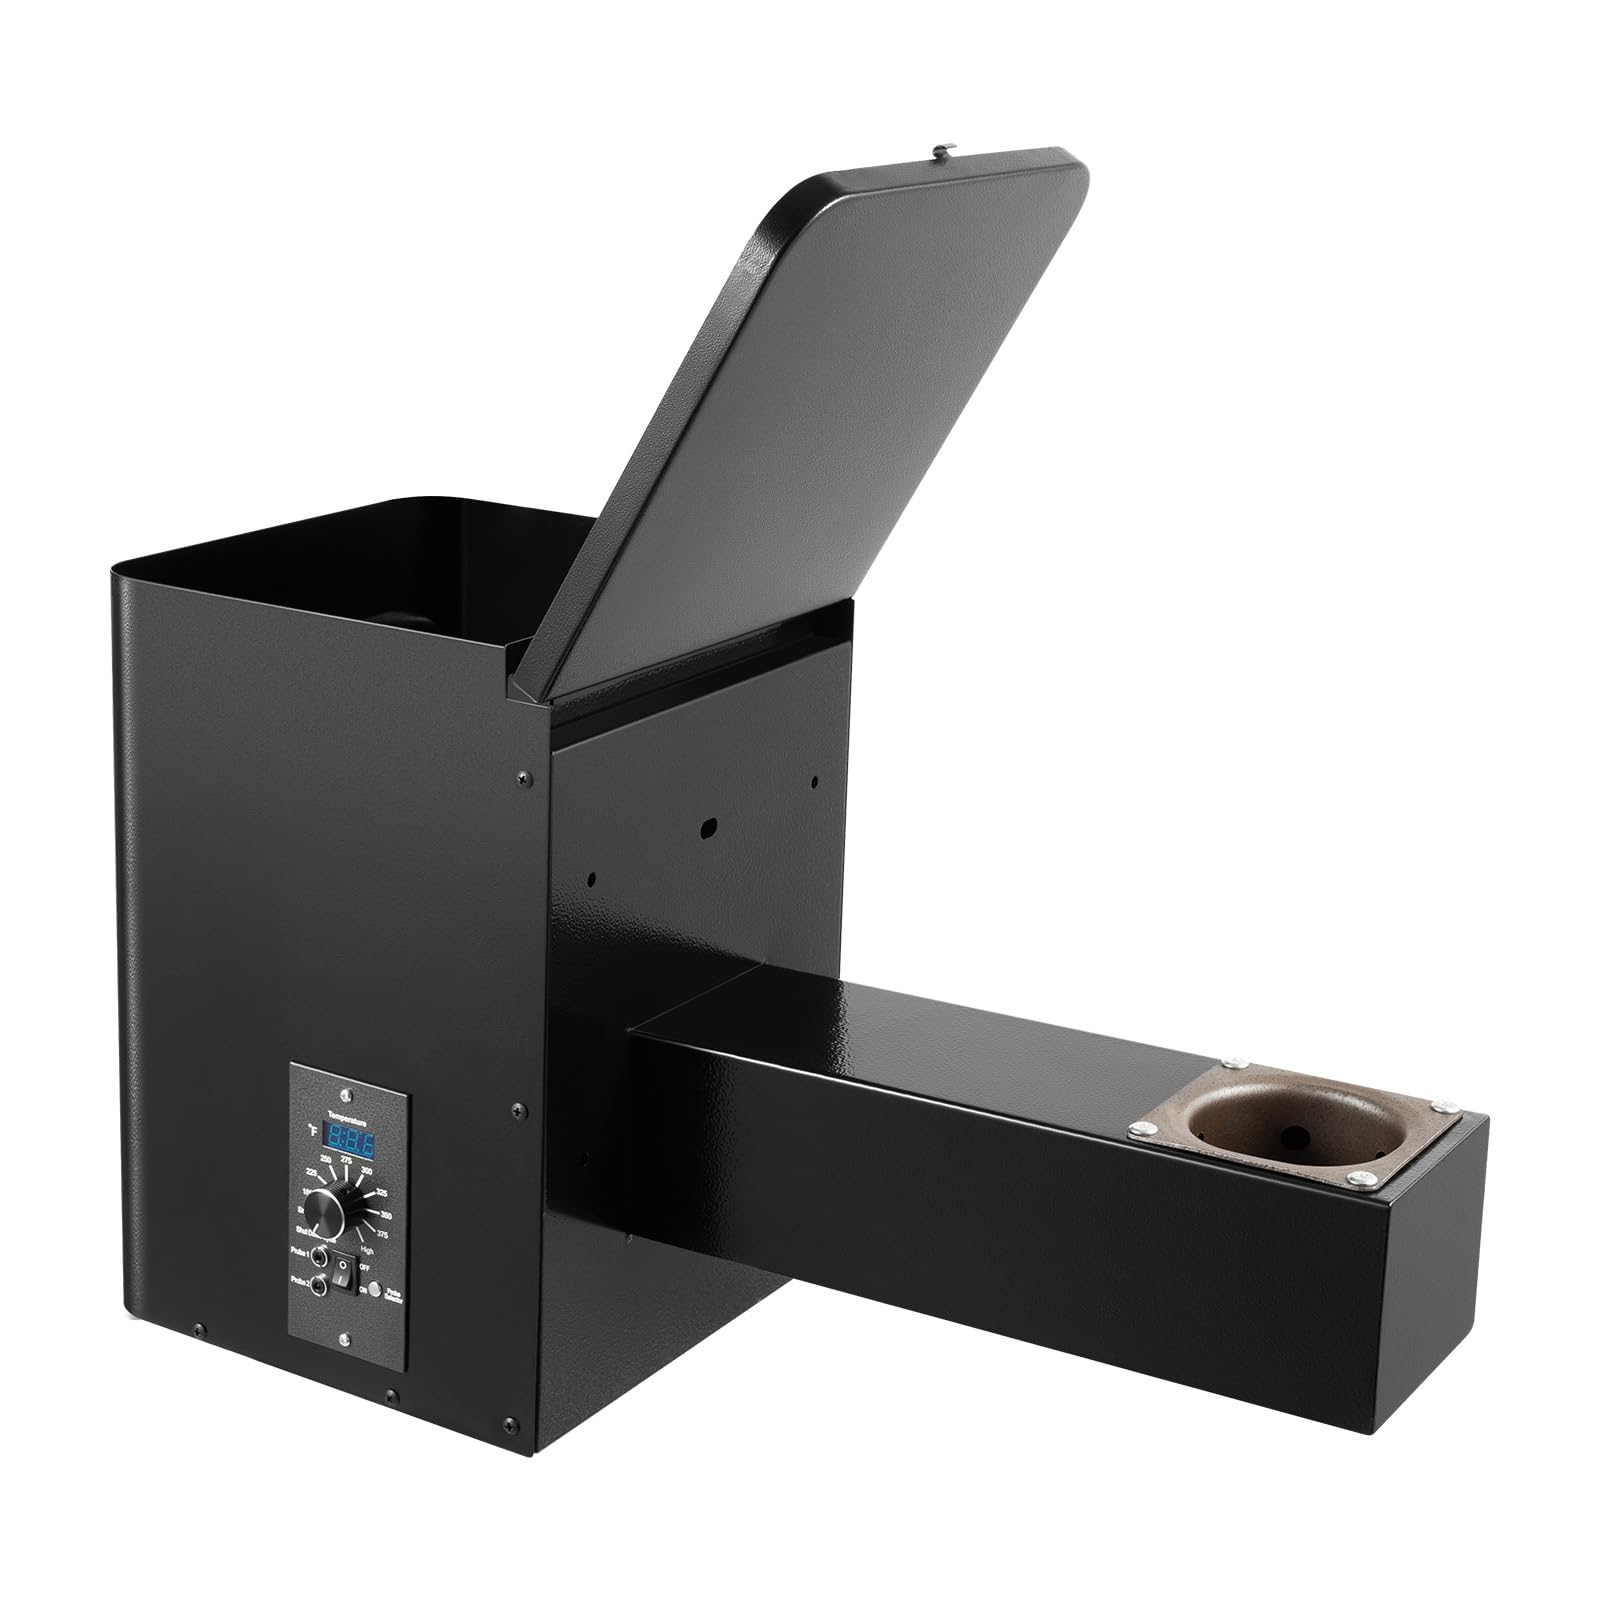
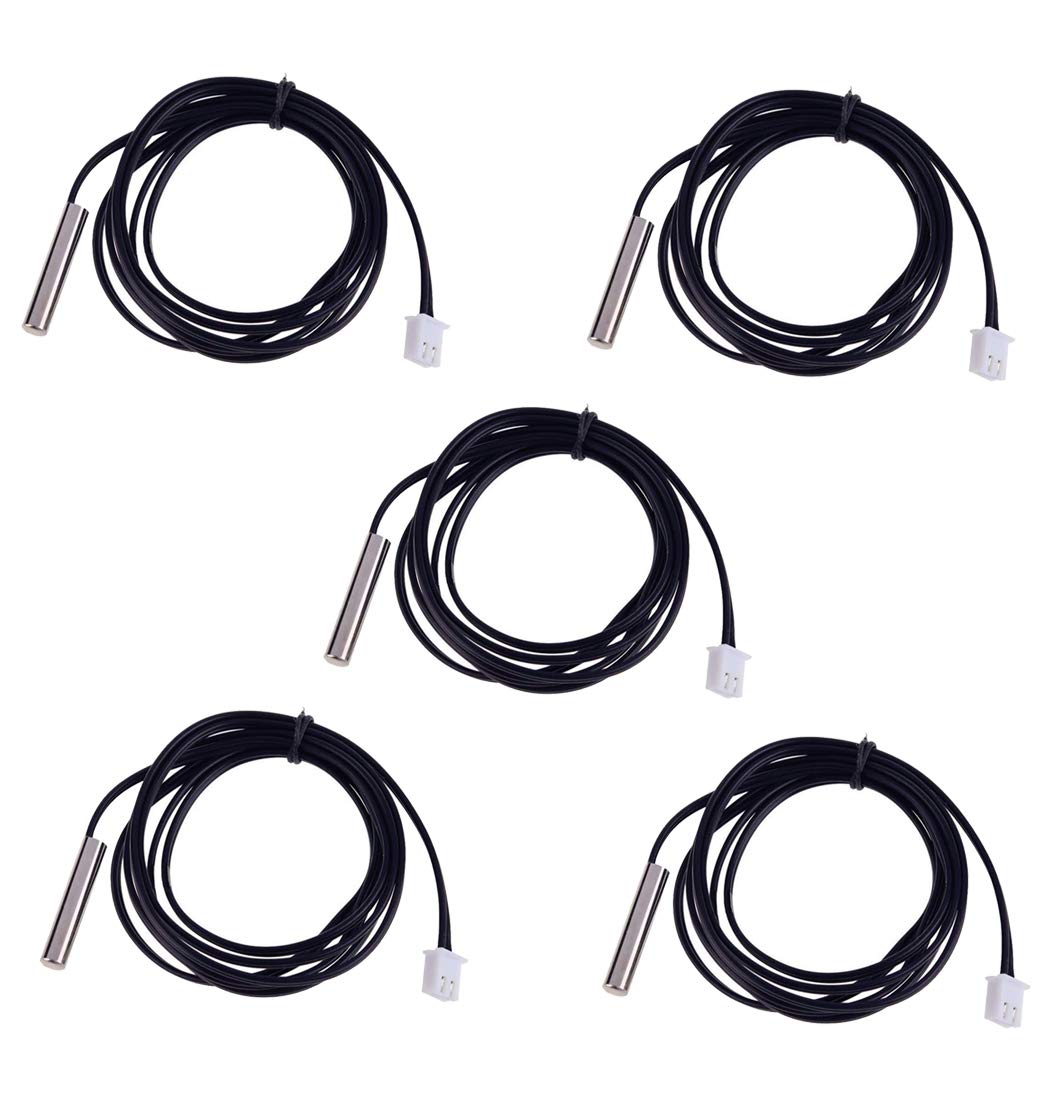
- •PTC heater (12V 100-200W) and Inkbird temperature controller
- •HEPA/carbon filter for exhaust fan
- •Hinges (4x piano hinges or door hinges) and magnetic latches
- •Silicone sealant, acrylic cement, or 3M VHB tape
- •Tools: Jigsaw or Dremel for cutting, drill, screwdriver, measuring tape, level
- •Optional: LED strip lights, Raspberry Pi with webcam for monitoring
Estimated Time: 3-5 hours
Difficulty: intermediate
▸Step-by-Step Instructions
Step 1: Measure and Plan Your Enclosure Size
Start by measuring your 3D printer's dimensions (including bed height at max Z). Add 4-6 inches clearance on all sides for airflow and access. For an Ender 3 (220x220x250mm), aim for 24x24x24-inch internal space.
Sketch a simple box design: bottom/top frames from LACK tables, side/front/back panels from acrylic. Plan door on front (full height), fan holes (one 120mm intake low rear, one exhaust high front), heater mount, and cable pass-throughs.
Success looks like: A detailed diagram with cut list (e.g., front panel 24x24in, sides 24x24in). This prevents rework.
💡 Tips:
- •Use free software like SketchUp for precise plans.
- •Oversize slightly for easier assembly.
⚠️ Warnings:
- •Don't make it too tight—printer heat + ABS needs ventilation.
Step 2: Assemble the Frame Using IKEA LACK Tables
Stack and screw two LACK tables: bottom for base, top for roof. Drill 4-8 pilot holes per corner and secure with 2-3 inch wood screws. Reinforce with L-brackets if needed for stability.
Cut center holes if desired for better airflow, but seal edges later. Level the frame on a flat surface.
Success looks like: Rigid 24x24x11-inch frame (doubles to 22in height), sturdy enough to support panels.
💡 Tips:
- •Pre-drill to avoid splitting melamine.
- •Add rubber feet to bottom for vibration dampening.
Step 3: Cut Acrylic Panels to Exact Sizes
Mark panels per your plan using painter's tape to prevent chipping. Score with a utility knife (10+ passes) or cut with jigsaw/Dremel using fine-tooth blade. Sand edges smooth.
Drill fan holes (120mm diameter) and cable ports precisely—use hole saws.
Success looks like: Clean, square panels fitting snugly without gaps.
💡 Tips:
- •Tape both sides before cutting.
- •Wear gloves—acrylic shards are sharp.
⚠️ Warnings:
- •Polycarbonate is tougher/safer than acrylic; use for fire resistance.
Step 4: Attach Panels to Frame
Secure sides/rear first with VHB tape or acrylic cement along edges, clamping for 24 hours. Front door: attach hinges to one side, magnetic latches opposite.
Seal all seams with clear silicone for airtightness, except vents.
Success looks like: Fully enclosed box with smooth-opening door, no light leaks.
💡 Tips:
- •Test-fit before gluing.
- •Use magnets for tool-free panel swaps.
Step 5: Install Ventilation Fans and Filter
Mount intake fan (low rear) blowing in, exhaust (high front) blowing out. Wire to printer's fan ports or separate controller. Attach HEPA/carbon filter to exhaust.
Add flexible ducting if needed to direct fumes away.
Success looks like: Fans spin quietly, positive pressure inside (slight outward flow at seams).
💡 Tips:
- •PWM fans for speed control.
- •Filter traps 99% VOCs.
⚠️ Warnings:
- •Exhaust outdoors or to window—fumes are harmful.
Step 6: Add Heater and Temperature Control
Mount PTC heater inside (low side), connect to Inkbird controller with thermocouple probe inside enclosure. Set target 45-55°C for ABS.
Power via external supply; wire safely with heat-rated cables.
Success looks like: Heats to temp in 20-30 mins, holds steady ±2°C.
💡 Tips:
- •Auto-off at 60°C prevents overheating.
- •Monitor first prints closely.
⚠️ Warnings:
- •Fire risk—use thermostat, no unattended runs initially.
Step 7: Install Lighting and Cable Management
Glue LED strips inside top for visibility. Drill grommets for power/USB cables, seal with rubber.
Optional: Mount Raspberry Pi OctoPrint for remote monitoring.
Success looks like: Bright interior view, tidy cables, easy access.
💡 Tips:
- •USB-powered LEDs from printer.
Step 8: Test and Calibrate the Enclosure
Place printer inside, power on. Run temp cycle (heat to 50°C, check uniformity). Print small ABS test (temp tower) monitoring for warping/fumes.
Adjust vents if uneven heat or condensation.
Success looks like: Stable 45°C, no warping, minimal odor escape.
💡 Tips:
- •Use IR thermometer for hot spots.
⚠️ Warnings:
- •Ensure printer power cord rated for enclosure heat.
▸Pro Tips
- •Print corner gussets in PETG for stronger frame joints.
- •Line walls with Reflectix insulation for faster heat-up.
- •Use magnetic sheets for easy panel removal/cleaning.
- •Monitor CO2/VOCs with cheap sensor for safety.
- •Elevate enclosure on casters for mobility.
- •Calibrate slicer enclosure settings (e.g., slower speeds).
- •Add acoustic foam to reduce printer noise.
▸Common Mistakes to Avoid
- •Undersizing enclosure: Causes heat buildup or restricted access—always add 4in clearance.
- •Poor sealing: Drafts warp ABS—use silicone everywhere.
- •Skipping fire safety: No thermostat leads to meltdowns—always include overheat protection.
- •Wrong fan direction: Creates negative pressure, sucks in fumes—intake rear, exhaust front.
- •Ignoring weight: Weak frame sags—reinforce with brackets.
▸Troubleshooting
Problem: Enclosure won't hold temperature
Solution: Check seals, add insulation, verify heater wattage matches space (100W+ for 24in cube).
Problem: Excessive noise or vibration
Solution: Use Noctua fans, add sorbothane pads under printer.
Problem: Fumes still escaping
Solution: Upgrade filter media, seal door better, improve exhaust ducting.
Problem: Condensation inside
Solution: Run dryer on filament, increase temp to 55°C, add desiccant packs.
Problem: Fire/smoke alarm triggers
Solution: Ventilate properly, use non-flammable materials, add smoke detector.
VIVOHOME Clear Acrylic Plexiglass Sheets 12x12x1/8" (12 Pack)
Durable, easy-to-cut panels perfect for custom enclosure sides and door.
Best for: Primary transparent material for visibility and light weight.
Price Range: $29.99
Noctua NF-F12 PWM Premium Quiet Fan
Ultra-quiet, high-static pressure for effective enclosure ventilation without noise.
Best for: Intake and exhaust fans to maintain airflow.
Price Range: $22.95
Inkbird ITC-308 Digital Temperature Controller
Precise PID control for safe, stable enclosure heating essential for ABS.
Best for: Regulates PTC heater to prevent overheating.
Price Range: $33.99
HiLetgo 12V 150W PTC Thermistor Heater
Safe self-regulating heater won't overheat, ideal for DIY enclosures.
Best for: Maintains 40-60°C ambient for warp-free ABS prints.
Price Range: $19.99
AC Infinity Inline Duct Fan with Filter
Powerful exhaust with built-in HEPA/carbon filter captures ABS fumes effectively.
Best for: For larger enclosures or heavy ABS printing.
Price Range: $49.99-$89.99