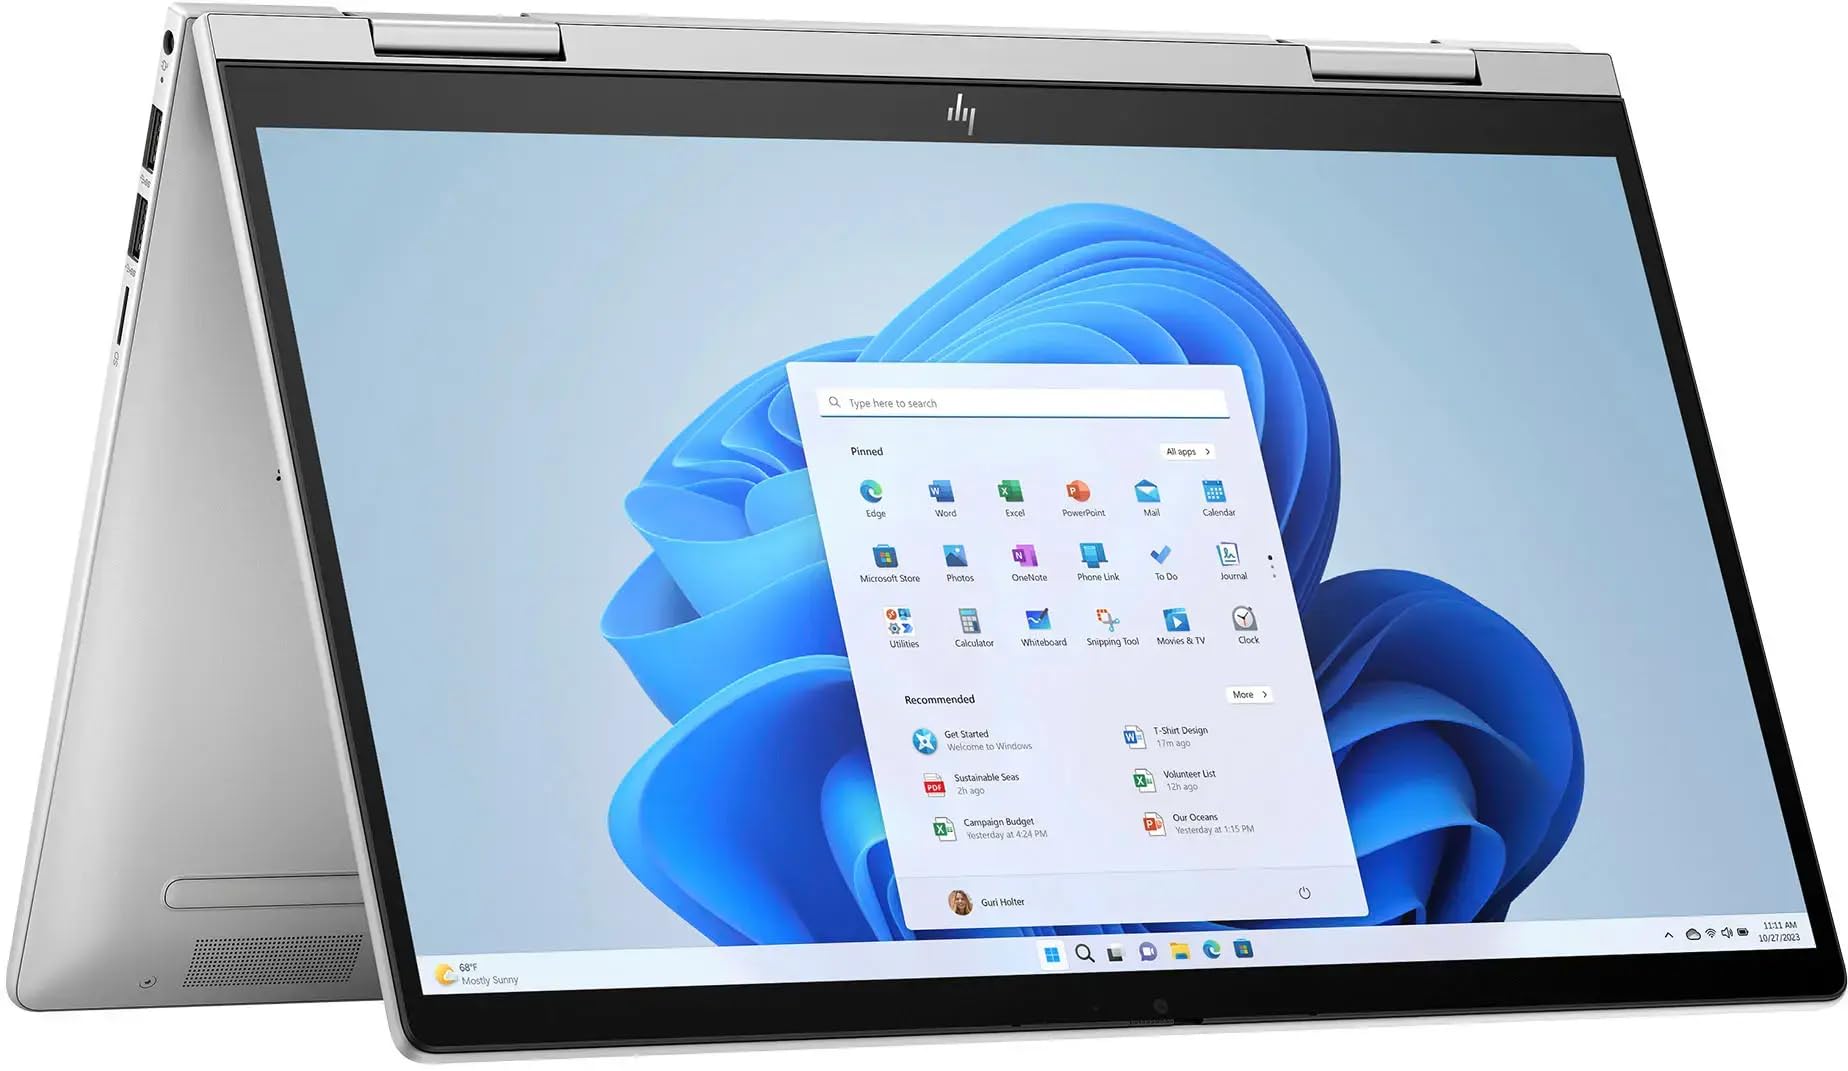
Unlock the full potential of your 2-in-1 laptop by running two operating systems side-by-side. Whether you need Windows for productivity apps and Linux for development or privacy, dual booting lets you switch effortlessly. Many users struggle with boot issues or data loss on convertibles due to UEFI settings and touch hardware, but this guide fixes that.
You'll learn a safe, step-by-step process tailored for intermediate users, covering backups, partitioning, installation, and tweaks for touchscreen support. Expect 2-4 hours total, depending on download speeds and your model (e.g., Lenovo Yoga or HP Spectre x360). No prior Linux experience needed—we explain everything.
Overview: Backup data, prep Windows, create a bootable USB, partition your drive, install the second OS (Ubuntu recommended), and configure the GRUB bootloader. By the end, you'll reboot to a menu choosing your OS, with full 2-in-1 features intact.
▸What You'll Need
- •16GB+ USB flash drive (USB 3.0+ recommended)
- •External hard drive or cloud storage (1TB+ for full backup)
- •Ubuntu ISO (or your preferred Linux distro—free download)
- •Rufus software (free USB creator)
- •Internet connection for downloads and updates
- •Phillips #0/#1 screwdriver (optional, for SSD access on some models)
Estimated Time: 2-4 hours
Difficulty: intermediate
▸Step-by-Step Instructions
Step 1: Back Up All Your Data
Start by creating a complete backup of your current OS and files. Use Windows Backup and Restore or clone your drive with Macrium Reflect (free). Copy personal files to an external drive or OneDrive.
Why it matters: Dual booting involves repartitioning, which risks data loss if something goes wrong. A full backup ensures you can restore quickly.
What success looks like: All files copied, and a system image saved. Test restoring a file to verify.
💡 Tips:
- •Use Macrium Reflect for a bootable rescue drive.
- •Encrypt backups if sensitive data.
⚠️ Warnings:
- •Never skip this—partition errors can wipe drives.
Step 2: Disable Windows BitLocker and Fast Startup
In Windows, search for 'BitLocker' and suspend/turn off encryption if enabled (Settings > Update & Security > Device Encryption). Then, go to Power Options > Choose what power buttons do > Uncheck 'Turn on fast startup'.
Why: BitLocker locks the drive during partitioning; Fast Startup interferes with bootloader changes.
Restart after changes. Success: No BitLocker prompts on reboot.
💡 Tips:
- •Note your BitLocker recovery key first.
⚠️ Warnings:
- •Re-enable BitLocker after setup for security.
Step 3: Download ISO and Create Bootable USB
Download Ubuntu 24.04 LTS ISO from ubuntu.com. Insert USB, run Rufus (rufus.ie), select ISO, choose GPT/UEFI mode, and click Start.
Why: Rufus creates a UEFI-compatible USB for modern 2-in-1s.
Eject safely. Success: USB shows as bootable in File Explorer (EFI folder).
💡 Tips:
- •Use USB 3.0+ for faster installs.
- •Verify ISO checksum for integrity.
⚠️ Warnings:
- •This erases the USB—backup it first.
Step 4: Shrink Your Windows Partition
Right-click Start > Disk Management. Right-click C: drive > Shrink Volume (aim for 100GB+ for Linux).
Why: Creates unallocated space for the new OS without external tools.
Note the new partition size. Success: Unallocated space appears next to C:.
💡 Tips:
- •Leave buffer space—100GB minimum for Ubuntu + apps.
⚠️ Warnings:
- •Don't delete partitions; shrinking is safe.
Step 5: Enter BIOS/UEFI and Configure Boot Settings
Restart, tap F2/Del/F10 (check your model's key, e.g., F12 for Lenovo). Disable Secure Boot (under Boot/Security tab), set Boot Mode to UEFI, prioritize USB in Boot Order.
Why: Enables Linux booting on Windows 11-era laptops.
Save & Exit. Success: BIOS menus navigated, changes applied.
💡 Tips:
- •Enable AHCI mode if SATA is RAID (rare).
⚠️ Warnings:
- •Wrong boot key? Google your model + 'BIOS key'.
Step 6: Boot from USB and Start Ubuntu Install
Insert USB, restart—select it from boot menu (F12 often). Choose 'Try Ubuntu' first to test hardware (touchscreen?). Launch Install Ubuntu.
Why: Tests compatibility before committing.
Proceed to installer. Success: Live Ubuntu desktop loads.
💡 Tips:
- •Test Wi-Fi/touch in Try mode.
⚠️ Warnings:
- •If black screen, add 'nomodeset' to boot options.
Step 7: Partition and Install Ubuntu
Choose 'Something else' in partitioning. Use unallocated space: Create EFI (if none, 512MB fat32), root (/ 50GB+ ext4), swap (RAM size), home (rest ext4). Install bootloader to /dev/nvme0n1 (whole drive).
Why: Manual partitioning preserves Windows EFI.
Set timezone/username, install. Success: 'Installation complete' message.
💡 Tips:
- •Don't format Windows NTFS partition.
⚠️ Warnings:
- •Wrong device for bootloader = no dual boot.
Step 8: Reboot and Configure GRUB Bootloader
Remove USB, reboot—GRUB menu appears with Ubuntu/Windows. Boot both to test.
Fix if needed: Boot Ubuntu, run sudo update-grub. Install touch drivers: sudo apt update && sudo apt install linux-generic-hwe-24.04.
Success: Both OS boot, touch/pen works.
💡 Tips:
- •Use Boot-Repair tool if GRUB missing (boot USB > Repair).
⚠️ Warnings:
- •Windows Update may overwrite GRUB—re-run update-grub.
Step 9: Finalize and Test Full Functionality
In both OS, update systems. Test 2-in-1 modes (tablet/laptop), battery life, suspend.
Why: Ensures stability. Re-enable BitLocker/Fast Startup in Windows if desired.
Success: Seamless switching, all hardware functional.
💡 Tips:
- •Benchmark with
sudo apt install hardinfo in Linux.
▸Pro Tips
- •Always test 'Try Ubuntu' for hardware quirks before install.
- •Use 128GB+ USB for multiple ISOs or larger distros.
- •Label partitions clearly (e.g., 'Linux Root') for easy ID.
- •Set GRUB timeout to 10s for quick Windows access.
- •Install TLP for better Linux battery life:
sudo apt install tlp.
- •Sync files via cloud to avoid partition hopping.
- •Document your partition layout for future repairs.
▸Common Mistakes to Avoid
- •Skipping backup—leads to irrecoverable data loss; always back up first.
- •Not disabling Secure Boot—USB won't boot; check BIOS twice.
- •Formatting Windows partition during Linux install—wipes everything; use 'Something else'.
- •Ignoring EFI partition—causes boot loops; share Windows EFI.
- •Forgetting to update GRUB after Windows updates—loses Linux entry; run
sudo update-grub.
▸Troubleshooting
Problem: GRUB not showing, boots straight to Windows
Solution: Boot Ubuntu USB, install Boot-Repair: sudo add-apt-repository ppa:yannubuntu/boot-repair && sudo apt update && sudo apt install boot-repair, run it, use Recommended Repair.
Problem: Touchscreen/pen not working in Linux
Solution: Update kernel: sudo apt install linux-generic-hwe-24.04, reboot. For specific models, add i2c-hid drivers.
Problem: Boot loop or 'No bootable device'
Solution: Re-enter BIOS, ensure UEFI mode, USB first. Recreate USB with Rufus GPT/UEFI.
Problem: Low disk space error
Solution: Shrink C: further or use external partition tool like GParted live USB.
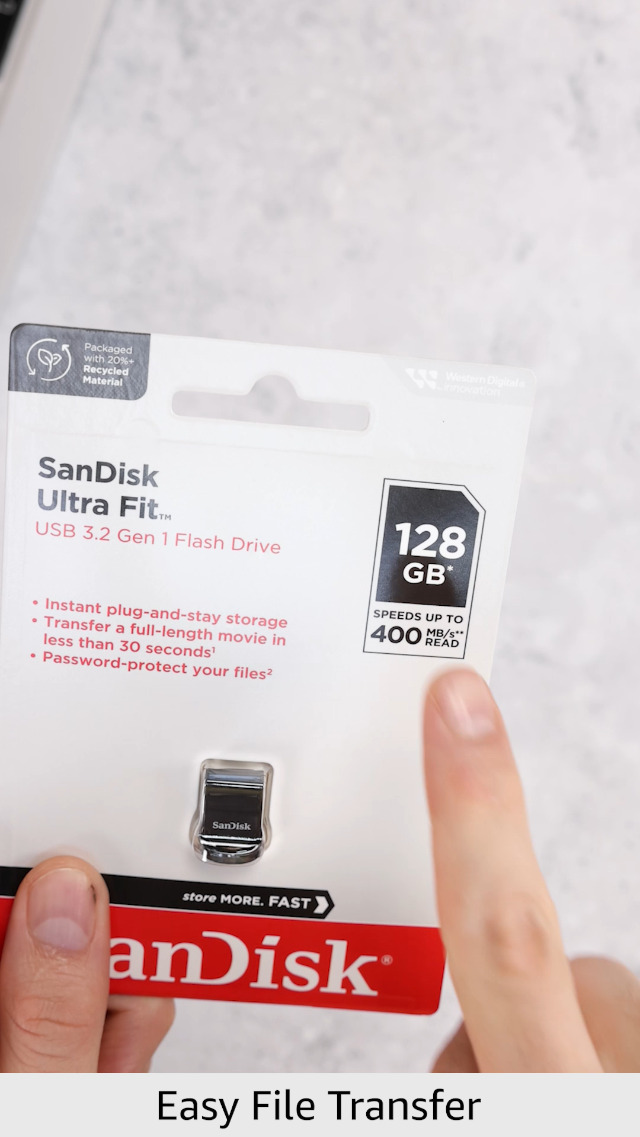
SanDisk 128GB Ultra Fit USB 3.1 Flash Drive (ASIN: B073K14CVB)
Lightning-fast read/write speeds ideal for creating reliable UEFI bootable USBs without frustrating waits.
Best for: Bootable media for OS installs on any 2-in-1 laptop.
Price Range: $15-20
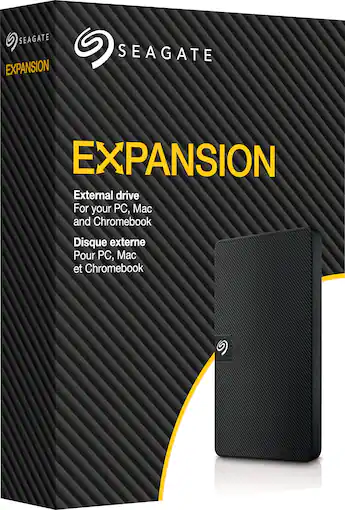
Seagate Expansion 2TB Portable External Hard Drive (ASIN: B07H289S7C)
Spacious, reliable backup for full system images and files during risky partitioning.
Best for: Complete data backups before dual boot setup.
Price Range: $55-65
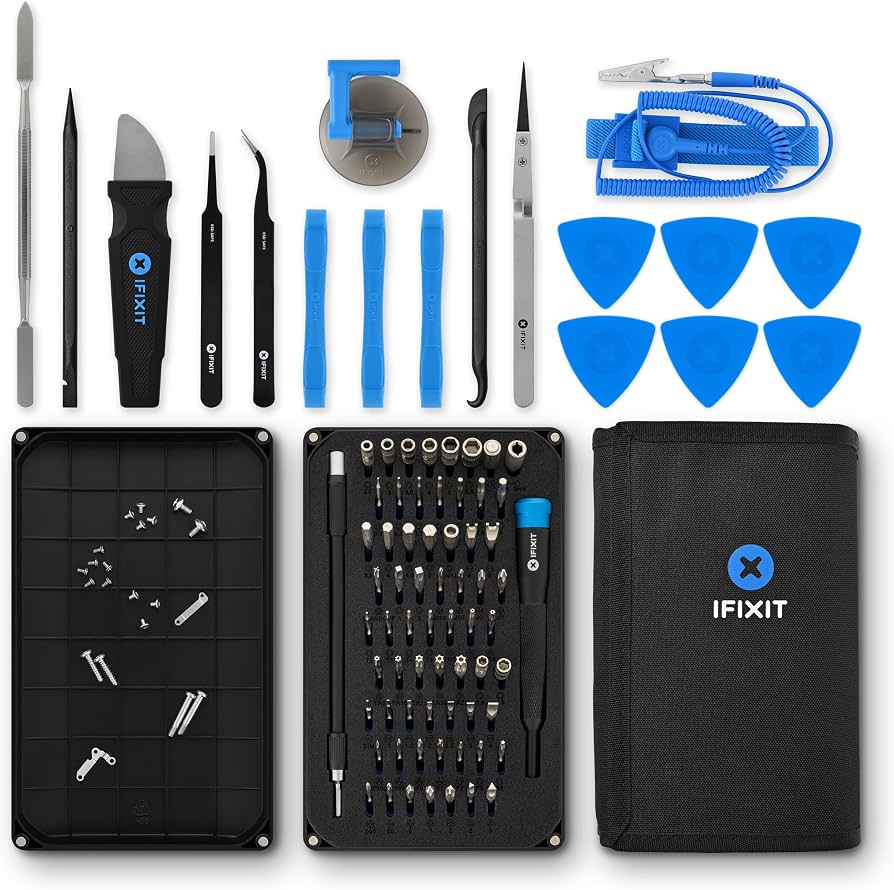
iFixit Pro Tech Toolkit (ASIN: B01M0GN0OQ)
Precision tools for opening 2-in-1 chassis if SSD upgrade or access needed pre-install.
Best for: Hardware mods on models like Surface or older Yogas.
Price Range: $65-75
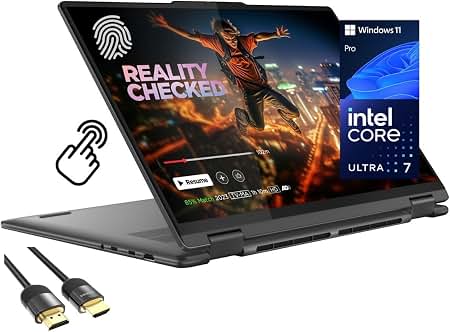
Lenovo Yoga 7i 14" 2-in-1 Laptop (ASIN: B0C5R3R1NL)
Excellent Linux compatibility out-of-box, Intel hardware supports seamless dual boot.
Best for: Ideal 2-in-1 for starting dual boot journey.
Price Range: $800-1000
HP Envy x360 14" 2-in-1 (ASIN: B0C3H9RJFJ)
Strong UEFI support and touch calibration works well with Ubuntu post-tweaks.
Best for: Budget-friendly convertible for dual OS users.
Price Range: $600-800