Nothing kills the fun of a sunny day faster than a ride-on toy that won't start because of a poorly set up battery. Many parents struggle with dead or improperly installed 6V batteries in toys like Power Wheels or other kid-sized vehicles, leading to frustration and wasted money.
In this beginner guide, you'll learn everything from unboxing to testing, ensuring safe, reliable power for hours of play. The process involves inspecting, charging, installing, and testing—simple steps anyone can follow.
Expect 30-45 minutes total (mostly charging wait time), no prior experience needed, and big smiles from your child once it's done.
▸What You'll Need
- •Compatible 6V sealed lead-acid (SLA) battery (4-7Ah typical)
- •6V battery charger (dedicated for ride-on toys)
- •Phillips screwdriver (size #1 or #2)
- •Ride-on toy owner's manual
- •Optional: Nitrile gloves for safety, wire connectors if needed
Estimated Time: 30-45 minutes (including initial charge start)
Difficulty: beginner
▸Step-by-Step Instructions
Step 1: Gather Materials and Put on Safety Gear
Before starting, collect all tools and materials listed in 'What You Need.' Read your ride-on toy's manual for battery specs—most 6V toys use 4-7Ah SLA batteries.
Put on gloves to protect against acid leaks (rare but possible). Work in a well-ventilated garage or outdoors, away from kids and pets. Why? Safety first—batteries contain lead acid, and proper setup prevents shorts or fires.
Success looks like: Everything organized on a workbench, manual open to battery section.
💡 Tips:
- •Label wires if your toy has multiple connections.
- •Charge in a cool, dry spot (under 77°F/25°C).
⚠️ Warnings:
- •Never charge indoors near flammables.
Step 2: Inspect the New Battery
Unbox the battery and check for damage: dents, leaks, or bulging. Verify voltage label (6V) and Ah rating matches your toy (e.g., 4.5Ah).
Clean terminals with a dry cloth if dirty. Test voltage with a multimeter if available (should read 6.2-6.4V new). This matters because defective batteries fail fast, wasting time.
Success looks like: Clean, undamaged battery ready for charging.
💡 Tips:
- •Store upright; tip sideways for transport only.
Step 3: Fully Charge the Battery
Connect the charger to the battery: red to positive (+), black to negative (-). Plug into a grounded outlet. Most need 10-12 hours for first charge—don't skip!
Monitor for heat (warm OK, hot not). Unplug when charger light turns green. New batteries ship partially charged, so full charge balances cells for longer life.
Success looks like: Charger indicator green, battery at 6.7-6.9V.
⚠️ Warnings:
- •Reverse polarity sparks fires—double-check + and -.
Step 4: Locate and Open Battery Compartment
Find the compartment (usually under seat or hood—check manual). Use screwdriver to remove screws or clips.
If replacing old battery, disconnect wires first (negative then positive), remove straps/holders. Clean compartment of dirt.
Success looks like: Open compartment, old battery out if applicable.
💡 Tips:
- •Take photo of wire connections before disconnecting.
Step 5: Install the Battery
Place battery in compartment, terminals facing accessible direction. Secure with hold-down strap or bracket using screwdriver.
Ensure it fits snugly—no wobble, as vibration kills batteries. Polarity should match original.
Success looks like: Battery seated firmly, secured.
⚠️ Warnings:
- •Don't overtighten screws—crack plastic.
Step 6: Connect the Wires
Attach wires: positive (red) to + terminal first, then negative (black) to -. Use existing connectors or add if needed (push-on spade).
Tug gently to confirm secure—no loose fits. Insulate any exposed metal with electrical tape.
Success looks like: Wires connected tightly, no sparks.
💡 Tips:
- •Red to red, black to black always.
Step 7: Close Up, Test, and Ride
Replace cover, tighten screws. Turn on toy switch—lights/motors should work. Test drive slowly.
If good, full charge ready. Initial runtime 1-2 hours.
Success looks like: Toy moves smoothly, no odd noises.
⚠️ Warnings:
- •Test on flat ground first.
▸Pro Tips
- •Always charge fully before first use—extends battery life 2x.
- •Store battery on concrete floor during winter, not carpet.
- •Check connections monthly for corrosion (white powder)—clean with baking soda water.
- •Use a battery box if compartment lacks one for extra protection.
- •Track charge cycles in a notebook for replacement timing (30-50 cycles typical).
- •Quick voltage check post-install: 6.3V+ good.
- •Upgrade to gel batteries for spill-proof reliability.
▸Common Mistakes to Avoid
- •Skipping full first charge: Leads to uneven cell wear and early failure—always charge 10-12 hours.
- •Incorrect polarity: Sparks damage wires/battery—confirm red +, black -.
- •Loose connections: Vibration disconnects cause intermittent power—tug-test every install.
- •Over-tightening screws: Cracks battery case—snug only.
- •Charging in hot car/sun: Speeds degradation—cool shade only.
▸Troubleshooting
Problem: Battery won't charge (no light on charger)
Solution: Check connections, try outlet. Replace charger if faulty. Test battery voltage >5V.
Problem: Toy won't move after install
Solution: Verify polarity, tighten wires. Recharge fully. Check fuse in compartment.
Problem: Short runtime (under 1 hour)
Solution: Fully recharge overnight. Clean terminals. Replace if >1 year old.
Problem: Battery leaks or smells
Solution: Stop use, ventilate area. Recycle properly—do not install. Seek pro disposal.
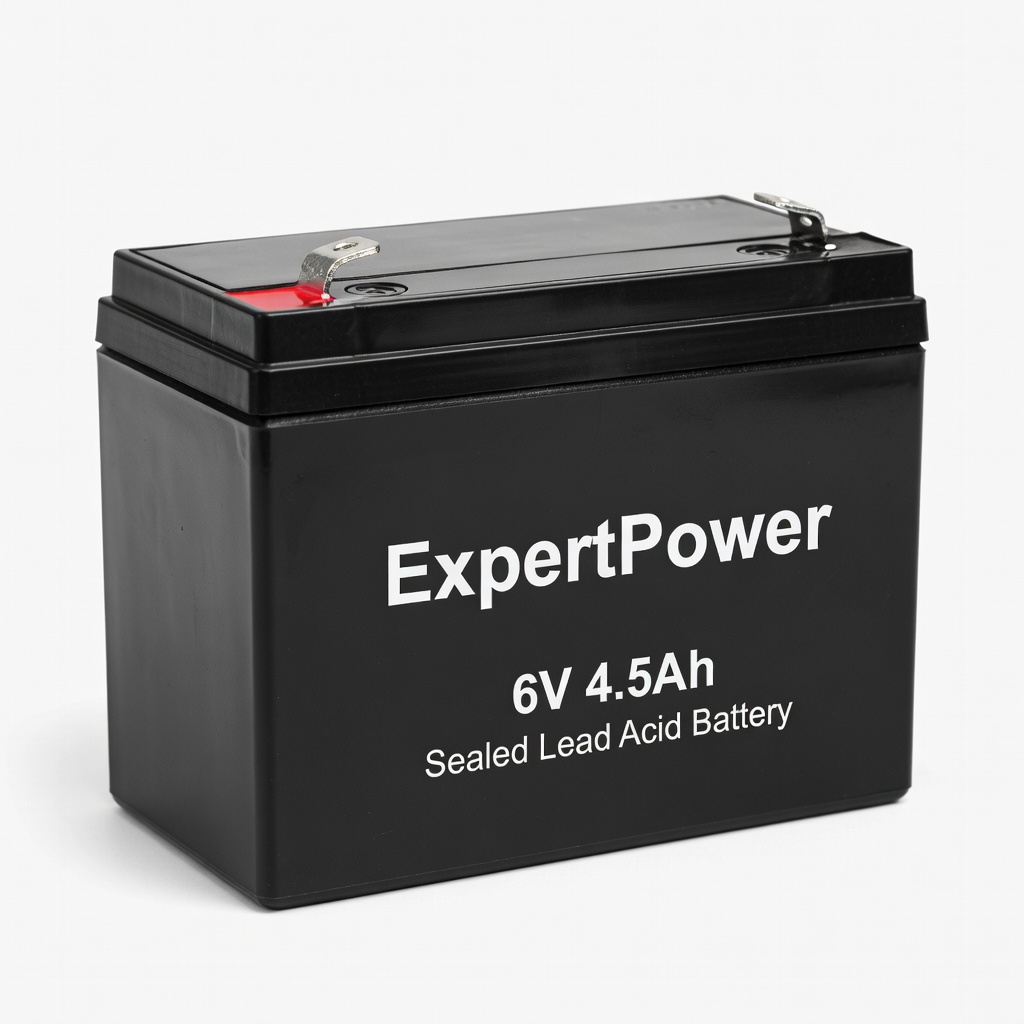
ExpertPower 6V 4.5Ah Sealed Lead Acid Battery
Direct replacement for most 6V ride-ons like Power Wheels; spill-proof, maintenance-free, and lasts 1-2 years.
Best for: Ideal for first-time setup or replacement in small cars/trucks.
Price Range: $16.99
6 Volt Battery Charger for Kids Ride On Toys
Automatic shut-off prevents overcharge; compatible with SLA 6V batteries, fast 10-hour charge.
Best for: Essential for initial and maintenance charging without guesswork.
Price Range: $14.99
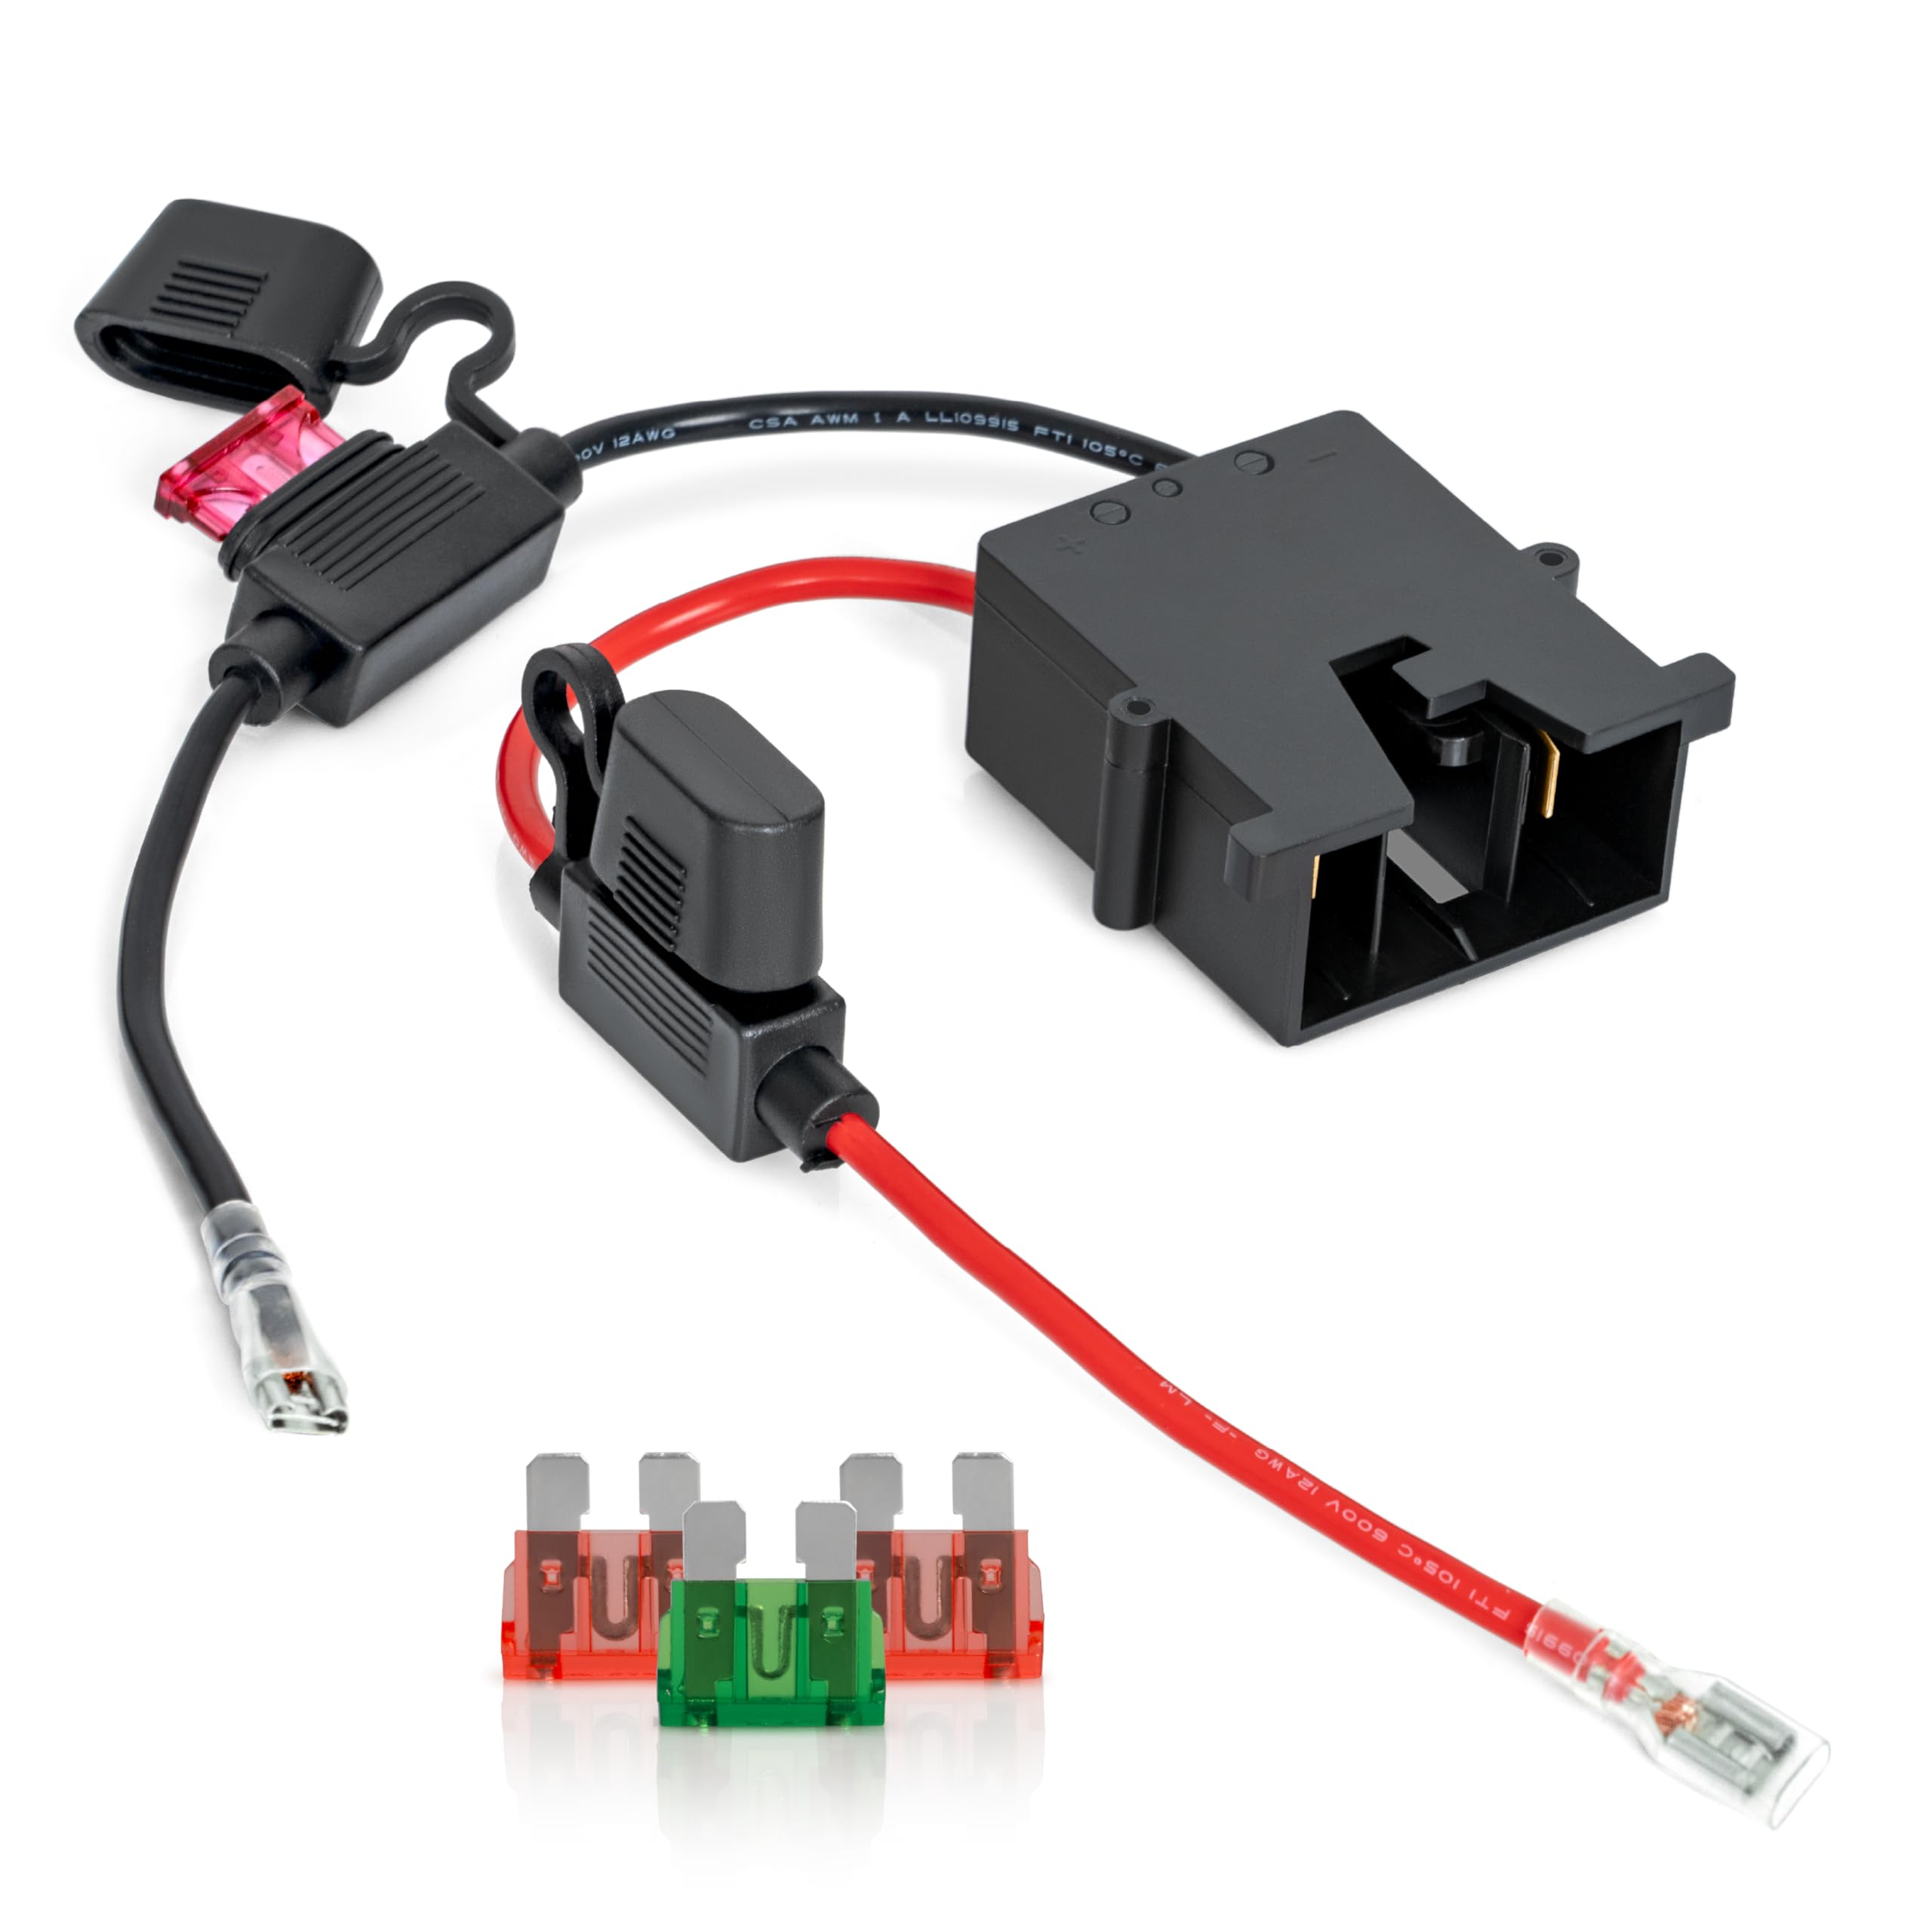
Power Wheels Battery Terminal Harness Connector
Prevents loose connections with secure spade terminals; matches Fisher-Price specs.
Best for: When original wires are damaged or short.
Price Range: $9.99
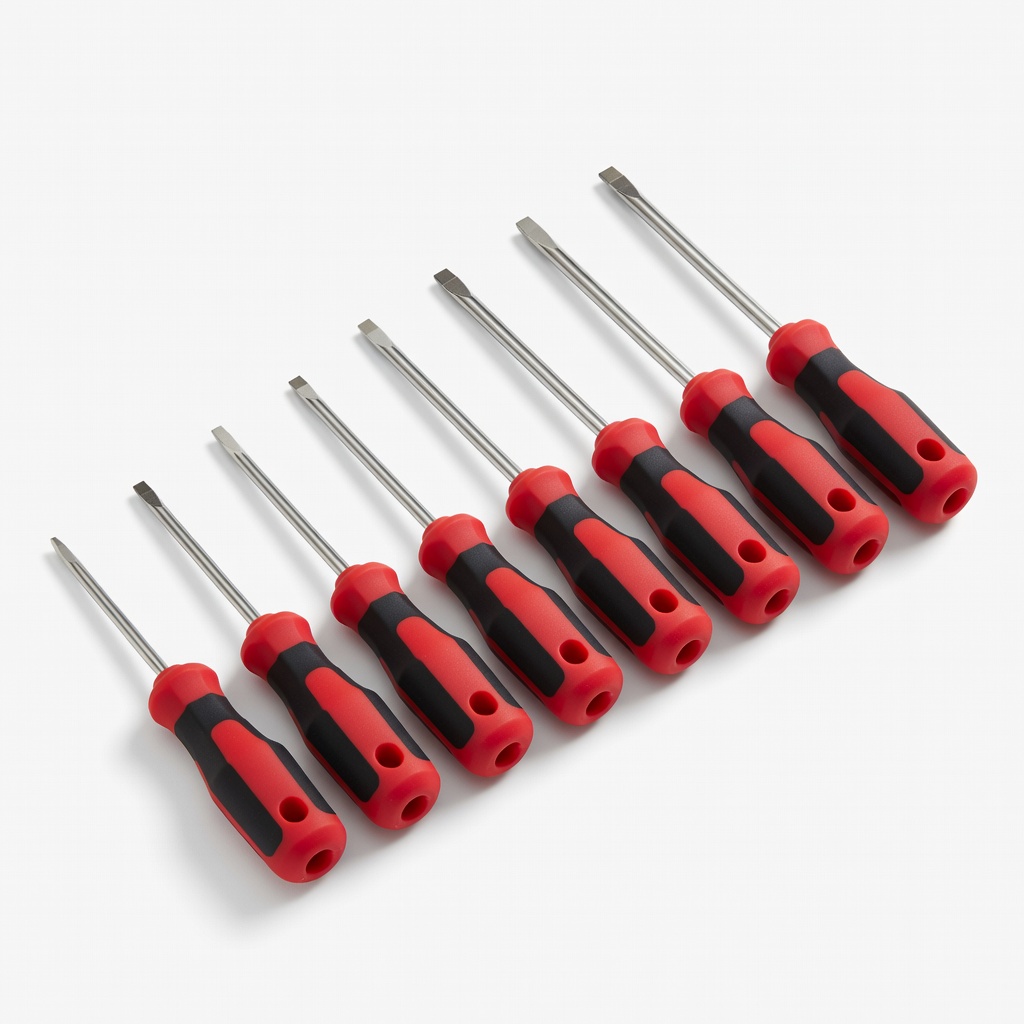
Craftsman 8-Piece Magnetic Screwdriver Set
Magnetic tips grab tiny toy screws; perfect for battery compartments.
Best for: All installs to avoid dropped screws.
Price Range: $12.99
Mechanix Wear FastFit Nitrile Gloves
Durable, chemical-resistant for safe handling without mess.
Best for: Every battery job to protect hands.
Price Range: $10.99