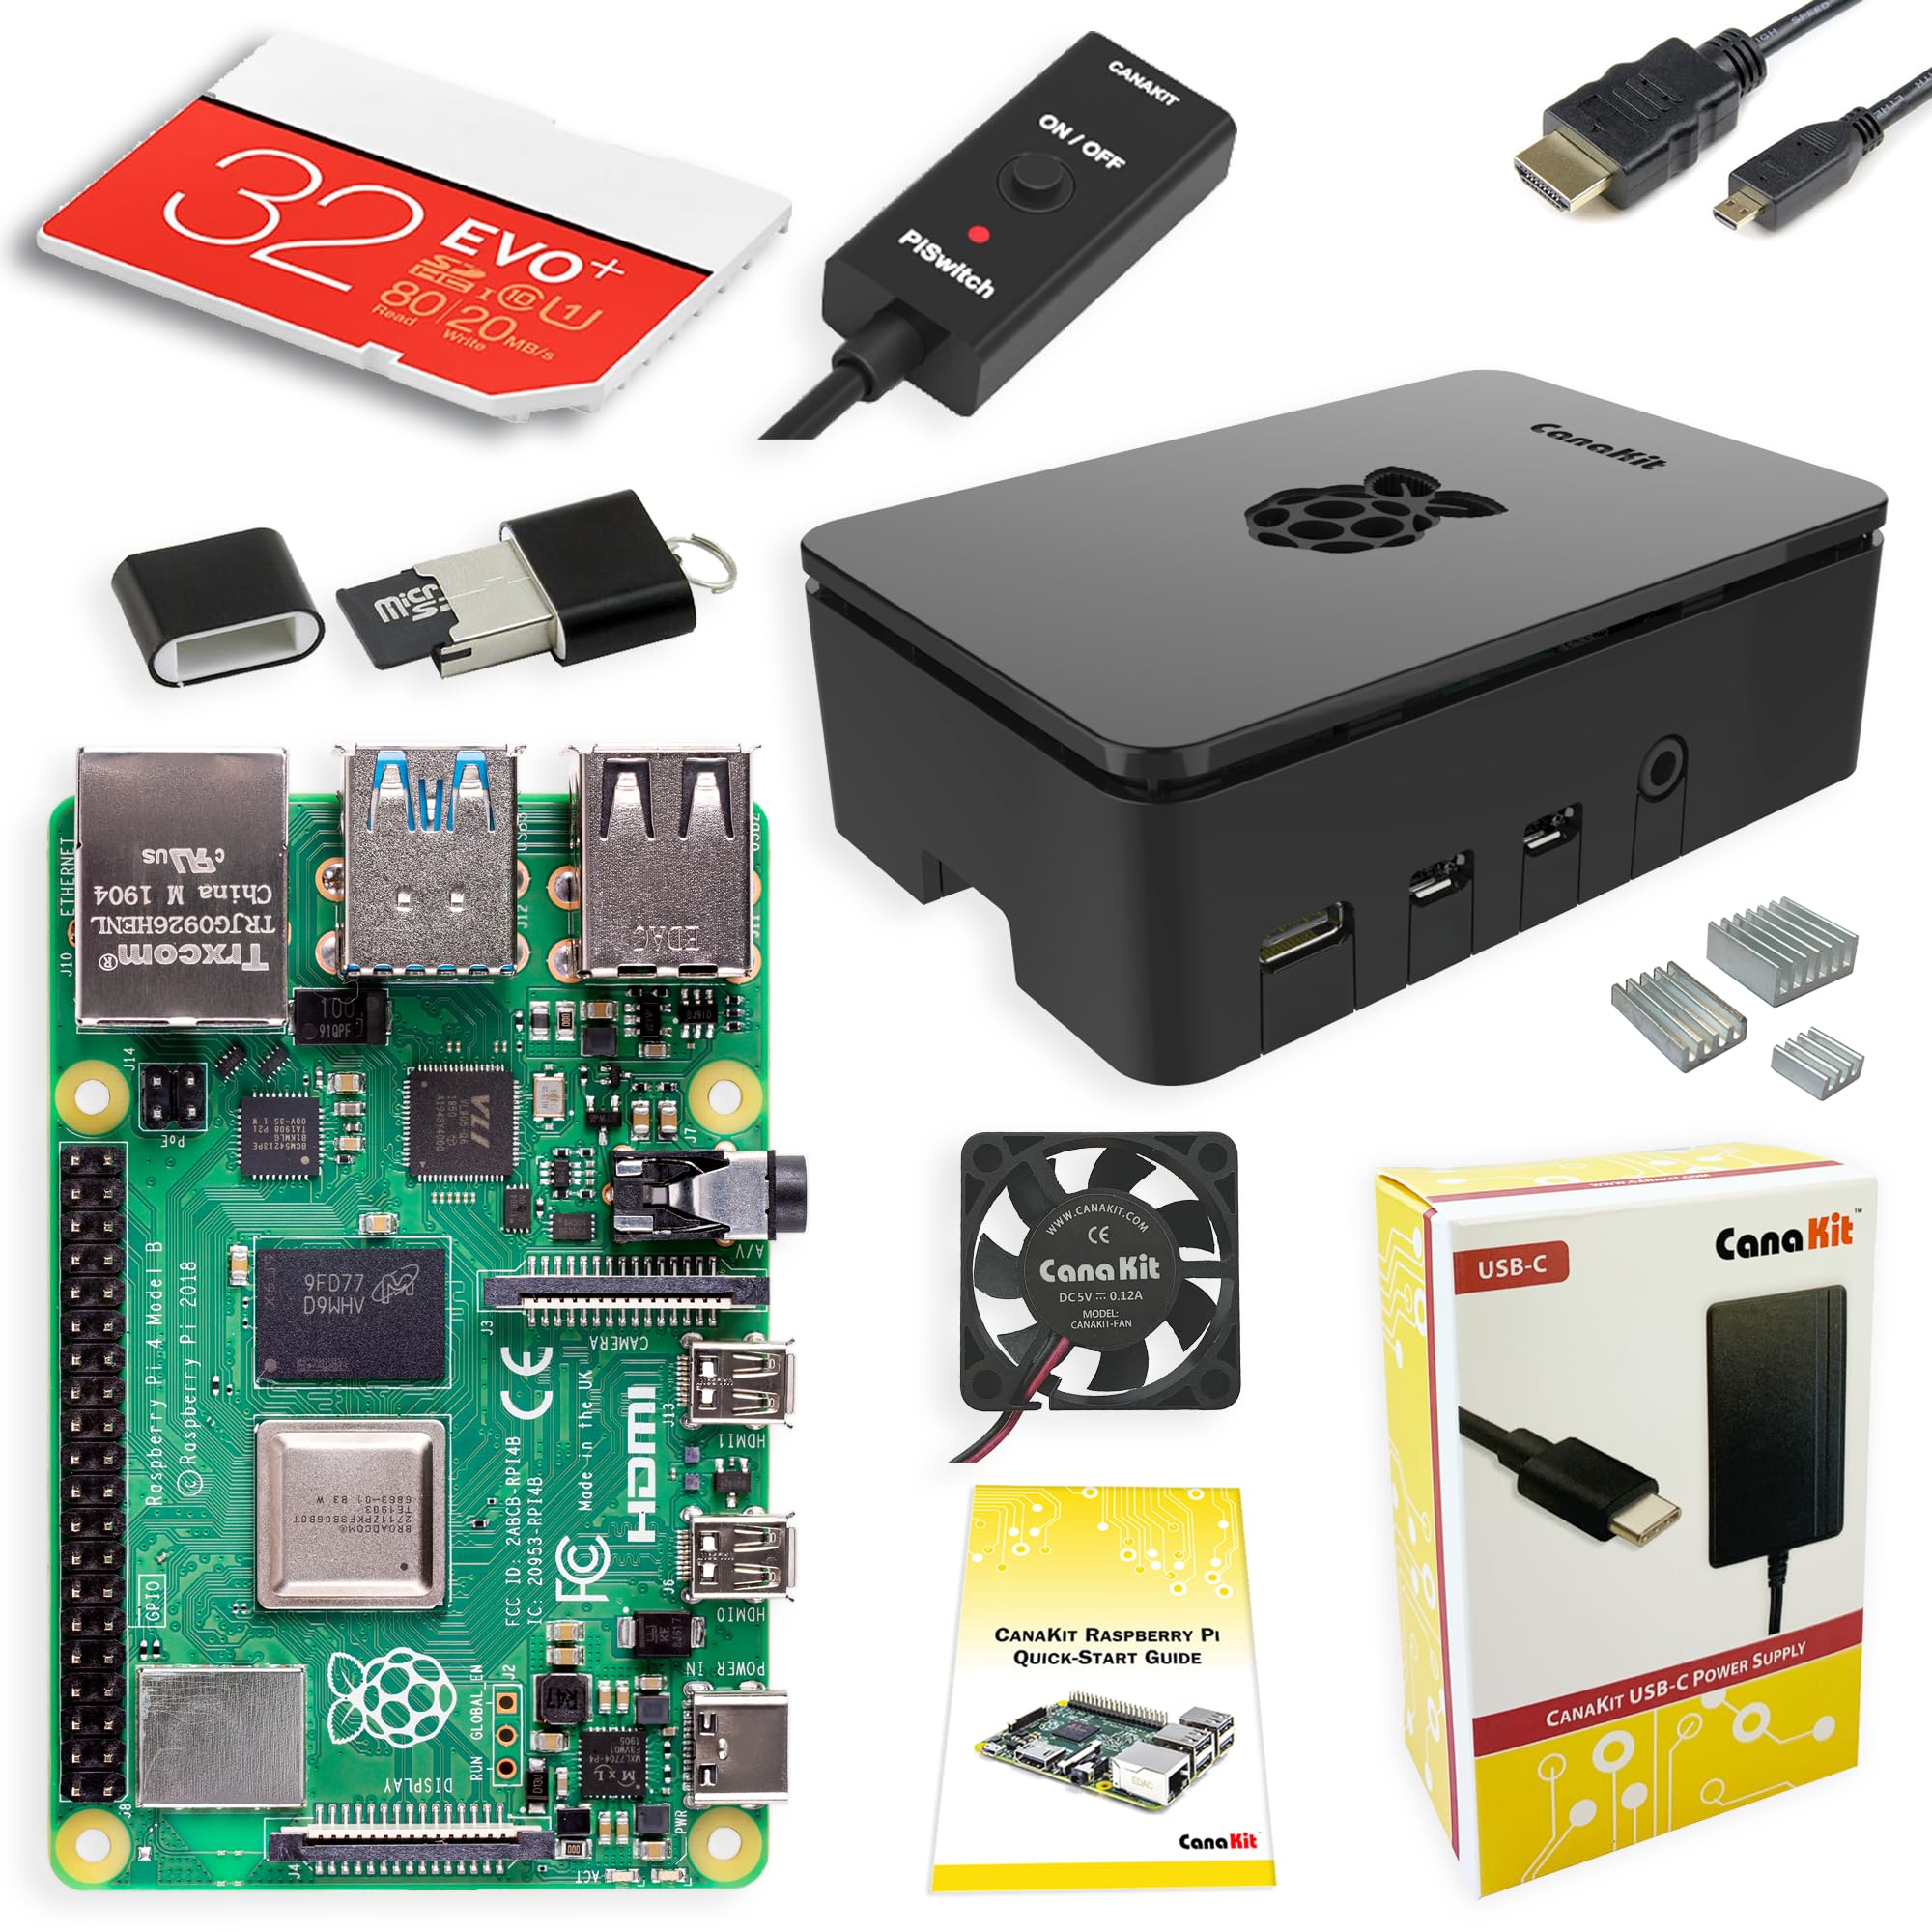
CanaKit Raspberry Pi 4 Starter Kit (8GB)
Core brain for OctoPrint—handles multi cams/plugins smoothly.
$100-$120
CanaKit Raspberry Pi 4 Starter Kit (8GB) Complete kit with Pi, case, power supply, and heatsinks for reliable 24/7 monitoring.
Get the App
Better experience on mobile
Monitor and control your 3D printer from anywhere with OctoPrint on Raspberry Pi, preventing failed prints and enabling untethered printing.
Missed print failures or filament jams while away from your 3D printer? Remote monitoring solves this by letting you watch live streams, pause jobs, and adjust settings via web or mobile from anywhere. For advanced users, this guide dives into a robust OctoPrint setup using Raspberry Pi, the gold standard for reliable 3D printer remote access.
You'll learn to assemble hardware, install software, secure access, and test everything. Expect a secure, feature-rich system with webcam feeds, timelapses, and plugin support. This setup takes 1-2 hours for experienced tinkerers familiar with Linux and networking.
We'll cover OctoPrint (free, open-source) on Raspberry Pi 4/5, USB connections, camera integration, and safe remote access via Tailscale VPN—no port forwarding needed.
Estimated Time: 1-2 hours Difficulty: advanced
Assemble your Raspberry Pi with a fresh MicroSD card. Download Raspberry Pi Imager from raspberrypi.com and flash the OctoPi image (pre-configured OctoPrint OS) onto the SD card. OctoPi simplifies setup by bundling OctoPrint, Nginx, and camera drivers.
Insert the SD card, connect Ethernet (or WiFi later), attach the Pi Camera via CSI port or USB webcam to a USB port, and power on. Why? OctoPi handles dependencies, saving hours vs. manual installs.
Success: Pi boots (red LED steady, green flashing), find its IP via router or ping octopi.local.
💡 Tips:
⚠️ Warnings:
Connect your 3D printer's USB to the Pi. Power on the printer but don't start prints yet. Access OctoPi web interface at http://octopi.local or Pi's IP:5000 from your local network.
Default login: pi/octoprint. Go to Settings > Printer Profiles > Add your printer model (e.g., Ender 3 baud 115200). Test connection—should detect printer.
Why matters: Establishes serial communication for G-code control.
💡 Tips:
⚠️ Warnings:
In OctoPrint Settings > Webcam & Timelapse, set stream URL to /webcam/?action=stream for Pi Camera or /video for USB cams. Adjust resolution (640x480 for low bandwidth).
Enable timelapse snapshots. Test stream—live MJPEG feed appears in dashboard.
Expect smooth 5-10 FPS preview; plugins like Octolapse enhance later.
💡 Tips:
Via Builtin > Plugin Manager: Install The Spaghetti Detective (AI failure detection), Bed Level Visualizer, and Themeify. Restart OctoPrint.
Why? Plugins add smarts like auto-pause on jams, saving prints remotely.
Success: Dashboard shows new controls.
💡 Tips:
⚠️ Warnings:
Install Tailscale on Pi: SSH into Pi (ssh [email protected]), run curl -fsSL https://tailscale.com/install.sh | sh, login with your account.
On phone/PC, install Tailscale app, join same network. Access OctoPrint at http://100.x.x.x:80 (Tailscale IP).
Why Tailscale? Zero-config VPN, no port forwarding, encrypted. Alternative: ngrok (less secure).
💡 Tips:
⚠️ Warnings:
Enable 2FA in OctoPrint > Access Control. Change default password. Test: Start a print, monitor remotely via mobile browser/app (OctoPrint Anywhere plugin).
Upload G-code, watch stream, pause mid-print. Success: Full control from outside LAN.
💡 Tips:
⚠️ Warnings:
Problem: No printer connection
Solution: Check USB cable, baud rate in Settings > Serial. Restart both devices.
Problem: Webcam black screen
Solution: Verify camera power-on in raspistill test via SSH. Reboot Pi.
Problem: Remote access fails
Solution: Confirm Tailscale status: tailscale status. Check firewall.
Problem: High latency stream
Solution: Lower resolution/FPS. Switch to Ethernet.
Complete kit with Pi, case, power supply, and heatsinks for reliable 24/7 monitoring.
Best for: Core brain for OctoPrint—handles multi cams/plugins smoothly.
Price Range: $100-$120
High-quality 12MP sensor with autofocus, native CSI integration for low-latency streams.
Best for: Bed/nozzle close-ups and timelapses without USB overhead.
Price Range: $25-$35
A2-rated for fast reads/writes, essential for logs, timelapses, and plugin storage.
Best for: Boot drive—prevents corruption in intensive use.
Price Range: $10-$15
Prevents thermal throttling during long prints/remote sessions.
Best for: Passive cooling for headless operation.
Price Range: $10-$15
Core brain for OctoPrint—handles multi cams/plugins smoothly.
CanaKit Raspberry Pi 4 Starter Kit (8GB) Complete kit with Pi, case, power supply, and heatsinks for reliable 24/7 monitoring.
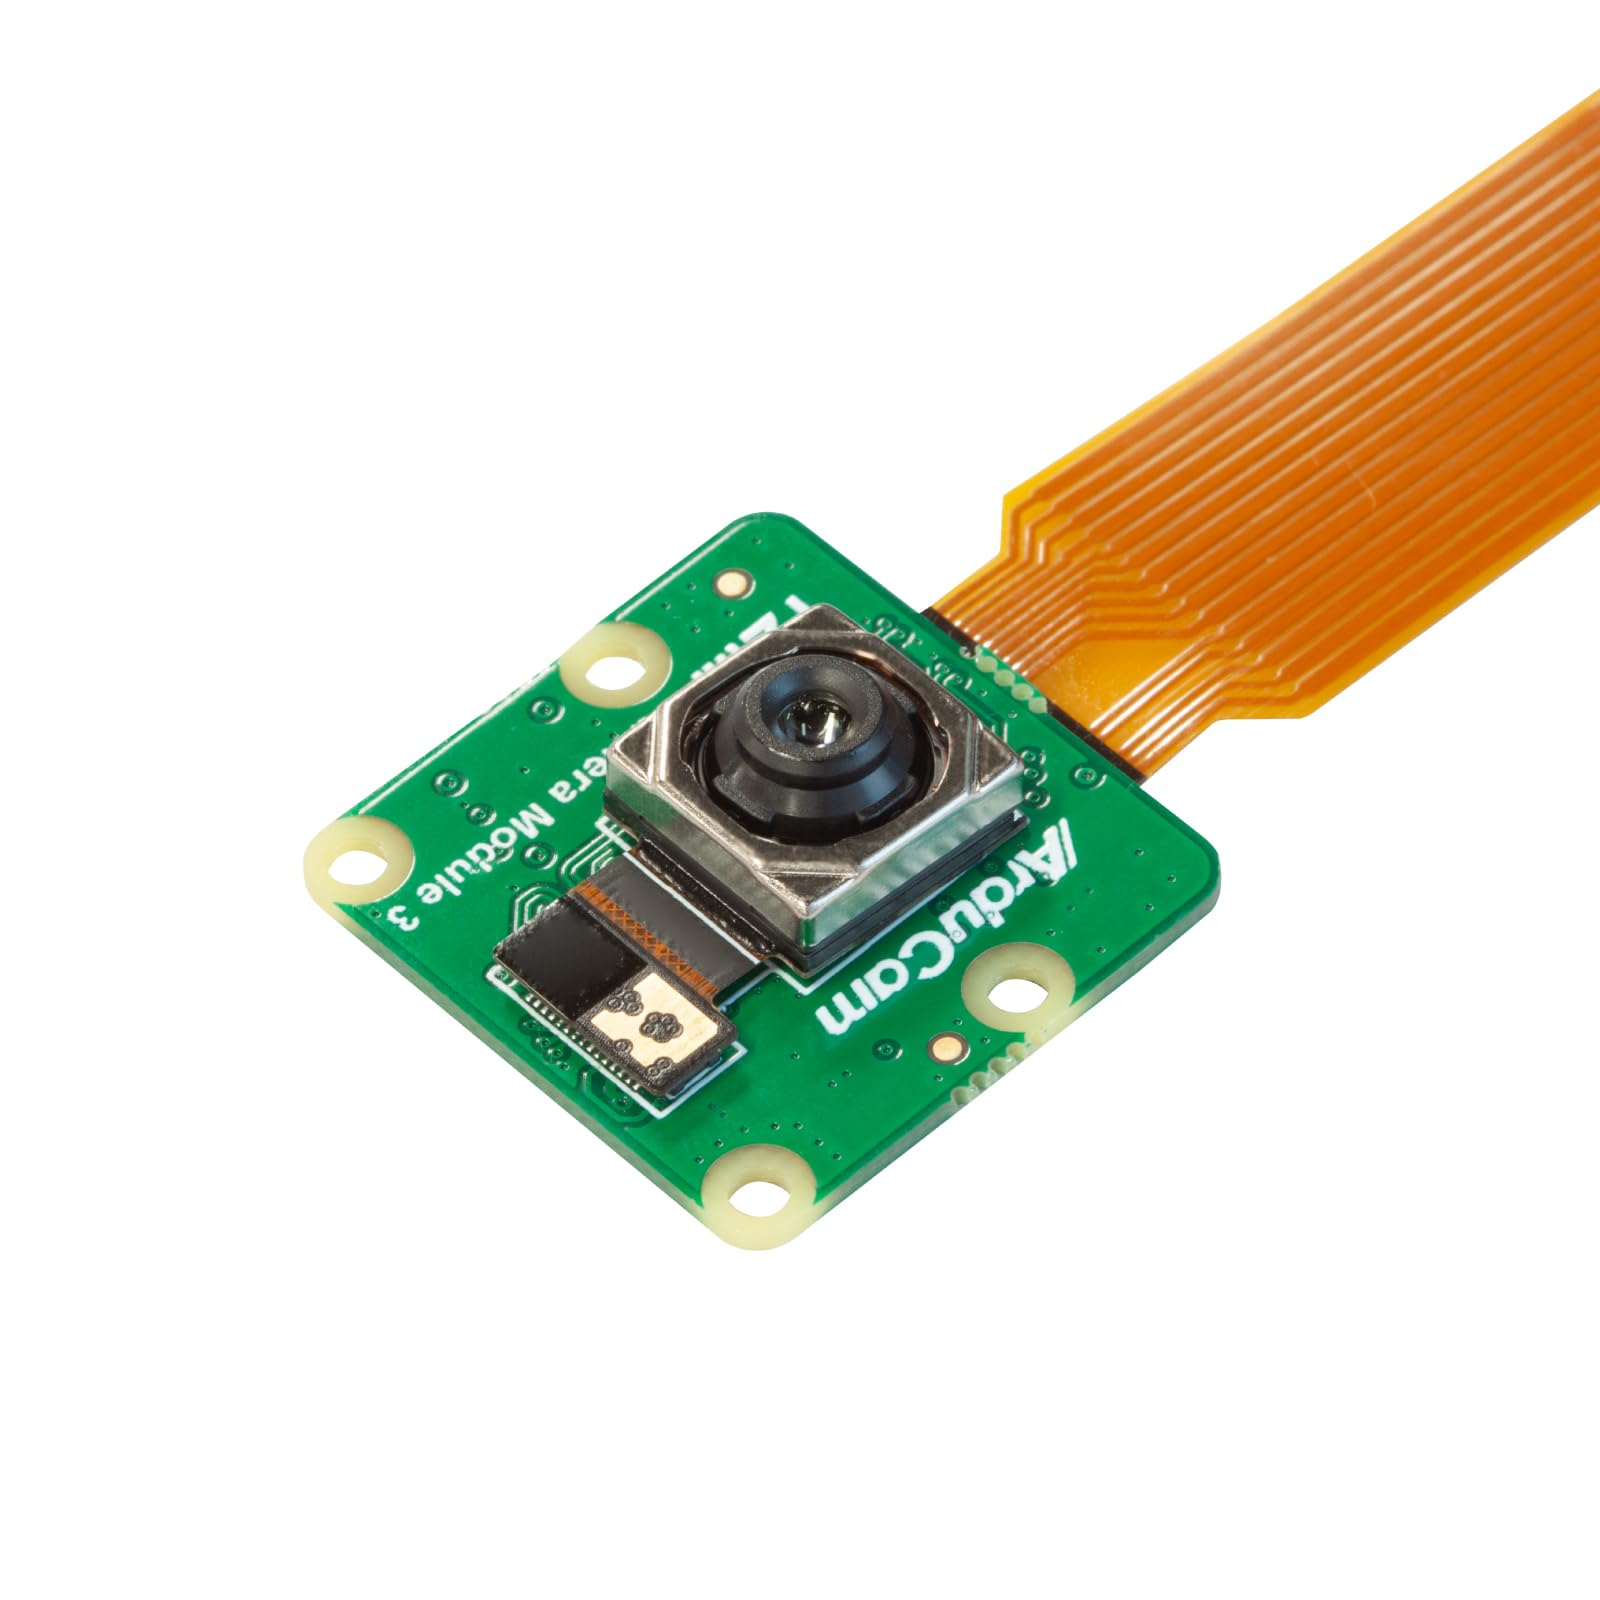
Bed/nozzle close-ups and timelapses without USB overhead.
Raspberry Pi Camera Module 3 High-quality 12MP sensor with autofocus, native CSI integration for low-latency streams.

Boot drive—prevents corruption in intensive use.
SanDisk Extreme 64GB microSDXC Card A2-rated for fast reads/writes, essential for logs, timelapses, and plugin storage.
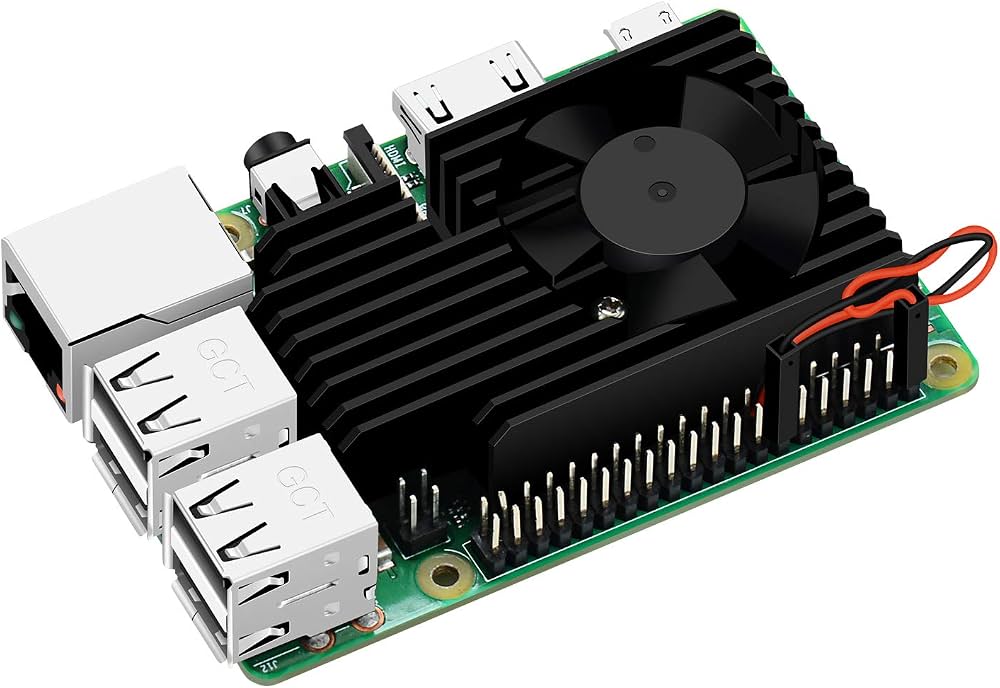
Passive cooling for headless operation.
GeeekPi Raspberry Pi 4 Heatsink Kit Prevents thermal throttling during long prints/remote sessions.