Air conditioning technicians know the pain: high-quality tools like vacuum pumps and manifold gauges fail prematurely due to neglect, costing $500+ per replacement. Proper servicing prevents contamination, wear, and breakdowns, ensuring reliable performance during critical jobs.
In this guide, you'll learn step-by-step how to disassemble, clean, lubricate, and test key AC tools. Expect to cover vacuum pumps, manifolds, hoses, and more—tailored for advanced users with HVAC experience. The process takes 2-4 hours total, depending on your toolset.
By the end, your tools will operate like new, with seals refreshed, oil changed, and calibration verified for peak efficiency.
▸What You'll Need
- •HVAC vacuum pump oil (POE or mineral, tool-specific; e.g., 1 quart)
- •Universal O-ring and seal kit for manifolds/hoses (Viton material)
- •Isopropyl alcohol (99%) and lint-free cloths
- •Torque wrench (inch-lbs scale)
- •Small flathead screwdriver set and hex keys
- •Compressed air canister or blower
- •Micron gauge for vacuum testing
- •Optional: Ultrasonic cleaner for precision parts
Estimated Time: 2-4 hours (varies by number of tools)
Difficulty: advanced
▸Step-by-Step Instructions
Step 1: Prepare Your Workspace and Safety Gear
Set up a clean, well-lit workbench away from dust and contaminants. Lay down drop cloths to catch oil drips. Wear nitrile gloves, safety glasses, and a respirator mask—AC tool oils and solvents can irritate skin and lungs.
Drain any residual fluids from tools into approved containers for proper disposal. Label parts bins for reassembly. Success here looks like a clutter-free space with all tools inventoried.
This prevents cross-contamination, which is the #1 cause of tool failure in HVAC work.
💡 Tips:
- •Use a parts organizer tray to avoid losing small O-rings.
- •Document disassembly with photos for complex tools.
⚠️ Warnings:
- •Never service tools near open flames—oils are flammable.
Step 2: Drain and Refill Vacuum Pump Oil
Locate the drain plug on your vacuum pump (usually bottom-rear). Place a pan underneath and unscrew slowly to drain old oil—expect 12-24 oz depending on model. Run the pump briefly to expel residue.
Flush with fresh oil if heavily contaminated, then refill to the sight glass level using tool-specific oil (check manual for POE vs. mineral). Prime by running for 2 minutes. Success: Clear oil in sight glass, no bubbles, pump pulls to <50 microns.
Dirty oil leads to vane wear and poor vacuum, shortening pump life by 50%.
💡 Tips:
- •Warm the pump externally first for faster drainage.
- •Measure oil volume drained to track contamination rate.
⚠️ Warnings:
- •Use only HVAC-grade oil—automotive oil causes seals to swell.
Step 3: Disassemble and Clean Manifold Gauges
Remove valve caps and hoses. Unscrew valve cores using a core removal tool. Soak metal parts in isopropyl alcohol for 10 minutes, then blast with compressed air. Inspect pistons for scoring.
Replace O-rings and seals from your kit—lubricate lightly with vacuum pump oil. Reassemble and torque to spec (typically 5-10 in-lbs). Test for leaks with soapy water. Gauges should read accurately ±1 psi.
Neglected valves stick, causing inaccurate readings and system overcharges.
💡 Tips:
- •Calibrate against a known standard post-rebuild.
- •Keep spares of common O-ring sizes.
⚠️ Warnings:
- •Over-torquing cracks brass fittings.
Step 4: Inspect and Repair Hoses and Fittings
Disconnect hoses and pressurize to 200 psi with nitrogen (don't use air). Submerge ends in water to check for bubbles indicating leaks. Cut and flare damaged sections if needed.
Replace couplers or ball valves if worn. Wrap threads with PTFE tape sparingly. Success: Zero leaks at full pressure.
Leaky hoses waste refrigerant and refrigerant recovery time.
💡 Tips:
- •Color-code hoses for high/low side to prevent mix-ups.
- •Store coiled loosely to avoid kinks.
⚠️ Warnings:
- •Never crimp charging hoses—they burst under pressure.
Step 5: Lubricate and Clean Flaring and Swaging Tools
Disassemble flaring cone and yoke. Wipe away metal shavings with alcohol-damp cloth. Apply light machine oil to moving parts and threads.
Reassemble and test on scrap copper—flares should be smooth, 37-degree angle. Clean swaging adapters similarly. Tools should operate smoothly without binding.
Dirty flaring tools produce weak joints, leading to callbacks.
💡 Tips:
- •Sharpen dull cones with fine emery cloth.
- •Use anti-seize on large swaging dies.
⚠️ Warnings:
- •Avoid WD-40—it's not HVAC-rated and attracts dirt.
Step 6: Service Electronic Tools (Leak Detectors, Micron Gauges)
For leak detectors, replace heated diode sensor if expired (every 100 hours). Clean filters with compressed air. For micron gauges, wipe sensors and calibrate per manual using a column vacuum gauge.
Battery compartments: Clean corrosion with vinegar, dry thoroughly. Success: Accurate readings within spec.
Sensors fail from refrigerant residue, causing false negatives.
💡 Tips:
- •Recharge detectors with fresh H2 filament.
- •Firmware update electronics annually.
⚠️ Warnings:
- •Don't submerge electronics—use contact cleaner spray.
Step 7: Final Testing and Calibration
Reconnect all tools to a test rig: Run vacuum pump to 50 microns, check manifolds for steady readings, leak-test entire setup.
Adjust zero on gauges if needed. Log service date and results. All components should perform at factory specs.
This verifies the service worked before field use.
💡 Tips:
- •Use a digital micron gauge for precise benchmarking.
- •Create a service log spreadsheet.
⚠️ Warnings:
- •Skip testing at your peril—leaks show up on jobs.
Step 8: Proper Storage for Longevity
Store in a climate-controlled area (50-80°F). Cap all ports with plugs. Hang hoses vertically. Oil vacuum pumps before storage.
Success: Tools ready for next job, no corrosion.
Poor storage halves tool life.
💡 Tips:
- •Use tool chests with silica packs.
- •Annual full service even if unused.
▸Pro Tips
- •Service tools after every 50 jobs or quarterly—prevents cumulative wear.
- •Invest in a torque adapter set for precise manifold reassembly.
- •Use an ultrasonic cleaner for valve cores to remove baked-on residue.
- •Track oil changes by hours run via pump hour meter.
- •Nitrogen-blow all parts dry to speed cleaning.
- •Label tools with service date stickers for quick checks.
- •Batch-service similar tools to save time.
▸Common Mistakes to Avoid
- •Using wrong oil type in vacuum pumps—causes seal failure; always match manual.
- •Overlooking O-ring lubrication—leads to dry cracks; apply sparingly.
- •Storing without caps—allows moisture ingress and contamination.
- •Skipping leak tests—hidden issues cause job-site failures.
- •Ignoring electrical corrosion—shortens gauge life; clean annually.
▸Troubleshooting
Problem: Vacuum pump won't pull below 500 microns
Solution: Check for air leaks at couplers; change oil again; inspect vanes for wear. If persistent, rebuild kit needed.
Problem: Manifold valves stick after rebuild
Solution: Ensure O-rings are Viton and lightly lubed; clean pistons ultrasonically.
Problem: Hoses kink easily
Solution: Replace with armored hoses; avoid tight coiling.
Problem: Leak detector false positives
Solution: Purge with fresh air 10 mins; replace sensor if over 100 hours.
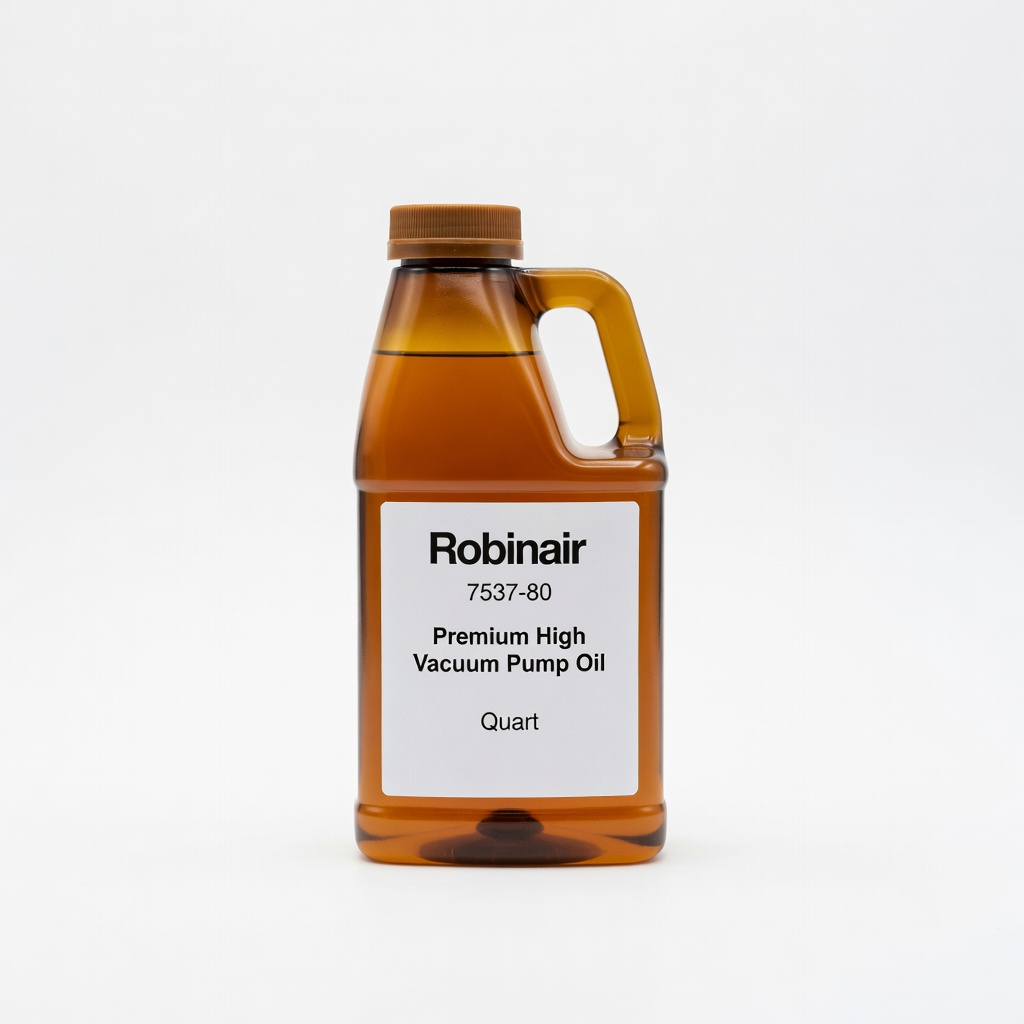
Robinair 7537-80 Premium High Vacuum Pump Oil, Quart
HVAC-specific formulation resists foaming and pulls deepest vacuums without gumming valves.
Best for: Essential for Step 2 oil changes in all vacuum pumps.
Price Range: $24.99
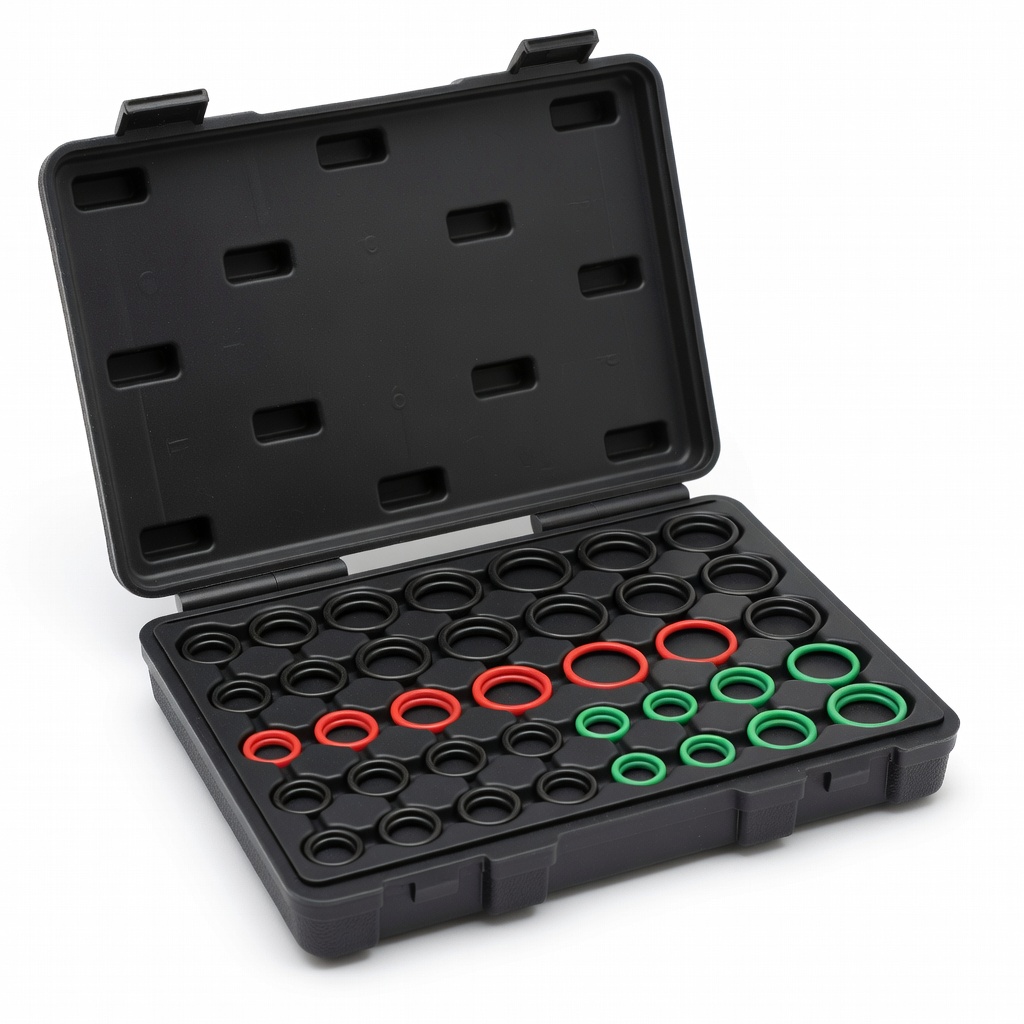
Mastercool 90066-A Universal HVAC O-Ring Assortment Kit
Includes 450+ Viton O-rings in common sizes for manifolds, hoses, and valves—resists refrigerants better than rubber.
Best for: Replace seals in Steps 3 and 4 for leak-free performance.
Price Range: $14.99
Yellow Jacket 93123 Deluxe O-Ring Kit for Gauges
Precision-sized for Yellow Jacket manifolds; includes backup rings for high-pressure seals.
Best for: Targeted rebuilds in Step 3 for popular gauge sets.
Price Range: $29.99
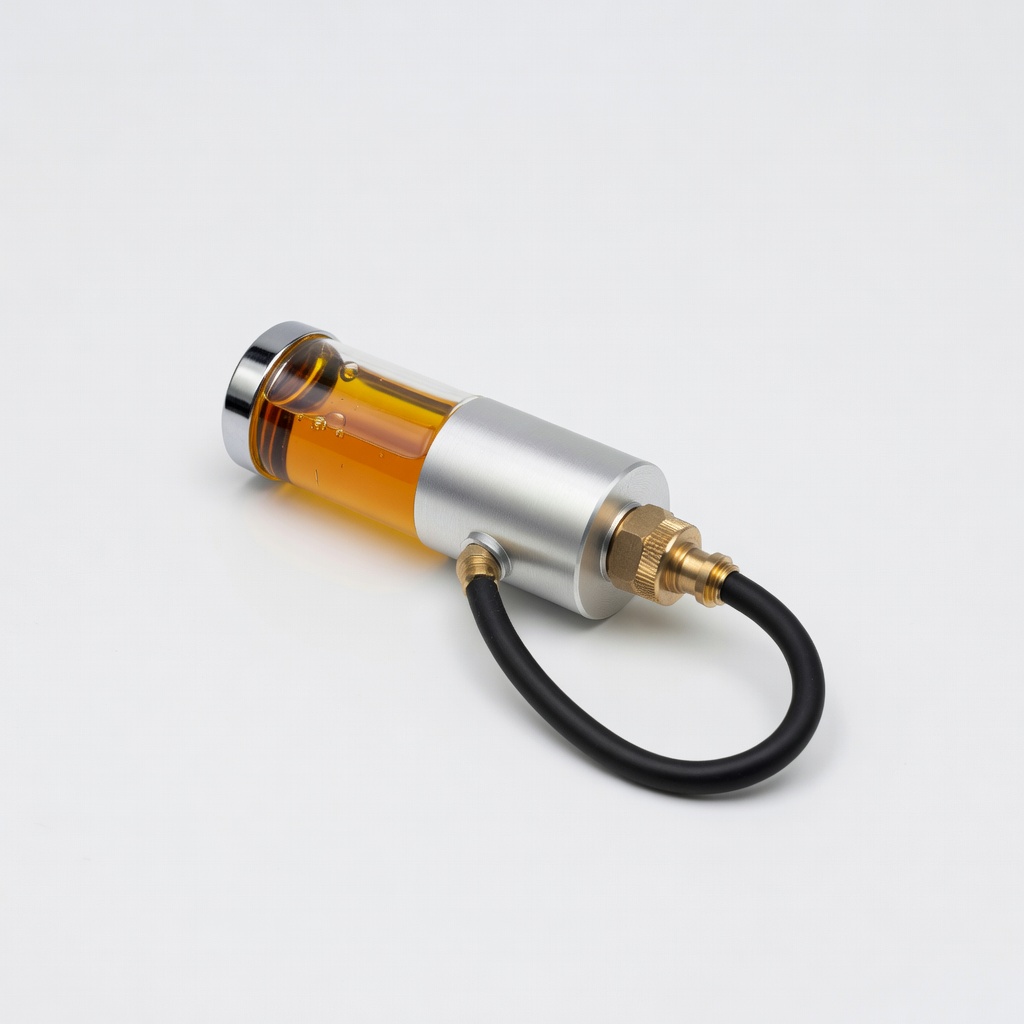
JB Industries JRO-5604 Refrigeration Oil Injector
Precise oil injection for priming pumps without mess.
Best for: Enhance Step 2 refilling for clean, bubble-free oil.
Price Range: $39.99
Fieldpiece JC67L Leak Detector Sensor Replacement
Plug-and-play for electronic detectors; restores sensitivity instantly.
Best for: Quick fix in Step 6 for pro detectors.
Price Range: $49.99