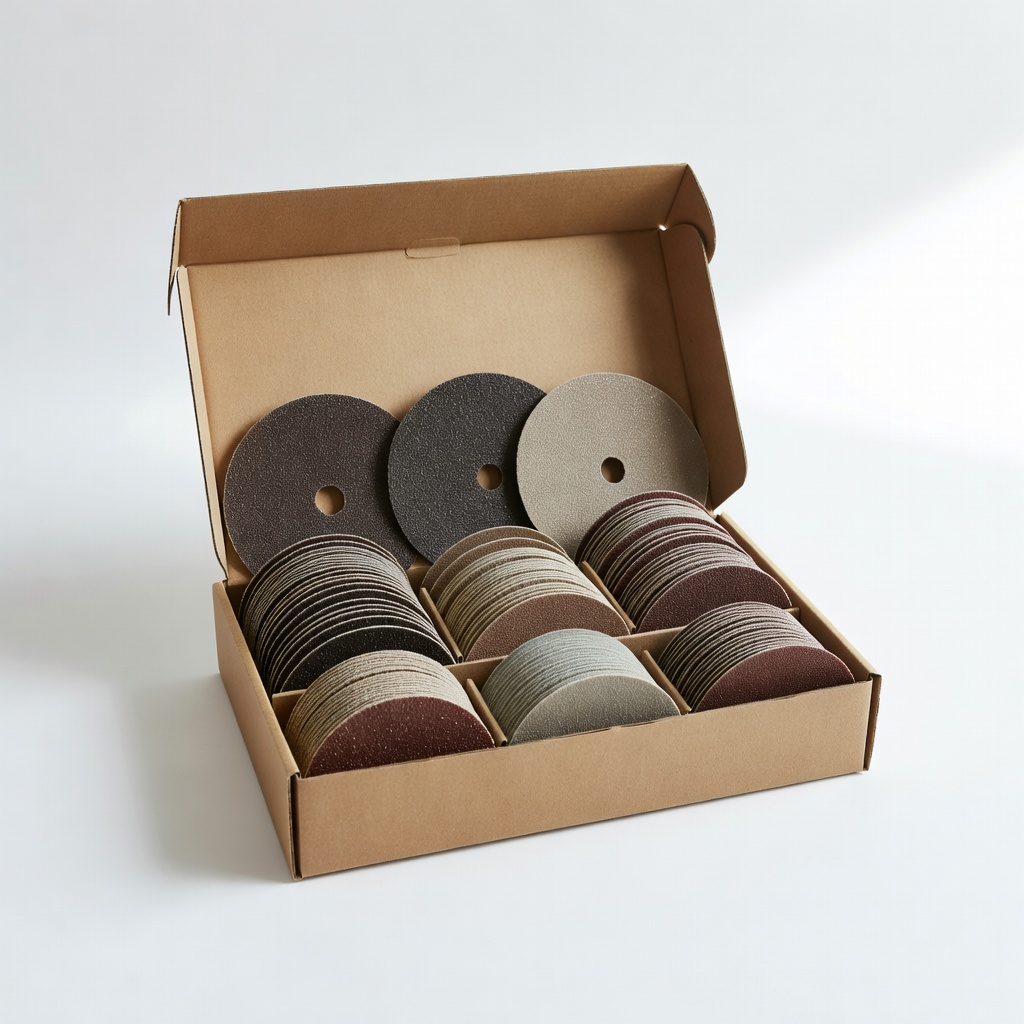
S SATC 180PCS 3" Sanding Discs (80-2000 Grit)
All sanding steps from coarse to ultra-fine.
$25.99
S SATC 180PCS 3" Sanding Discs (80-2000 Grit) Complete kit covers full sequence; durable aluminum oxide for metal.
Get the App
Better experience on mobile
Achieve a flawless, reflective mirror finish on metal with this advanced step-by-step grit progression guide using proven abrasive sequencing techniques.
Struggling with persistent scratches or hazy finishes despite hours of polishing? Achieving a true mirror polish on stainless steel, aluminum, or other metals requires precise abrasive sequencing—skipping steps or rushing grits leaves visible defects that ruin the reflection. This guide solves that by teaching the exact progression from coarse removal to ultra-fine refinement.
You'll learn the optimal grit sequence, tool techniques, and finishing buffs for professional results. Expect to master cross-direction sanding, pressure control, and compound application. This advanced process takes practice but delivers showroom-quality shine.
Overview: Start coarse to level the surface, progressively finer to erase scratches, end with buffs for mirror clarity. Time: 2-4 hours per 12x12 inch panel; difficulty suits experienced fabricators or polishers.
Estimated Time: 2-4 hours per 12x12 inch metal panel Difficulty: advanced
Inspect your metal surface for deep gouges, pits, or mill scale. Mirror polish starts with a flat base—if damage exceeds 80 grit removal, grind it out first. Clamp the workpiece securely in a vise at waist height to avoid wobble.
Why it matters: Uneven starting surfaces amplify scratches later. Expect a uniform matte finish post-assessment.
Clean with isopropyl alcohol to remove oils.
💡 Tips:
⚠️ Warnings:
Mount the coarsest disc (80 grit for heavy damage, 120 for lighter). Set tool to 2000-3000 RPM. Sand in straight lines, 50-60° angle to edges, using moderate pressure.
Success looks like: All deep scratches gone, uniform coarse texture (like 100-grit sandpaper feel). Spend 10-15 min; scratches should be visibly removed.
Why: Establishes flat foundation; skipping risks embedded debris.
💡 Tips:
⚠️ Warnings:
Swap to 180 grit (or 220). Sand perpendicular to previous direction (e.g., horizontal then vertical). Lighten pressure, increase RPM to 3000-4000.
Expect: Previous scratches erased, finer uniform haze. 5-10 min per grit.
Cross-hatching ensures 100% coverage.
💡 Tips:
Sequence: 320 → 400 → 600 grit. Each time, rotate sanding direction 90°. Reduce pressure further; use water mist for wet sanding if disc allows.
Success: Surface feels smoother, minimal visible lines under light. Total 20-30 min.
Why sequential: Each grit removes 50-70% of prior scratches.
💡 Tips:
⚠️ Warnings:
Switch to 800 → 1200 grit discs or sheets. Orbital motions now, very light pressure, 4000+ RPM.
Expect: Silky smooth, faint shine emerging. Inspect at 45° light—no deep lines.
Nearly mirror-ready base.
💡 Tips:
Final abrasive: 2000 grit (wet preferred). Circular or figure-8 patterns. Minimal pressure.
Success: Mirror-like haze, reflects distorted image clearly. 10 min max.
Preps for compounding.
⚠️ Warnings:
Attach wool pad, apply green/cutting compound sparingly. Speed 1500-2000 RPM, light pressure, overlapping passes.
Expect: Haze clears, sharp reflection appears. 5-10 min.
Removes 2000 grit marks.
💡 Tips:
Foam pad + white polish → cotton buff + red rouge. Low speed (1200 RPM) for final.
Final success: Crystal-clear mirror—no distortion, fingerprints visible.
Clean thoroughly.
💡 Tips:
Under LED/halogen light, check for swirls. Touch-up with rouge if needed. Seal with wax if exposed.
⚠️ Warnings:
Problem: Holographic swirls after fine grits
Solution: Step back 2 grits, re-sand perpendicular, then proceed.
Problem: Cloudy final polish
Solution: Contaminated compound—clean pads, use fresh white polish.
Problem: Burn marks or discoloration
Solution: Cool immediately, wet sand from 400 grit to recover.
Problem: Uneven shine
Solution: Re-level with 180 grit, ensure even passes.
Complete kit covers full sequence; durable aluminum oxide for metal.
Best for: All sanding steps from coarse to ultra-fine.
Price Range: $25.99
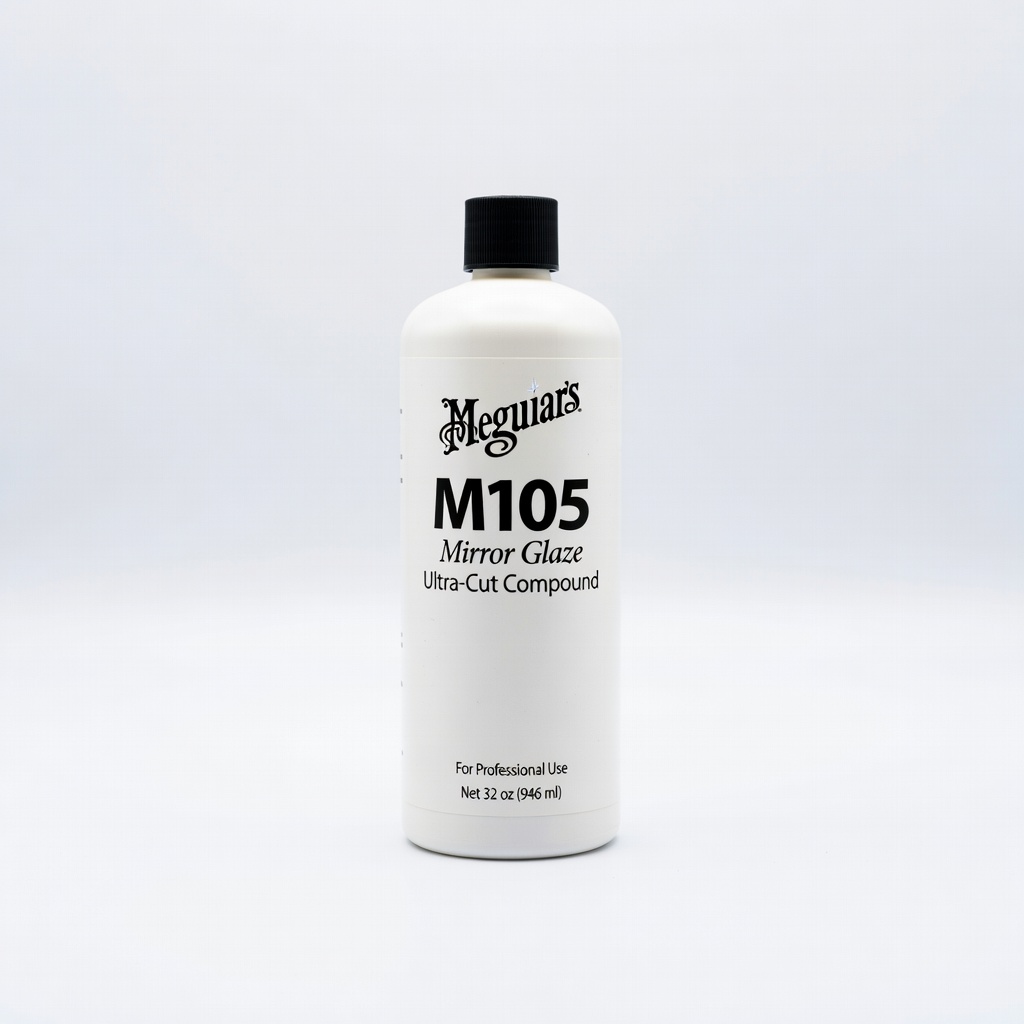
Aggressive cut for post-abrasive haze removal without holograms.
Best for: Cutting compound step on wool pads.
Price Range: $20-25
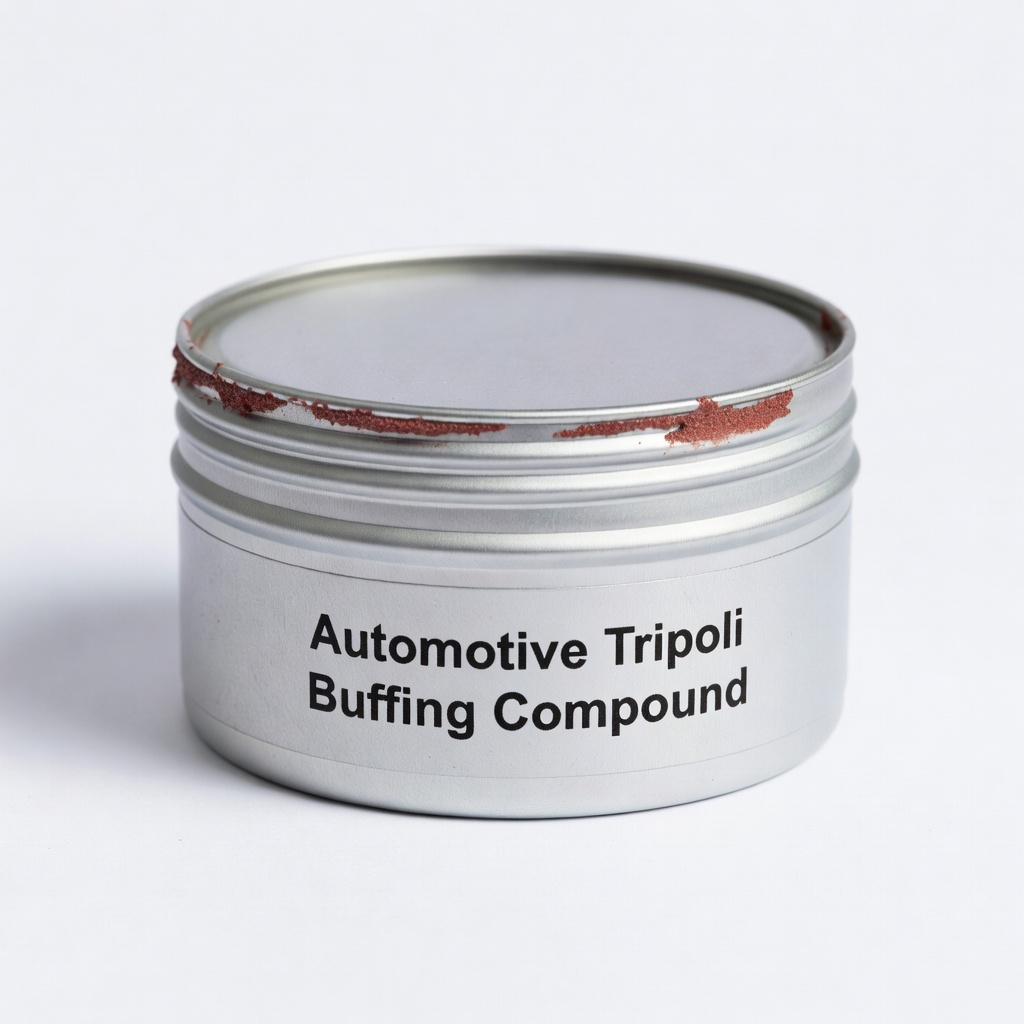
Mid-polish tripoli bridges to rouge; excellent for stainless.
Best for: White polishing stage before final rouge.
Price Range: $12.99
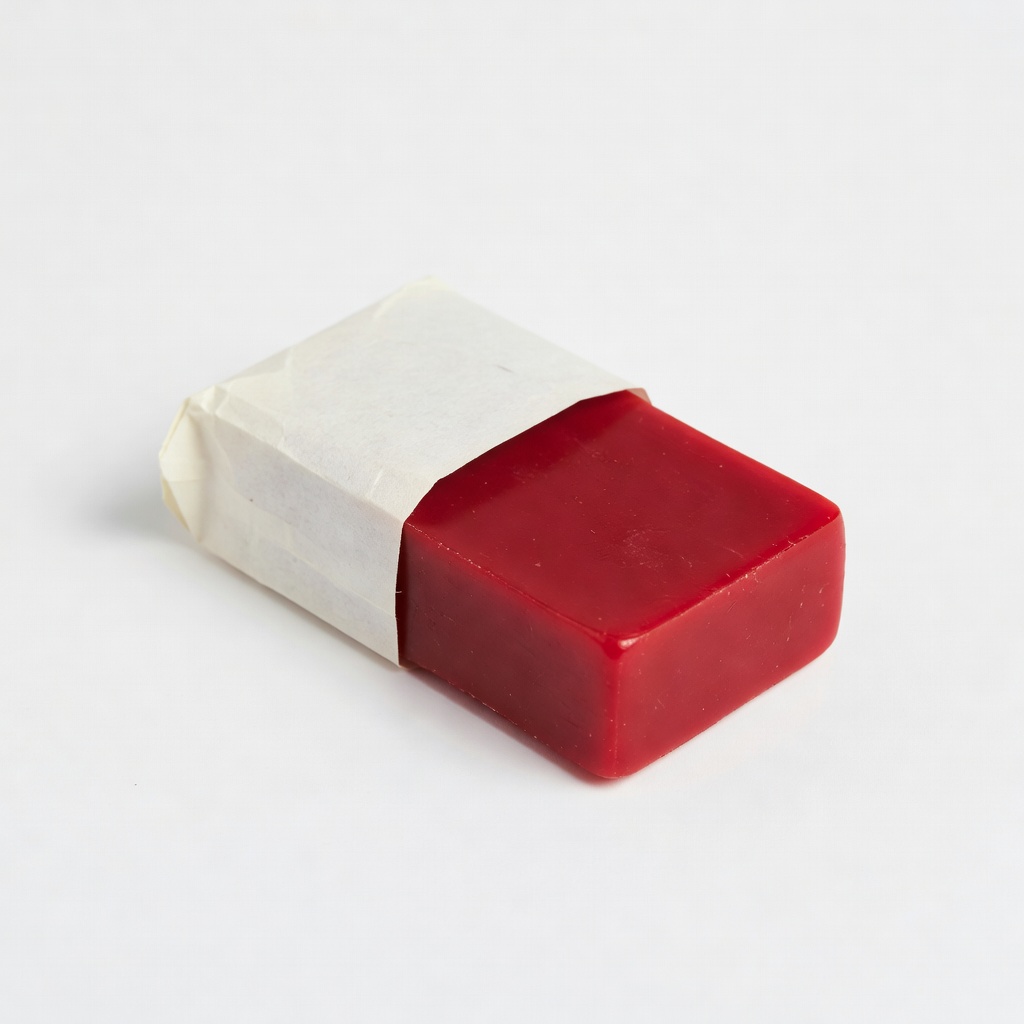
Ultra-fine for mirror clarity; standard pro finish.
Best for: Final buff on cotton wheel.
Price Range: $11.99
Cuts fast, threads secure; perfect for compounds.
Best for: Cutting and polishing stages.
Price Range: $15-20
All sanding steps from coarse to ultra-fine.
S SATC 180PCS 3" Sanding Discs (80-2000 Grit) Complete kit covers full sequence; durable aluminum oxide for metal.
Cutting compound step on wool pads.
Meguiar's M105 Mirror Glaze Ultra-Cut Compound Aggressive cut for post-abrasive haze removal without holograms.
White polishing stage before final rouge.
Automotive Tripoli Buffing Compound Mid-polish tripoli bridges to rouge; excellent for stainless.
Final buff on cotton wheel.
Red Rouge Jewelry Polishing Compound Ultra-fine for mirror clarity; standard pro finish.
Cutting and polishing stages.
3M Wool Polishing Pad 05142 Cuts fast, threads secure; perfect for compounds.