Sanding wood can turn a rough project into a smooth masterpiece, but choosing the wrong abrasive discs leads to swirl marks, clogged paper, and wasted money—frustrating issues every beginner faces. Whether you're building furniture or refinishing floors, the right discs make all the difference.
In this guide, you'll learn how to match discs to your sander, wood type, and project needs. We'll break down grit sizes, materials, and more with simple steps, so you can confidently pick discs that deliver professional results. Expect to spend just 10-15 minutes reading and deciding—no prior expertise required.
By the end, you'll have a foolproof selection process and product picks to get started right away.
▸What You'll Need
- •Your sander model and type (e.g., random orbital sander, belt sander)
- •Project details: wood type (soft like pine, hard like oak), condition (rough lumber vs. pre-sanded), and goal (smoothing, finishing)
- •Access to online retailers like Amazon for checking sizes and reviews
- •Optional: grit chart (printable online) for quick reference
Estimated Time: 10-15 minutes
Difficulty: beginner
▸Step-by-Step Instructions
Step 1: Identify Your Sander Type
Start by checking your sander—random orbital (ROS), quarter-sheet, belt, or disc. Each uses specific discs: ROS needs hook-and-loop (H&L) or PSA (pressure-sensitive adhesive); belt sanders require belts, not discs.
Why it matters: Wrong attachment causes slipping or damage. For example, H&L grips securely on ROS for vibration-free sanding.
Expect: Most beginners use ROS for versatility on curves and flats.
💡 Tips:
- •Snap a photo of your sander's pad for exact matching.
- •Common ROS sizes: 5-inch.
⚠️ Warnings:
- •Never force a disc—check arbor size (e.g., 5/8-inch).
Step 2: Assess Your Wood and Project
Evaluate wood hardness (soft pine sands fast; hard oak needs durable discs) and starting condition (rough: coarse grit; smooth: fine grit). Note if finishing with stain/paint—ultra-fine grits prevent scratches.
Analogy: Think of grit like sandpaper teeth—coarse for big bites on rough wood, fine for polishing.
This ensures efficiency: Softwood clogs cheap discs quickly.
💡 Tips:
- •Test wood hardness: Press nail—if it dents easily, it's soft.
⚠️ Warnings:
- •Avoid coarse on pre-finished wood—creates gouges.
Step 3: Understand Grit Progression
Grits range 40 (very coarse, material removal) to 2000+ (ultra-fine polish). Sequence: 80 → 120 → 220 for most projects.
Why sequence? Each refines the last, avoiding deep scratches. Beginners: Buy assortments.
Expect smooth progression yields glass-like finish.
💡 Tips:
- •Rule: Progress by halving grit (80→120→220).
Step 4: Choose Abrasive Material
Types: Aluminum oxide (affordable, general wood); ceramic (longer life, less clogging on resinous woods); silicon carbide (wet sanding).
Ceramic shines for beginners—self-sharpens, cuts faster. Analogy: Like razor vs. dull knife.
💡 Tips:
- •For pine/resin: Ceramic; oak: Aluminum oxide.
⚠️ Warnings:
- •Skip garnet—wears fast on power tools.
Step 5: Select Backing and Size
Backing: Paper (flexible, cheap); cloth/fiber (durable). Match size exactly (e.g., 5-inch disc for 5-inch pad).
Holes: 6-hole for dust extraction—prevents clogging.
Perfect fit reduces vibration, extends disc life.
💡 Tips:
- •Hook-and-loop > PSA for quick changes.
Step 6: Check Quality and Quantity
Look for reputable brands (3M, Diablo)—uniform grit, no fillers. Buy packs: 10-25 discs per grit.
Quality = fewer changes, better finish. Read reviews for 'no clogging.'
💡 Tips:
- •Resin-bonded for wood glue residue.
⚠️ Warnings:
- •Cheap no-names shed grit, scratch wood.
▸Pro Tips
- •Buy grit assortments for one-stop projects—saves 30% time.
- •Mark discs by grit with marker for easy grabbing.
- •Store in airtight bins to prevent humidity dulling.
- •Test one disc first—adjust if too aggressive.
- •Pair with vacuum for 2x disc life.
- •For curves: Flexible paper backing.
- •Upgrade to ceramic for 50% fewer disc swaps.
▸Common Mistakes to Avoid
- •Skipping grit progression—leaves visible scratches; always go coarse-to-fine.
- •Wrong size/attachment—disc flies off; measure pad precisely.
- •Using metal discs on wood—overheats/gouges; stick to wood-rated.
- •Ignoring wood type—cheap discs clog on softwoods; choose anti-clog.
- •Buying single grits—runs out mid-project; get kits.
▸Troubleshooting
Problem: Discs clog quickly
Solution: Switch to ceramic or open-coat abrasives; use dust extraction.
Problem: Swirl marks or holograms
Solution: Use finer progression (add 320 grit); lighter pressure on ROS.
Problem: Disc tears or slips
Solution: Check pad condition—replace if worn; ensure clean H&L.
Problem: Uneven sanding
Solution: Match disc size exactly; move sander steadily.
3M Sandblaster AA055 5-Inch 80-Grit Hook & Loop Sanding Discs (5-Pack)
Durable aluminum oxide with anti-clog coating, perfect for aggressive stock removal on softwoods.
Best for: Initial rough sanding on furniture or decks.
Price Range: $9.99
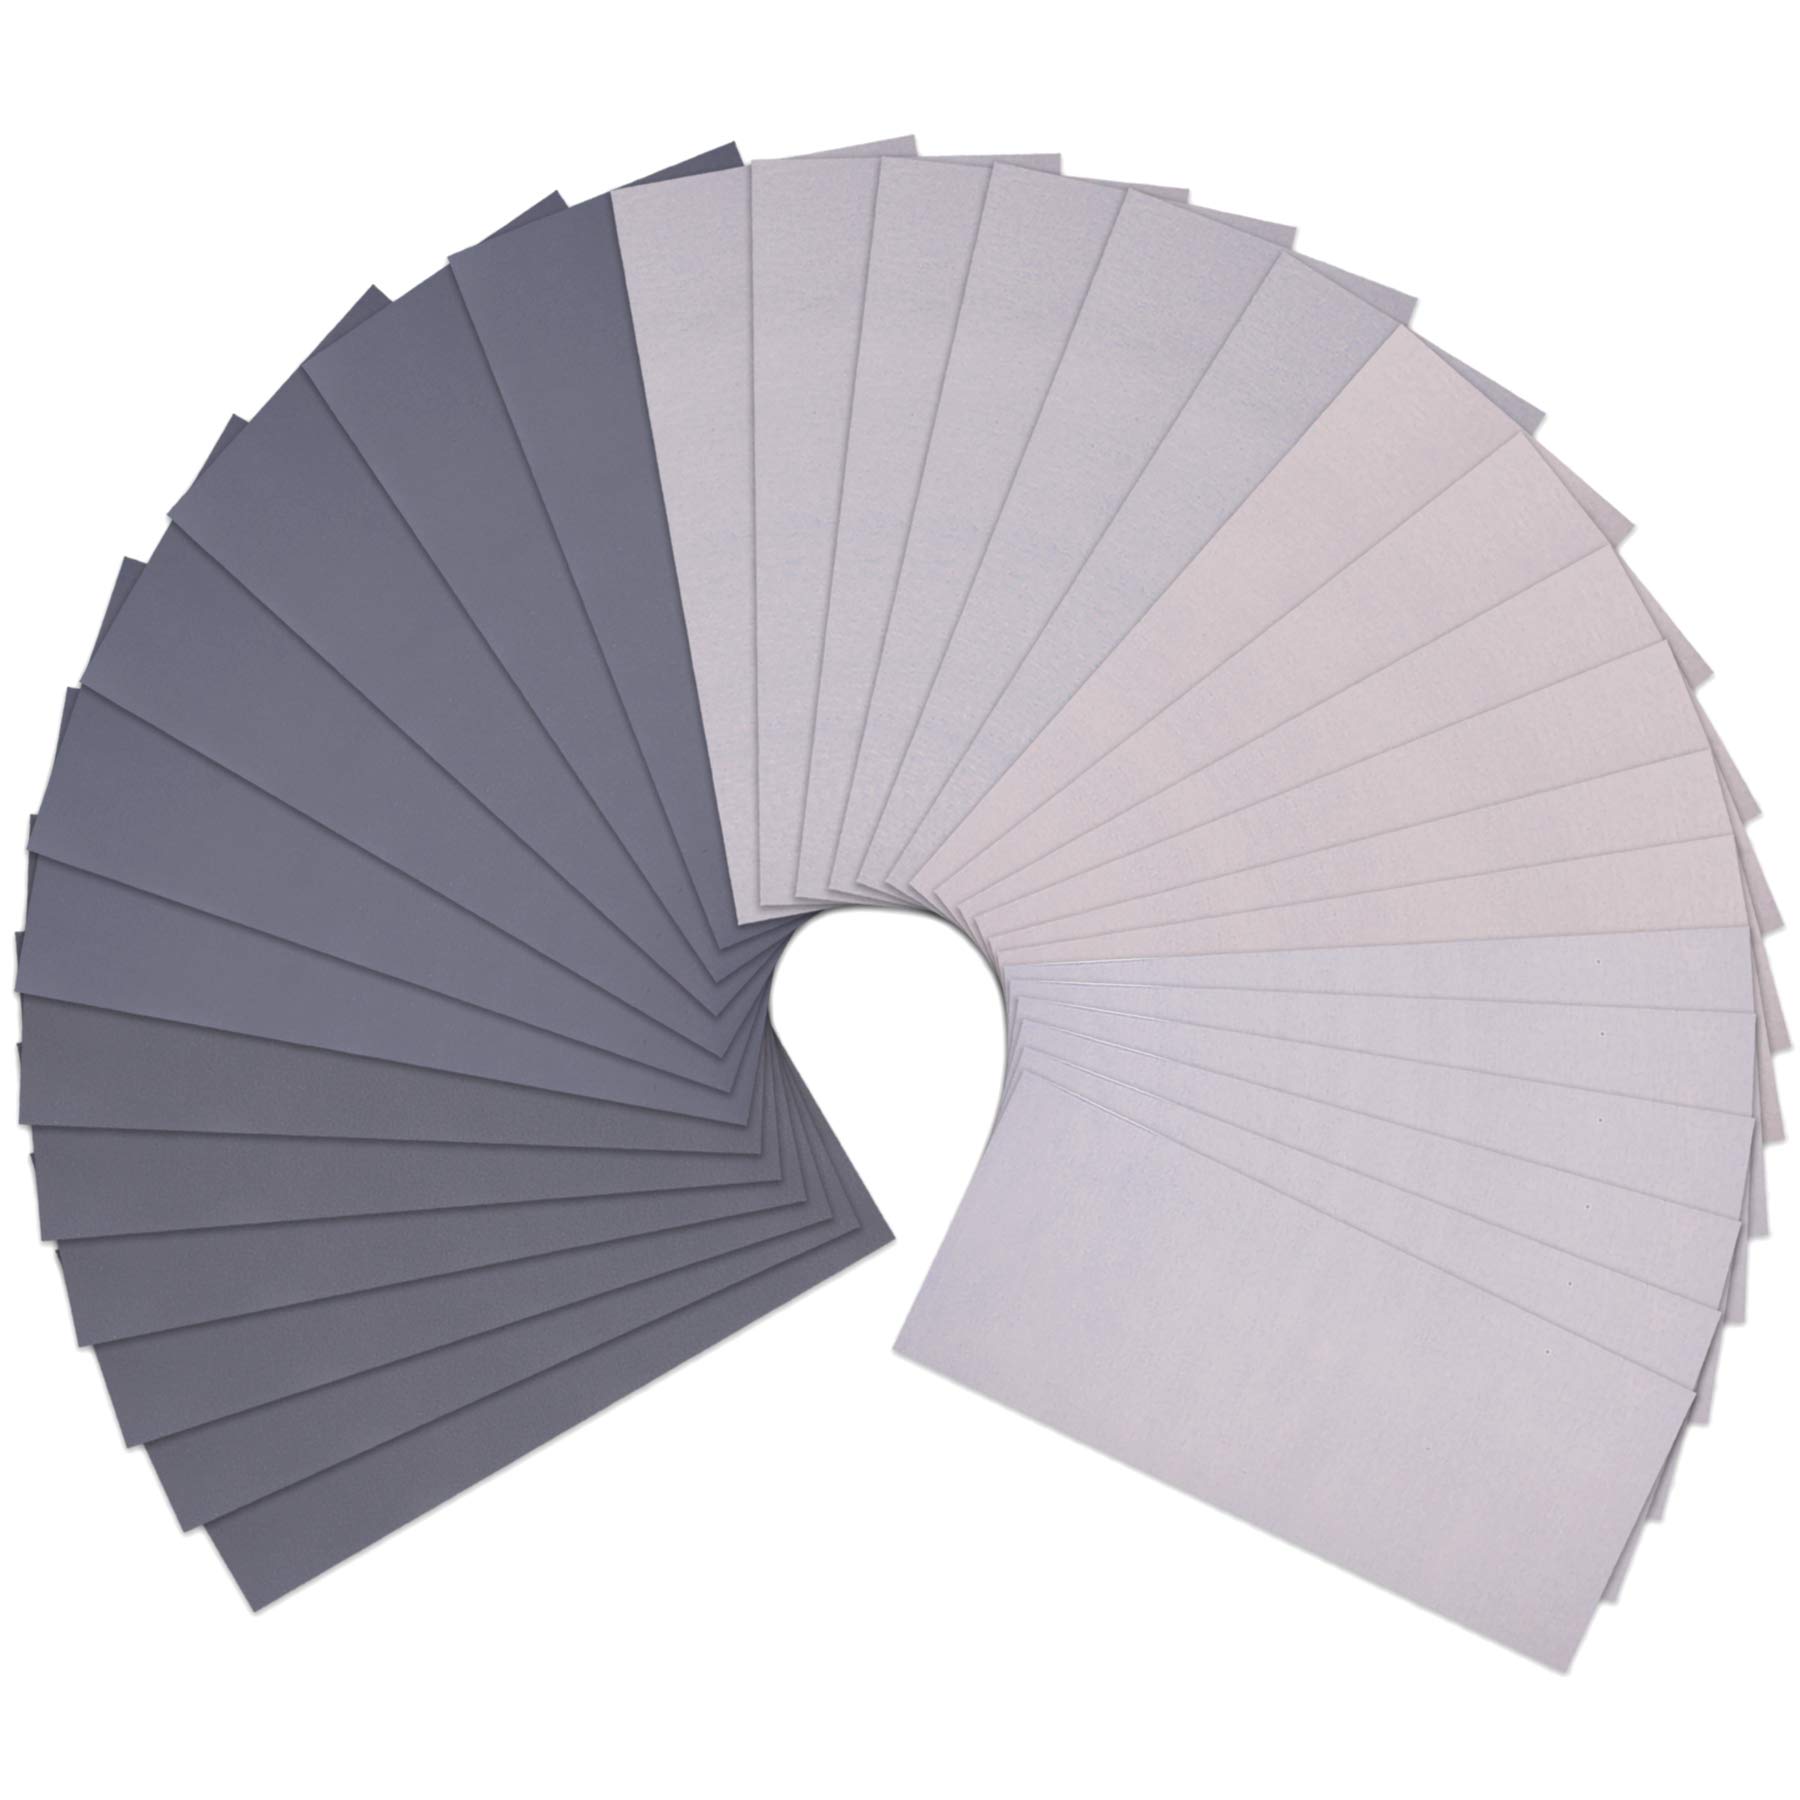
AUSTOR 108 Pieces Wet Dry Sandpaper Assortment (4 Sizes: 400-3000 Grit)
Affordable progression kit for beginners, waterproof for versatile use.
Best for: Full sanding sequence from medium to ultra-fine finishes.
Price Range: $12.99
Makita 794639-4 5-Inch 80-Grit Hook & Loop Sanding Discs (25-Pack)
High-quality, long-lasting for power tools, uniform cut prevents swirls.
Best for: Heavy-duty projects like hardwood floors or tabletops.
Price Range: $29.99
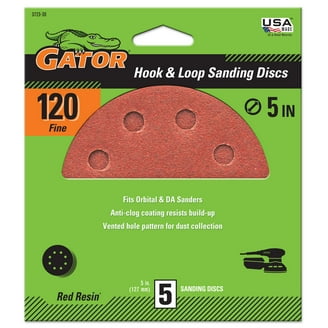
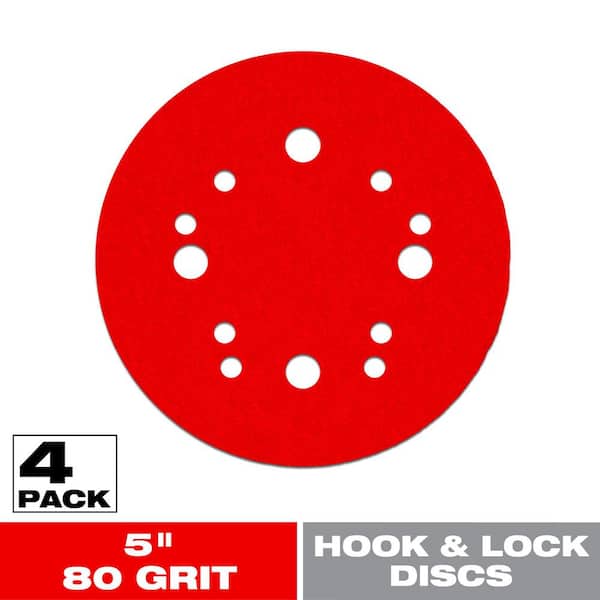
Diablo DH0580S 5-Inch 80-Grit Hook & Lock Sanding Discs (10-Pack)
Premium tri-hole design for superior dust extraction, extends life on resinous woods.
Best for: Dust-free sanding in workshops.
Price Range: $18.99