Have you ever watched your keys or water bottle slip off your backpack during a hike or commute, leaving you scrambling? Securing everyday loads with accessory carabiners prevents these mishaps, keeping your essentials organized and accessible. These small, versatile clips are perfect for beginners looking to add convenience without complexity.
In this guide, you'll learn step-by-step how to properly use accessory carabiners to secure light loads like bags, keys, leashes, or pouches. We'll cover inspection, attachment, testing, and safety basics. The process is straightforward, requiring no special tools, and takes just 5-10 minutes to master.
Expect quick wins: stronger connections that hold up to daily wear. Note: Accessory carabiners are for light-duty use only (under 10-20 lbs)—never for climbing or life-safety applications.
▸What You'll Need
- •1-4 accessory carabiners (spring-loaded or screw-gate for beginners)
- •Items to secure (e.g., keys, water bottle, small bag, dog leash)
- •Anchor points (e.g., backpack loops, belt, D-rings)
- •Optional: Clean cloth for inspection, gloves for better grip
Estimated Time: 5-10 minutes
Difficulty: beginner
▸Step-by-Step Instructions
Step 1: Select the Right Accessory Carabiner
Choose carabiners rated for your load's weight—typically 10-50 lbs for accessory models. Look for aluminum or stainless steel construction with a spring gate for easy use. Avoid full-sized climbing carabiners unless lightweight versions.
Why it matters: Proper size ensures secure hold without strain. Success looks like a carabiner that fits your hand comfortably and has clear labeling like 'not for climbing.'
Tip: Start with 2-3 inch sizes for most loads.
💡 Tips:
- •Match color to your gear for easy spotting.
⚠️ Warnings:
- •Never exceed the manufacturer's weight limit (check packaging).
Step 2: Inspect the Carabiner Thoroughly
Examine for cracks, bends, corrosion, or worn gates. Open and close the gate 5-10 times to ensure smooth action. For screw-gate models, verify the screw threads fully engage.
This prevents failure under load. Expect a crisp 'click' on spring gates and no wobble.
Wipe clean if dirty.
💡 Tips:
- •Inspect before every use—takes 10 seconds.
⚠️ Warnings:
- •Discard damaged ones immediately; they can fail unexpectedly.
Step 3: Identify Anchor and Load Points
Locate sturdy anchor points like backpack webbing loops or belt clips. On your load (e.g., keyring hole or bag handle), find reinforced loops or rings.
Strong points distribute weight evenly. Success: Points that won't tear under light pull.
💡 Tips:
- •Use multiple anchors for heavier items.
Step 4: Open the Gate Securely
Press the gate opener firmly with thumb and forefinger. Hold it open without twisting the carabiner body.
Twisting causes cross-loading (weakens hold by 30-50%). Expect the gate to spring open 1/2 inch.
⚠️ Warnings:
- •Avoid pinching fingers—use gloves if needed.
Step 5: Clip to the Anchor Point
Thread the open gate through the anchor loop or ring. Keep the carabiner basket (curved side) facing the load direction.
This orientation maximizes strength. Feel the connection seat firmly.
💡 Tips:
- •Clip from the bottom up for easier access.
Step 6: Attach and Secure the Load
With gate still open, hook the load's loop or ring onto the carabiner spine. For double-ended like S-Biners, use both hooks.
Ensures everything stays put. Tug gently to confirm seating.
Step 7: Close and Lock the Gate
Release the gate—it should snap shut fully. For screw-gates, twist clockwise 3-5 full turns until tight.
Verify by shaking: No rattle means success. Test with a firm yank (simulate load).
💡 Tips:
- •Double-check closure every time you use it.
⚠️ Warnings:
- •Incomplete closure leads to drops.
Step 8: Test the Full Setup
Pull in multiple directions with moderate force (your body weight if light). Walk around to simulate real use.
Confirms stability. If secure, you're done!
▸Pro Tips
- •Label carabiners with load limits using tape for quick reference.
- •Use color-coded sets: one color per item type (e.g., red for keys).
- •For wet conditions, opt for stainless steel to prevent rust.
- •Combine with paracord for adjustable lengths.
- •Store extras in your glovebox for on-the-go fixes.
- •Practice on scrap items first to build confidence.
- •Rotate carabiners weekly to even wear.
▸Common Mistakes to Avoid
- •Cross-loading by twisting: Weakens hold—always align basket to load.
- •Overloading beyond 10-20 lbs: Causes failure—check specs.
- •Skipping inspection: Hidden damage snaps under stress—always check.
- •Using for heavy/life-safety: Not rated—stick to light gear.
- •Incomplete gate closure: Items fall out—verify snap every time.
▸Troubleshooting
Problem: Gate won't close smoothly
Solution: Clean debris with cloth; lubricate lightly with silicone spray if sticky. Replace if bent.
Problem: Connection slips under pull
Solution: Re-clip ensuring full basket insertion; upgrade to screw-gate model.
Problem: Rust or corrosion appears
Solution: Dry immediately after use; switch to stainless steel. Discard if severe.
Problem: Load too heavy, deforms carabiner
Solution: Use larger/rated carabiner or multiple; never exceed limits.
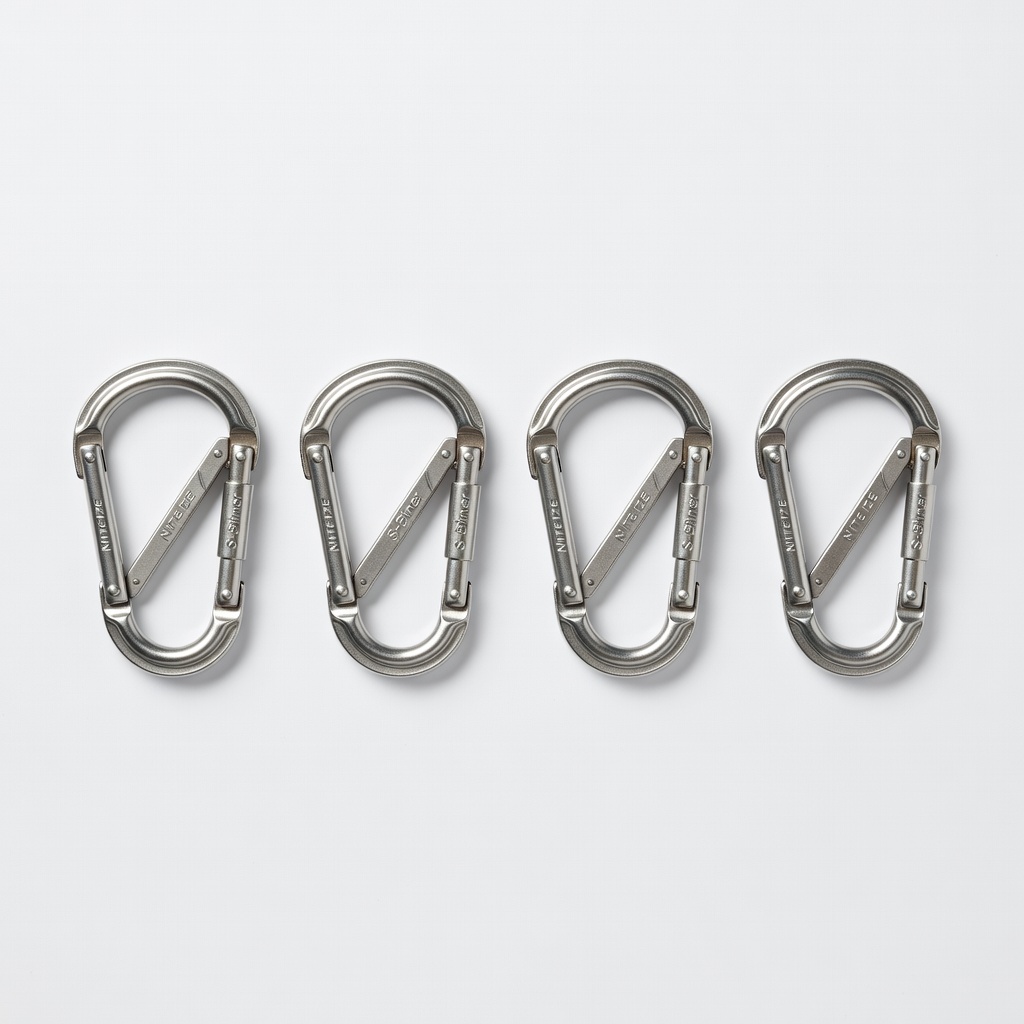
Nite Ize Original S-Biner (4-Pack, Stainless Steel)
Double-hook design secures multiple light loads securely; rust-resistant for outdoor use.
Best for: Attaching keys, leashes, or bags to packs—perfect beginner multi-tool.
Price Range: $8.99-$12.99
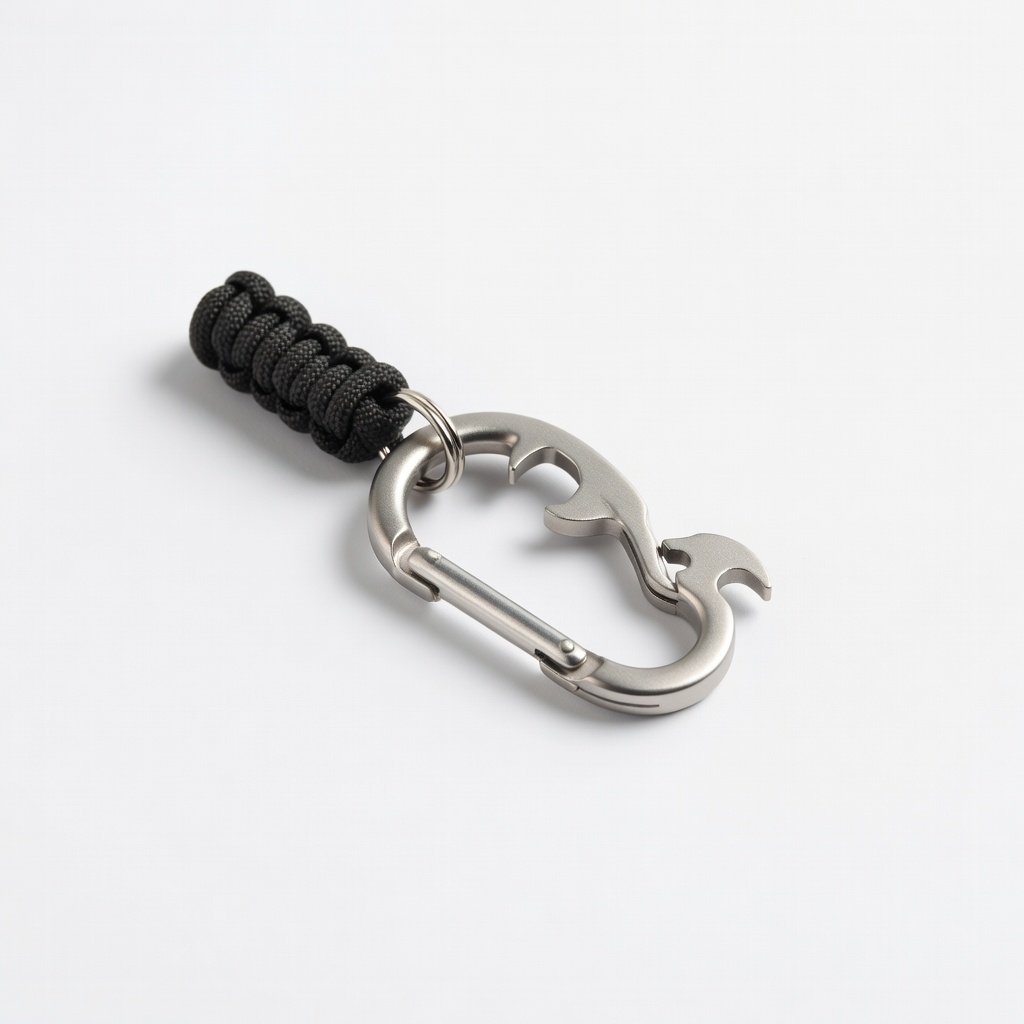
Nite Ize DoohicKey Micro Carabiner Keychain
Compact, bottle-opener integrated; holds up to 40 lbs for everyday essentials.
Best for: Quick key or small tool attachment to belt loops.
Price Range: $4.99-$6.99
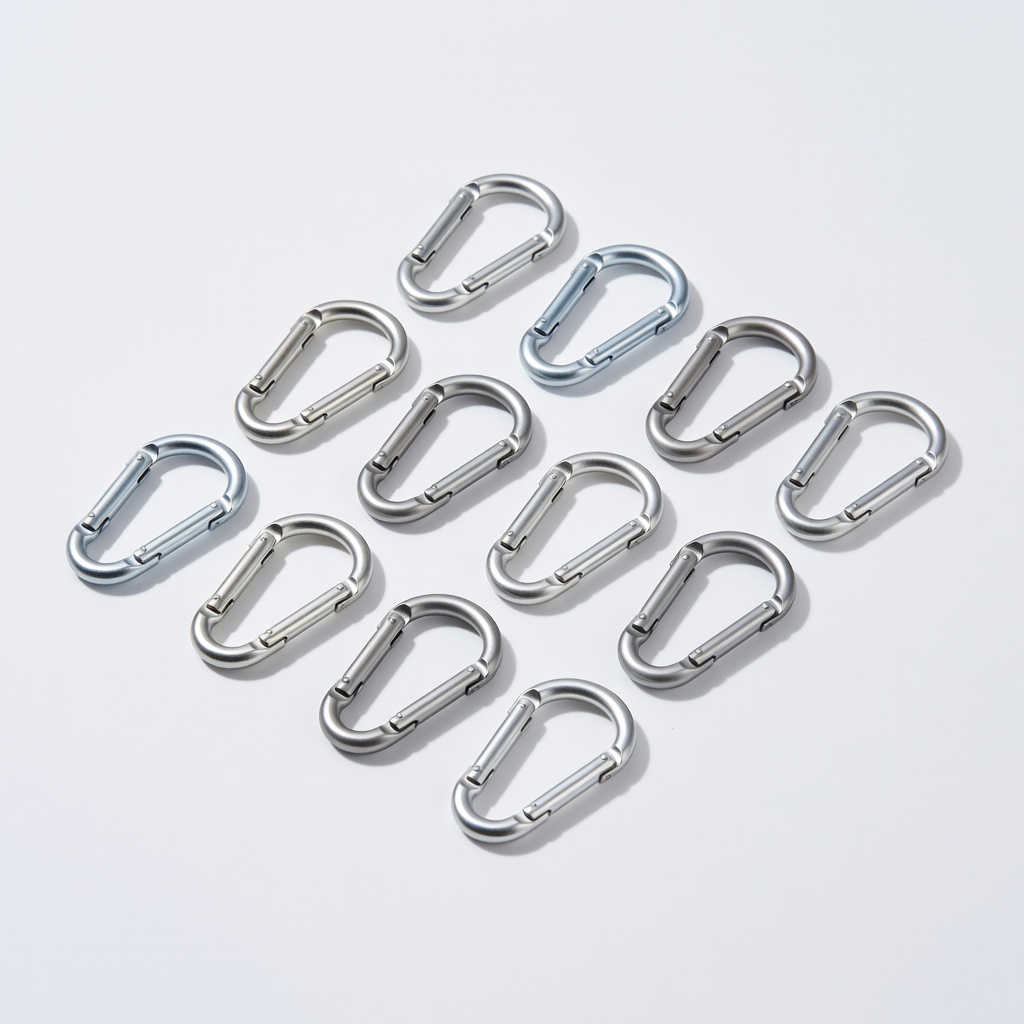
GBSELL 12 Pack Mini Aluminum Carabiner Clips (3 Inch)
Affordable bulk pack with spring gates; lightweight yet strong for beginners.
Best for: Securing water bottles, pouches, or gear on backpacks.
Price Range: $9.99-$14.99
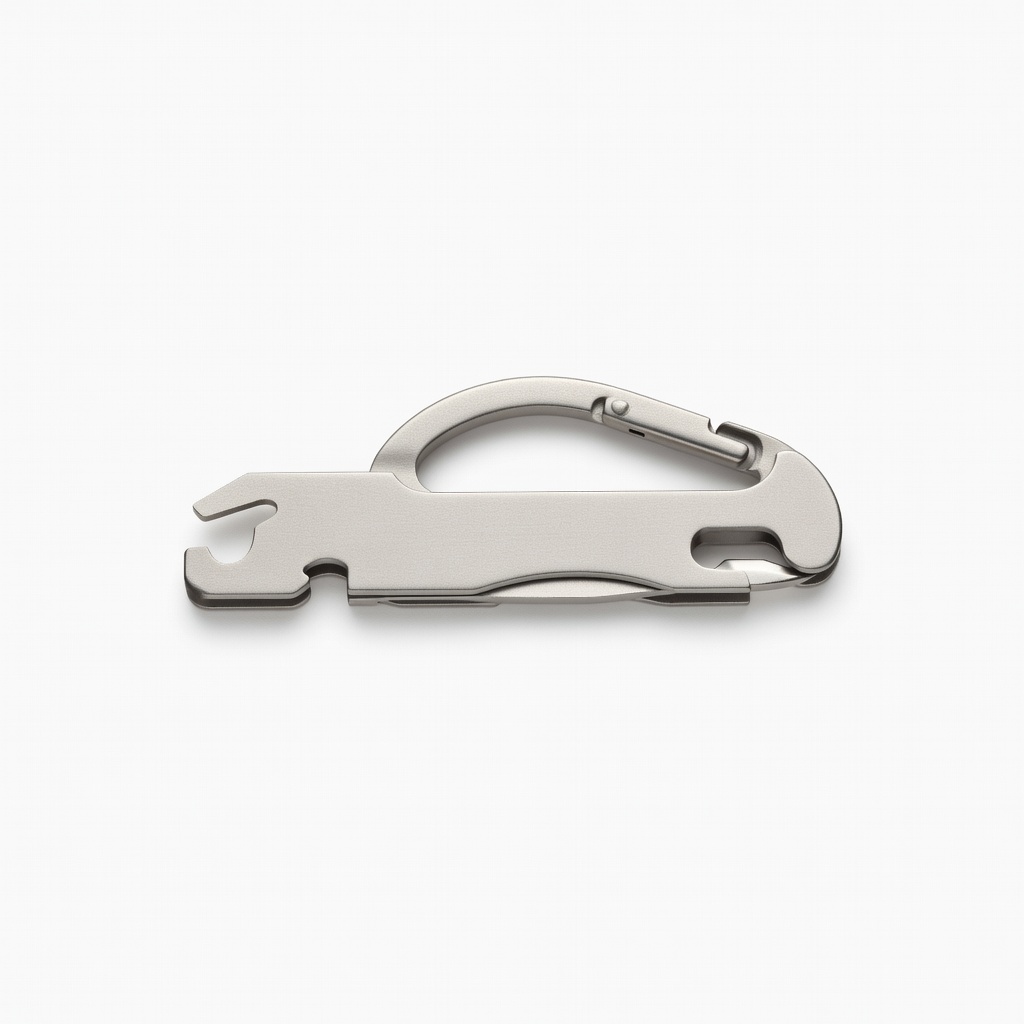
Kershaw DoohicKey Keychain Multi-Tool with Carabiner
Includes hex wrenches and bottle opener; premium steel for durability.
Best for: EDC (everyday carry) for tools plus securing small loads.
Price Range: $9.99-$12.99