Shipping acoustic guitar parts like necks, bodies, bridges, and tuners can be risky—damage from impacts, vibrations, or compression often leads to costly repairs or replacements. Whether you're a luthier sending parts to customers or a musician shipping for repairs, improper packing results in warped necks, cracked tops, or bent hardware. This guide eliminates those worries.
You'll learn a foolproof step-by-step process to package parts securely, using affordable materials that mimic professional luthier methods. Expect professional-grade results: parts arrive pristine, saving you time and money on claims or redo shipments.
The process takes 20-45 minutes per set of parts (depending on quantity), suitable for intermediate users familiar with guitar assembly basics. No special tools needed—just smart packing.
▸What You'll Need
- •Sturdy double-walled cardboard boxes (sized to fit parts with 2-3 inches extra space on all sides)
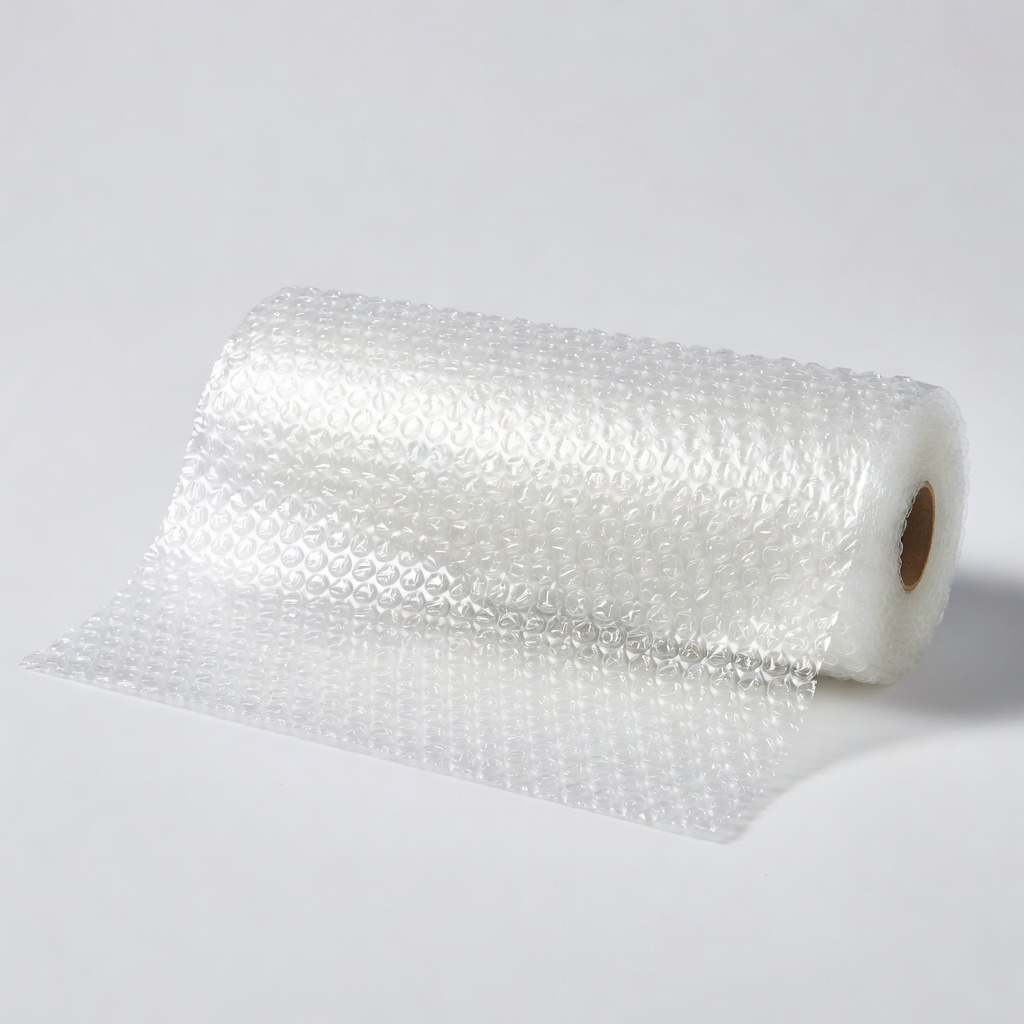
- •Bubble wrap (1/2-inch thick, minimum 12-inch wide roll)
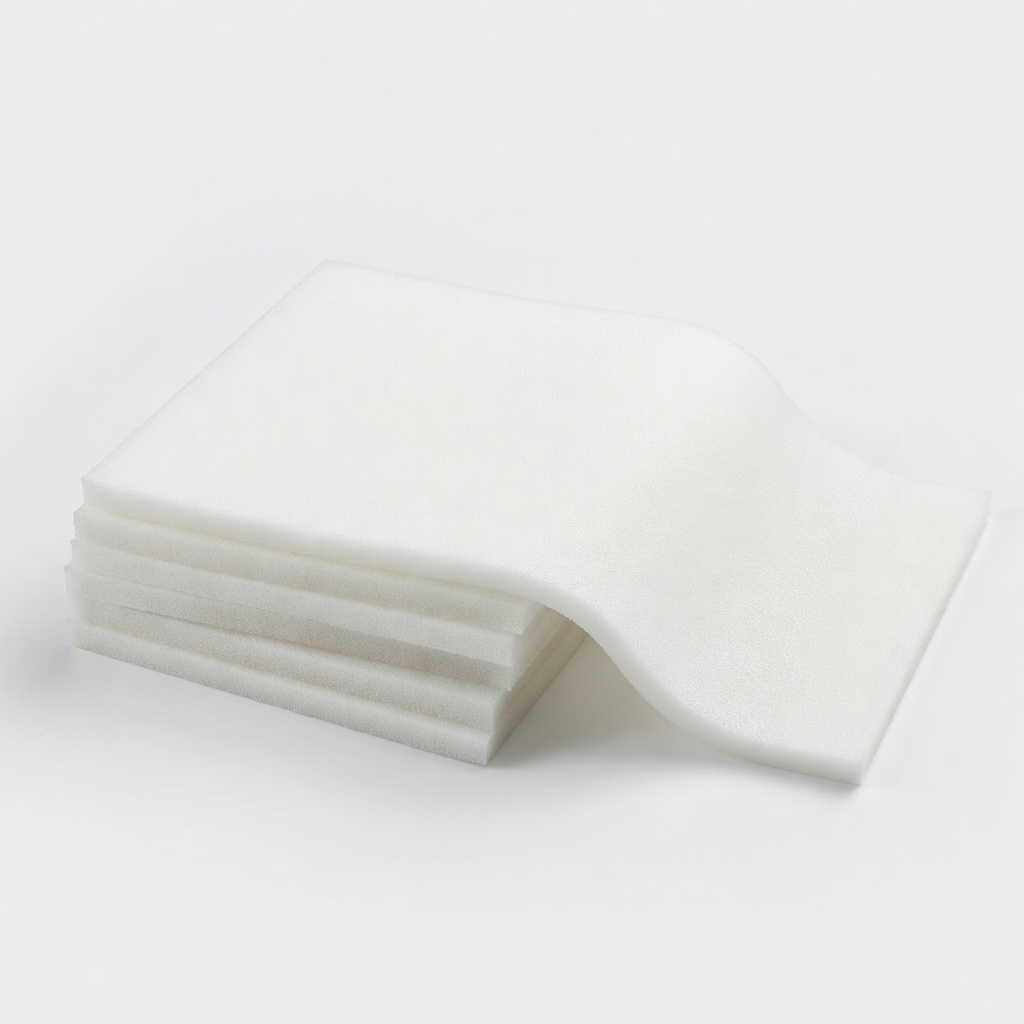
- •Foam sheets or padding (1/2-inch polyethylene foam)
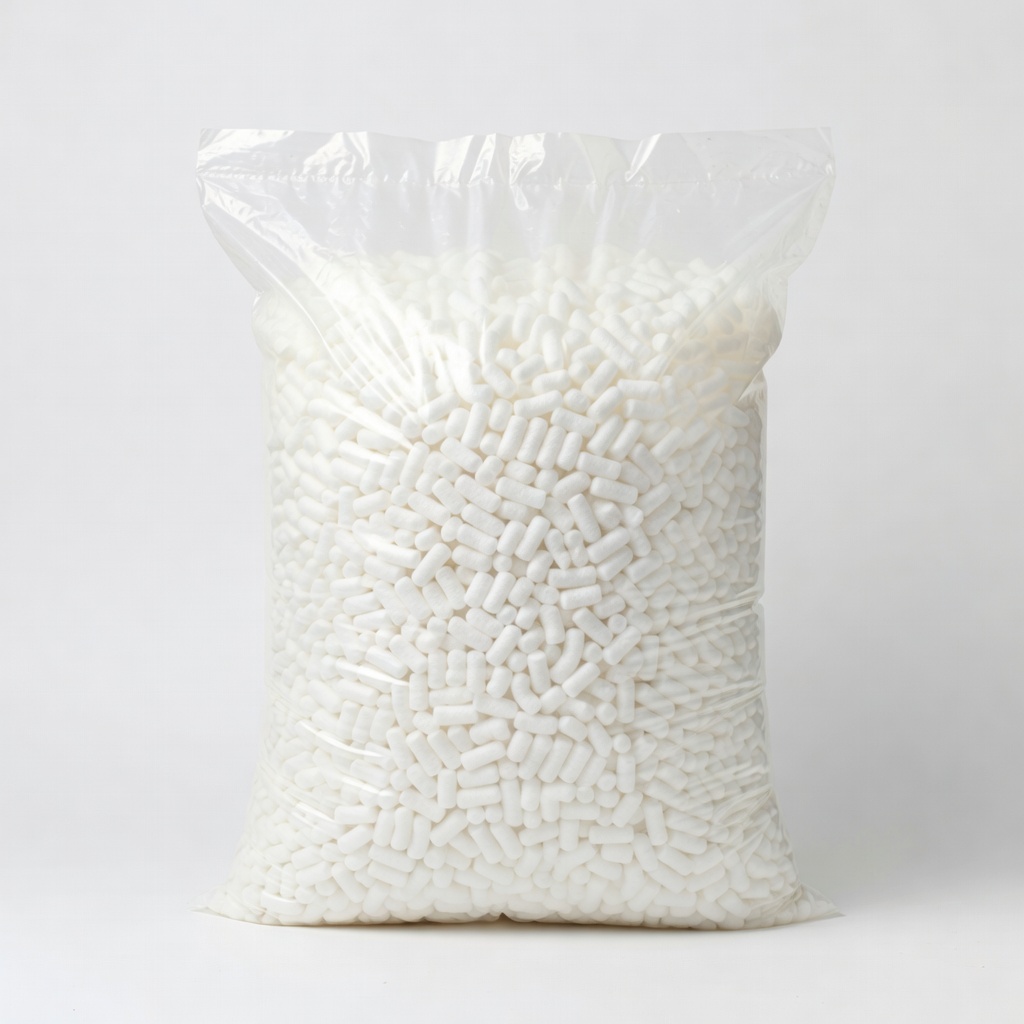
- •Packing peanuts or air pillows (non-shifting fillers)
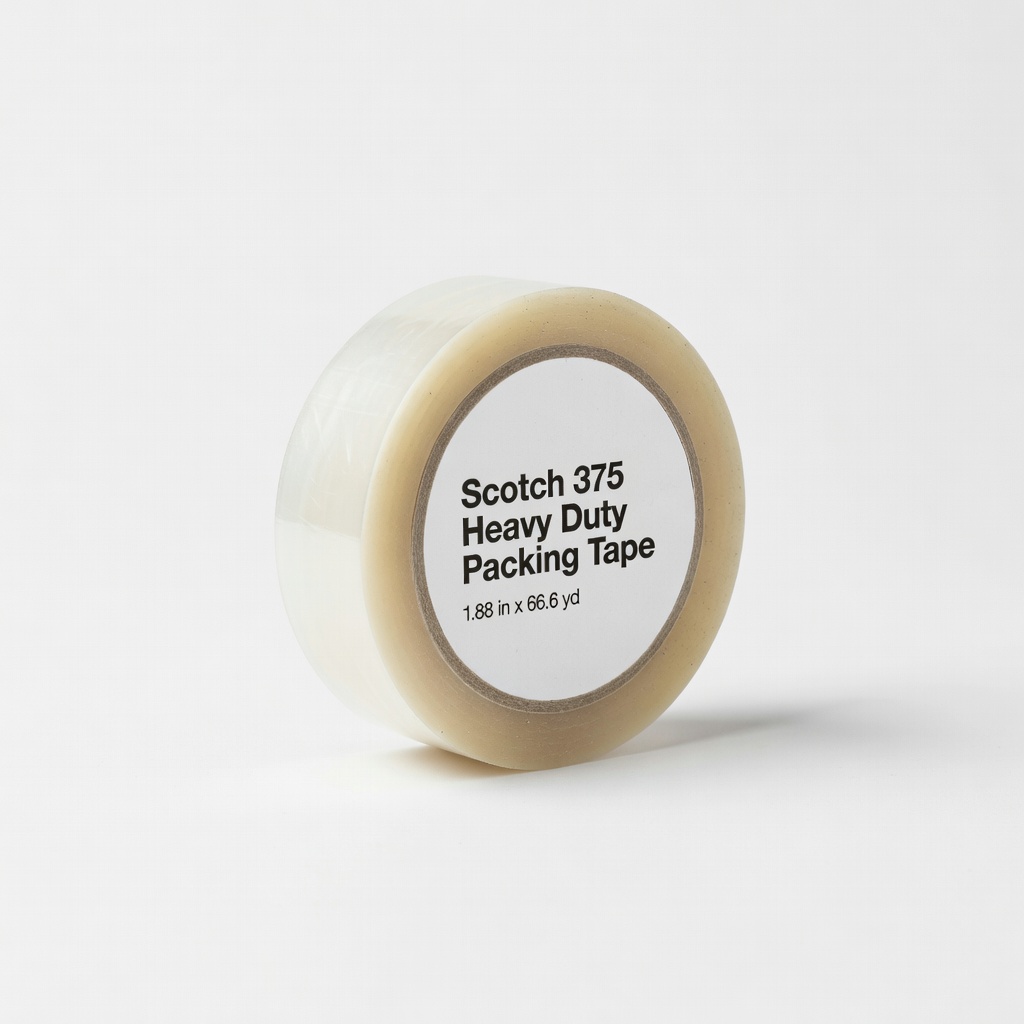
- •Heavy-duty packing tape (2-inch wide)
- •Fragile shipping labels and permanent marker
- •Optional: Guitar neck cradle or foam corner protectors
- •Box cutter or scissors
Estimated Time: 20-45 minutes per set of parts
Difficulty: intermediate
▸Step-by-Step Instructions
Step 1: Inspect and Prepare Guitar Parts
Start by laying out all parts on a clean, flat workspace. Inspect for existing damage, loose hardware (like tuners or frets), or sharp edges. Gently clean surfaces with a soft cloth to remove dust or oils that could attract dirt in transit.
Why it matters: Pre-shipping checks prevent blaming packing for pre-existing issues and ensure parts are dry and stable. Expect parts to look pristine and ready—no wobbles or debris.
Tip: Disassemble removable hardware (e.g., unscrew bridge pins) and bag them separately labeled.
💡 Tips:
- •Photograph parts before packing for insurance records.
⚠️ Warnings:
- •Avoid over-tightening screws during inspection to prevent stripping.
Step 2: Select the Right Box Size
Choose a double-walled cardboard box where parts fit snugly with 2-3 inches of padding space on all sides. For a guitar neck (typically 25-30 inches long), use a 6x6x36-inch box; for bodies, 16x6x20 inches works.
Test-fit loosely—parts shouldn't touch sides. This prevents movement during shipping shocks. Success: Box closes easily without force, parts suspended in center.
Cut down larger boxes if needed, reinforcing seams with tape.
💡 Tips:
- •Use USPS/UPS size charts for guitar parts to avoid oversized fees.
⚠️ Warnings:
- •Too-small boxes crush parts; too-large allows shifting.
Step 3: Protect Vulnerable Areas with Foam
Cut 1/2-inch foam sheets to cover headstocks, body edges, and frets. For necks, wrap foam around the heel and nut; for tops, place under and over the soundboard.
Foam absorbs shocks better than bubble wrap alone. Press gently—parts should feel cushioned but not compressed. Expect no direct contact between parts and box.
Pro move: Use corner protectors on square edges like bridge blanks.
💡 Tips:
- •Recycle guitar case foam for authenticity.
⚠️ Warnings:
- •Skip rigid cardboard on curved surfaces—it cracks under pressure.
Step 4: Wrap Parts in Bubble Wrap Layers
Double-wrap necks in bubble wrap (bubbles facing out), securing with tape in a spiral pattern—no tape on finish wood. For bodies, create a sleeve; hardware gets individual bubble envelopes.
Layers prevent vibration damage; bubbles-out rule protects finishes. Test shake: No rattles means success.
Overlap wraps by 50% for full coverage.
💡 Tips:
- •Use painter's tape on wood to avoid residue.
⚠️ Warnings:
- •Single layer fails on drops; tape directly on wood scratches finishes.
Step 5: Arrange and Separate Parts in Box
Place heaviest parts (bodies) at bottom, necks lengthwise in center, hardware bagged on top. Use foam dividers between items.
This balances weight and prevents stacking pressure. Box should feel solid when shaken gently—no shifts.
For multiple necks, stagger them with cardboard tubes.
💡 Tips:
- •Orient necks curve-up to mimic natural position.
⚠️ Warnings:
- •Don't stack bodies—tops dent easily.
Step 6: Fill Voids and Seal the Box
Stuff all empty spaces with packing peanuts or air pillows until firm—no room for movement. Close flaps, tape seams with H-pattern (3 strips per seam).
Fillers lock everything; overfill slightly for compression resistance. Shake test: Silent and stable.
Reinforce bottom if shipping heavy bodies.
💡 Tips:
- •Air pillows conform better than peanuts for odd shapes.
⚠️ Warnings:
- •Under-filling causes 90% of shipping damage.
Step 7: Label and Final Checks
Apply 'FRAGILE - THIS SIDE UP' labels on top and sides. Add 'Guitar Parts - Handle with Care' with your contact info. Weigh and address.
Labels alert handlers; success is clear, insured shipment ready.
Double-check tape integrity.
💡 Tips:
- •Use waterproof labels for international shipping.
⚠️ Warnings:
- •Forget insurance for parts over $200 value.
▸Pro Tips
- •Pre-cut foam templates for repeat shipments to save 10 minutes.
- •Vacuum-seal hardware bags to prevent moisture corrosion.
- •Ship necks separately from bodies for ultimate safety.
- •Use a guitar stand as a packing jig for perfect alignment.
- •Test-pack with dummy weights before real parts.
- •Opt for UPS Ground over USPS for delicate instruments—better handling.
- •Record a packing video for customer reassurance.
▸Common Mistakes to Avoid
- •Using single-wall boxes: They collapse under stacking; always double-wall.
- •Insufficient filler: Parts shift and crack; fill until box resists squeezing.
- •Taping directly on guitar finishes: Residue damages resale value; use paper barriers.
- •Ignoring orientation: Upside-down necks warp; label arrows clearly.
- •Skipping photos/insurance: Hard to claim without proof.
▸Troubleshooting
Problem: Parts shift during test shake
Solution: Add more packing peanuts and re-tape; ensure 2-inch minimum padding.
Problem: Tape fails or bubbles pop
Solution: Switch to heavy-duty tape and thicker bubble wrap; avoid cheap generics.
Problem: Finish scratches post-unpacking
Solution: Re-wrap with tissue paper under bubble; inspect for debris before sealing.
Problem: Carrier rejects package
Solution: Verify size/weight limits and use approved boxes; add structural reinforcement.
Amazon Basics Bubble Cushioning Wrap Roll, 12 Inch x 175 Foot
Provides superior shock absorption with large bubbles ideal for guitar necks and bodies.
Best for: Primary wrapping layer for all fragile parts to prevent dents and scratches.
Price Range: $12.99-$15
Scotch 375 Heavy Duty Packing Tape, 1.88 in x 66.6 yd
Ultra-strong acrylic adhesive holds under compression without tearing.
Best for: Sealing boxes and securing wraps on heavy guitar parts shipments.
Price Range: $9.99-$12
Uline S-4063 Polyethylene Foam Sheets, 1/2" Thick
Soft, reusable foam conforms to curves without compressing guitar woods.
Best for: Edge protection for headstocks, heels, and body bouts.
Price Range: $25-$35 for pack
Duck Brand Packing Peanuts, 18 cu ft
Biodegradable and moldable fillers that lock parts without settling.
Best for: Void filling in boxes to eliminate movement.
Price Range: $20-$25
Brother P-Touch PT-D210 Label Maker
Creates durable, professional fragile/custom labels quickly.
Best for: Labeling boxes for handlers and inventory tracking.
Price Range: $29.99