
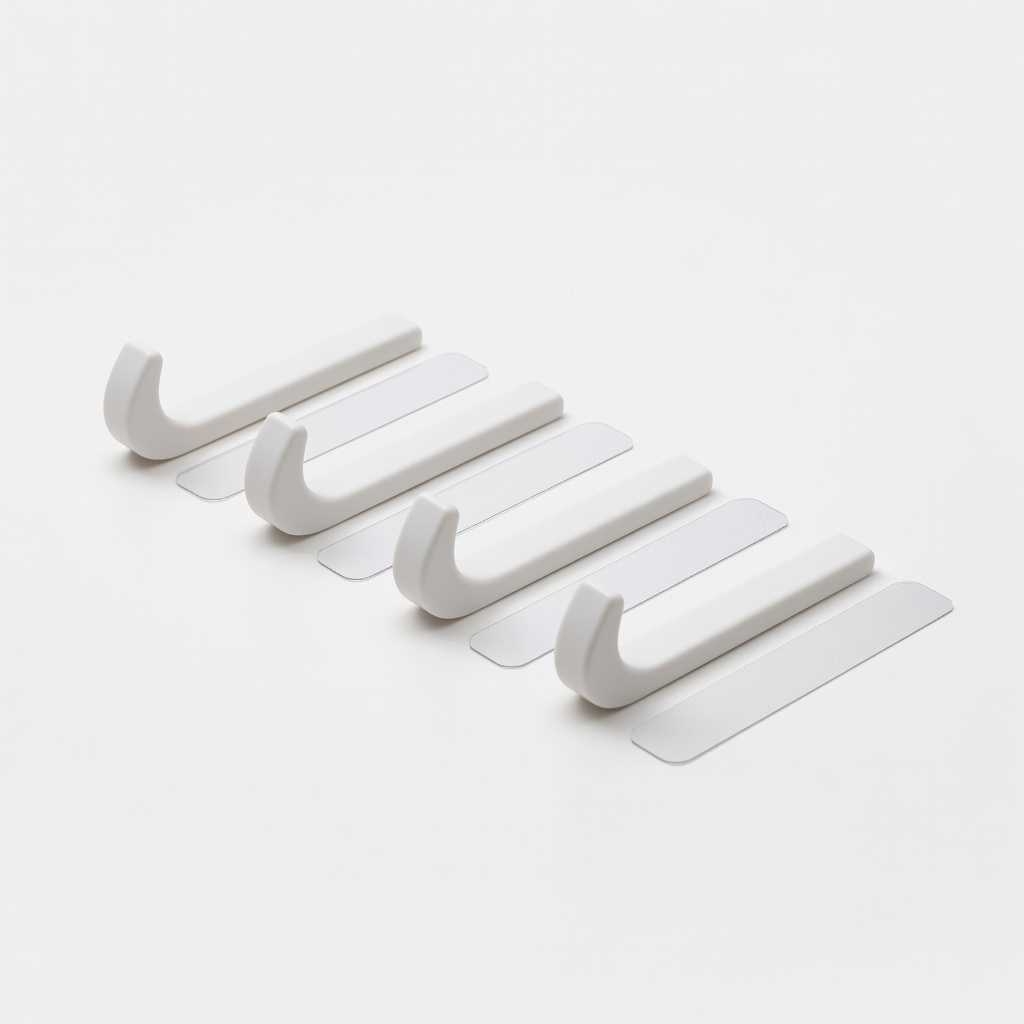
3M Command Large Utility Hooks
Mounting lightweight organizers like nets or pockets.
$9.99
3M Command Large Utility Hooks Damage-free adhesive holds up to 5lbs securely on RV walls without residue.
Get the App
Better experience on mobile
Keep your RV clutter-free on the road with these beginner-friendly steps to firmly secure organizers that won't shift during travel.
Traveling in an RV is all about adventure, but nothing kills the vibe like organizers tumbling around during bumpy drives, spilling gear everywhere. Loose accessory organizers for cabinets, walls, or cargo areas are a common headache for RV newbies, leading to frustration and disorganization. This guide solves that by showing you simple, reliable ways to lock them in place.
You'll learn foolproof methods using adhesives, straps, and hooks—no drilling required for most setups. Expect a quick, easy process perfect for beginners, with results that last through thousands of miles. In under an hour, your RV will stay tidy from campsite to campsite.
We'll cover everything from prep to testing, so even if you've never DIY'd before, you'll succeed on the first try.
Estimated Time: 30-45 minutes Difficulty: beginner
Start by identifying where to place your accessory organizers—think cabinet doors, walls, under sinks, or cargo bays. Measure the space with a tape measure to ensure a perfect fit. Hold the organizer in place temporarily to visualize.
This matters because RVs vibrate a lot; poor placement leads to failure. Success looks like organizers flush against surfaces without blocking doors or vents. Note any textured or curved areas that might need adapters.
💡 Tips:
Wipe down installation spots with rubbing alcohol on a cloth. Let dry completely (5-10 minutes). Remove any grease, dust, or residue from RV travel.
Clean surfaces ensure adhesives bond strongly—dirty ones fail 80% of the time. Expect a streak-free, dry surface ready for attachment.
⚠️ Warnings:
Pick based on surface: Command Strips for no-damage walls/cabinets; Velcro straps for flexible hold; screws for permanent cargo areas. Read organizer instructions for compatible backs.
Why? Adhesives are beginner-best for renters; screws for heavy loads. Success: Method matches weight (e.g., strips for <5lbs).
💡 Tips:
For strips: Peel backing, press firmly to organizer back and surface for 30 seconds each. Wait 1 hour before use. For hooks: Follow package for weight limits.
Pressure activates adhesive; rushing causes peels. Expect strong bond after cure time—no movement when tugged lightly.
⚠️ Warnings:
Align and press organizer into place using a level if needed. Hold 30 seconds. Add Velcro straps around edges for vibration-proofing.
This locks it against RV motion. Success: No wobble when shaken; level and plumb.
💡 Tips:
Loop bungee cords or extra Velcro at top/bottom/corners. Tighten just snug—no pinch.
Prevents sagging over time. Expect rock-solid hold even on rough roads.
⚠️ Warnings:
Simulate travel: Shake, bump, drive short distance if possible. Tug items inside.
Confirms safety. Success: Zero movement or noise.
💡 Tips:
Fill gradually with RV gear (tools, spices, etc.). Balance weight evenly.
Finalizes setup. Enjoy clutter-free space!
Problem: Organizer peels off after bumps
Solution: Re-clean, use stronger strips or add screws/Velcro. Ensure full cure.
Problem: Doesn't stick to textured surfaces
Solution: Roughen with sandpaper lightly or switch to straps/screws.
Problem: Too wobbly when loaded
Solution: Add corner bungees or balance contents.
Problem: Damaged RV surface on removal
Solution: Use Command strips only; pull tab slowly parallel to surface. Seek pro for repairs.
Damage-free adhesive holds up to 5lbs securely on RV walls without residue.
Best for: Mounting lightweight organizers like nets or pockets.
Price Range: $9.99
Reusable, adjustable straps cinch organizers vibration-proof.
Best for: Extra securing on cabinets or cargo nets.
Price Range: $12.99
Stretchy, hooked cords provide flexible hold for heavy organizers.
Best for: Cargo bay or door-mounted bins on rough roads.
Price Range: $10.49
Pre-designed with built-in hooks/straps for easy RV securing.
Best for: All-in-one cabinet organization.
Price Range: $19.99
Double-sided tape for textured surfaces where strips fail.
Best for: Permanent-ish hold on bins.
Price Range: $14.99
Mounting lightweight organizers like nets or pockets.
3M Command Large Utility Hooks Damage-free adhesive holds up to 5lbs securely on RV walls without residue.
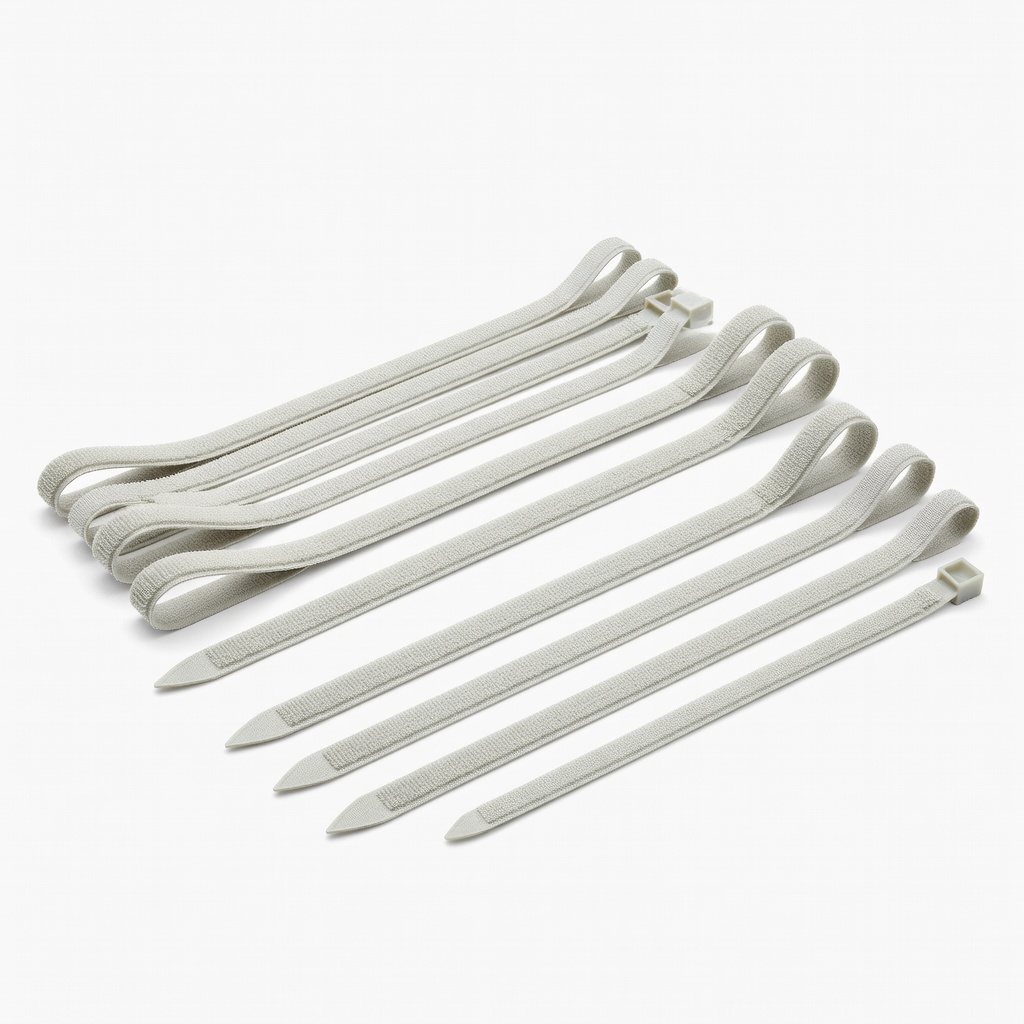
Extra securing on cabinets or cargo nets.
Velcro Brand ONE-WRAP Heavy Duty Cable Ties Reusable, adjustable straps cinch organizers vibration-proof.
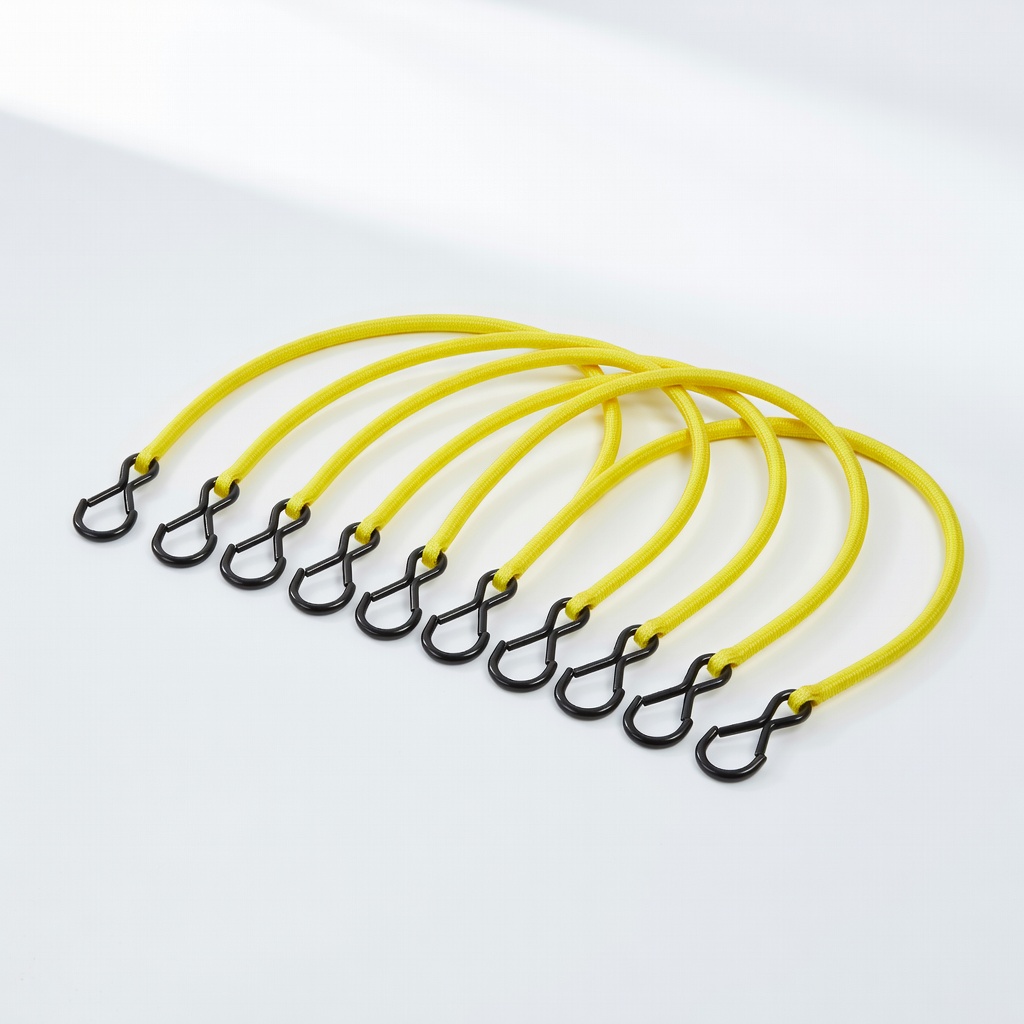
Cargo bay or door-mounted bins on rough roads.
Keeper 01618-8PK 18-Inch Bungee Cords Stretchy, hooked cords provide flexible hold for heavy organizers.
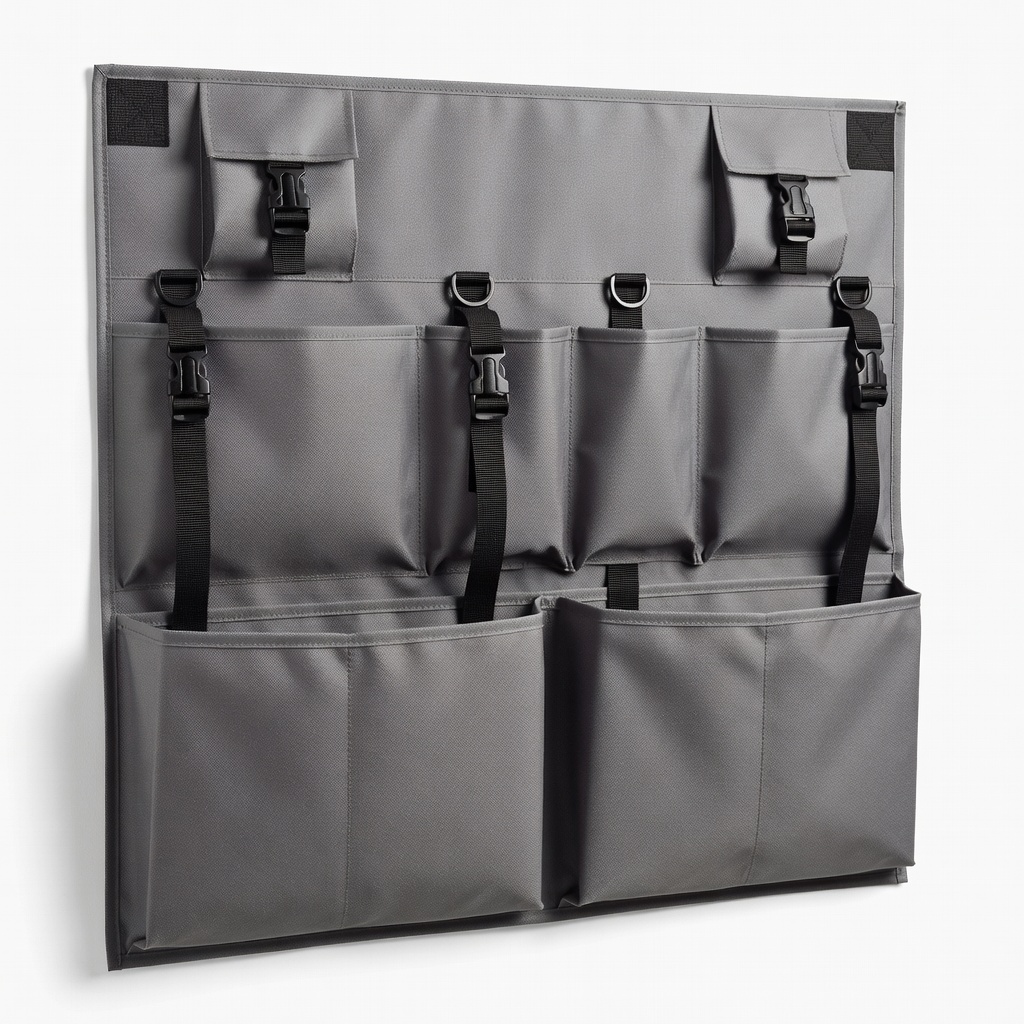
All-in-one cabinet organization.
Camco RV Sidewall Organizer Pre-designed with built-in hooks/straps for easy RV securing.
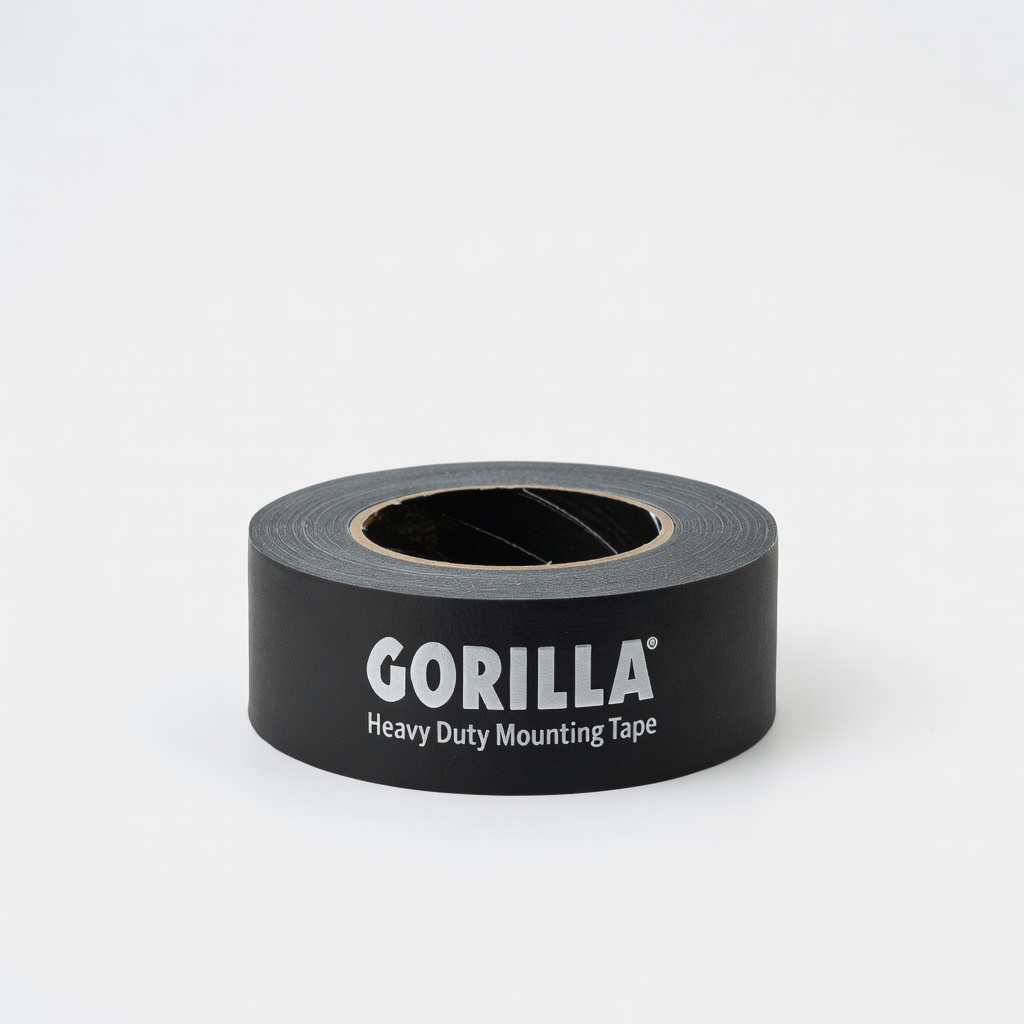
Permanent-ish hold on bins.
Gorilla Heavy Duty Mounting Tape Double-sided tape for textured surfaces where strips fail.