Have you ever had your keys or water bottle slip off a flimsy carabiner clip, only to hit the ground at the worst moment? Loose attachments on bags lead to lost items and frustration daily. This guide fixes that with foolproof methods for beginners.
You'll learn how to select, attach, and secure accessory carabiners to any bag's loops or D-rings. The process uses basic techniques—no tools required for most—and takes just minutes. By the end, your setup will be rock-solid, tested for everyday use.
Expect a quick 5-10 minute tutorial that's beginner-friendly. No prior experience needed; we'll cover everything from inspection to final checks.
▸What You'll Need
- •Accessory carabiner (spring snap or screw-lock type, 1-2 inches for bags)
- •Bag with sturdy loops, D-rings, or webbing attachment points
- •Optional: Small pliers for tight screw-locks
- •Optional: Keyring or accessory to attach
Estimated Time: 5-10 minutes
Difficulty: beginner
▸Step-by-Step Instructions
Step 1: Choose the Right Carabiner
Select a carabiner suited for accessory use, not heavy climbing. Look for aluminum or stainless steel models 1-2 inches long with a spring-loaded snap gate for quick access or screw-lock for maximum security.
Why it matters: Weak or oversized carabiners fail under bag sway, causing items to detach. Success looks like a lightweight clip rated for 100-500 lbs working load—plenty for keys or sunglasses.
Tip: Match size to your bag loop; too big slips off.
💡 Tips:
- •Opt for locking screw-gate for valuables.
- •Check for smooth action without rust.
⚠️ Warnings:
- •Avoid cheap plastic ones—they snap easily.
Step 2: Inspect Your Bag's Attachment Point
Find a reinforced loop, D-ring, or webbing on your backpack, purse, or tote. Tug it firmly to ensure it's sewn securely—not frayed or loose.
This prevents damage to thin straps. Success: A thick, double-stitched loop that doesn't stretch.
💡 Tips:
- •Backpack side loops or purse D-rings are ideal.
⚠️ Warnings:
- •Skip thin drawstring loops—they tear.
Step 3: Open the Carabiner Gate
For snap-gate: Pinch the spring-loaded side gate with thumb and forefinger, swinging it open fully. For screw-lock: Twist the threaded sleeve counterclockwise until the gate swings free.
Why: Proper opening avoids bending the gate. Expect a smooth 'click' or spin without force.
💡 Tips:
- •Lubricate with WD-40 if sticky (wipe excess).
Step 4: Thread Through the Bag Loop
Insert the open gate through the bag's loop or D-ring, ensuring the carabiner body (spine) rests against the bag fabric for stability.
Loop small accessories like keys onto the carabiner first if needed. Success: Everything threaded without twisting.
⚠️ Warnings:
- •Don't force through tight loops—choose bigger carabiner.
Step 5: Close and Lock the Gate Securely
Release the snap-gate—it should click shut firmly. For screw-lock: Swing gate closed, then twist sleeve clockwise until hand-tight (about 3-4 full turns).
Test by shaking; no rattle means secure. This step prevents accidental openings from bag bounce.
💡 Tips:
- •Double-twist screw-locks for insurance.
Step 6: Attach Your Accessories
Clip keys, keychain, water bottle, or sunglasses onto the carabiner. Use additional mini-carabiners for multiples.
Success: Items hang balanced, no swinging into the bag.
Step 7: Test the Attachment
Tug, shake, and swing the bag vigorously. Pull on the carabiner sideways and up/down.
If it holds without opening or slipping, you're done. Repeat daily for wear checks.
Why: Simulates real-world jostling like walking or running.
⚠️ Warnings:
- •If it opens, replace immediately.
▸Pro Tips
- •Use screw-lock carabiners for high-value items like wallets.
- •Attach to multiple loops for distributed weight.
- •Clean carabiners monthly with soap to prevent grit buildup.
- •Color-code carabiners for different bag sections (keys red, bottle blue).
- •Pair with paracord loops for custom bag mods.
- •Buy in packs for backups—cheap insurance.
- •For heavy loads, double up with two carabiners.
▸Common Mistakes to Avoid
- •Using non-locking snap gates for valuables—they pop open in pockets.
- •Over-tightening screw-locks, stripping threads (hand-tight only).
- •Attaching to weak bag seams, causing tears—always inspect first.
- •Ignoring size; oversized clips slide off loops.
- •Forgetting to test—leads to lost items on first use.
▸Troubleshooting
Problem: Gate won't close fully
Solution: Debris inside—clean with toothpick and dry. If bent, replace carabiner.
Problem: Slips off bag loop
Solution: Use smaller carabiner or add tape/rubber band temporarily; upgrade loop.
Problem: Opens accidentally
Solution: Switch to screw-lock type; check spring tension.
Problem: Rust or corrosion
Solution: Dry immediately after rain; apply silicone spray. Replace if pitted.
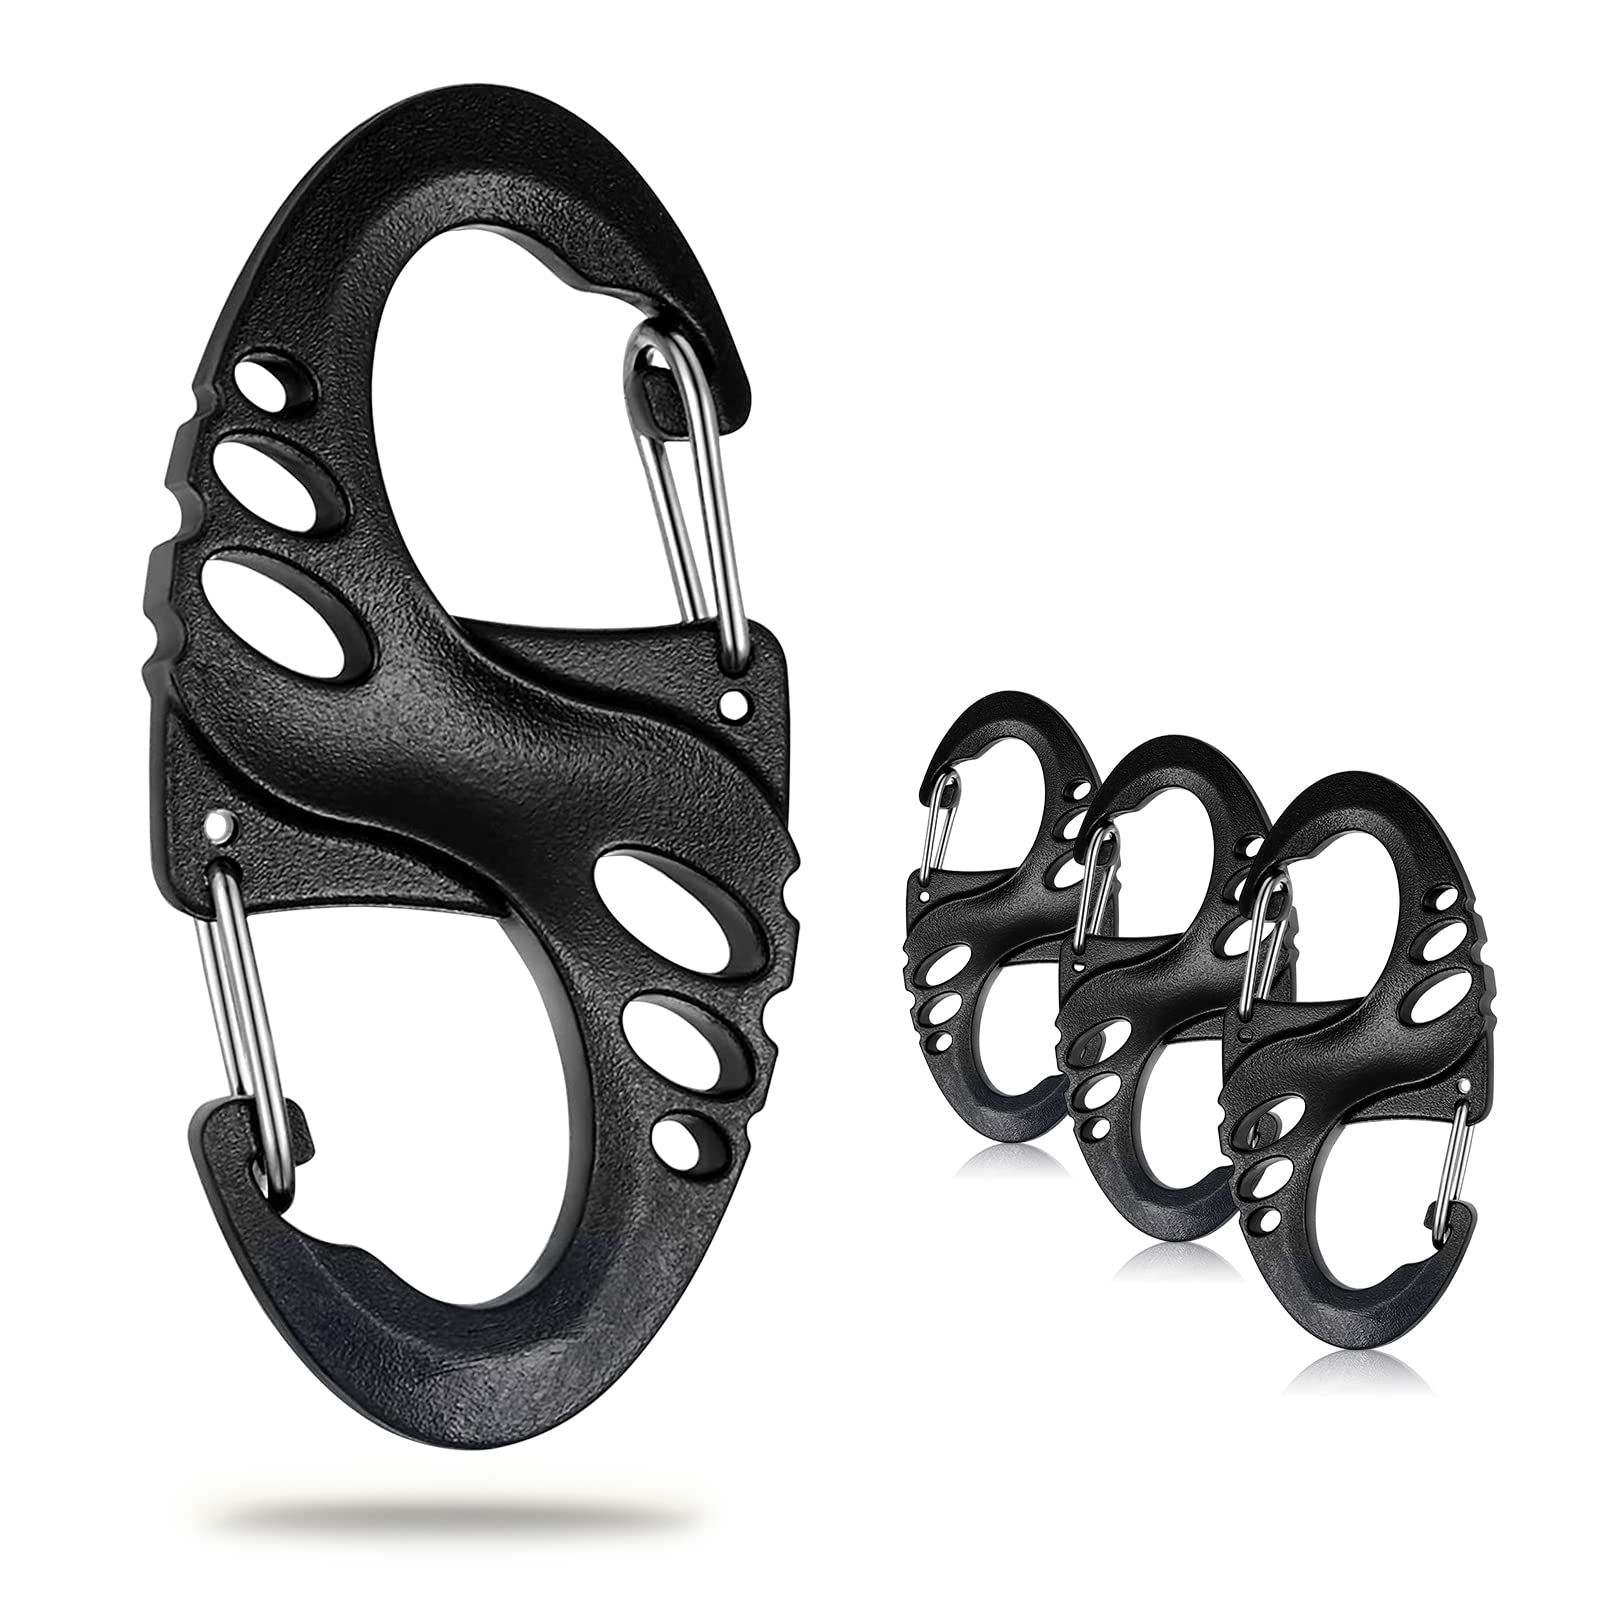
RiToEasyshop Carabiner Clips, 12 Pack Stainless Steel
Durable, rust-proof stainless steel with smooth snap gates; perfect for beginners needing multiples.
Best for: Everyday bag attachments for keys and light gear.
Price Range: $9.99
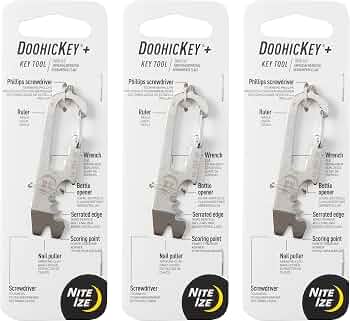
Nite Ize DoohicKey Carabiner and Micro Key Tool
Compact, multi-tool design with secure carabiner; includes bottle opener for utility.
Best for: Key organization on purses or backpacks.
Price Range: $4.99
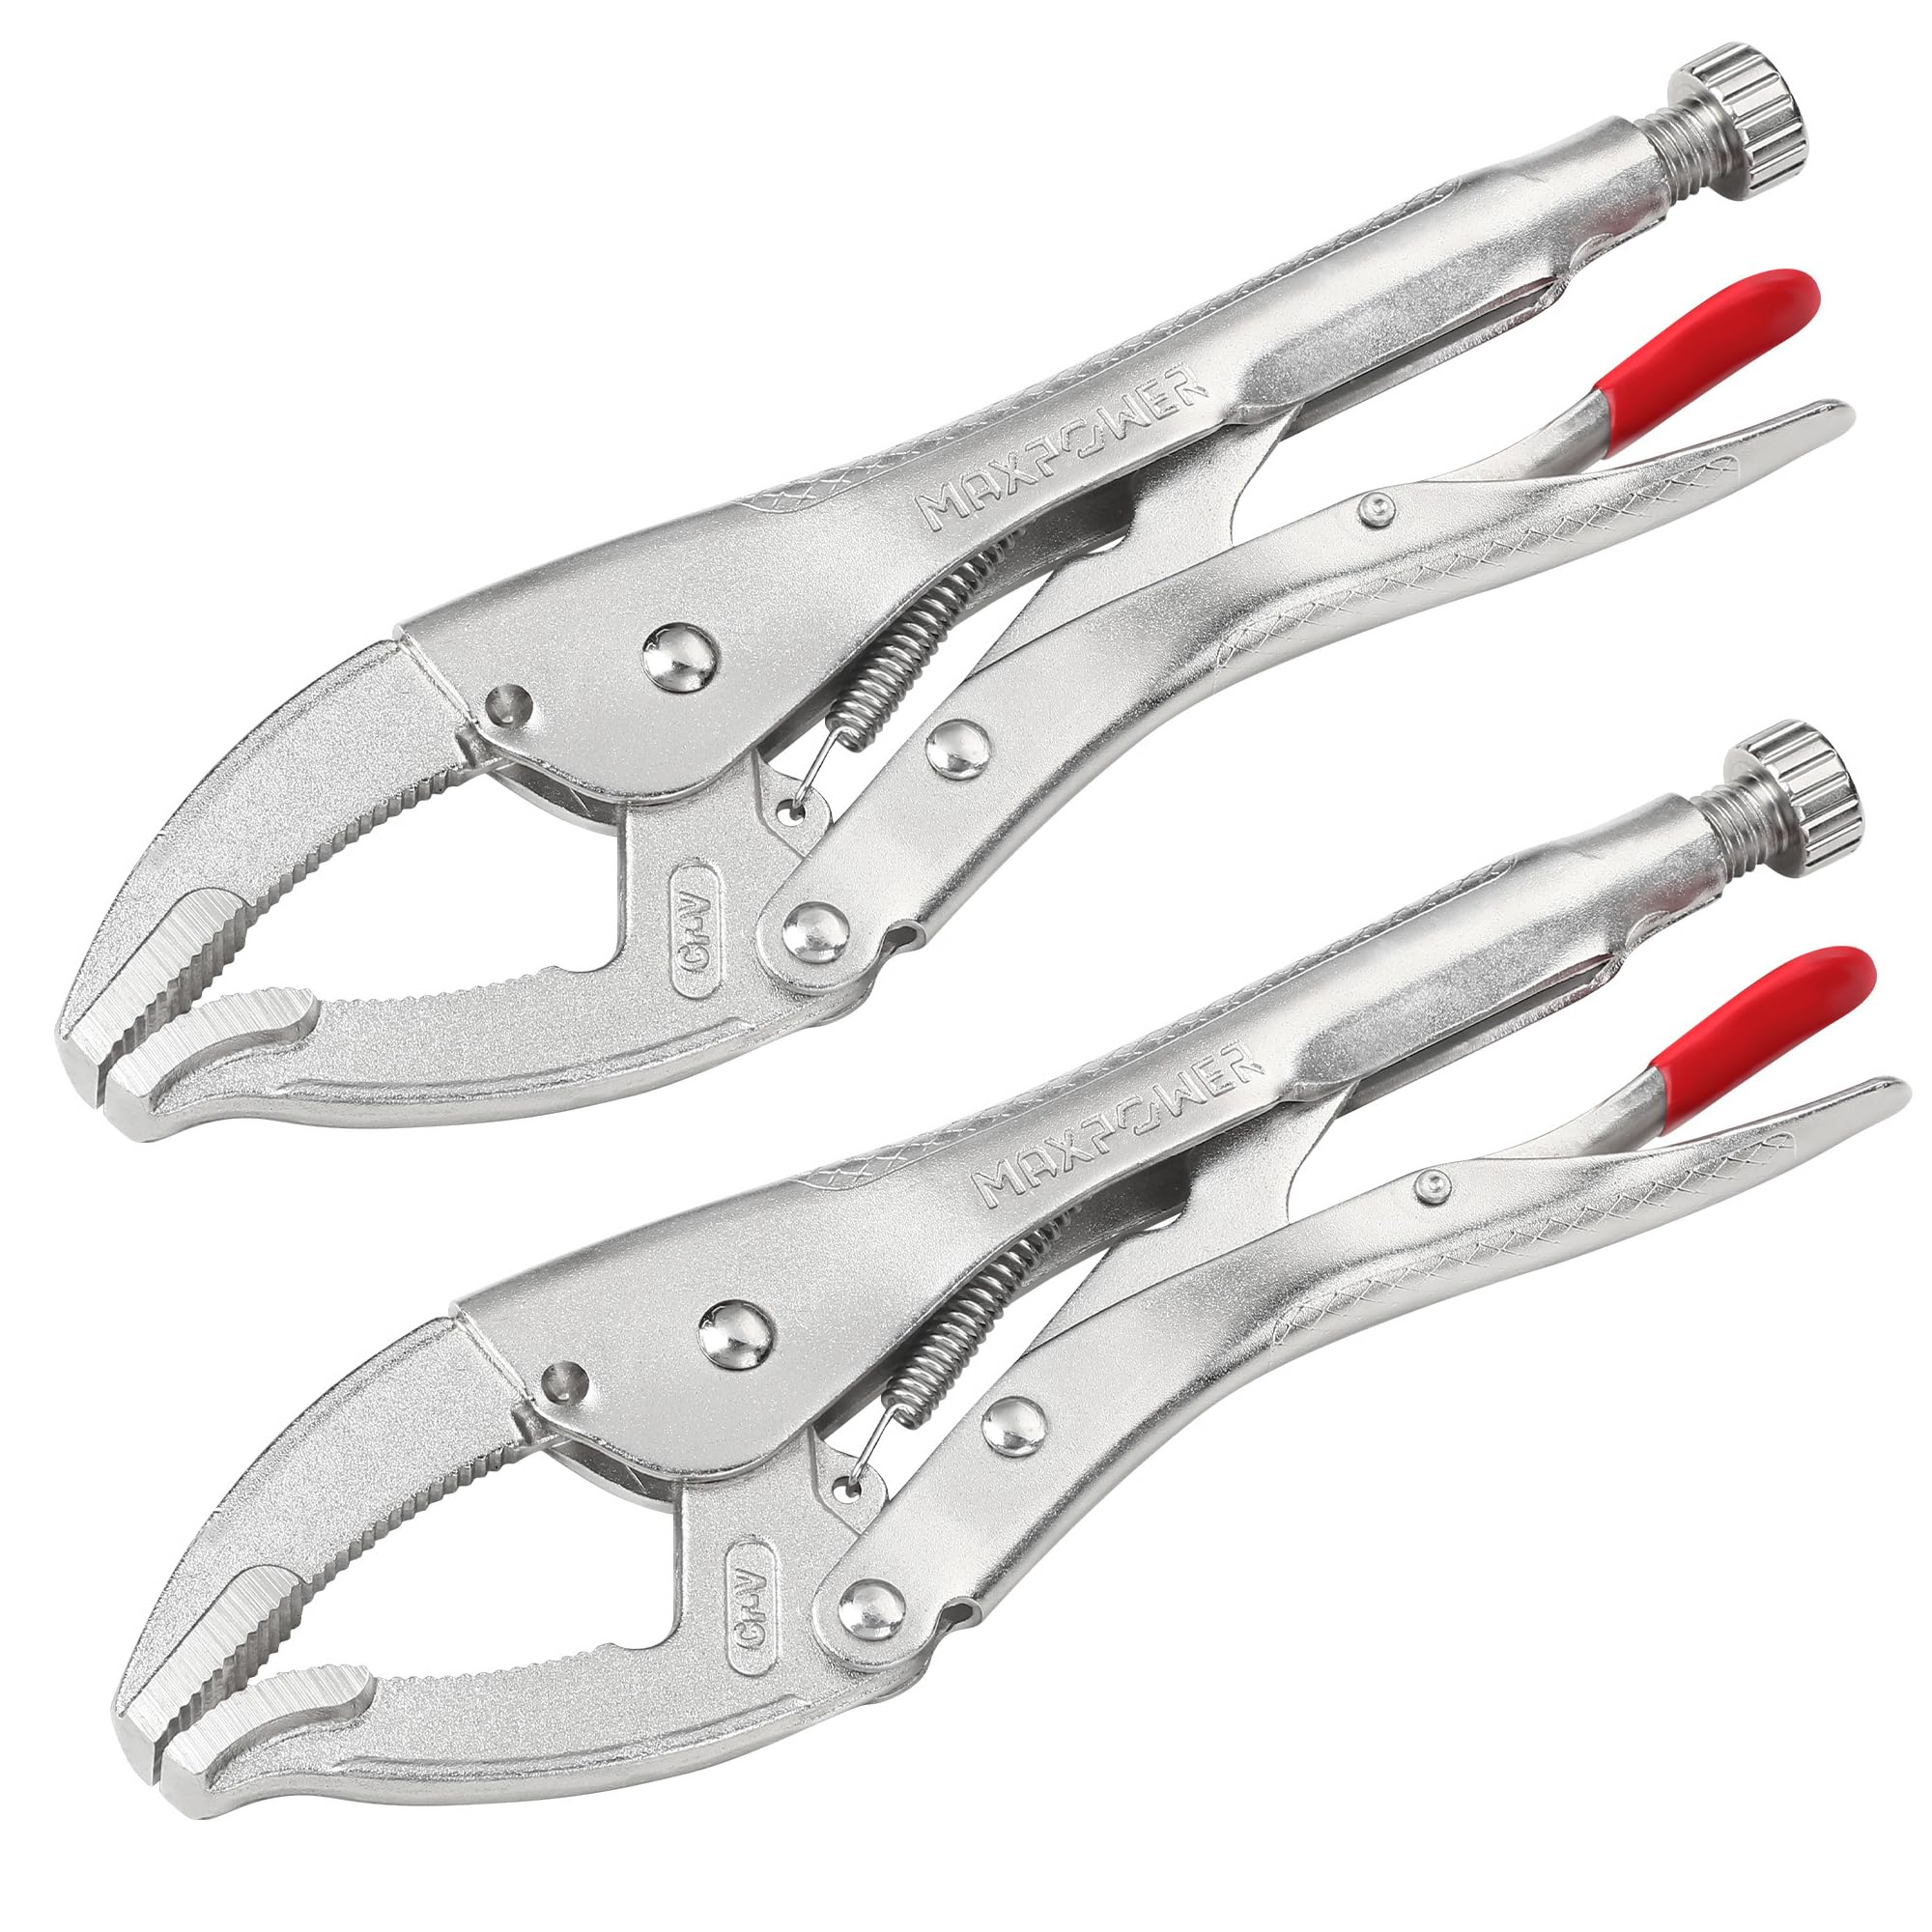
MAXPOWER Locking Carabiner Clips, 10 Pack
Twist-lock mechanism for superior security over basic snaps; aluminum for lightness.
Best for: Heavy accessories like water bottles on hiking bags.
Price Range: $12.99
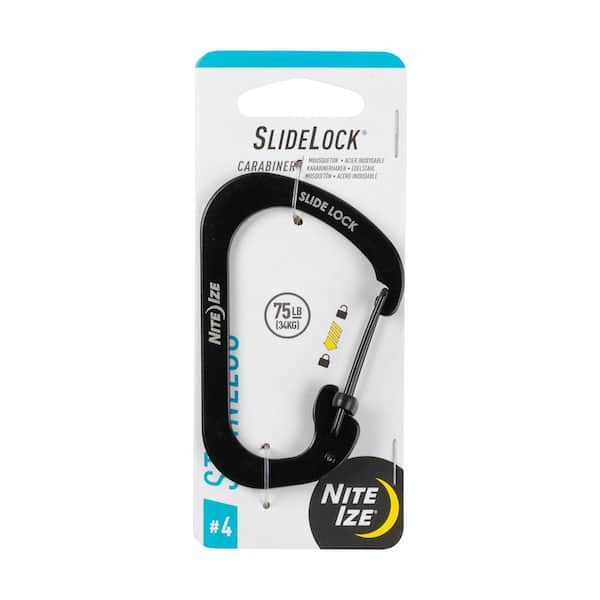
Nite Ize SlideLock Carabiner, Large
Patented slide-to-lock gate prevents accidental opens; trusted brand for reliability.
Best for: Daily commuters securing phones or wallets.
Price Range: $6.49