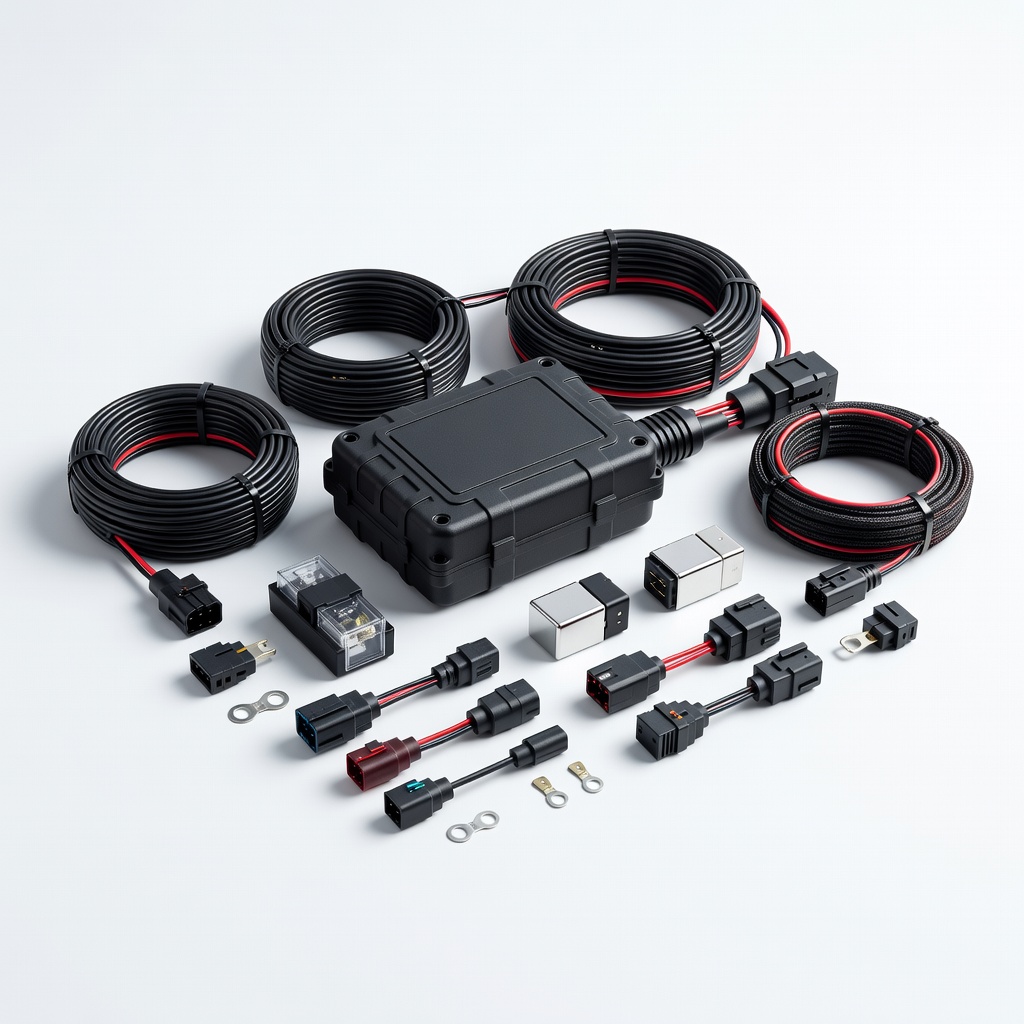
Nilight 50039R Universal Wiring Harness Kit
Full accent/rock light installs needing plug-and-play reliability.
$25.99
Nilight 50039R Universal Wiring Harness Kit Pre-wired with relays/fuses/loom—saves time, ensures correct gauge for off-road loads.
Get the App
Better experience on mobile
Master advanced techniques to protect accent and off-road light wiring from vibration, weather, and damage for reliable performance.
Off-road and accent lighting transforms your vehicle at night, but exposed wiring is a common failure point—vibration, mud, water, and heat can cause shorts, flickering, or total burnout. Advanced enthusiasts know unsecured wires lead to costly replacements and downtime on the trail.
This guide teaches you pro-level methods to route, protect, and secure wiring for longevity. You'll cover planning, sleeving, waterproofing, and testing. Expect rock-solid results that withstand abuse.
Total process takes 1-2 hours per light setup (more for full installs). Advanced difficulty assumes electrical basics like crimping and multimeter use.
Estimated Time: 1-2 hours per lighting setup Difficulty: advanced
Start by disconnecting the negative battery terminal to prevent shorts. Survey your vehicle: identify shortest, protected paths from battery to lights, avoiding exhaust, moving parts, and sharp edges. Mark routes with painter's tape.
Why? Poor routing causes chafing and failures. Sketch paths, noting grommet points and mount locations. Success: Clear map minimizing wire length (under 20ft ideal).
Use OEM harness paths for stealth.
💡 Tips:
⚠️ Warnings:
Feed 12-14 AWG wires (red positive, black ground) through marked routes using fish tape or coat hanger. Secure loosely with zip ties every 18 inches initially.
Expect some resistance at grommets—lubricate with soapy water. Pull switch/relay trigger wires separately (18 AWG). Success: Wires reach lights without kinks.
Route grounds to clean chassis points, scrape paint for contact.
💡 Tips:
⚠️ Warnings:
Slide split polyethylene loom over wires from battery to lights. Overlap sections 2 inches, secure with zip ties. Cut to fit curves.
Why? Loom absorbs impacts, repels water/mud. Expect flexible protection. Success: All wires sleeved, no exposed sections.
For accents, use colored loom to match aesthetics.
💡 Tips:
⚠️ Warnings:
Near battery, mount 40A relays (one per light pair) and inline fuses. Crimp ring terminals, apply dielectric grease.
Why? Protects circuits from overloads. Wire: Battery+ to fuse to relay 30, relay 87 to lights, relay 86/85 to switch/ground. Success: Clean, labeled setup.
Test continuity before finalizing.
💡 Tips:
⚠️ Warnings:
At lights, strip 1/2 inch, twist solder or crimp, cover with 3:1 heat shrink (shrink with heat gun). Add grease inside.
For plugs, use Deutsch DT connectors. Why? Seals prevent corrosion. Success: Tug-test holds 20lbs, no water ingress (submerge test optional).
Double-shrink for high-vibe areas.
💡 Tips:
⚠️ Warnings:
Tighten zip ties every 6-12 inches, add P-clips/brackets at stress points (near doors, suspension). Trim excess.
Route along frame rails, away from heat. Success: Zero movement when shaking vehicle.
Use adhesive-lined clamps for clean installs.
💡 Tips:
⚠️ Warnings:
Reattach battery. Use multimeter: Check 12-14V at lights, no shorts (resistance infinite). Cycle switch 20x.
Why? Catches issues pre-install. Success: Lights on steady, no heat/sparks.
Off-road: Test vibes on jack stands.
💡 Tips:
⚠️ Warnings:
Drive test: Check for rubs, water spray. Reseal grommets with silicone. Add final tape wraps.
Success: Lights endure wash/trail run flawless. Document for warranty.
Reinspect after 100 miles.
💡 Tips:
⚠️ Warnings:
Problem: Lights flicker under load
Solution: Check ground cleanliness; add relay if missing. Measure voltage drop.
Problem: No power at lights
Solution: Fuse blown? Test relay click; continuity from battery.
Problem: Water ingress after rain
Solution: Re-shrink with grease; use IP67 connectors.
Problem: Wires rub through
Solution: Reroute/add edge guards; replace loom.
Problem: Overheating
Solution: Undersized wire? Upgrade AWG; check amps.
Pre-wired with relays/fuses/loom—saves time, ensures correct gauge for off-road loads.
Best for: Full accent/rock light installs needing plug-and-play reliability.
Price Range: $25.99
Assortment sizes with glue lining for waterproof seals—essential for all connections.
Best for: Sealing splices and terminals in wet environments.
Price Range: $16.99
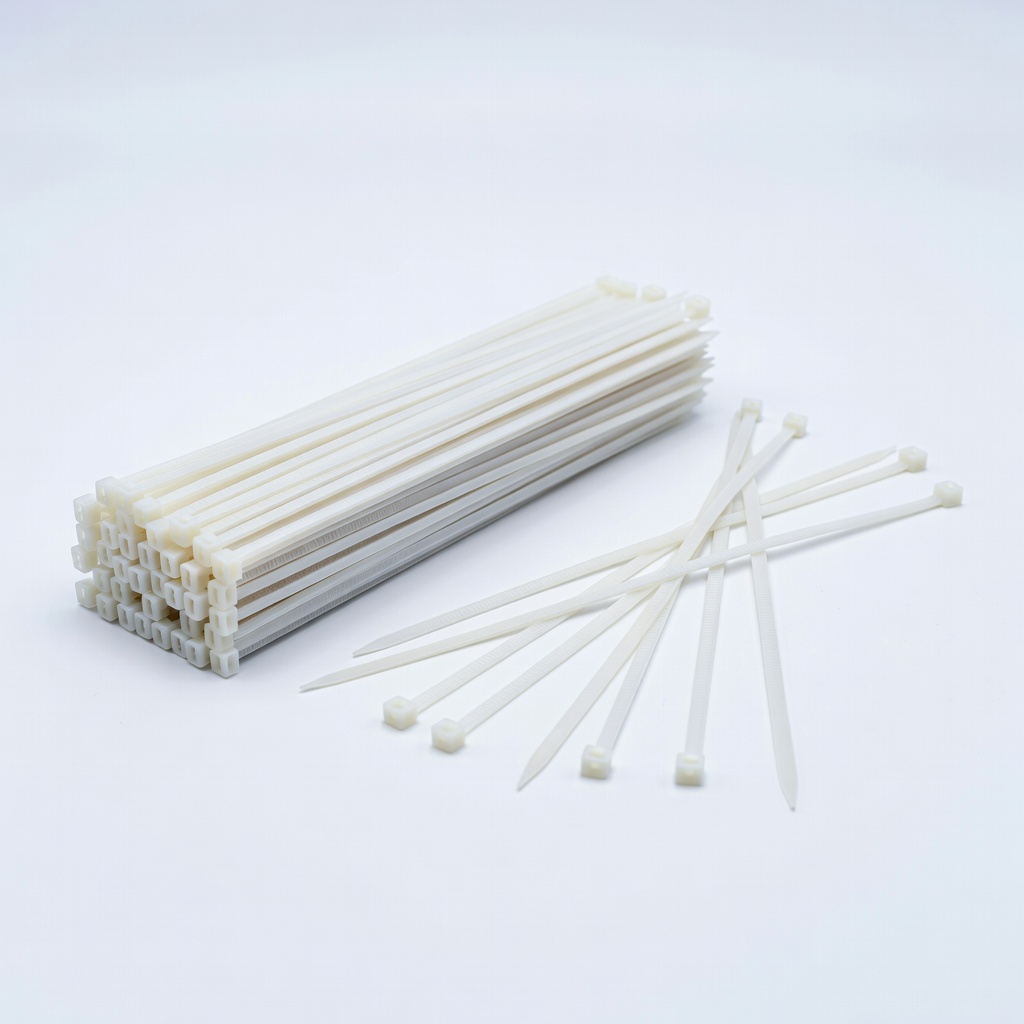
UV-resistant, 50lb tensile—holds up to trails without snapping.
Best for: Permanent securing every 6-12 inches.
Price Range: $9.99
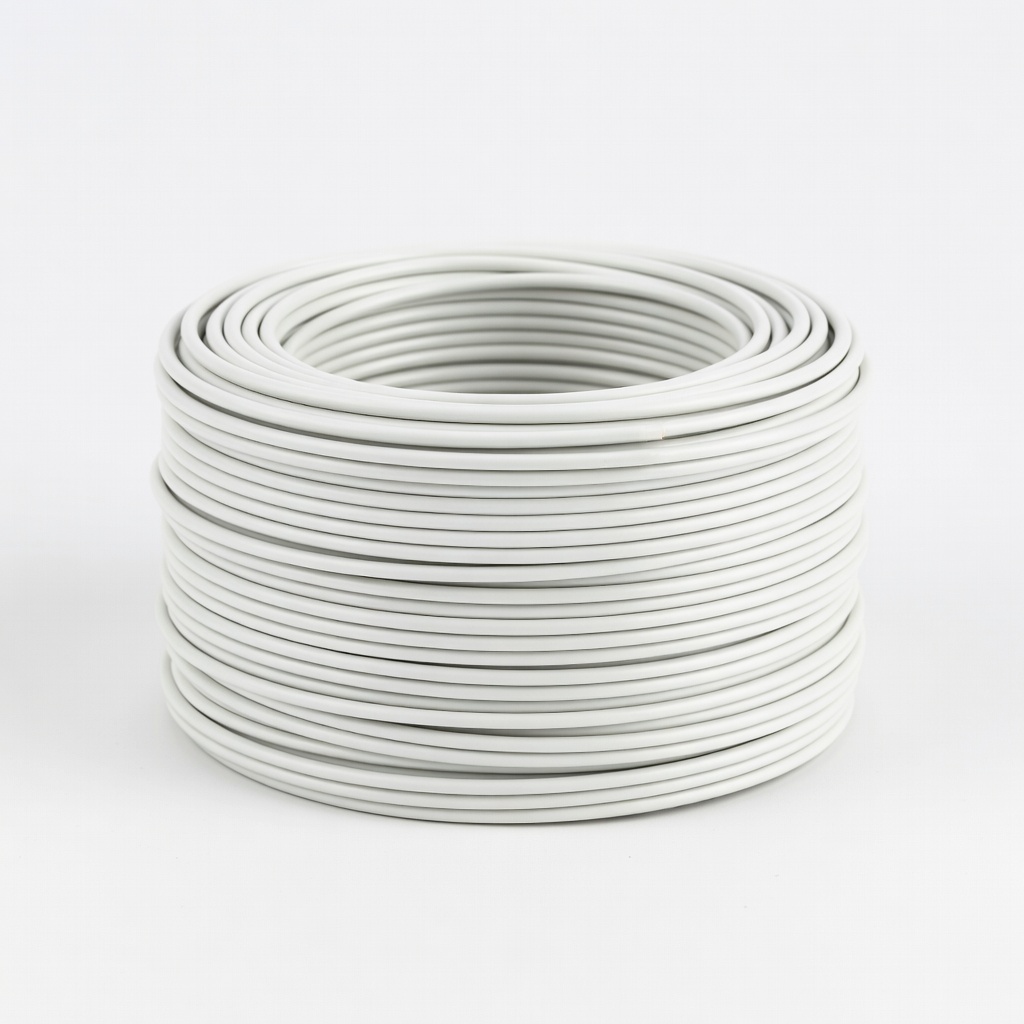
Stranded copper resists vibration; red/black pair kit.
Best for: Custom runs where harness too short.
Price Range: $19.99
Flexible, easy-split protection from abrasion/mud.
Best for: Sleeving all exterior wires.
Price Range: $12.99
Full accent/rock light installs needing plug-and-play reliability.
Nilight 50039R Universal Wiring Harness Kit Pre-wired with relays/fuses/loom—saves time, ensures correct gauge for off-road loads.

Sealing splices and terminals in wet environments.
AUPERFECT 328PCS Heat Shrink Tubing Kit Assortment sizes with glue lining for waterproof seals—essential for all connections.
Permanent securing every 6-12 inches.
TICONN 12 Inch Heavy Duty Zip Ties (120 Pack) UV-resistant, 50lb tensile—holds up to trails without snapping.
Custom runs where harness too short.
GS Power 16 Gauge Primary Wire (50ft) Stranded copper resists vibration; red/black pair kit.
Sleeving all exterior wires.
Poly Split Loom Tubing 1/2" (100ft) Flexible, easy-split protection from abrasion/mud.