Granite countertops are beautiful, durable, and a major investment in your kitchen. But natural stone is naturally porous, which means it can absorb spills like oil, red wine, or coffee if the surface isn't sealed. Over time, unsealed granite can stain permanently, harbor bacteria, and lose its luster. Sealing your countertops is one of the best ways to protect that investment—and it's a DIY project you can complete in just a couple of hours.
In this step-by-step guide, you'll learn exactly how to seal granite countertops, starting with how to tell if your granite needs sealing (hint: the water bead test), how to choose the right sealer, and how to apply it so you get a professional-looking, streak-free finish. You'll also learn what to avoid, how to fix common mistakes, and how to keep your sealant working for as long as possible.
Whether you've just had granite installed or your existing countertops have never been sealed, this guide gives you a simple, repeatable process for keeping your stone protected.
▸What You'll Need
- •Granite sealer (solvent-based penetrating sealer)
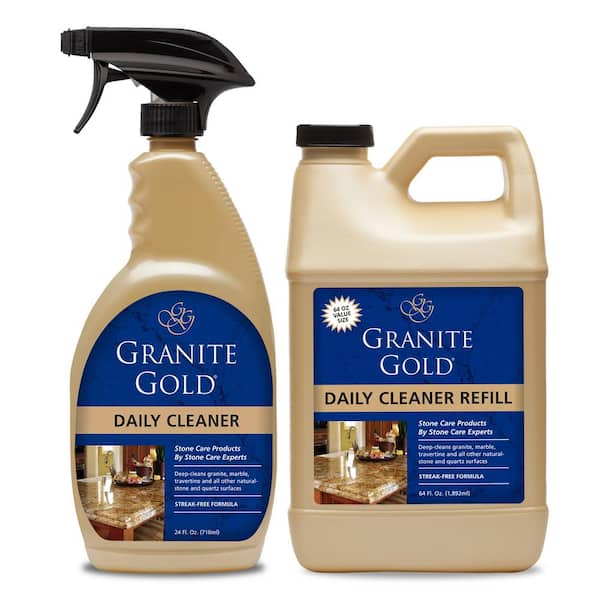
- •pH-neutral stone cleaner (e.g., Granite Gold Daily Cleaner)
- •70% isopropyl alcohol (optional, for greasy areas)
- •Clean, lint-free microfiber cloths (several)
- •Foam brush or a soft cloth for applying sealer
- •Nitrile or latex gloves
- •Safety glasses (optional)
- •Painter's tape (optional, for backsplashes and edges)
- •Disposable cup or tray for sealer
- •A window or exhaust fan for ventilation
Estimated Time: 1-2 hours plus 3-6 hours drying/curing time
Difficulty: beginner
▸Step-by-Step Instructions
Step 1: Test whether your granite needs sealing
Before you break out the sealer, find out if your granite actually needs it. Start by cleaning a small area with a pH-neutral stone cleaner and letting it dry completely. Then pour about a quarter-sized amount of water directly onto the countertop and let it sit for 15 to 30 minutes.
If the water beads up and stays on the surface, your current sealer is still doing its job. If the water darkens the stone or soaks in, it's time to reseal. Check a few different areas—especially near sinks, cooktops, and high-use zones—since the sealer can wear unevenly.
This simple test saves you from applying sealer that isn't needed and tells you how much product to use.
💡 Tips:
- •Test in an unobtrusive area if possible
- •Do the test after the surface is clean and dry
⚠️ Warnings:
- •Don't use acidic liquids like lemon juice for the test, as it can etch granite.
Step 2: Clean the countertops thoroughly
Once you've confirmed your granite needs sealing, remove all items from the countertop. Mix a few drops of a stone-specific, pH-neutral cleaner with warm water in a spray bottle or bowl. Spray the surface and wipe it down with a soft, lint-free microfiber cloth. Work in sections and rinse your cloth frequently.
If there's greasy buildup near the stove, a little 70% isopropyl alcohol can help cut the grease. Dampen a cloth with the alcohol and wipe the affected area, then follow with the stone cleaner. Alcohol evaporates quickly and is safe on sealed granite, but avoid using it on unsealed stone for extended periods.
Allow the countertop to air-dry completely before applying sealer. Even a thin film of water can prevent the sealer from penetrating evenly, so be patient and don't rush this step.
💡 Tips:
- •Use a dedicated stone cleaner to avoid residue
- •Dry the surface with a fresh microfiber cloth after cleaning
⚠️ Warnings:
- •Never use vinegar, lemon, bleach, or ammonia-based cleaners on granite—they can dull and etch the stone.
Step 3: Choose the right sealer for your granite
Not all sealers are the same. For granite countertops, you want a penetrating sealer (also called an impregnating sealer) that soaks into the stone and forms an invisible barrier against water and oil-based stains. These are typically solvent-based, dry to a clear finish, and don't alter the natural look of the stone.
Some products on the market are labeled "sealer and enhancer" and are designed to darken or enrich the stone's color. That's fine if you want that effect, but ignore any product that claims to create a glossy topcoat—topical sealers tend to scratch, peel, and can make routine cleaning harder.
Check the label to confirm the sealer is recommended for granite and won't leave a film. If you're unsure, look for brands that stone-care professionals recommend, and read user reviews for feedback on kitchen countertop applications.
💡 Tips:
- •Choose a sealer specifically formulated for natural stone, not a general-purpose product
- •Buy a little extra if you plan to seal surrounding tile or stone backsplashes
⚠️ Warnings:
- •Avoid clean-and-seal combo products for your initial sealing—they're too diluted to build a reliable barrier.
Step 4: Prepare the kitchen and your work area
Sealers contain solvents and produce fumes, so open doors and windows and turn on your kitchen exhaust fan. Remove as many items from the countertops as possible, and cover adjacent surfaces like backsplashes, cabinets, or flooring with painter's tape if you're concerned about drips or overspray.
Wear nitrile or latex gloves. Even though the sealer is safe, it's sticky stuff, and you don't want it on your hands. Also consider safety glasses—especially if you're working on an overhead or backsplash area.
Finally, do one last pass over the countertops to confirm they're completely dry and free of crumbs or dust. Use a dry microfiber cloth to wipe the surface one last time.
💡 Tips:
- •Work in a well-ventilated space and take breaks if the fumes bother you
- •Have all your supplies on hand before you start—you won't want to touch the countertop after the sealer is applied
⚠️ Warnings:
- •Don't leave sealer containers near open flames or heat sources—they're flammable while liquid.
Step 5: Apply the first coat of sealer
Fold a clean lint-free cloth into a pad, or use a foam brush specifically for the sealer. Pour a small amount of sealer into a disposable cup or directly onto the folded cloth—but never pour it straight onto the countertop. Working in sections about 2 to 3 feet square, apply the sealer in a thin, even coat using overlapping circular motions.
Keep the entire section visibly wet and do not let it dry before you move on. The sealer will begin to soak into the granite. How fast that happens depends on the stone's porosity. In areas that absorb quickly, apply more sealer until the stone stops absorbing.
Don't overwork the sealer. A light touch is all you need—you want the stone to drink it in. Once the section is covered, move to the next section, keeping a wet edge by slightly overlapping the previous area. Let the first coat sit for the time recommended on the bottle (usually 15 to 30 minutes). The sealer should gradually disappear.
💡 Tips:
- •For larger kitchens, use a paint pad applicator designed for wood stains to smooth out the coat
- •Keep a separate cloth for wiping up any drips on backsplashes or edges
⚠️ Warnings:
- •Never pour puddles of sealer onto the countertop because it will dry as an ugly white residue.
Step 6: Apply a second coat if the stone is porous
After the first coat has soaked in, check the surface. If the granite still looks dry and seems to drink the sealer almost instantly, your stone is highly porous and will likely need a second coat. Wait until the first coat has absorbed (if there's any liquid still sitting on top, wait a few more minutes or wipe it off) and then repeat the application process.
Apply the second coat the same way you did the first, working in sections and allowing it to penetrate. The surface will eventually repel the sealer slightly—leaving a wet sheen on top. That's your signal that the stone has reached its saturation point.
Once you have an even sheen, there's no need to apply more coats. Adding extra layers of sealer beyond what the stone can absorb will only cause a cloudy film.
💡 Tips:
- •A second coat is definitely necessary for light-, white-, and high-porosity granites
- •Check the manufacturer's instructions—some sealers are designed for one coat only
⚠️ Warnings:
- •Don't let the second coat dry completely on the surface; it will be very hard to remove.
Step 7: Buff the surface to remove excess sealer
If you see any leftover sealer sitting on the surface after the stone has absorbed what it can, grab a fresh, clean, dry microfiber cloth and buff the countertops. Use a light, sweeping motion, just like you're polishing a car. This removes any residual sealer that could dry into a haze and gives the granite a soft, finished glow.
Make sure you only buff after the sealer has penetrated. If you do it too soon, you'll wipe off the sealer before it can work. If you wait too long, the excess will harden and you'll have to scrub. The ideal time is when the surface is slightly tacky but not wet.
Buffing is especially important for solvent-based penetrating sealers, because they can leave a fast-drying residue if not polished out properly. When you're done, the countertop should look natural and dry to the touch.
💡 Tips:
- •Use a different microfiber cloth for buffing so you don't spread any leftover sealer around
- •Buff in large, continuous strokes to avoid streaks
⚠️ Warnings:
- •Don't use a bath towel or any fabric that leaves lint behind—you'll just contaminate the finish.
Step 8: Let it cure and test the seal
After buffing, allow the sealer to cure. Many penetrating sealers are ready for light use in 3 to 6 hours, but you should avoid placing heavy objects or spilling liquids on the countertop for at least 24 hours to allow the sealer to fully bond. Check the product label for the exact cure time.
Once it's fully cured, repeat the water test from Step 1: sprinkle a few drops of water on the surface. If the water beads up and stays put, your seal is healthy. If it soaks in within a few minutes, you likely need another coat. This can happen if you didn't let the first coat cure long enough, or if you buffed too early.
When you're happy with the test, you're done. To keep the protection going, plan on testing your granite every 6 to 12 months and resealing when the water test fails.
💡 Tips:
- •Mark the date on the sealer bottle so you remember when your countertops were last sealed
- •Use a cutting board and wipe up spills promptly—sealing doesn't make granite stain-proof, just stain-resistant
⚠️ Warnings:
- •Don't place hot pans directly on the surface during the first 24 hours, even though granite is heat-resistant.
▸Pro Tips
- •Test your countertops twice a year by placing a few drops of water: if it beads, the seal is working; if it darkens, reseal.
- •Use pH-neutral stone cleaners only. Acidic products like vinegar will eat away at the sealer and dull the stone.
- •Clean spills immediately, especially oil and wine. Sealing makes granite stain-resistant, not stain-proof.
- •Blot spills—don't wipe them—so you don't spread the grease deeper into the stone.
- •Prevent water rings around sinks by reapplying sealer in those areas more frequently.
- •Keep sealer off of tiles and metal fixtures; wipe any drips quickly using a dry cloth.
- •If your granite has natural pits or fissures, fill them with a small amount of sealer, but don't build it up.
- •For extra protection, consider using a cutting board and a trivet—sealer won't protect against the dulling of knives or thermal shock.
▸Common Mistakes to Avoid
- •Skipping the water test and sealing based on a schedule. Sealing too often can waste product and create cloudy residue.
- •Using household glass cleaners or vinegar-based products on unsealed granite before applying sealer. The acid can etch the stone and create permanent spots.
- •Applying sealer to a damp surface. Moisture blocks penetration and leaves you with a weak, patchy seal.
- •Overloading the granite with sealer and leaving a cloudy white film or puddling. Always apply thin, even coats and buff off excess.
- •Buffing too soon or too late. Too soon removes the sealer; too late makes it hard to remove.
▸Troubleshooting
Problem: I sealed, but water still absorbs after 24 hours.
Solution: Your granite may be very porous. Apply another coat and test again. If it still absorbs, use a high-solids sealer specifically for porous stone. If the sealer was applied too thinly or onto a dirty surface, clean the surface and reapply a fresh coat.
Problem: The countertop has hazy white streaks after the sealer dried.
Solution: Buff with a clean, dry microfiber cloth. If the haze persists, the excess sealer may have cured. Try gently buffing with a cloth dampened with a stone-safe cleaner, or consult the sealer's instructions for a solvent recommendation.
Problem: The sealer smells strong and won't dissipate.
Solution: Ventilate the kitchen for 24-48 hours, keeping windows open and a fan running. Avoid staying in the room for long periods until the smell fades. If you feel dizzy or unwell, leave the area and call a professional if symptoms continue.
Problem: I accidentally spilled sealer on the backsplash or stainless steel.
Solution: Wipe it off immediately while wet. If it dries, use a plastic scraper or a rag with mineral spirits, then clean with mild soap and water.
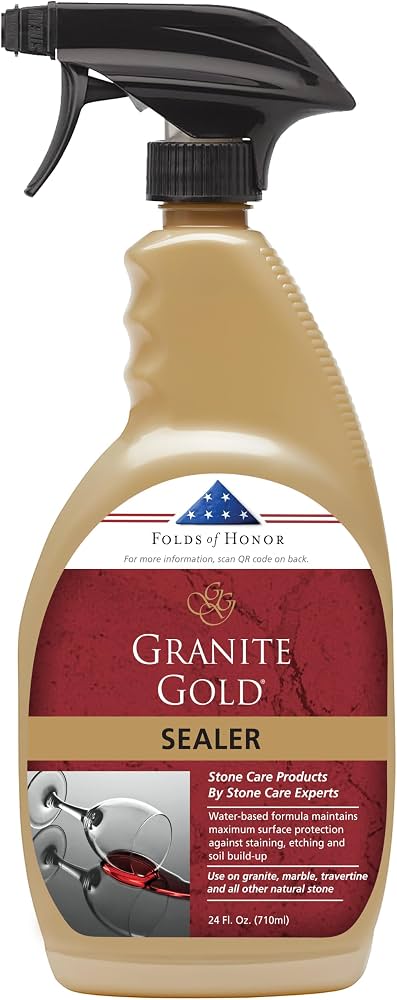
Granite Gold Sealer (32 oz)
A trusted name in stone care; easy-to-use squeeze bottle and clear formula that's tough on stains but gentle on your granite.
Best for: For homeowners who want a simple, one-step penetrating sealer for their kitchen granite.
Price Range: $20-$30
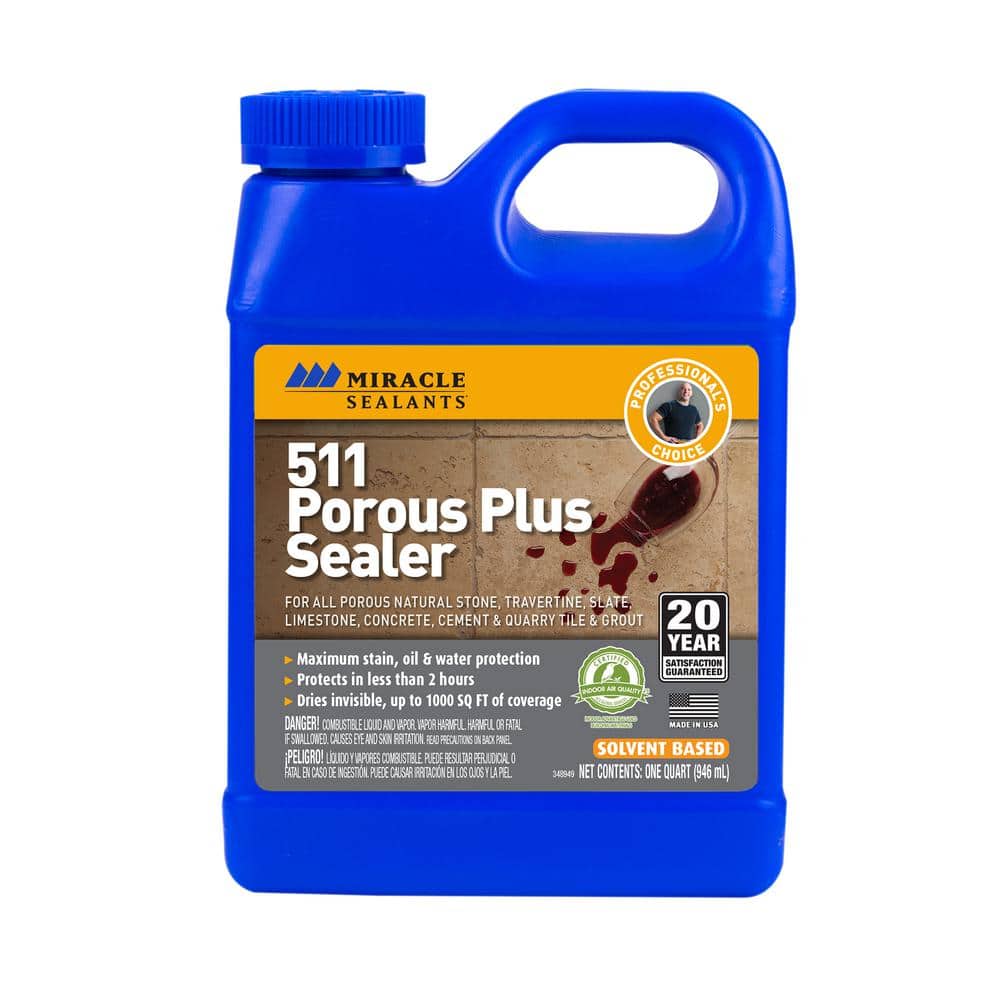
Miracle Sealants Porous Plus Penetrating Sealer
A professional favorite that works on granite, marble, and other porous stones, providing durable protection that lasts.
Best for: For granite that absorbs water quickly or needs extra protection in high-moisture kitchens.
Price Range: $15-$25
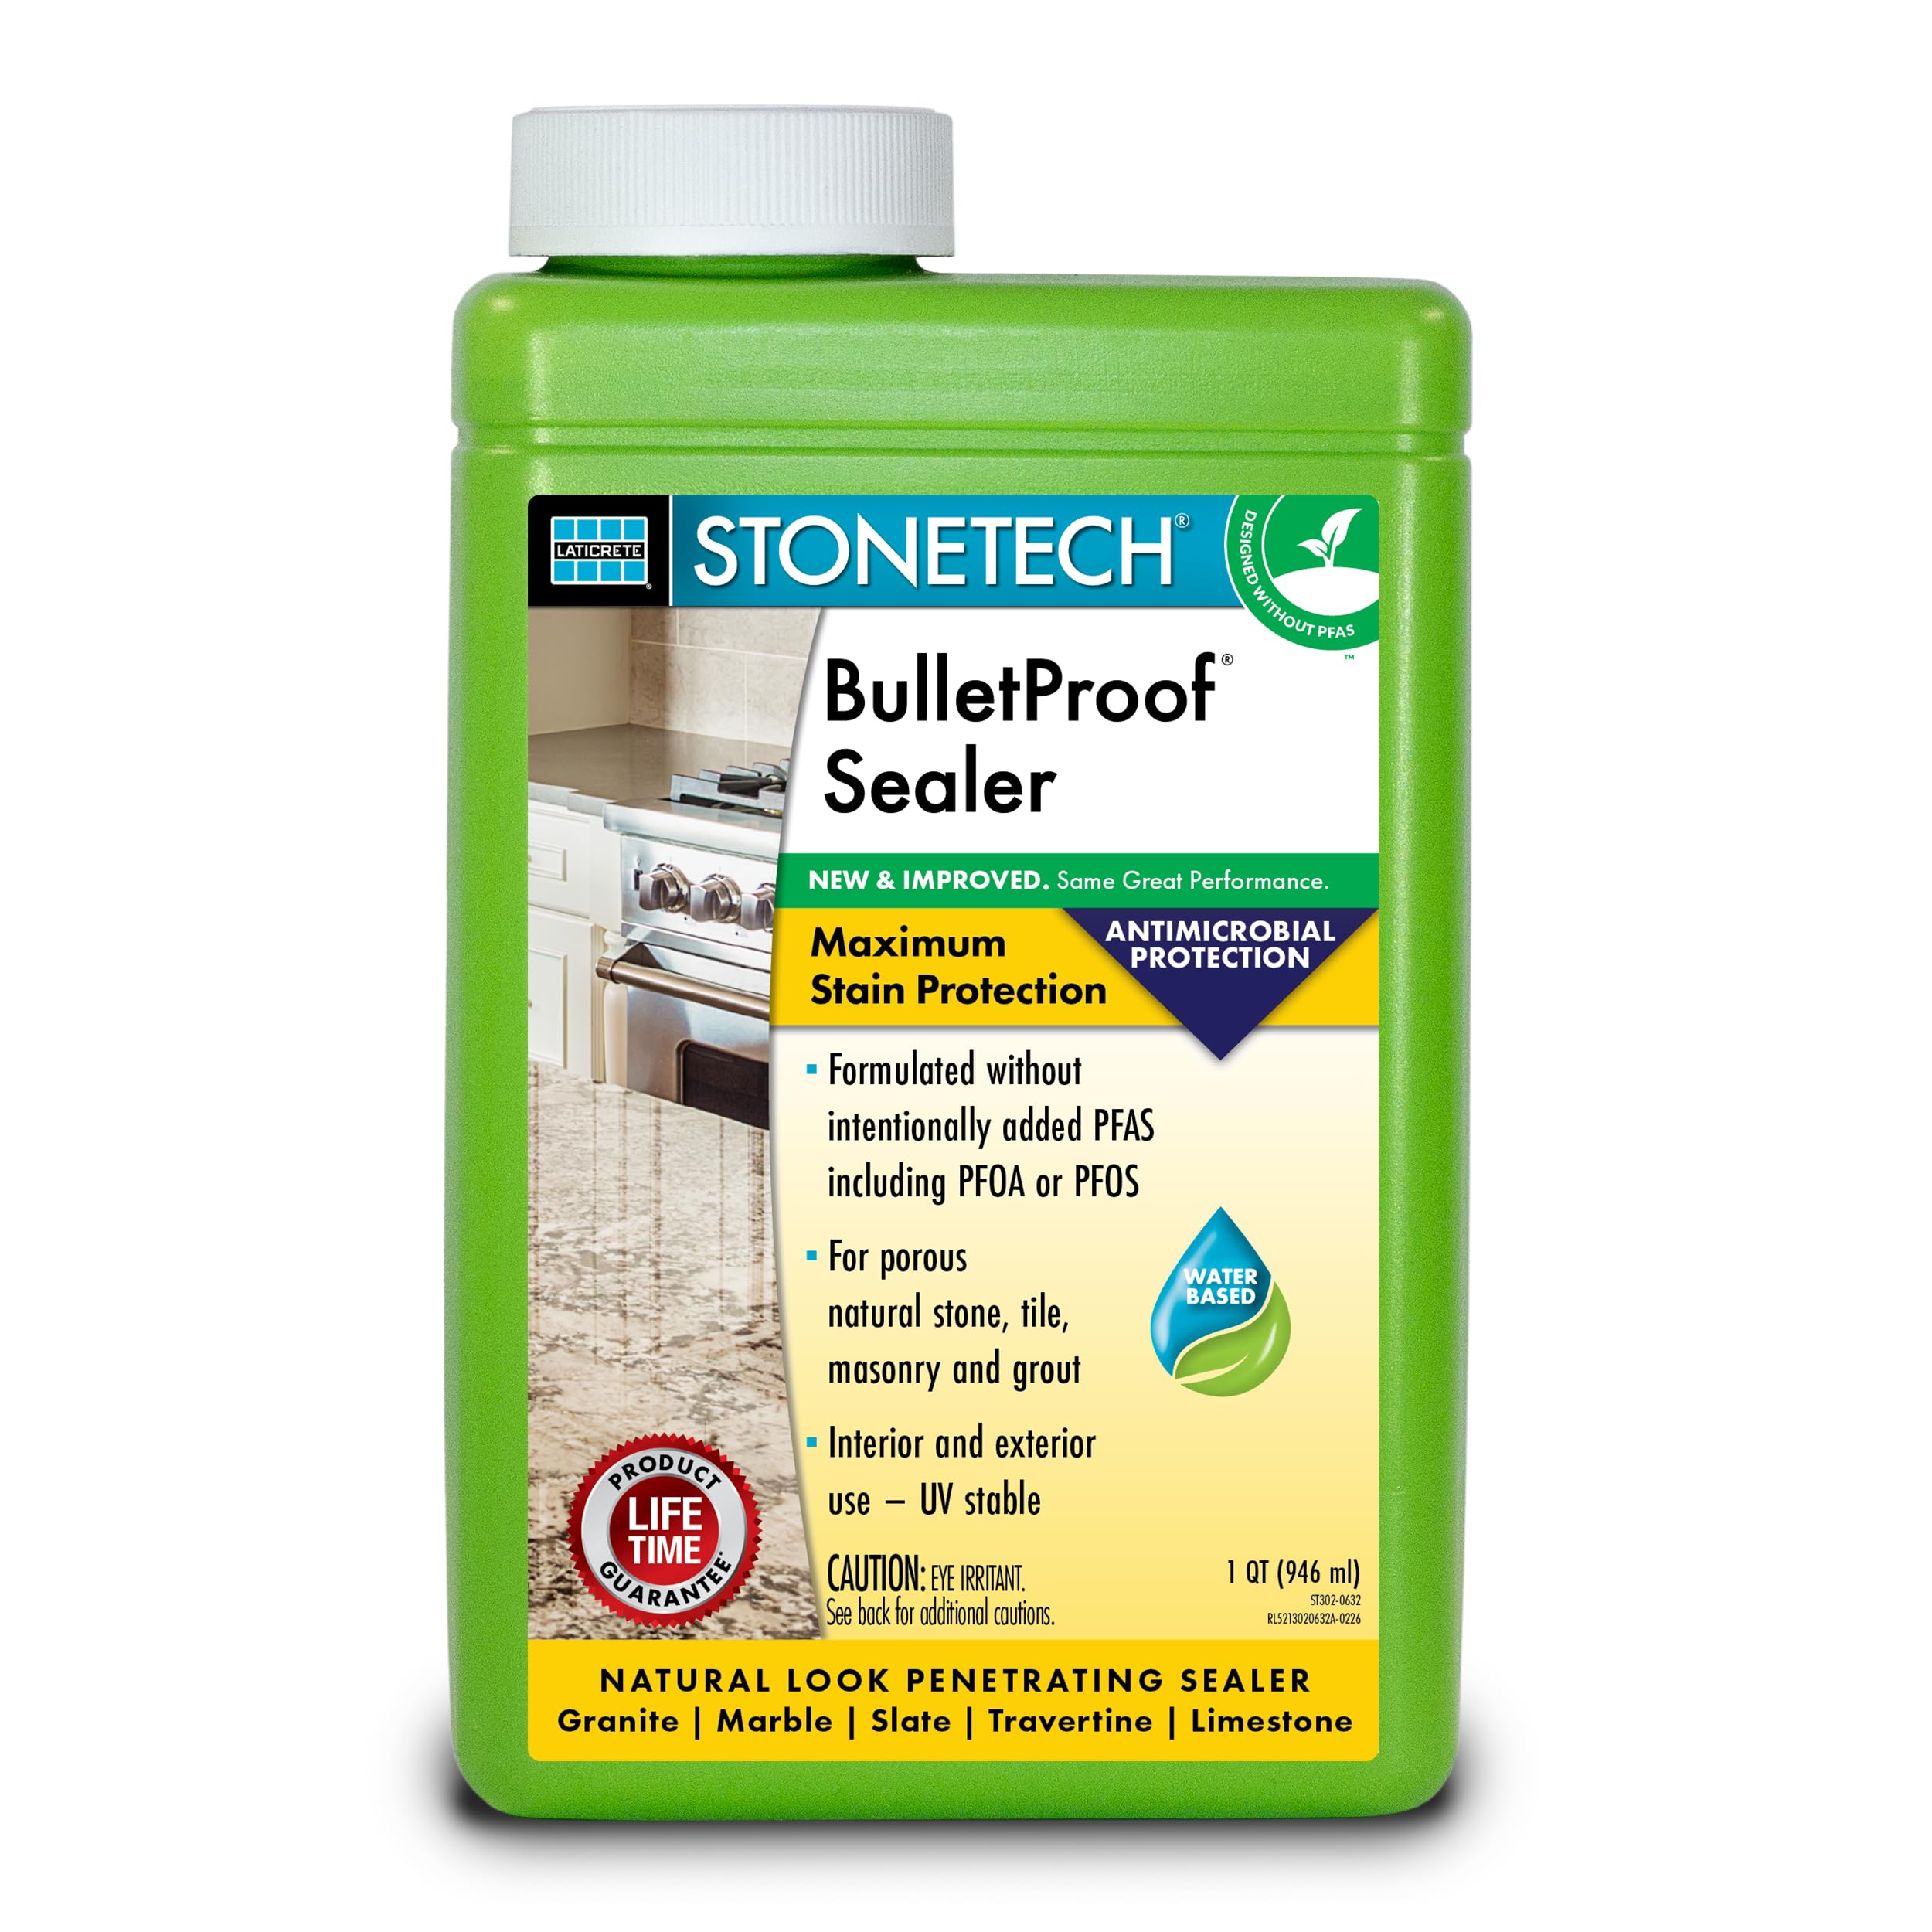
StoneTech BulletProof Sealer (32 oz)
High-solids formula that delivers long-lasting protection with one or two coats, backed by a well-known brand in the stone industry.
Best for: For busy kitchens that need maximum stain resistance, and for light-colored granites that need multiple coats.
Price Range: $30-$45
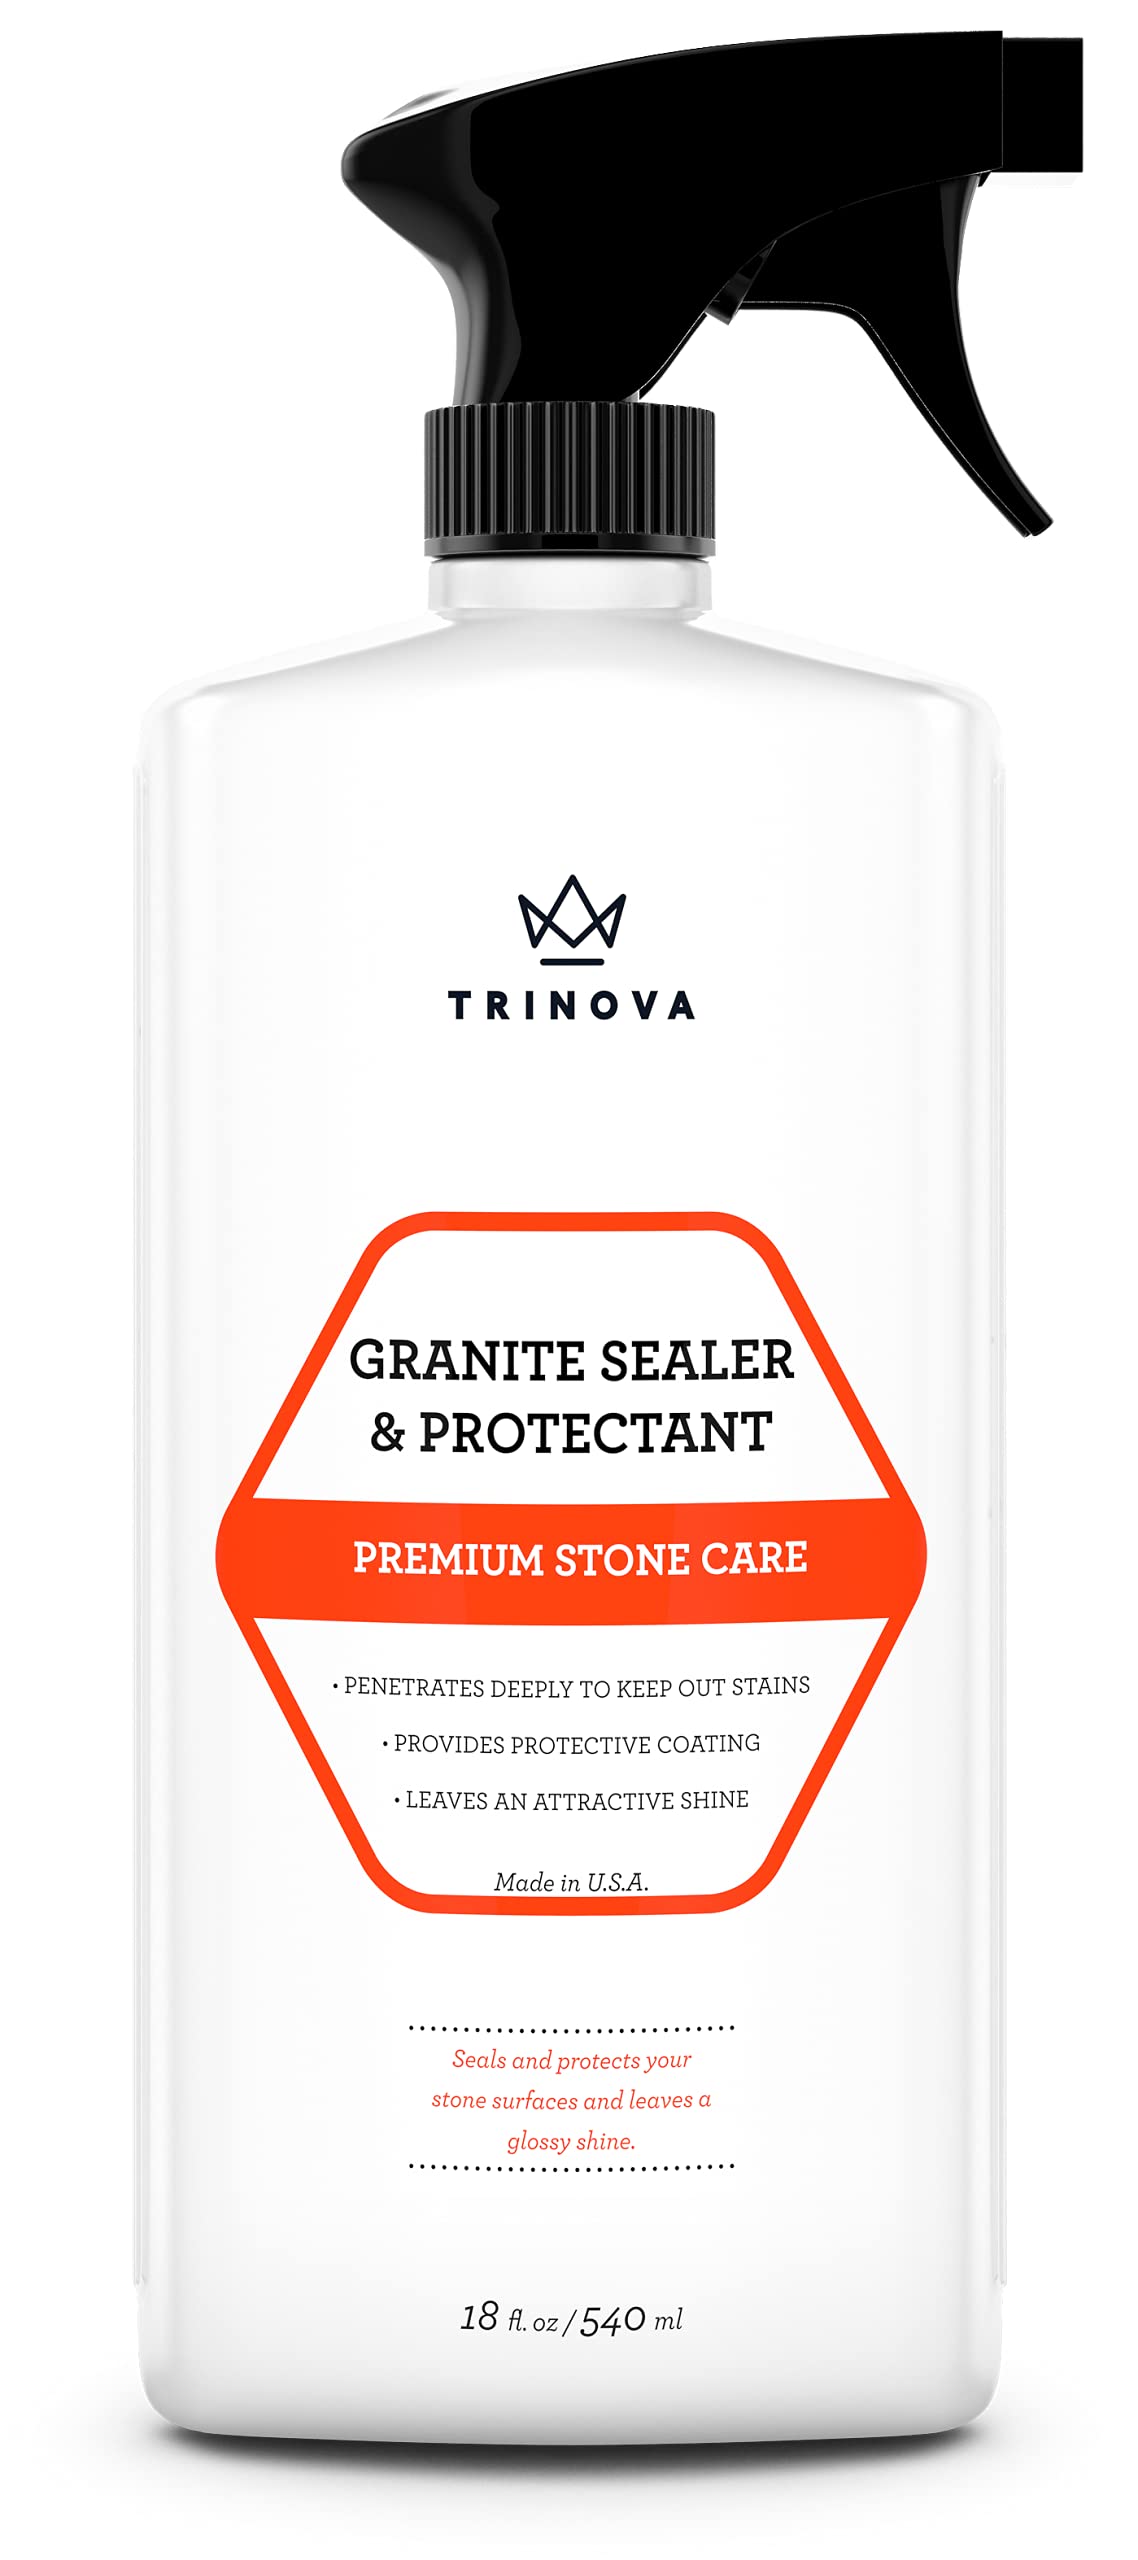
TriNova Granite Sealer and Protector
Budget-friendly option that still performs well and is easy to apply; includes a microfiber cloth for a streak-free finish.
Best for: For first-timer DIYers who want an affordable sealer for a mid-size countertop.
Price Range: $20-$30
Granite Gold Daily Cleaner
A pH-balanced cleaner that keeps your sealed granite clean without stripping the sealer, extending its life.
Best for: Use after sealing to maintain the surface and clean everyday spills safely.
Price Range: $10-$15