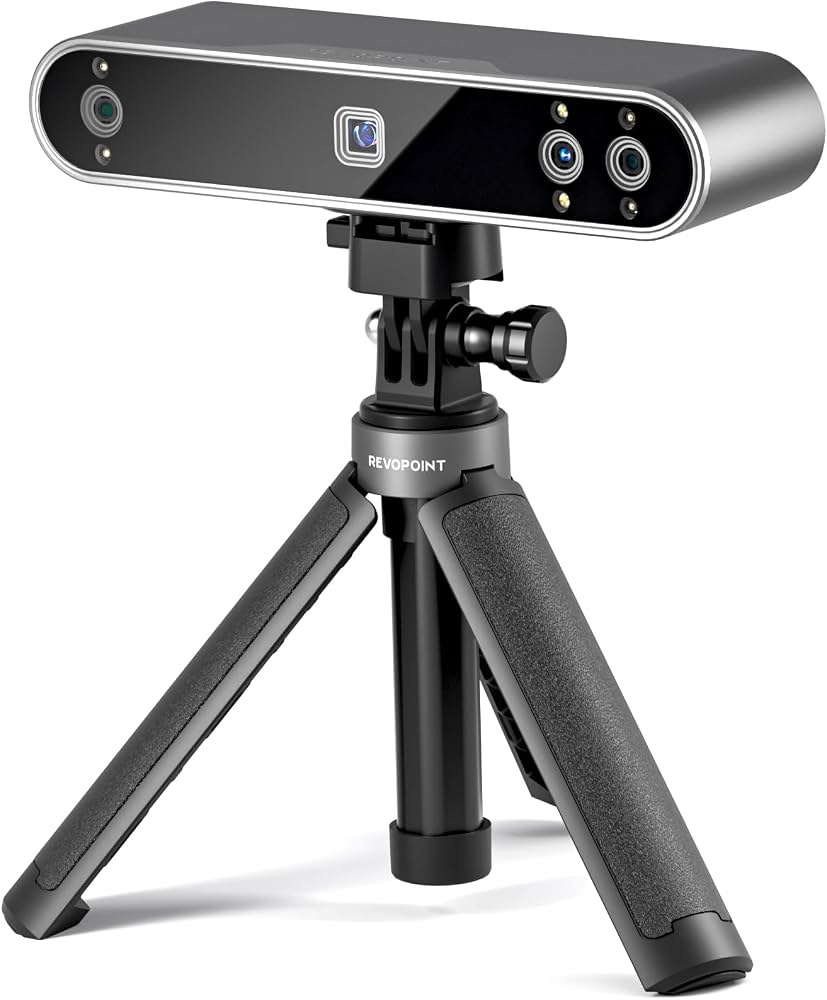
Revopoint POP 3 3D Scanner
Everyday scanning of toys, parts for printing replicas.
$659-$699
Revopoint POP 3 3D Scanner Best beginner handheld scanner with 0.05mm accuracy, color texture, and easy Revo Scan software for objects up to 30cm.
Get the App
Better experience on mobile
Master beginner-friendly 3D scanning to capture real-world objects and turn them into printable STL files in under an hour.
Ever wished you could 3D print an exact replica of a cherished toy, tool, or family heirloom? Traditional modeling takes hours of skill, but 3D scanning lets you capture any object's shape in minutes using affordable hardware. This guide solves the common beginner frustration of blurry scans or unusable files by walking you through the entire process.
You'll learn to set up a scanner, perform a high-quality scan, clean the data, and export it ready for your 3D printer. No prior experience needed—we focus on structured, handheld scanners like the Revopoint POP 3, perfect for objects 3-30cm in size. Expect your first full workflow (setup to export) in 45-90 minutes, with scans taking just 5-10 minutes each.
By the end, you'll have a printable STL file and the confidence to scan anything from gadgets to sculptures.
Estimated Time: 45-90 minutes (first time; 15-20 minutes for subsequent scans) Difficulty: beginner
Start by unpacking your scanner, which includes the handheld device, USB cable, and any accessories like a calibration board. Plug the scanner into your computer's USB 3.0 port—most modern laptops have this. Power it on; a light should indicate it's ready.
Why it matters: Proper hardware setup ensures stable data transfer and prevents connection drops during scanning. Expect the device to be recognized automatically, but if not, drivers install via software in the next step.
Success looks like: Scanner lights up, no error beeps, and it's detected in your device manager.
💡 Tips:
⚠️ Warnings:
Visit the manufacturer's website (e.g., revopoint3d.com for Revopoint) and download the free Revo Scan software. Install it, then launch and update to the latest version. Create a new project and select your scanner model.
This step calibrates communication between hardware and software. Free tools like this handle everything from capture to export—no extra paid apps needed for beginners.
Success looks like: Software opens, detects scanner, and shows a live preview feed.
💡 Tips:
Place the included calibration board flat under good, even lighting (avoid direct sunlight or fluorescents). In software, select 'Calibrate,' follow on-screen prompts to scan the board from multiple angles slowly.
Calibration aligns cameras and projectors for accurate depth mapping—skip it and your scans will warp. Takes 2-3 minutes.
Success looks like: Software confirms 'Calibration complete' with green checkmark.
⚠️ Warnings:
Choose a fist-sized object with matte, detailed surfaces (avoid glass, mirrors, or hair). Place it on a scanning mat or turntable in indirect, diffused light. For shiny items, lightly dust with developer spray (dries in seconds, washes off).
Prep ensures good tracking—reflective surfaces confuse the scanner's projectors.
Success looks like: Object stable, no glare, features visible from all sides.
💡 Tips:
⚠️ Warnings:
In software, hit 'New Project,' select 'Handheld' mode, set exposure to auto, and choose 'Color' texture if desired. Position scanner 20-30cm from object, start recording.
Begin with full 360° coverage for complete models.
Success looks like: Live preview shows clear point cloud building in real-time.
Slowly circle the object at 10-20cm distance, overlapping passes by 30%. Do 3-5 full rotations, tilting up/down for underside. Keep steady—jerking blurs data. Stop when software shows good coverage (>90%).
Multiple angles fuse into a watertight mesh.
Success looks like: Preview mesh looks solid, no major gaps.
💡 Tips:
⚠️ Warnings:
Hit 'Process' to align frames (1-2 min). Use 'Fill Holes,' 'Smooth,' and 'Remove Noise' tools to refine. Erase turntable/mat artifacts with lasso tool.
Cleaning turns raw data into print-ready geometry.
Success looks like: Smooth, manifold mesh under 50MB.
Export as STL or OBJ. Open in Cura or PrusaSlicer—check for errors (non-manifold edges). Scale/repair if needed using Meshmixer (free).
Verify ensures it slices without crashes.
Success looks like: Model previews perfectly on print bed, no warnings.
💡 Tips:
Problem: Tracking lost (red indicators)
Solution: Slow down, increase overlap, improve lighting, or recenter object.
Problem: Holes or floating parts in mesh
Solution: Rescan those angles, use fill tools, or add marker dots on object.
Problem: Blurry or noisy scan
Solution: Clean scanner lens with microfiber, recalibrate, reduce movement speed.
Problem: Software crashes on export
Solution: Close other apps, decimate mesh to <1M triangles, update drivers.
Best beginner handheld scanner with 0.05mm accuracy, color texture, and easy Revo Scan software for objects up to 30cm.
Best for: Everyday scanning of toys, parts for printing replicas.
Price Range: $659-$699
Affordable anti-shake tech and blue laser for dark/shiny objects, portable for beginners.
Best for: Scanning tools or black plastics without spray.
Price Range: $370-$420
Temporary matte coating vanishes in 1 hour, perfect for reflective surfaces without residue.
Best for: Shiny metals, skin, or glass objects.
Price Range: $25-$35
Magnetic markers aid auto-tracking for hands-free 360° scans.
Best for: Small stationary objects like figurines.
Price Range: $40-$60
Everyday scanning of toys, parts for printing replicas.
Revopoint POP 3 3D Scanner Best beginner handheld scanner with 0.05mm accuracy, color texture, and easy Revo Scan software for objects up to 30cm.
Scanning tools or black plastics without spray.
Creality CR-Scan Lizard Affordable anti-shake tech and blue laser for dark/shiny objects, portable for beginners.

Shiny metals, skin, or glass objects.
AESUB Blue Scanning Spray Temporary matte coating vanishes in 1 hour, perfect for reflective surfaces without residue.

Small stationary objects like figurines.
Revopoint Turntable & Mat Kit Magnetic markers aid auto-tracking for hands-free 360° scans.