
Revopoint POP 3
Everyday items like tools or figurines under 30cm.
$659
Revopoint POP 3 Portable handheld scanner with 0.05mm accuracy, ideal for intermediate users scanning small-medium objects quickly.
Get the App
Better experience on mobile
Master scanning real-world objects with a 3D scanner to create precise digital models ready for 3D printing in under 2 hours.
Ever wanted to replicate a broken part, customize a gadget, or turn everyday objects into printable designs? 3D scanning bridges the physical and digital worlds, but many hobbyists struggle with blurry meshes, alignment errors, or unusable files for printing. This guide solves those pain points for intermediate users familiar with basic 3D printing.
You'll learn a complete workflow: from setup to exporting print-ready STL files. Whether using a handheld or desktop scanner, expect accurate captures with minimal post-processing. The process takes 1-2 hours per object, depending on complexity.
We'll cover preparation, scanning techniques, software cleanup, and pro tips to ensure your scans print flawlessly every time.
Estimated Time: 1-2 hours per object (setup: 20 min, scan: 20-40 min, processing: 20-40 min) Difficulty: intermediate
Select a scanner suited to your object size—handheld for portability (e.g., Revopoint POP 3) or desktop for precision. Unbox and connect via USB to your computer. Install drivers if prompted.
Power on the scanner and ensure LEDs light up steadily. This step ensures hardware compatibility and prevents connectivity issues later.
Success looks like: Scanner recognized in device manager, no error lights.
💡 Tips:
⚠️ Warnings:
Download the official software (e.g., Revo Scan for Revopoint). Install and launch it. Create a new project, select your scanner model, and adjust default settings: high accuracy mode, 0.1mm resolution for printing.
Why it matters: Software handles data fusion and alignment automatically.
Success looks like: Live preview shows scanner view clearly.
💡 Tips:
Choose a well-lit room with diffuse light (no direct sun or shadows). Place on a non-reflective table. Set up a turntable if using one.
Even lighting prevents scan artifacts. Close doors to avoid air currents disturbing powder-coated objects.
Success looks like: Uniform lighting with no harsh shadows on a test object.
⚠️ Warnings:
Clean the object thoroughly. For shiny, transparent, or dark surfaces, apply matte scanning spray in thin layers—let dry 1-2 minutes.
This creates ideal diffuse reflection for laser/structured light. Add reference markers (sticky dots) for better alignment on featureless objects.
Success looks like: Object appears matte gray, no glare.
💡 Tips:
⚠️ Warnings:
In software, run calibration routine (usually scan a checkerboard target). Follow on-screen prompts to capture multiple angles.
Calibration corrects lens distortions for sub-mm accuracy.
Success looks like: Software confirms 'Calibration successful' with low error (<0.05mm).
Place object on turntable center. Hit 'Scan'—move scanner slowly 15-30cm away in overlapping passes (handheld) or let turntable rotate (desktop).
Capture full 360° in 3-5 passes for complete coverage.
Success looks like: Real-time point cloud building densely.
💡 Tips:
⚠️ Warnings:
Flip object and repeat scans from top/bottom. Software auto-aligns using markers or features.
Multi-angle ensures no blind spots.
Success looks like: Preview shows watertight mesh preview.
Use software tools to fuse scans, remove noise, fill holes. Export raw mesh, then import to Meshmixer (free) for repairs: Inspector tool auto-fixes, smooth surfaces.
Clean mesh = printable model without supports failing.
Success looks like: Solid, manifold STL under 50MB.
💡 Tips:
Export as STL. Slice in Cura/PrusaSlicer—check wall thickness >1mm, no non-manifold edges.
Verify ensures it prints without crashes.
Success looks like: Slicer preview shows solid infill.
⚠️ Warnings:
Problem: Blurry or sparse point cloud
Solution: Improve lighting, slow scan speed, clean lens. Recalibrate.
Problem: Scans won't align
Solution: Add more markers, ensure good features. Use manual alignment tools.
Problem: Software crashes on export
Solution: Reduce mesh density. Update GPU drivers, use 64-bit version.
Problem: Printed model doesn't match object
Solution: Check scale in software (use known dimension), verify units (mm).
Portable handheld scanner with 0.05mm accuracy, ideal for intermediate users scanning small-medium objects quickly.
Best for: Everyday items like tools or figurines under 30cm.
Price Range: $659
Affordable high-speed scanner (30fps) with anti-shake, great entry to pro scanning for printing.
Best for: Larger objects or beginners needing ease-of-use.
Price Range: $329
Disappearing powder creates perfect matte surface without residue, essential for tricky materials.
Best for: Shiny metal, glass, or skin-like textures.
Price Range: $29.99
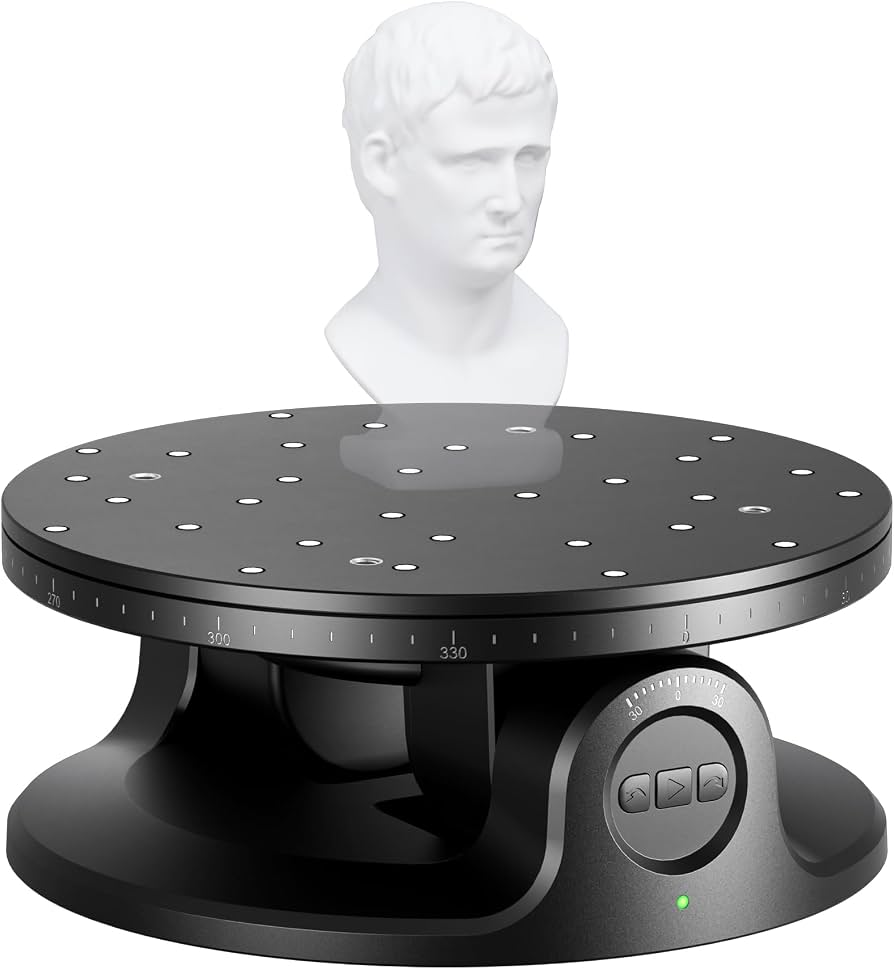
Automated rotation for consistent 360° scans, reduces manual errors.
Best for: Desktop setups for repeatable scans.
Price Range: $49
Desktop pro scanner with 0.05mm accuracy for high-detail industrial parts.
Best for: Precision replicas needing sub-mm tolerance.
Price Range: $2,099-$2,500
Everyday items like tools or figurines under 30cm.
Revopoint POP 3 Portable handheld scanner with 0.05mm accuracy, ideal for intermediate users scanning small-medium objects quickly.

Larger objects or beginners needing ease-of-use.
Creality CR-Scan Ferret Affordable high-speed scanner (30fps) with anti-shake, great entry to pro scanning for printing.

Shiny metal, glass, or skin-like textures.
AESUB Scanning Spray (400ml) Disappearing powder creates perfect matte surface without residue, essential for tricky materials.
Desktop setups for repeatable scans.
Revopoint Turntable Automated rotation for consistent 360° scans, reduces manual errors.

Precision replicas needing sub-mm tolerance.
Shining 3D EinScan-SP V2 Desktop pro scanner with 0.05mm accuracy for high-detail industrial parts.