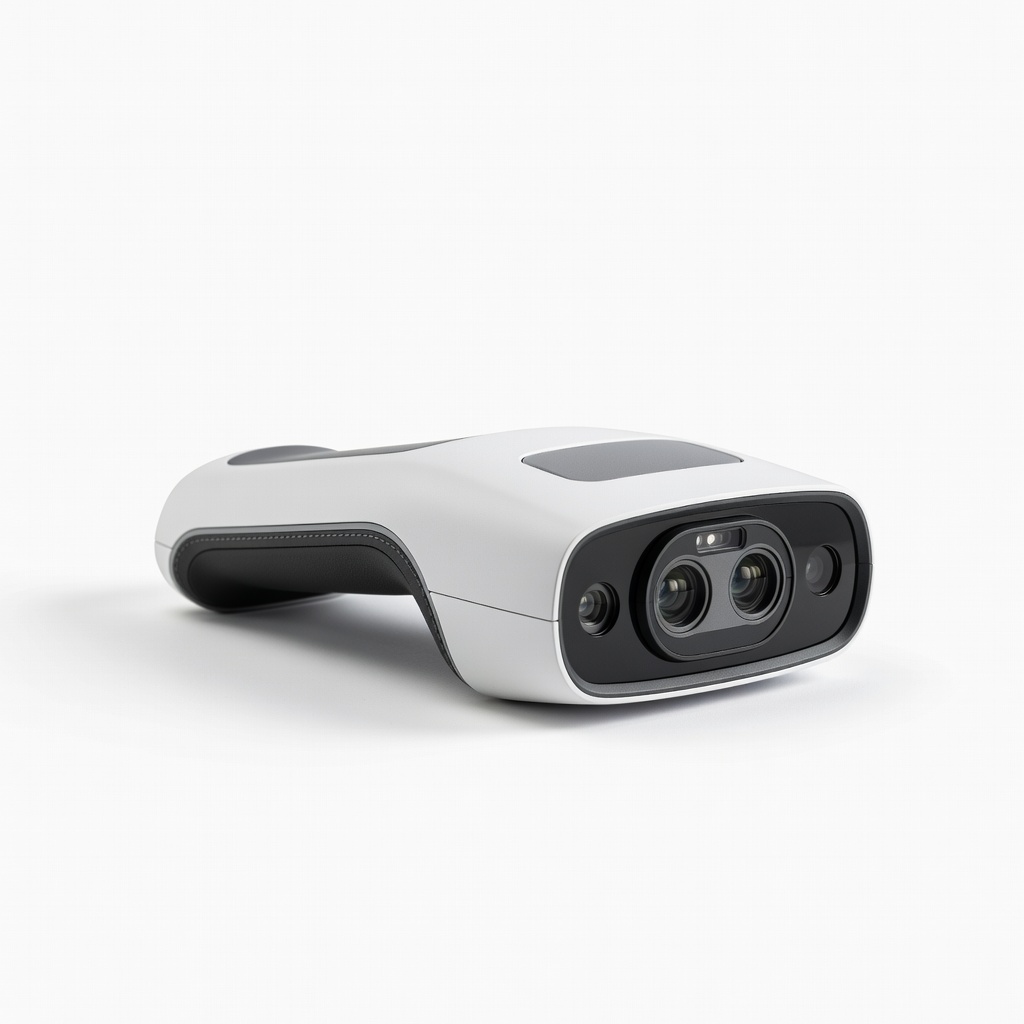
Revopoint POP 3
Handheld scanning of detailed items under 15cm for hobby printing.
$600-$700
Revopoint POP 3 Portable infrared structured light scanner with 0.05mm accuracy, ideal for small-medium everyday objects like tools or figurines.
Get the App
Better experience on mobile
Master 3D scanning everyday items like mugs or toys to create perfect printable models in under 2 hours with pro tips.
Have you ever wished you could 3D print an exact replica of a broken toy, custom tool, or favorite gadget? 3D scanning turns real-world objects into digital files ready for printing, saving time over manual modeling. It's perfect for hobbyists, makers, and prototypers who want precise results without CAD expertise.
In this guide, you'll learn a complete workflow: from setup and scanning to cleanup and export. Expect clear steps using popular handheld scanners, with intermediate techniques like multi-angle captures for watertight meshes. The process takes 45-90 minutes per object, depending on complexity.
No prior scanning experience needed beyond basic 3D printing knowledge— we'll cover calibration, common pitfalls, and software basics for success.
Estimated Time: 45-90 minutes per object Difficulty: intermediate
Download the official software for your scanner from the manufacturer's site (e.g., Revo Scan for Revopoint). Install it following on-screen prompts. This software handles capture, alignment, and fusion.
Why it matters: Scanner-specific apps optimize for hardware sensors, ensuring accurate point clouds. Launch the app and update to the latest version for bug fixes and better algorithms.
Success looks like: App opens without errors, detects your scanner when plugged in.
💡 Tips:
⚠️ Warnings:
Set up in a room with even, indirect lighting—no direct sunlight or harsh shadows. Place a plain matte background (black/white paper) behind the object. Use a turntable if scanning tall items.
Even lighting prevents scan artifacts like holes from reflections. Expect a clutter-free desk space about 2x2 feet.
Success: Object visible clearly without glare when viewed through scanner preview.
💡 Tips:
Clean the object thoroughly with a soft cloth. For shiny, transparent, or dark surfaces, apply a thin layer of matte scanning spray (shake well, spray from 8-10 inches, let dry 1 minute).
This creates texture for the scanner's light patterns to track. Avoid over-spraying to prevent drips.
Success: Surface looks uniformly matte and non-reflective in preview mode.
⚠️ Warnings:
In the software, select calibration mode and follow prompts (usually scan a provided checkerboard target 3-5 times from different angles). Hold steady, 6-12 inches away.
Calibration aligns internal cameras/lasers for accuracy (sub-millimeter precision). Recalibrate if moved.
Success: Software shows 'Calibration Complete' with low error (<0.1mm).
💡 Tips:
Place object on turntable (or mark rotation points). Hold scanner 6-12 inches away, perpendicular to surface. Enable live preview to frame the object fully.
Optimal distance varies by scanner—check manual. Start with full object in view.
Success: Preview shows clear point cloud forming as you move slowly.
💡 Tips:
Hit 'Start Scan'. Slowly rotate object or move scanner around it in overlapping passes (360 degrees, top-down for overhangs). Keep speed consistent (1-2 inches/sec), slight overlap.
Multiple passes fuse into full model. Software tracks in real-time.
Success: Progress bar fills, color/texture preview appears without major gaps.
⚠️ Warnings:
Stop scan, review in software. Use alignment tools if frames misalign. Hit 'Fuse' or 'Process' to generate mesh (5-10 mins).
Fusion merges data into single watertight model. Inspect for holes/misaligns.
Success: Smooth 3D model rotates without glitches, size matches real object.
💡 Tips:
Export raw mesh to free tools like Meshmixer or Blender. Remove noise, fill holes, smooth surfaces (use 'Inspector' tool in Meshmixer).
Cleanup ensures printable model (manifold, no self-intersections).
Success: Model is solid, scales correctly (measure in software).
💡 Tips:
Export as STL/OBJ. Import to slicer (e.g., Cura), slice, and preview layers. Scale/print test.
Final check for printability.
Success: Slicer shows no errors, first layers look good on bed.
Problem: Blurry or incomplete scans
Solution: Check lighting/calibration; slow down movement; respray if reflective.
Problem: Software crashes during fusion
Solution: Close other apps; use more RAM; update software/drivers.
Problem: Model has holes after cleanup
Solution: Rescan underside; use auto-fill in Meshmixer; manual patch in Blender.
Problem: Tracking lost mid-scan
Solution: Pause/resume; add more features (markers); shorten passes.
Portable infrared structured light scanner with 0.05mm accuracy, ideal for small-medium everyday objects like tools or figurines.
Best for: Handheld scanning of detailed items under 15cm for hobby printing.
Price Range: $600-$700
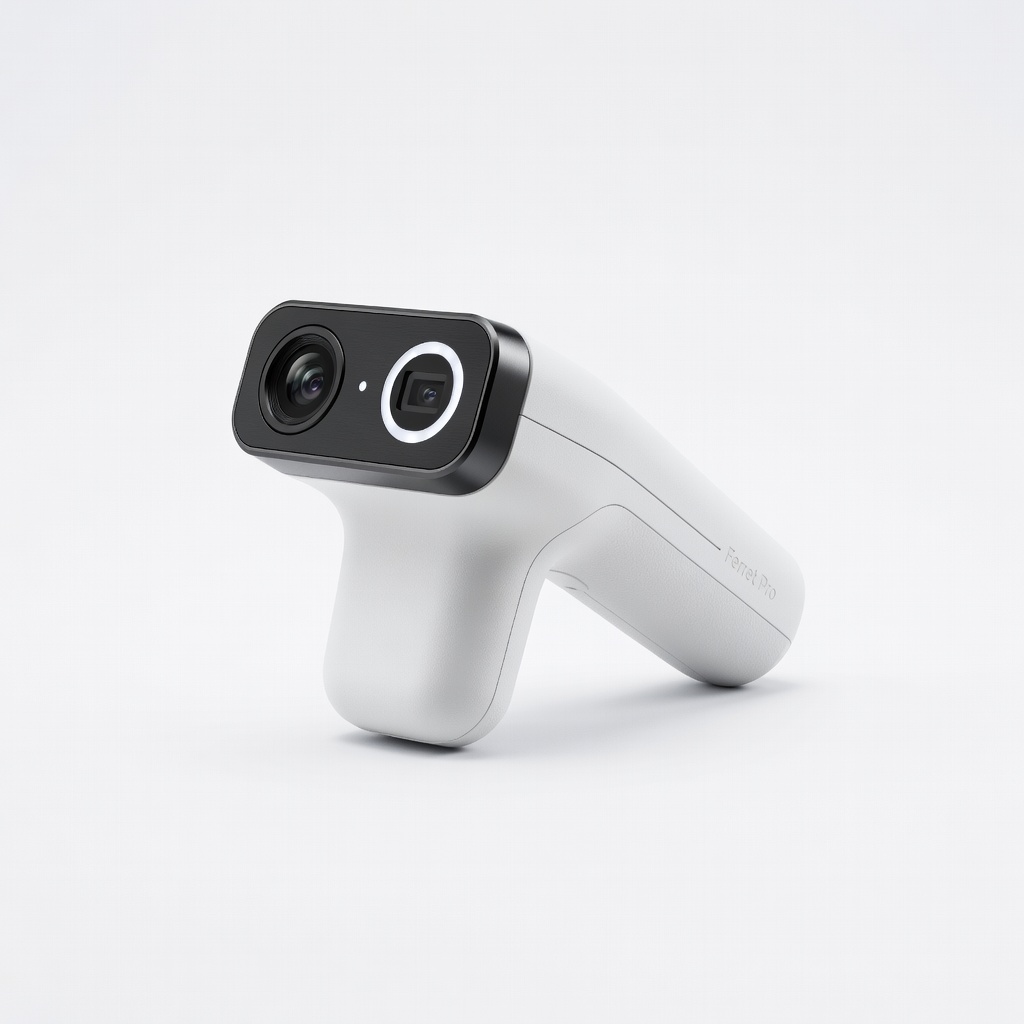
Anti-shake tech and blue laser for stable scans on larger objects without turntable.
Best for: Scanning mugs, shoes, or parts up to 2m quickly outdoors/inddoors.
Price Range: $300-$400
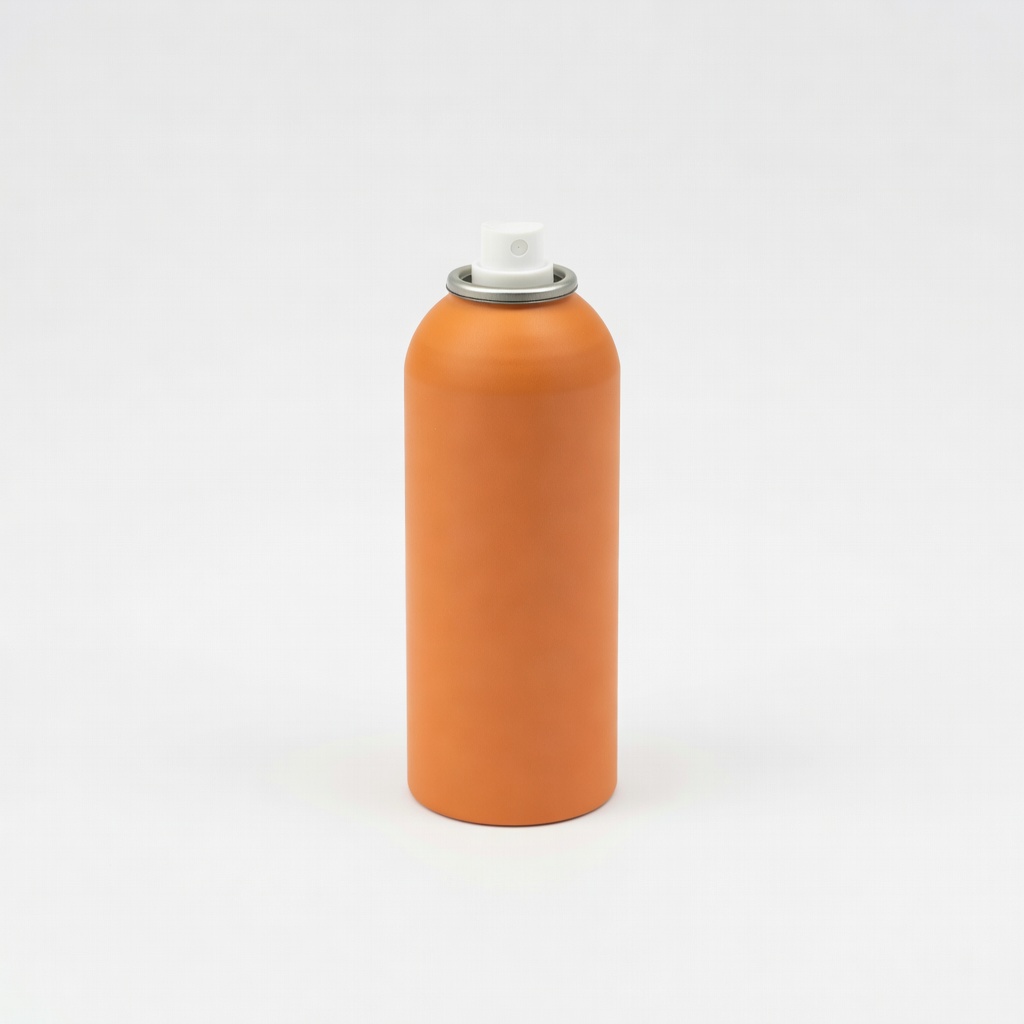
Temporary vanishing spray creates perfect matte surface without residue after 1 hour.
Best for: Shiny/metallic objects like keys, watches, or car parts.
Price Range: $25-$35
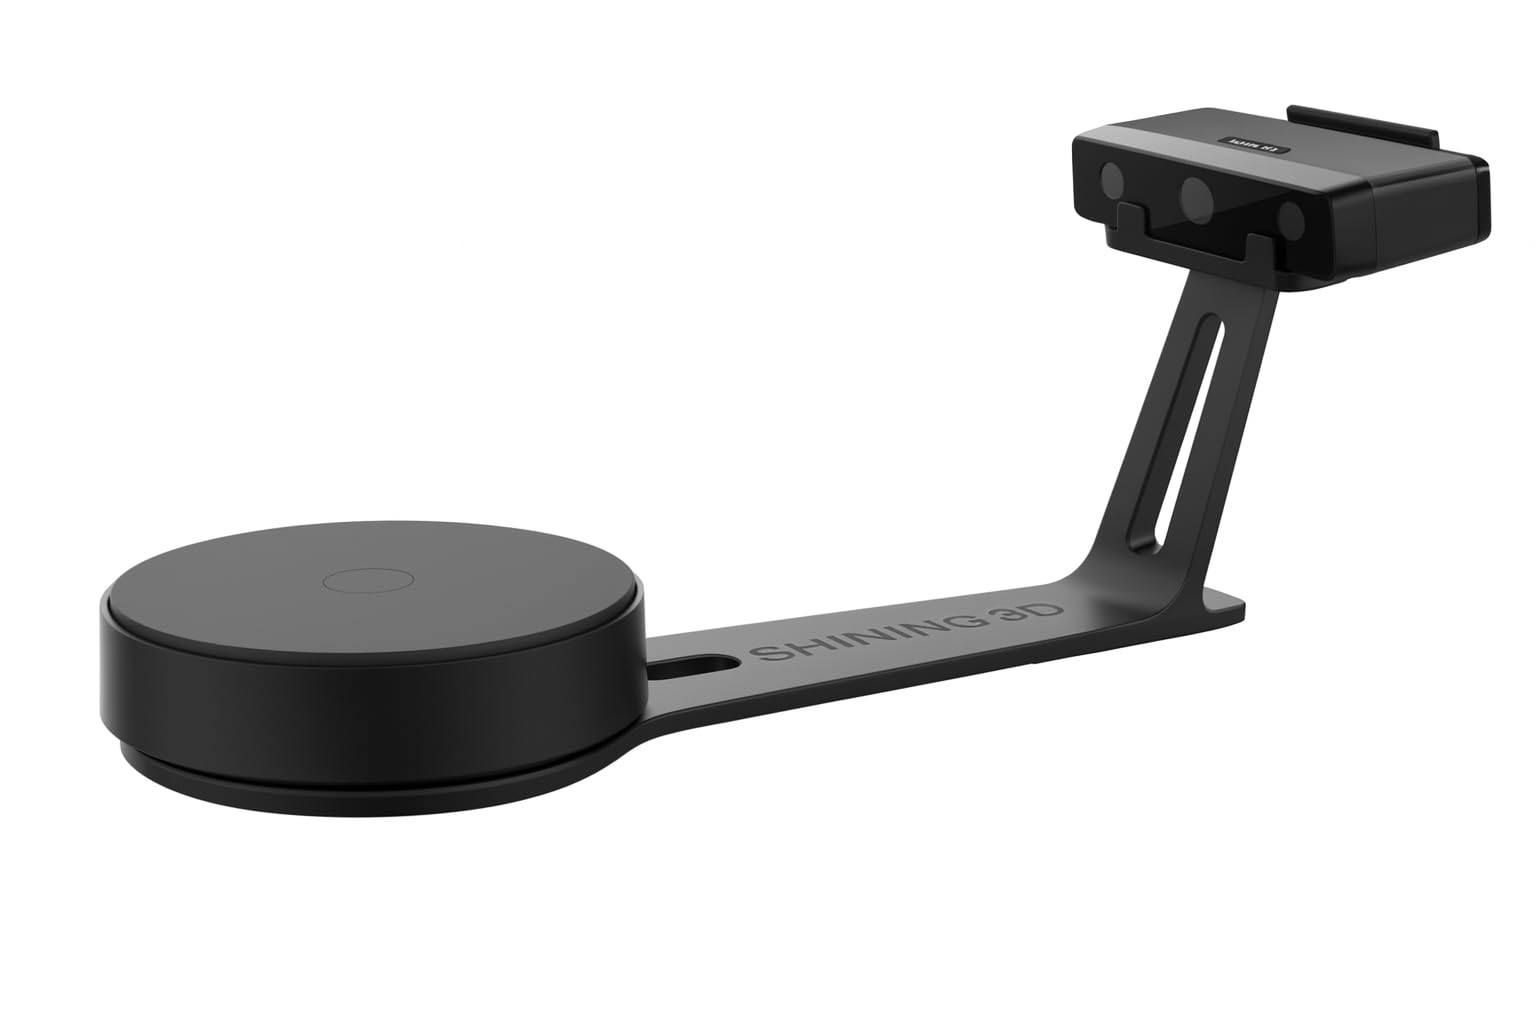
Desktop scanner for beginners with automated turntable, high-res for precise replicas.
Best for: Stationary scanning of small collectibles indoors.
Price Range: $1,000-$1,200
Autodesk's tool excels at scan repair with one-click fixes.
Best for: Post-scan editing on any computer.
Price Range: Free
Handheld scanning of detailed items under 15cm for hobby printing.
Revopoint POP 3 Portable infrared structured light scanner with 0.05mm accuracy, ideal for small-medium everyday objects like tools or figurines.
Scanning mugs, shoes, or parts up to 2m quickly outdoors/inddoors.
Creality CR-Scan Ferret Pro Anti-shake tech and blue laser for stable scans on larger objects without turntable.
Shiny/metallic objects like keys, watches, or car parts.
AESUB Orange Scanning Spray Temporary vanishing spray creates perfect matte surface without residue after 1 hour.
Stationary scanning of small collectibles indoors.
Shining 3D EinScan SE Desktop scanner for beginners with automated turntable, high-res for precise replicas.
Post-scan editing on any computer.
Meshmixer (Free Software) Autodesk's tool excels at scan repair with one-click fixes.