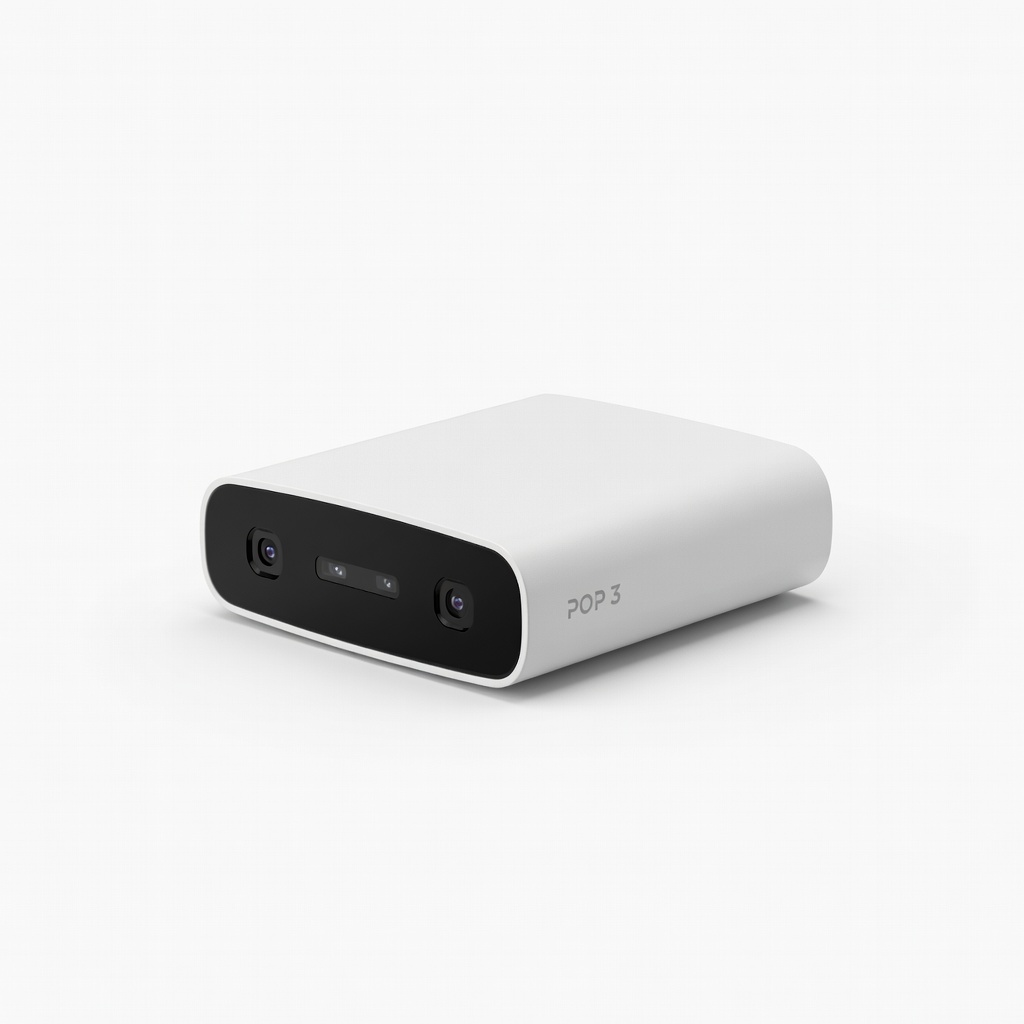
Revopoint POP 3 3D Scanner
Full phone model scanning in under 10 minutes.
$699
Revopoint POP 3 3D Scanner Portable, high-accuracy scanner ideal for detailed phone scans with color capture.
Get the App
Better experience on mobile
Create perfectly fitted, personalized phone cases using 3D scanning and printing in just a few hours—no design experience required.
Ever bought a phone case that doesn't fit quite right or lacks that personal touch? Custom 3D-printed phone cases solve this by letting you scan your exact phone model and design a case tailored to perfection, complete with custom engravings or patterns.
In this guide, you'll learn the full process: scanning your phone, editing the model, designing the case, and printing it at home. Perfect for intermediate makers who have basic 3D printing knowledge.
Expect 2-4 hours total, depending on print time. You'll end up with a durable, unique case that fits like a glove.
Estimated Time: 2-4 hours (30 min scanning/editing, 1-2 hours printing, 30 min finishing) Difficulty: intermediate
Clear a well-lit, vibration-free area (tabletop works best). Power off your phone and remove any case or attachments for a clean scan. Apply scanning spray lightly if your phone is glossy—this creates a matte surface for better capture without residue.
Why it matters: A stable setup prevents distortions, ensuring your case fits perfectly later.
Success: Phone is clean, dry, and ready on a rotating turntable if available.
💡 Tips:
⚠️ Warnings:
Launch your scanner software (e.g., Revo Scan for Revopoint). Place the phone on the turntable and start a full 360° scan at medium resolution (0.1-0.2mm accuracy). Follow prompts to capture top, sides, and bottom—aim for 3-5 passes.
Move slowly and overlap scans by 30%. Why? Phones have curves and ports that need complete coverage.
Success: You'll have a raw .PLY or .OBJ file with a colored, detailed mesh of your phone (check for holes or noise).
💡 Tips:
⚠️ Warnings:
Open Meshmixer (free download). Import your scan file. Use Edit > Make Solid to fill holes, then Inspector tool to auto-fix glitches. Smooth with Sculpt > Brushes > Flatten at low strength.
Reduce mesh density via Reduce for easier handling (target 500k triangles). Why? Raw scans are messy and too heavy for CAD.
Success: A watertight, smooth phone model ready for design.
💡 Tips:
Import cleaned mesh into Fusion 360 (free for hobbyists). Create a new design, offset the phone surface by 1.5-2mm using Modify > Offset Face. Add fillets (2-3mm) to edges for comfort.
Cutouts for camera, ports: Use Create > Extrude negative shapes traced from the scan. Why precise offsets? Ensures snug fit without warping.
Success: Base case shell with all phone features accessible.
💡 Tips:
⚠️ Warnings:
In Fusion, emboss text or patterns via Create > Emboss or import SVGs. Add grips, stands, or logos—keep raised features <1mm thick. Boolean union everything.
Why customize? Turns functional into unique. Preview in Render workspace.
Success: Personalized case model with your designs integrated.
💡 Tips:
Export as STL from Fusion. Open in Cura: Set layer height 0.2mm, infill 20%, supports for overhangs >45°. Bed 60°C, nozzle 205°C for PLA. Generate G-code.
Why these settings? Balances strength, detail, and speed for cases.
Success: Preview shows no gaps, supports only where needed.
💡 Tips:
Print on your FDM printer. Once done (1-2 hours), remove from bed, clip supports. Sand edges smooth, vapor smooth with acetone if desired.
Install on phone—should snap on snugly. Why finish? Removes print lines for premium feel.
Success: Durable, fitted custom case ready to use!
💡 Tips:
⚠️ Warnings:
Problem: Scan has holes or floating artifacts
Solution: Re-scan with spray and slower passes; fix in Meshmixer Inspector.
Problem: Case doesn't fit ports
Solution: Enlarge cutouts by 0.5mm; verify scan accuracy.
Problem: Print warps or delaminates
Solution: Increase bed temp to 65°C, use enclosure, slow first layers.
Problem: Model too complex for slicer
Solution: Decimate mesh further in Meshmixer to <200k triangles.
Portable, high-accuracy scanner ideal for detailed phone scans with color capture.
Best for: Full phone model scanning in under 10 minutes.
Price Range: $699
Fast, reliable FDM printer with auto-leveling for consistent case prints.
Best for: Printing multiple cases quickly with enclosed option.
Price Range: $279-$299
Durable, easy-to-print PLA with great layer adhesion for smooth cases.
Best for: Standard material for flexible or rigid cases.
Price Range: $24.99
Temporary, residue-free spray for flawless scans of shiny phones.
Best for: Prep for any reflective surface scanning.
Price Range: $29.99
Eco-friendly, matte-finish PLA for premium-looking cases.
Best for: Artistic or textured custom designs.
Price Range: $25-$30
Full phone model scanning in under 10 minutes.
Revopoint POP 3 3D Scanner Portable, high-accuracy scanner ideal for detailed phone scans with color capture.
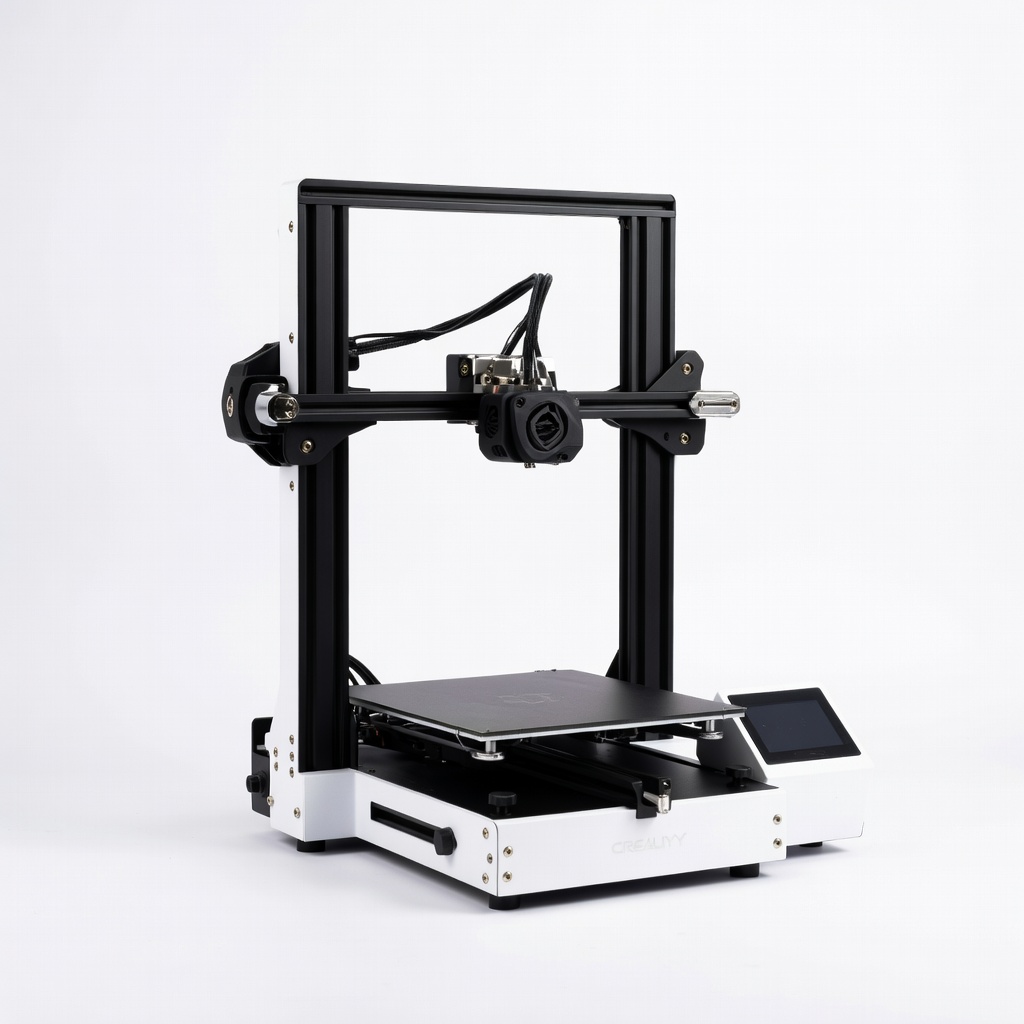
Printing multiple cases quickly with enclosed option.
Creality Ender 3 V3 KE 3D Printer Fast, reliable FDM printer with auto-leveling for consistent case prints.
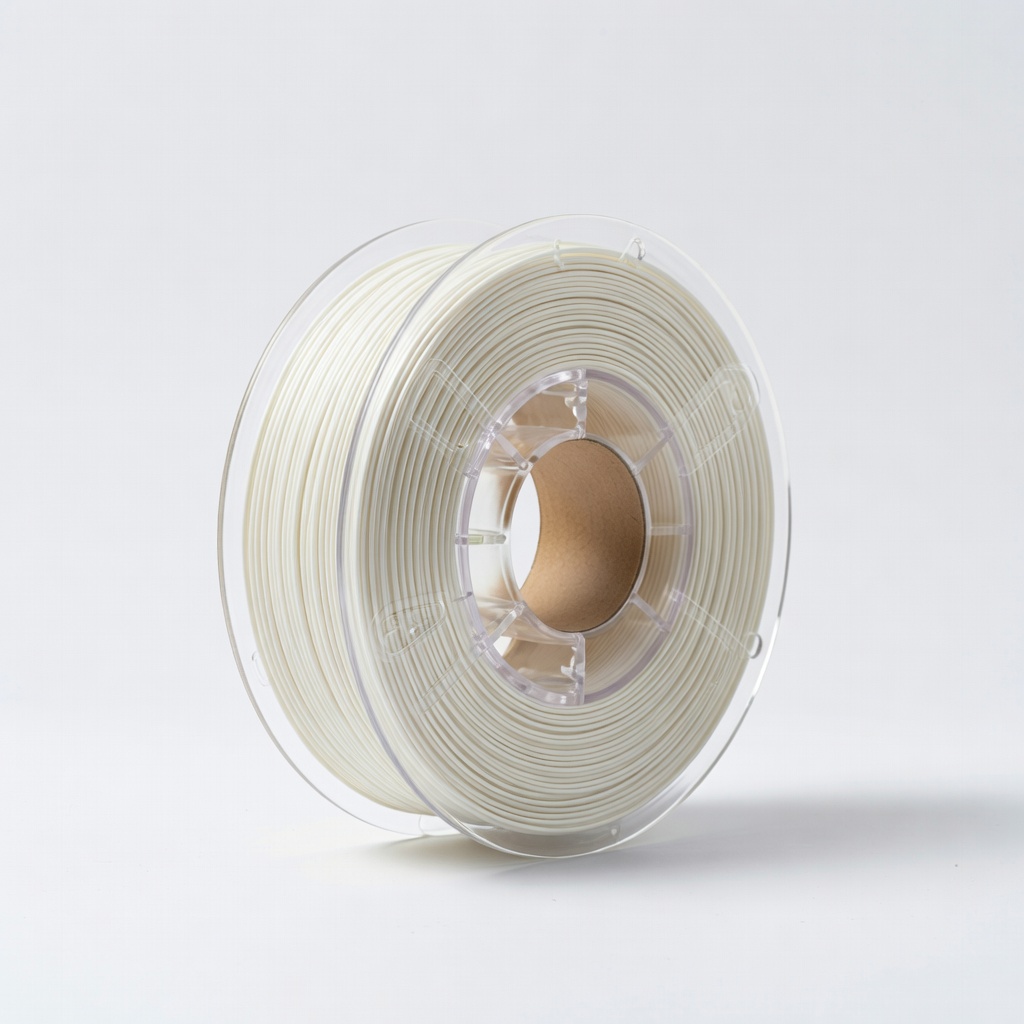
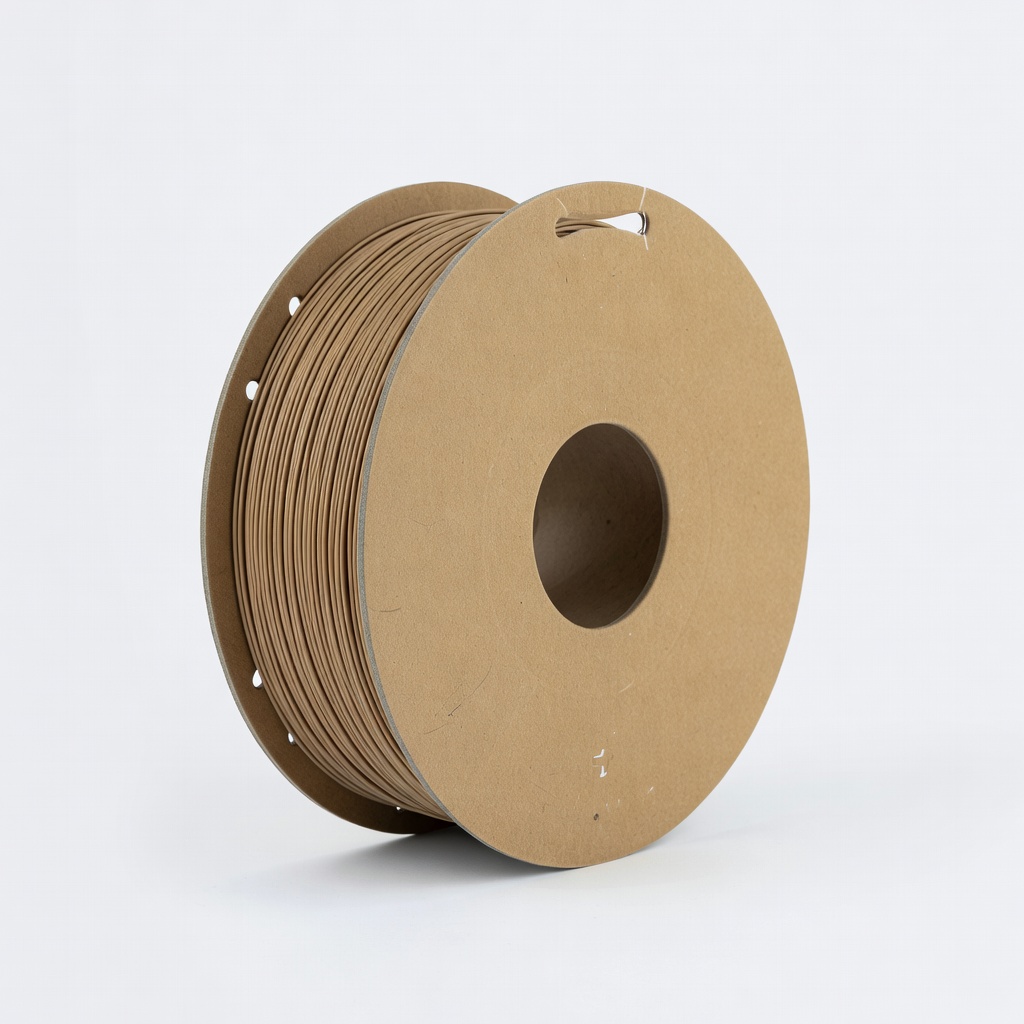
Standard material for flexible or rigid cases.
HATCHBOX PLA 1.75mm 3D Printer Filament Durable, easy-to-print PLA with great layer adhesion for smooth cases.
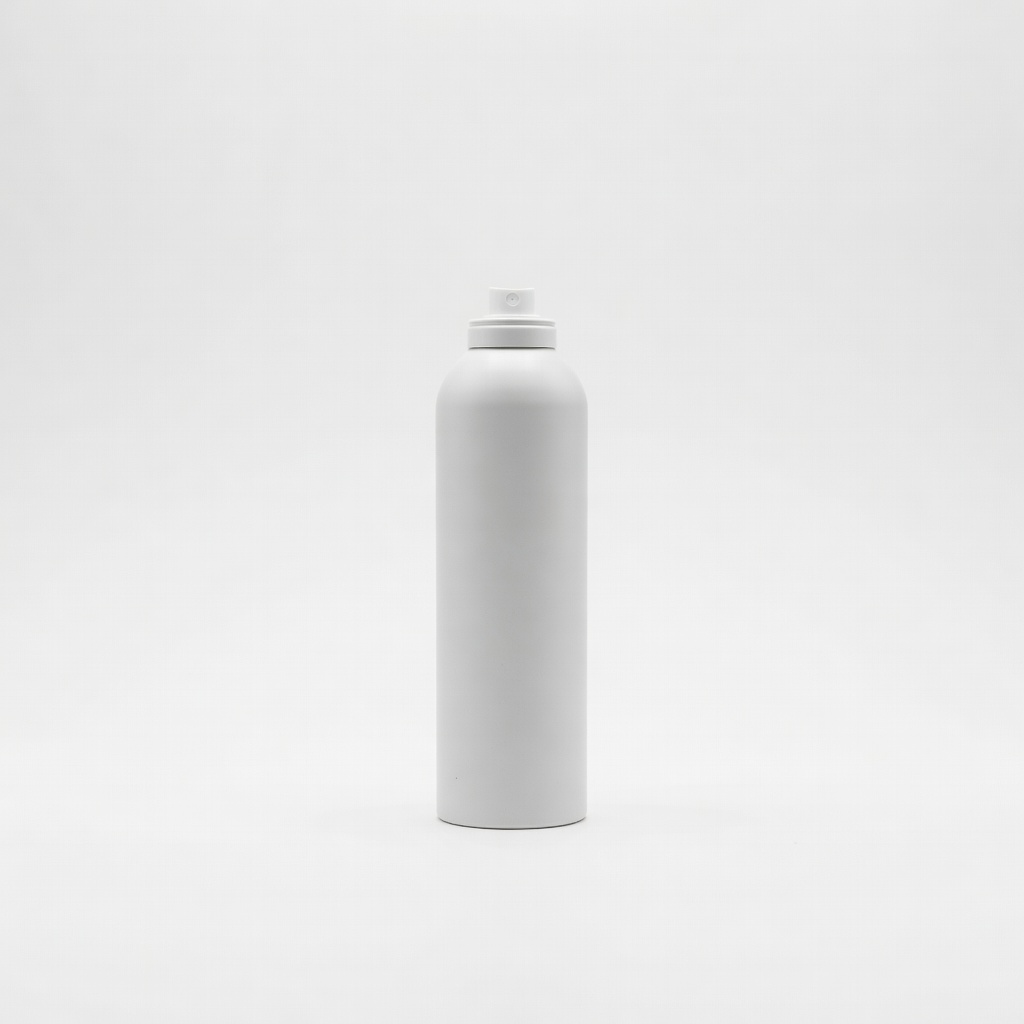
Prep for any reflective surface scanning.
AESUB Scanning Spray Temporary, residue-free spray for flawless scans of shiny phones.
Artistic or textured custom designs.
Polymaker PolyTerra PLA Filament Eco-friendly, matte-finish PLA for premium-looking cases.