
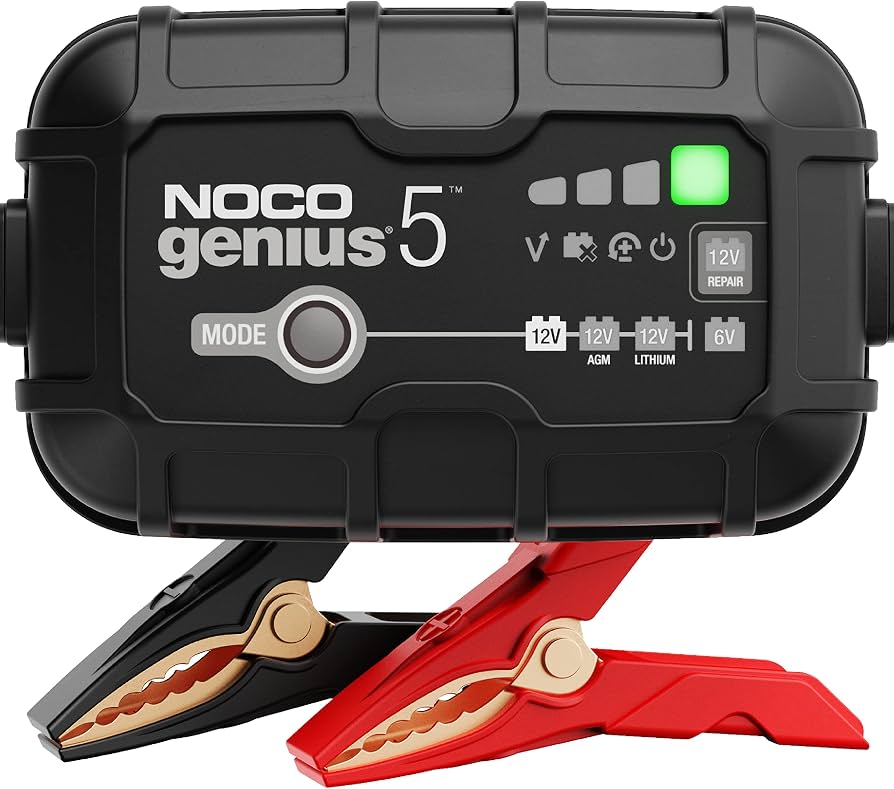
NOCO GENIUS5 5A Battery Charger
Ideal for regular maintenance of 6V golf cart batteries.
$60-$70
NOCO GENIUS5 5A Battery Charger Smart 6V/12V charger with AGM/flooded modes, desulfation, and auto-shutoff prevents overcharge.
Get the App
Better experience on mobile
Master safe charging for 6V golf cart batteries to extend life, avoid damage, and ensure reliable performance—perfect for beginners.
Golf cart batteries dying prematurely or failing to hold a charge is a common frustration for owners, often due to improper charging that leads to sulfation, overheating, or even fires. Safely charging your 6V batteries prevents these issues, saves money on replacements, and keeps your cart running smoothly.
In this beginner-friendly guide, you'll learn a step-by-step process to charge 6V flooded lead-acid or AGM golf cart batteries correctly. We'll cover safety prep, connections, monitoring, and post-charge checks. The active setup takes just 15-30 minutes, with charging lasting 4-12 hours depending on battery state.
No advanced tools needed—just follow along to achieve fully charged batteries reading 6.3-6.4V, ready for use without risks.
Estimated Time: 30 minutes setup + 4-12 hours charging Difficulty: beginner
Start in a well-ventilated area away from flames, sparks, or kids/pets. Put on rubber-insulated gloves and safety goggles to protect against acid splashes or sparks.
Why it matters: 6V golf cart batteries contain sulfuric acid and can release explosive hydrogen gas during charging. Proper prep prevents burns, explosions, or fires.
Expect a clean, flat surface like a garage floor with good airflow.
💡 Tips:
⚠️ Warnings:
Visually check each 6V battery for cracks, bulges, leaks, or corrosion on terminals. Remove batteries from the cart if possible for easier access.
Why it matters: Damaged batteries can leak acid or explode when charged. Discard any compromised ones—don't risk it.
Success looks like: Intact cases with no visible damage; proceed if all good.
💡 Tips:
⚠️ Warnings:
For flooded lead-acid batteries, remove caps and check fluid levels. Add distilled water to cover plates by 1/4-1/2 inch if low. Skip for sealed AGM batteries.
Why it matters: Low electrolyte exposes plates to air, causing permanent damage. Use only distilled water to avoid contamination.
Expect: Clear fluid; top up slowly to avoid overflow.
💡 Tips:
⚠️ Warnings:
Mix baking soda and water (1:1), dip a brush, and scrub terminals. Rinse with water, dry with rags. Apply terminal protectant if available.
Why it matters: Corrosion blocks current flow, leading to undercharging. Clean terminals ensure efficient charging.
Success: Shiny, corrosion-free posts ready for cables.
💡 Tips:
⚠️ Warnings:
Attach red (positive) clamp to positive terminal first, then black (negative) to negative. Connect charger to power outlet last.
Why it matters: Correct polarity prevents sparks, damage, or explosions. Reverse connections fry the charger or battery.
Expect: Secure clamps with no loose wires.
💡 Tips:
⚠️ Warnings:
Select 6V lead-acid or AGM mode on your smart charger (2-10A rate ideal). Plug in and let it run. LEDs indicate start.
Why it matters: Wrong settings over/under-charge, shortening life. Smart chargers auto-stop to prevent overcharge.
Expect: Ammeter shows current flow; charger fans hum.
💡 Tips:
⚠️ Warnings:
Check every 1-2 hours: No excessive heat (>125°F), steady voltage rise. Smart charger stops automatically when full (6.3-6.4V).
Why it matters: Overheating signals issues; monitoring catches problems early.
Success: Charger shows 'full'; multimeter reads 6.3V+ at rest.
💡 Tips:
⚠️ Warnings:
Unplug charger from wall first, then remove black clamp, then red. Test voltage with multimeter. Reinstall in cart or store upright.
Why it matters: Proper disconnect avoids sparks. Full charge confirms success.
Success: 6.3-6.4V reading; batteries ready for use.
💡 Tips:
⚠️ Warnings:
Problem: Battery won't take a charge (0 amps)
Solution: Clean terminals again or test with multimeter—may need replacement if <6.0V open circuit.
Problem: Battery overheats during charge
Solution: Disconnect immediately, let cool 1 hour, check water levels, retry at lower amps.
Problem: Charger shows error or won't start
Solution: Verify 6V mode and connections; test outlet. Charger may be faulty.
Problem: Voltage doesn't reach 6.3V after 12 hours
Solution: Battery sulfated—use desulfation mode or replace. Seek pro if unsure.
Smart 6V/12V charger with AGM/flooded modes, desulfation, and auto-shutoff prevents overcharge.
Best for: Ideal for regular maintenance of 6V golf cart batteries.
Price Range: $60-$70
Affordable, reliable 6V/12V automatic charger with microprocessor for safe, fast charging.
Best for: Quick top-ups for multiple batteries in series.
Price Range: $45-$55
Accurate voltage tester essential for verifying charge levels post-charging.
Best for: Beginners checking 6.3-6.4V success.
Price Range: $15-$20
Pure water for topping up flooded 6V batteries without mineral buildup.
Best for: Monthly maintenance to cover plates.
Price Range: $10-$15
Effective for removing corrosion quickly before charging.
Best for: Prep step for all battery types.
Price Range: $8-$12
Ideal for regular maintenance of 6V golf cart batteries.
NOCO GENIUS5 5A Battery Charger Smart 6V/12V charger with AGM/flooded modes, desulfation, and auto-shutoff prevents overcharge.
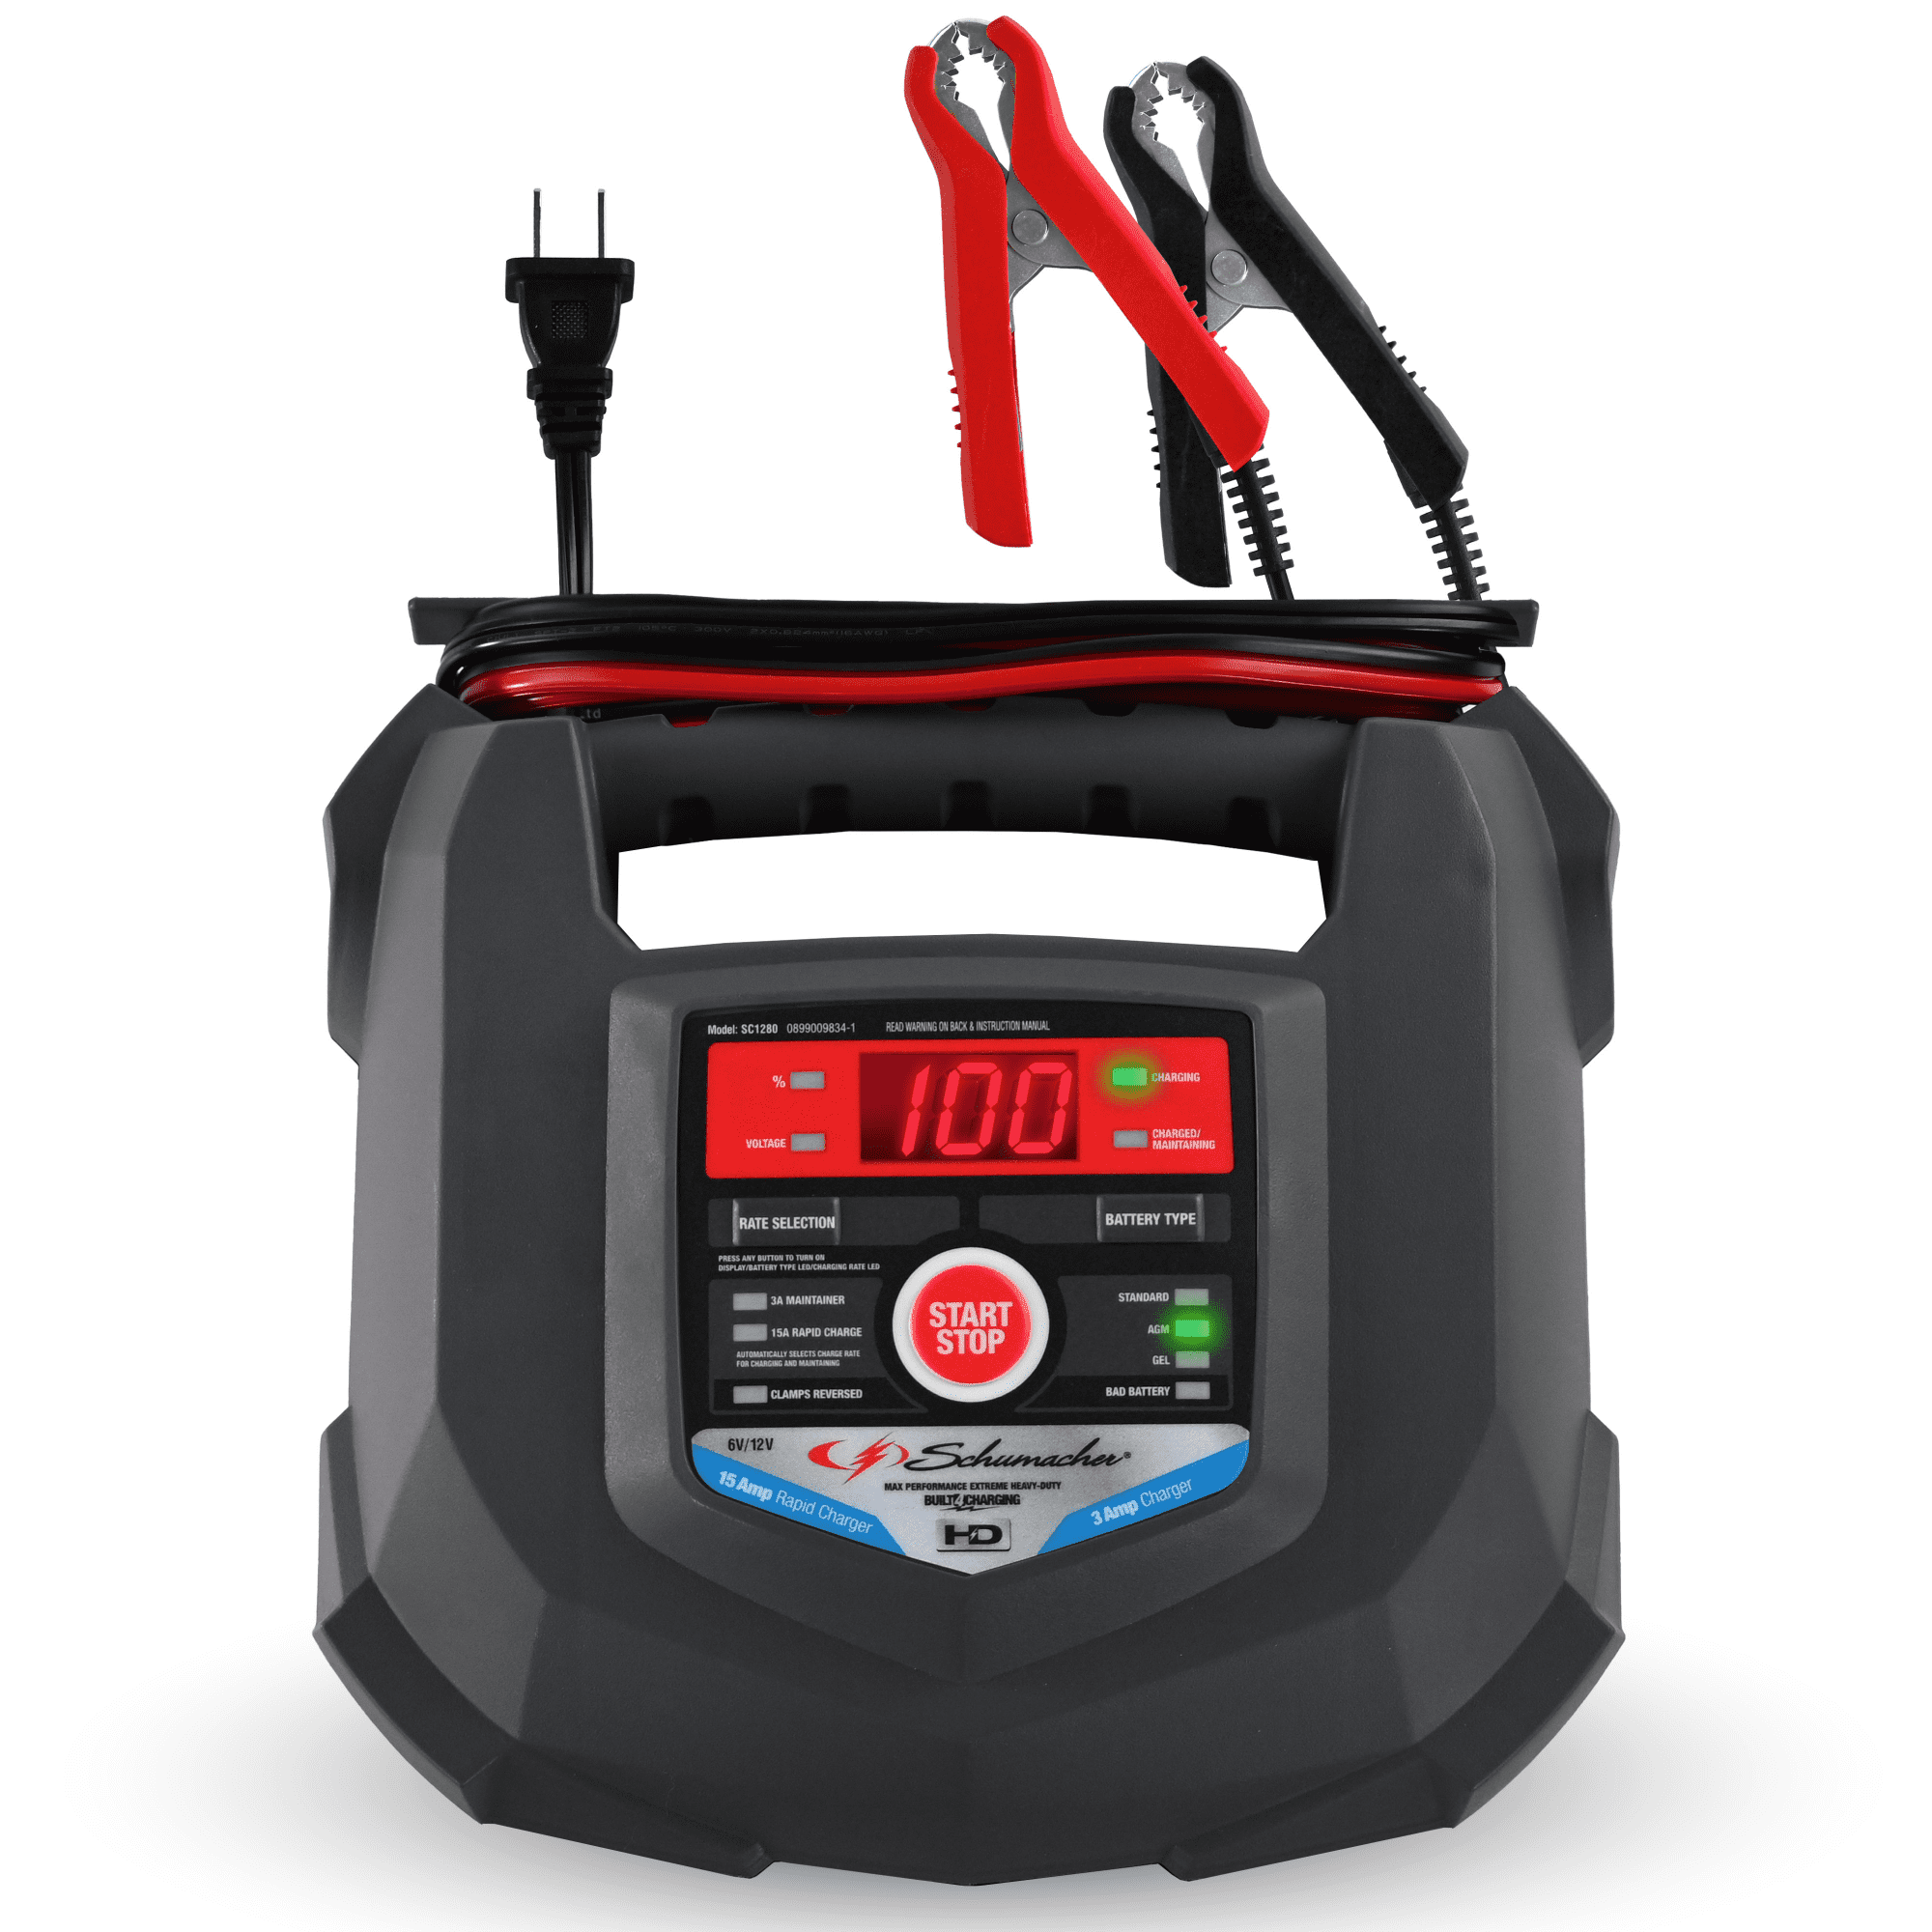
Quick top-ups for multiple batteries in series.
Schumacher SC1280 15A Battery Charger Affordable, reliable 6V/12V automatic charger with microprocessor for safe, fast charging.
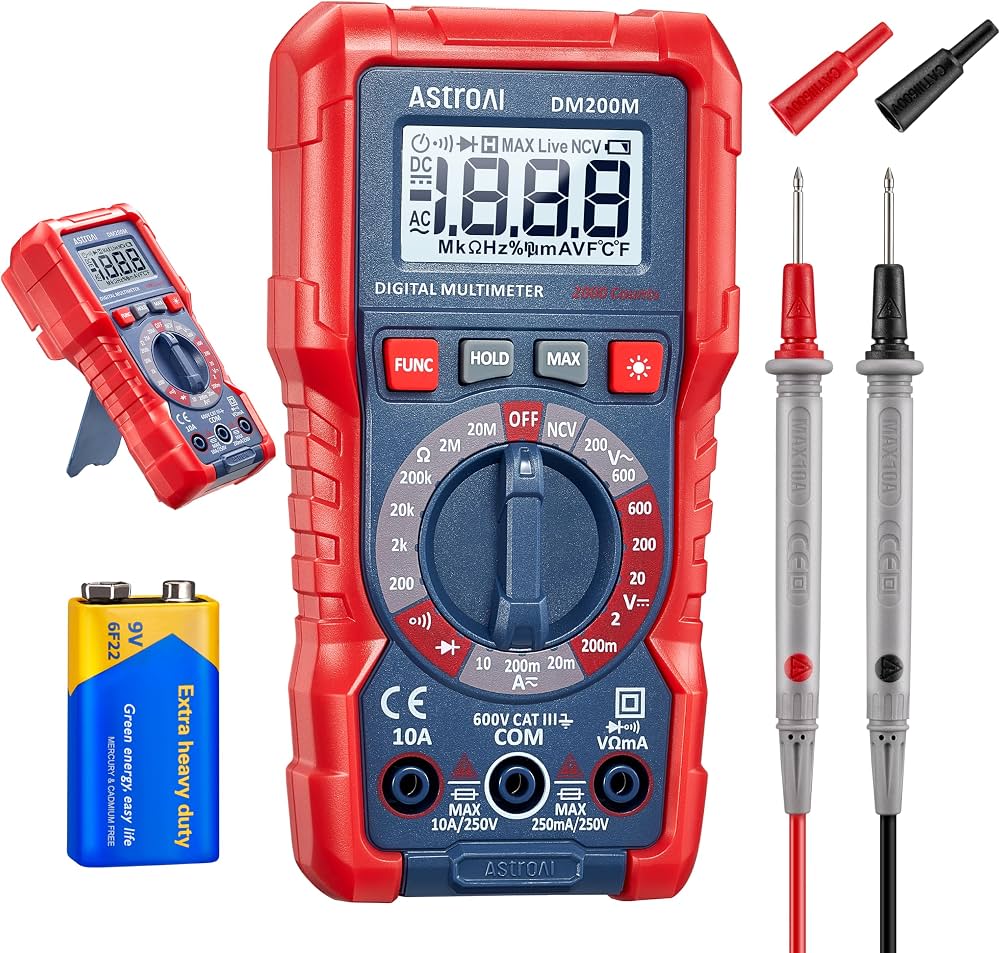
Beginners checking 6.3-6.4V success.
AstroAI Digital Multimeter Accurate voltage tester essential for verifying charge levels post-charging.

Monthly maintenance to cover plates.
Hayden Industries Distilled Water (1 Gallon) Pure water for topping up flooded 6V batteries without mineral buildup.
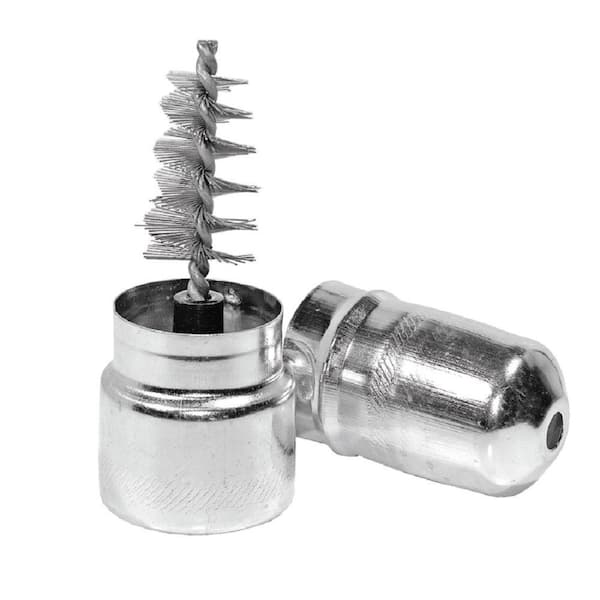
Prep step for all battery types.
Battery Terminal Cleaner Brush Kit Effective for removing corrosion quickly before charging.