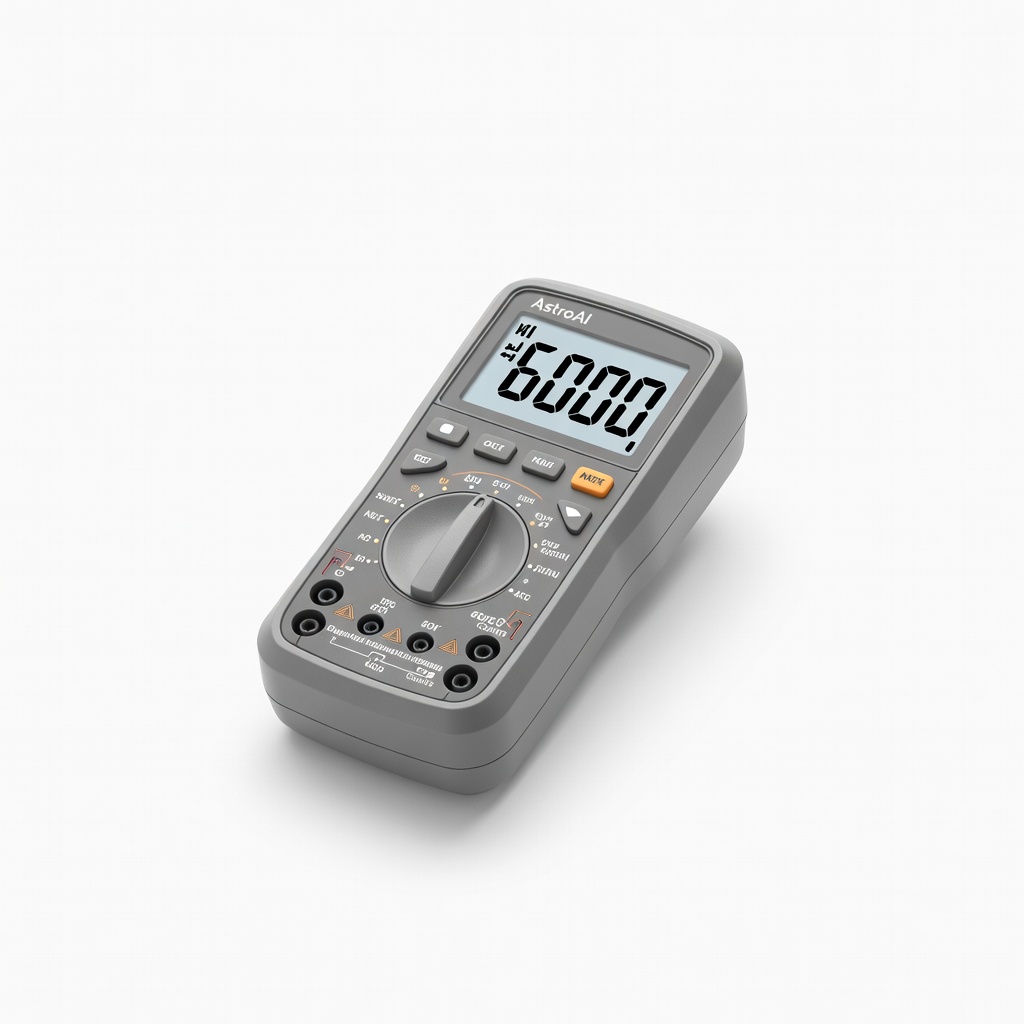
AstroAI Digital Multimeter 6000 Counts
Testing before/after revival on all 6V batteries.
$23.99
AstroAI Digital Multimeter 6000 Counts Accurate voltage testing essential for diagnosis without guesswork.
Get the App
Better experience on mobile
Restore your kid's ride-on toys and save money with these simple, safe steps—no new batteries needed.
Nothing's more frustrating than a dead battery ruining playtime, especially for popular 6V toys like Power Wheels or RC cars. Instead of tossing it and spending $20-40 on a replacement, you can often revive a sulfated or deeply discharged sealed lead-acid (SLA) battery common in these toys. This guide shows beginners how to safely bring it back to life.
You'll learn to inspect, clean, desulfate, and recharge your 6V battery step-by-step. The process focuses on safe DIY methods using household items and affordable tools. Expect 30-45 minutes of hands-on work, plus 12-24 hours of charging time. No advanced skills required—just follow along carefully for success rates over 70% on mildly dead batteries.
What success looks like: A battery reading 6.3-6.4V fully charged, powering the toy for 1-2 hours of play.
Estimated Time: 30-45 minutes active time + 12-24 hours charging Difficulty: beginner
Work in a well-ventilated garage or outdoors on a non-flammable surface like concrete. Wear safety goggles and rubber gloves to protect against acid spills or sparks. Disconnect the battery from the toy completely and let it cool if recently used.
Why it matters: 6V SLA batteries contain sulfuric acid and can produce hydrogen gas during revival, risking fire or burns. This prevents accidents from the start.
Success looks like: Clean, organized area with no flammable materials nearby.
💡 Tips:
⚠️ Warnings:
Locate the battery compartment (often under the seat in ride-on toys). Unscrew or unclip the cover, then disconnect the red (positive) and black (negative) wires—negative first to avoid shorts.
Gently lift out the battery, noting any date codes or labels (e.g., '6V 4.5Ah SLA'). Inspect for bulging, leaks, or cracks.
Success looks like: Battery free and wires labeled for easy reinstall.
💡 Tips:
⚠️ Warnings:
Mix 1 tbsp baking soda with 1 cup warm water. Dip a wire brush in the solution and scrub corroded terminals until shiny. Rinse with clean water and dry thoroughly with a cloth.
Why it matters: Corrosion blocks current flow, mimicking a 'dead' battery. Cleaning restores connection.
Success looks like: Bright, corrosion-free terminals.
💡 Tips:
Set multimeter to DC 20V range. Touch red probe to positive terminal, black to negative. Note reading: >5.5V = good but discharged; 3-5V = recoverable; <3V = deeply sulfated.
Why it matters: Diagnoses if revival is possible (most toys use SLA, sulfation kills them).
Success looks like: Accurate voltage reading displayed.
💡 Tips:
⚠️ Warnings:
Dissolve 1/4 cup Epsom salt in 1 cup hot distilled water. For sealed batteries, use a smart charger with pulse mode instead. For vented (if caps removable), carefully top up cells with solution using syringe, then reseal loosely.
Why it matters: Sulfation (crystal buildup) blocks plates; Epsom breaks it down chemically.
Let sit 1-2 hours, then rinse terminals.
Success looks like: Bubbles or warmth indicating reaction.
💡 Tips:
⚠️ Warnings:
Connect charger: red to positive, black to negative. Use 0.5-1A trickle mode or desulfation cycle for 12-24 hours. Monitor—no heat or swelling.
Why it matters: Fast charging worsens sulfation; slow rebuilds capacity.
Success looks like: Charger shows 'full' or voltage stabilizes at 6.3-6.8V.
💡 Tips:
⚠️ Warnings:
Retest voltage (should be 6.3V+). Reconnect to toy (positive last), secure, and test run for 15-30 mins.
Success looks like: Toy runs smoothly without cutting out.
💡 Tips:
Problem: Battery won't hold charge (>6V but drops fast)
Solution: Repeat desulfation and cycle 3x. If fails, replace.
Problem: No voltage rise after charging
Solution: Battery internally shorted—recycle safely.
Problem: Charger sparks or smokes
Solution: Disconnect immediately, check polarity, use new charger.
Problem: Toy runs weak after revive
Solution: Fully discharge then recharge 2x; check toy connections.
Accurate voltage testing essential for diagnosis without guesswork.
Best for: Testing before/after revival on all 6V batteries.
Price Range: $23.99
Smart 6V/12V charger with desulfation and repair modes—automates revival.
Best for: Safe trickle charging dead toy batteries overnight.
Price Range: $29.95
Dedicated 6V model dissolves sulfation pulses safely for toys.
Best for: Reviving Power Wheels batteries that simple chargers can't.
Price Range: $59.95
Affordable manual charger with float mode for maintenance post-revival.
Best for: Budget option for beginners topping up recovered batteries.
Price Range: $39.99
Pure MgSO4 for DIY desulfation solution—cheap and effective.
Best for: Chemical treatment for sulfated sealed batteries.
Price Range: $9.99
Testing before/after revival on all 6V batteries.
AstroAI Digital Multimeter 6000 Counts Accurate voltage testing essential for diagnosis without guesswork.
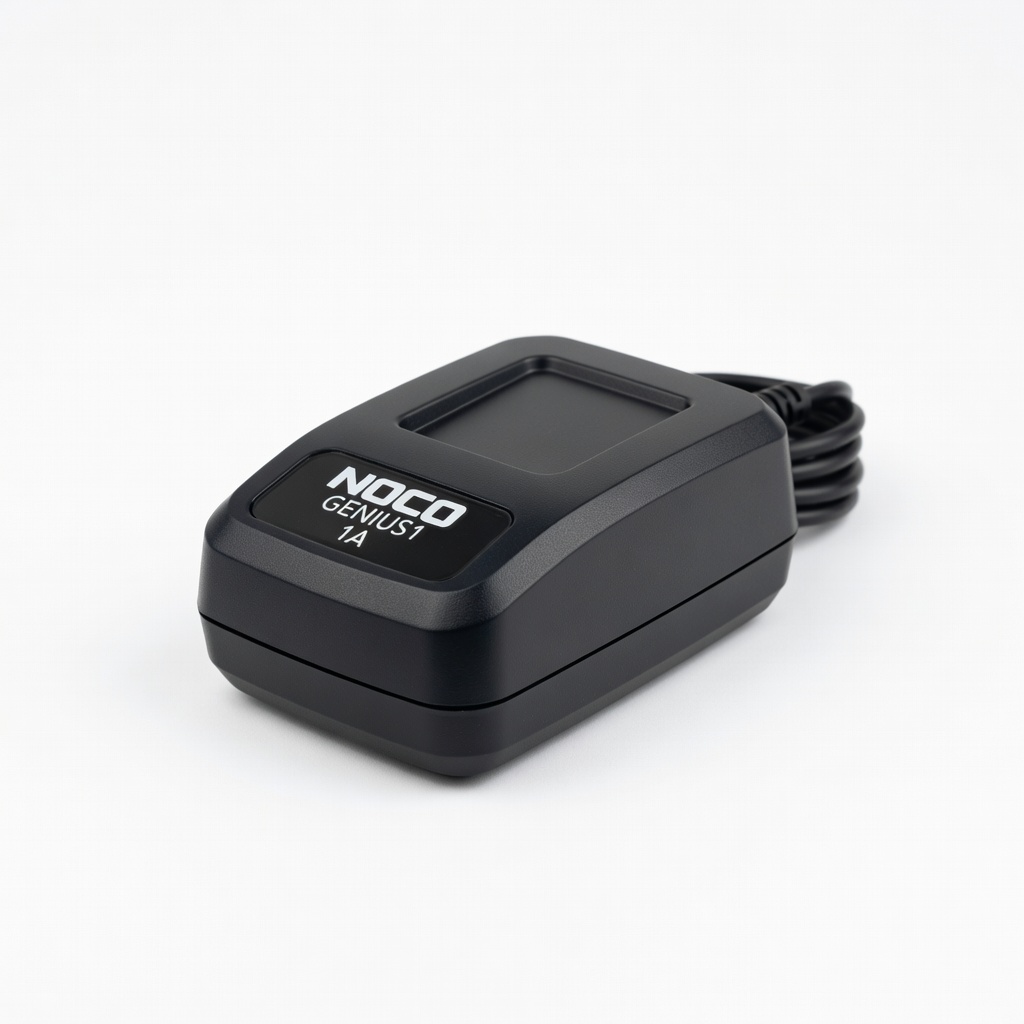
Safe trickle charging dead toy batteries overnight.
NOCO GENIUS1 1A Battery Charger Smart 6V/12V charger with desulfation and repair modes—automates revival.
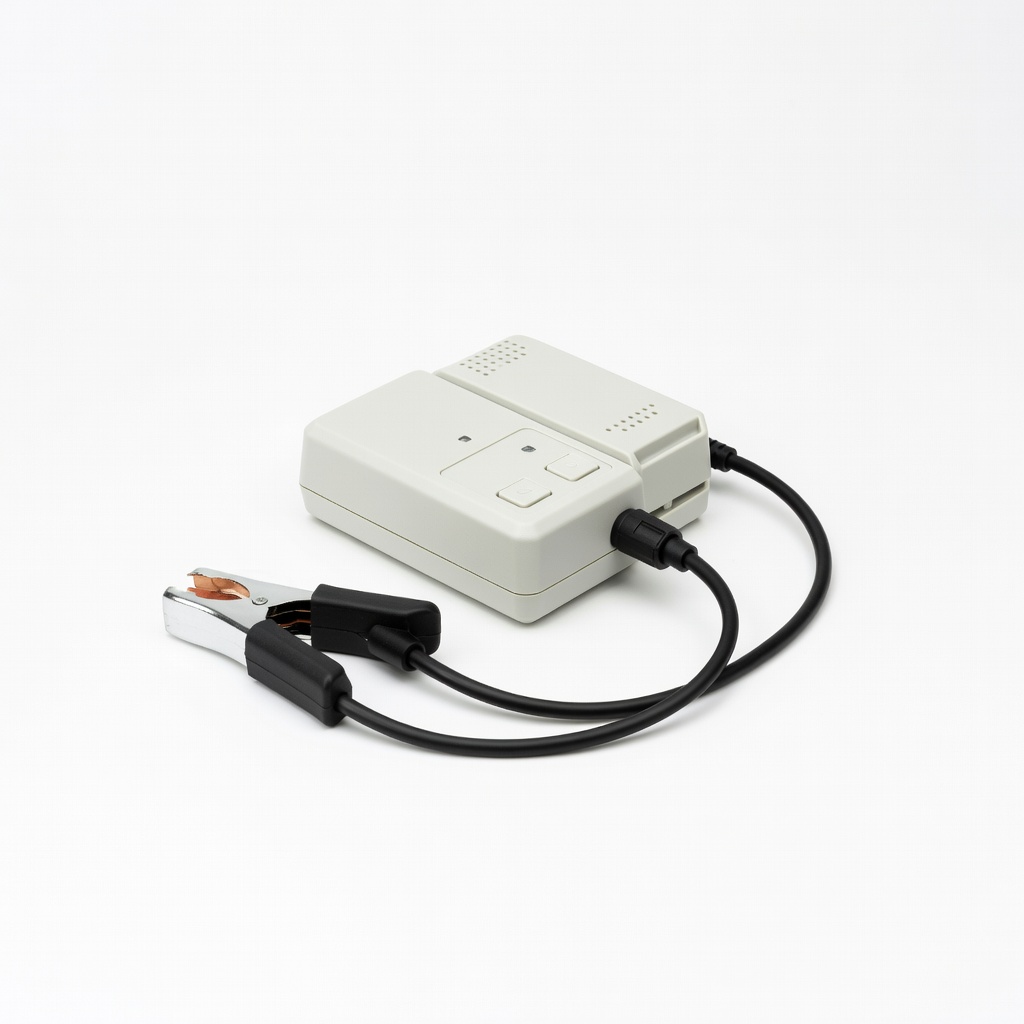
Reviving Power Wheels batteries that simple chargers can't.
BatteryMINDer 201-6 6V Desulfator Charger Dedicated 6V model dissolves sulfation pulses safely for toys.
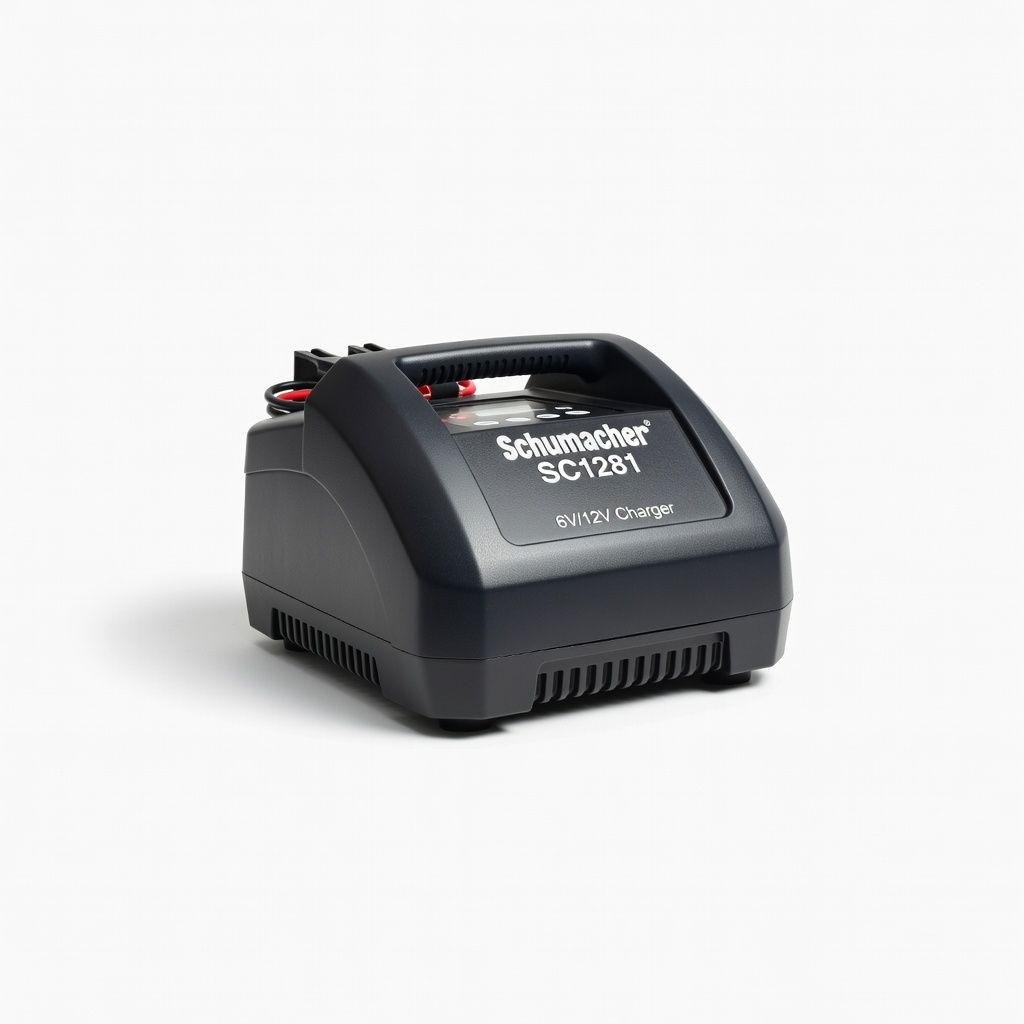
Budget option for beginners topping up recovered batteries.
Schumacher SC1281 6V/12V Charger Affordable manual charger with float mode for maintenance post-revival.

Chemical treatment for sulfated sealed batteries.
Humphrey's Epsom Salt 4lb Pure MgSO4 for DIY desulfation solution—cheap and effective.