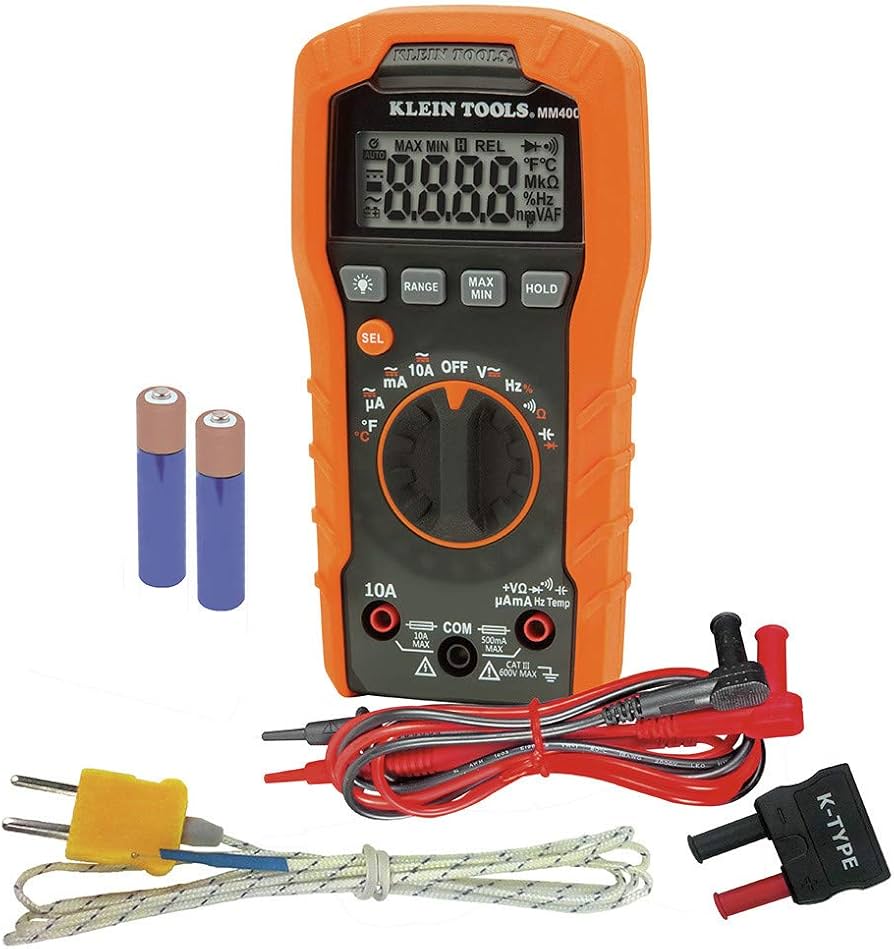
Klein Tools MM400 Digital Multimeter
Every step involving voltage checks.
$29.97
Klein Tools MM400 Digital Multimeter Accurate DC voltage testing essential for identifying usable cells.
Get the App
Better experience on mobile
Transform dead 9V batteries into usable power sources for electronics projects, saving money and reducing e-waste in under 30 minutes.
Tired of throwing away 9V batteries that still have life left in them? These rectangular powerhouses from smoke detectors, pedals, and toys often get discarded when their total voltage drops below 7V, but the six internal 1.5V cells inside may still hold 1.2-1.4V each—perfect for low-power DIY electronics like LED circuits or sensors.
In this guide, you'll learn how to safely test, disassemble, and repurpose those cells for custom battery packs. Whether you're building a guitar pedal backup or a blinking LED badge, this intermediate skill extends battery life and sparks creativity. Expect 20-40 minutes per battery, basic soldering knowledge required.
We'll cover everything step-by-step, from safety checks to project ideas, so you can confidently reuse batteries without risks like leaks or shorts.
Estimated Time: 20-40 minutes per battery Difficulty: intermediate
Clear a well-ventilated, flat workspace covered with a protective mat or newspaper. Wear safety goggles and nitrile gloves to protect against leaks or sharp edges. Why? 9V batteries can contain corrosive alkaline residue, and prying them open risks cuts or chemical exposure.
Plug in your soldering iron to preheat (if using later) and gather all tools nearby. Success looks like a organized station with no clutter, ready for precise work.
💡 Tips:
⚠️ Warnings:
Set your multimeter to DC voltage (20V range). Touch the red probe to the positive (+) snap terminal and black to negative (-). A reading below 7-8V confirms it's 'dead' for 9V use but ripe for reuse.
Why it matters: Ensures cells have usable charge (aim for whole battery >5V total). Expect 5.5-7.5V common in discarded ones; individual cells will vary.
Success: Voltage displayed clearly—no beeps or errors.
💡 Tips:
Locate the seam along the battery's metal or plastic edge. Gently insert a flathead screwdriver and twist to separate the top from the body—apply even pressure to avoid bending.
Inside, you'll see six flat prismatic cells (like fat AAAA) connected in series by thin metal strips. Why? This exposes the cells without damage. Expect some glue or tape; cut carefully with pliers.
Success: Casing split open, cells intact and visible.
⚠️ Warnings:
Heat your soldering iron to 350°C. Touch to the thin connecting tabs between cells and gently lift with pliers—desolder one end at a time.
Separate the six 1.5V cells. Clean residual solder with desoldering braid if available. Why? Frees cells for reconfiguration (e.g., 3 in series for 4.5V). Expect cells to be rectangular, ~1cm x 2cm.
Success: Six loose cells, tabs removed cleanly.
💡 Tips:
Probe each cell's flat terminals (positive usually marked or larger tab side). Good cells read 1.2-1.5V; discard any below 0.8V or leaking.
Group by voltage: e.g., three ~1.4V for 4.2-4.5V pack. Why? Matches project needs. Expect 80% usable from typical dead 9Vs.
Success: Cells labeled/sorted, weak ones aside.
⚠️ Warnings:
Solder 2-4 cells in series (positive to negative) for your voltage (e.g., 3V, 4.5V). Insulate joints with heat-shrink or tape.
Attach wires or a 9V snap if desired. Test total voltage. Why? Powers DIY like Arduino sensors or LEDs.
Success: Pack holds voltage, no shorts.
💡 Tips:
Example: Wire your 3V pack to an LED + 220Ω resistor for a blinker (add capacitor for flash). Or use in a button cell replacement.
Secure with hot glue. Test circuit. Why? Real-world application.
Success: Project lights up or functions stably.
Problem: Cell voltage drops quickly under load
Solution: Cell has low capacity; use for blinkenlights only or discard. Test with 1kΩ resistor.
Problem: Solder won't melt tabs easily
Solution: Add flux or fresh solder first to improve heat transfer.
Problem: Pack gets hot during use
Solution: Short circuit—check insulation and reverse polarity. Discharge fully before storage.
Problem: Leaking residue found
Solution: Neutralize with vinegar, rinse with water, dry thoroughly. Don't reuse leakers.
Accurate DC voltage testing essential for identifying usable cells.
Best for: Every step involving voltage checks.
Price Range: $29.97
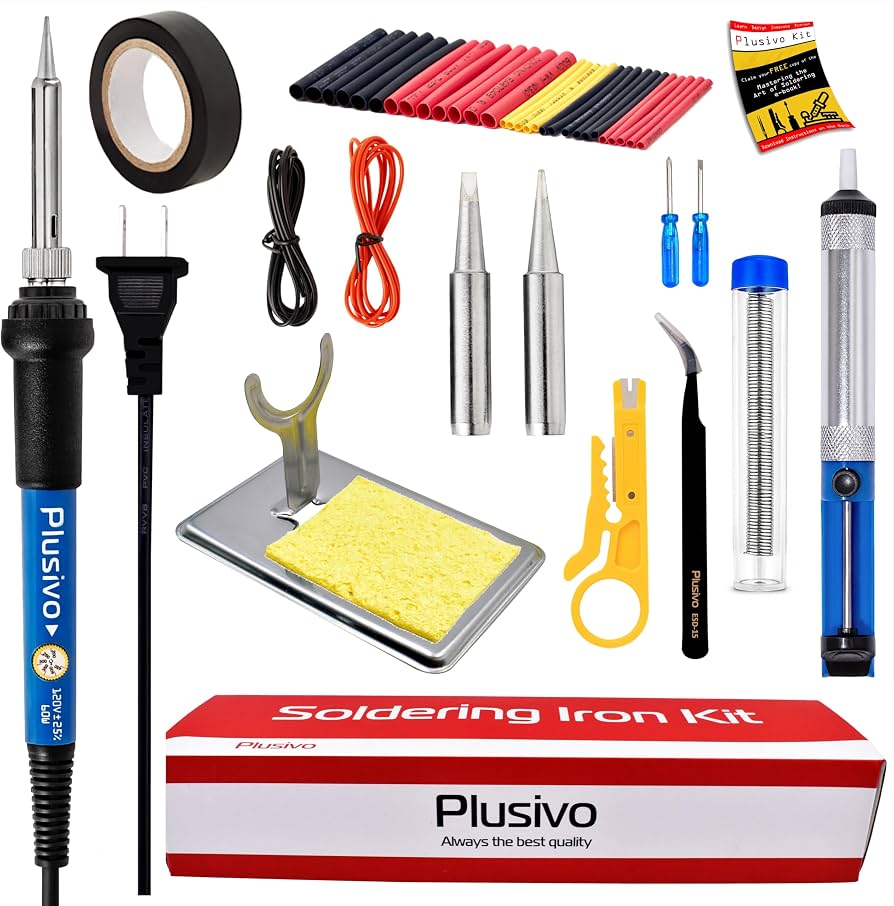
Complete kit with stand, solder, and tools for safe desoldering.
Best for: Extracting and reconnecting cells cleanly.
Price Range: $19.99
Reusable snaps make testing and projects plug-and-play.
Best for: Quick connections without soldering wires every time.
Price Range: $6.99
Precise for prying and tab removal without damaging cells.
Best for: Disassembly steps.
Price Range: $24.85
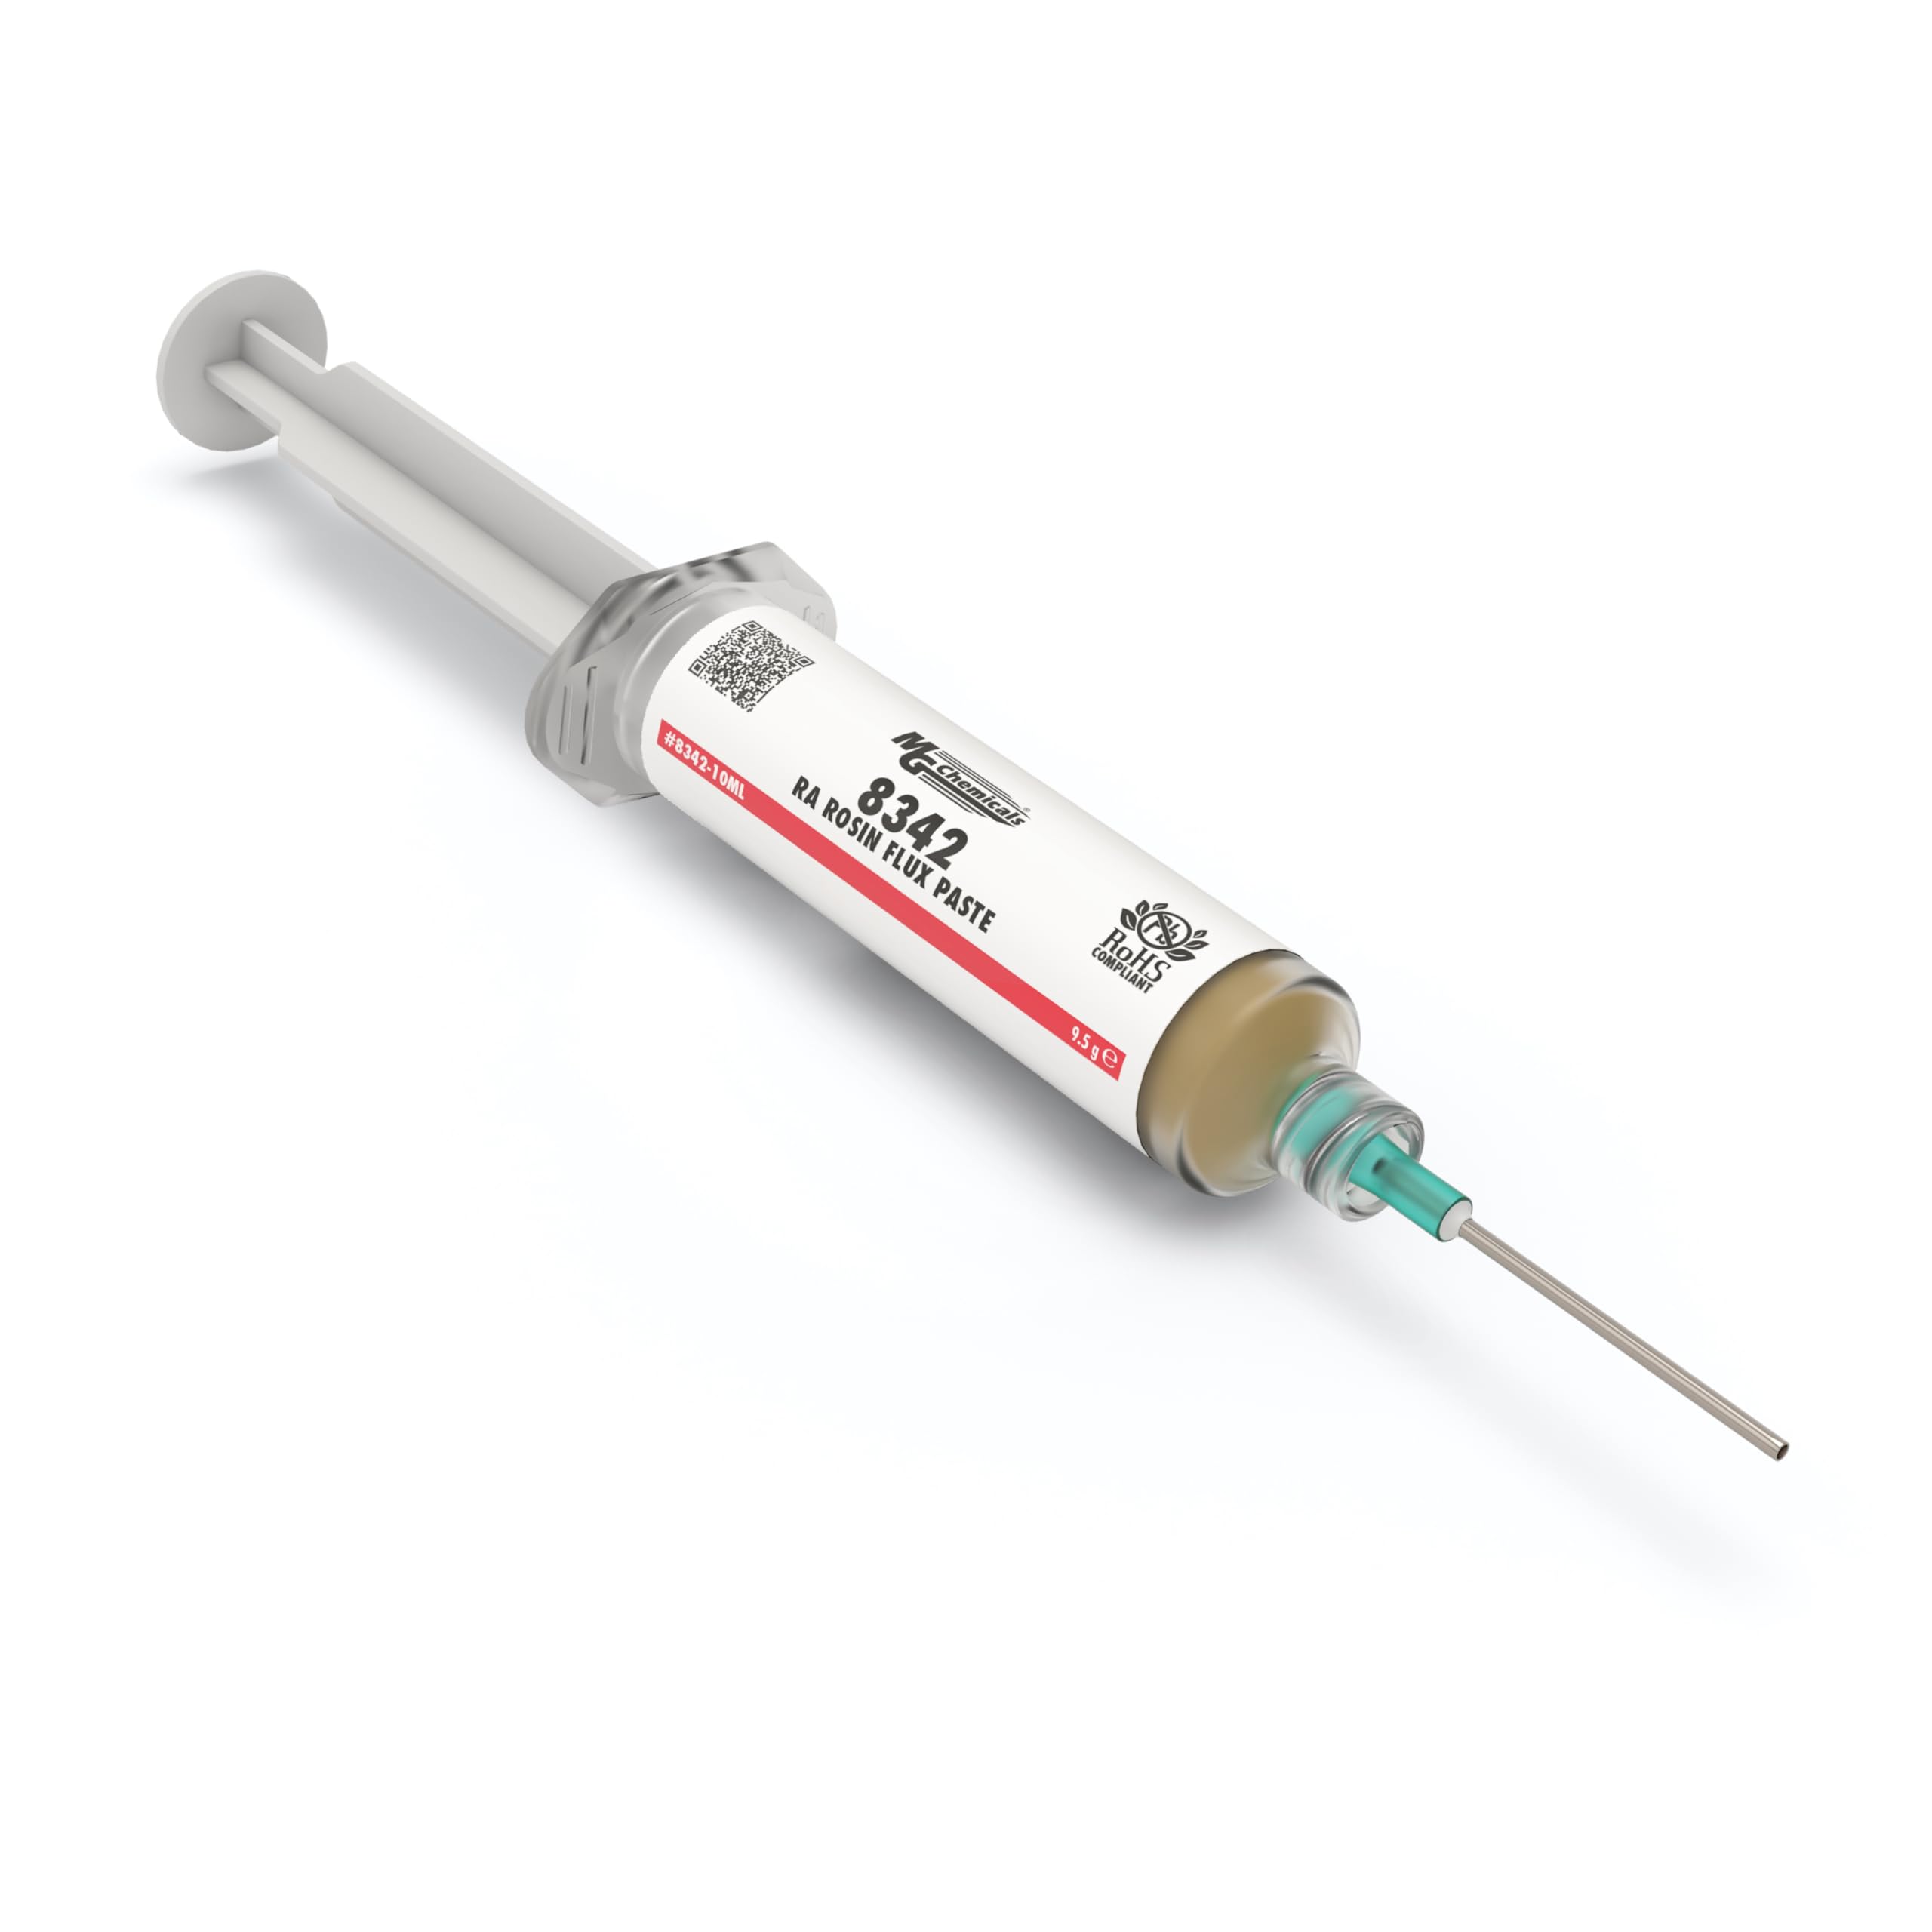
Improves solder flow for easier desoldering of tiny tabs.
Best for: Stubborn connections during extraction.
Price Range: $9.99
Every step involving voltage checks.
Klein Tools MM400 Digital Multimeter Accurate DC voltage testing essential for identifying usable cells.
Extracting and reconnecting cells cleanly.
Plusivo Soldering Iron Kit 60W Complete kit with stand, solder, and tools for safe desoldering.
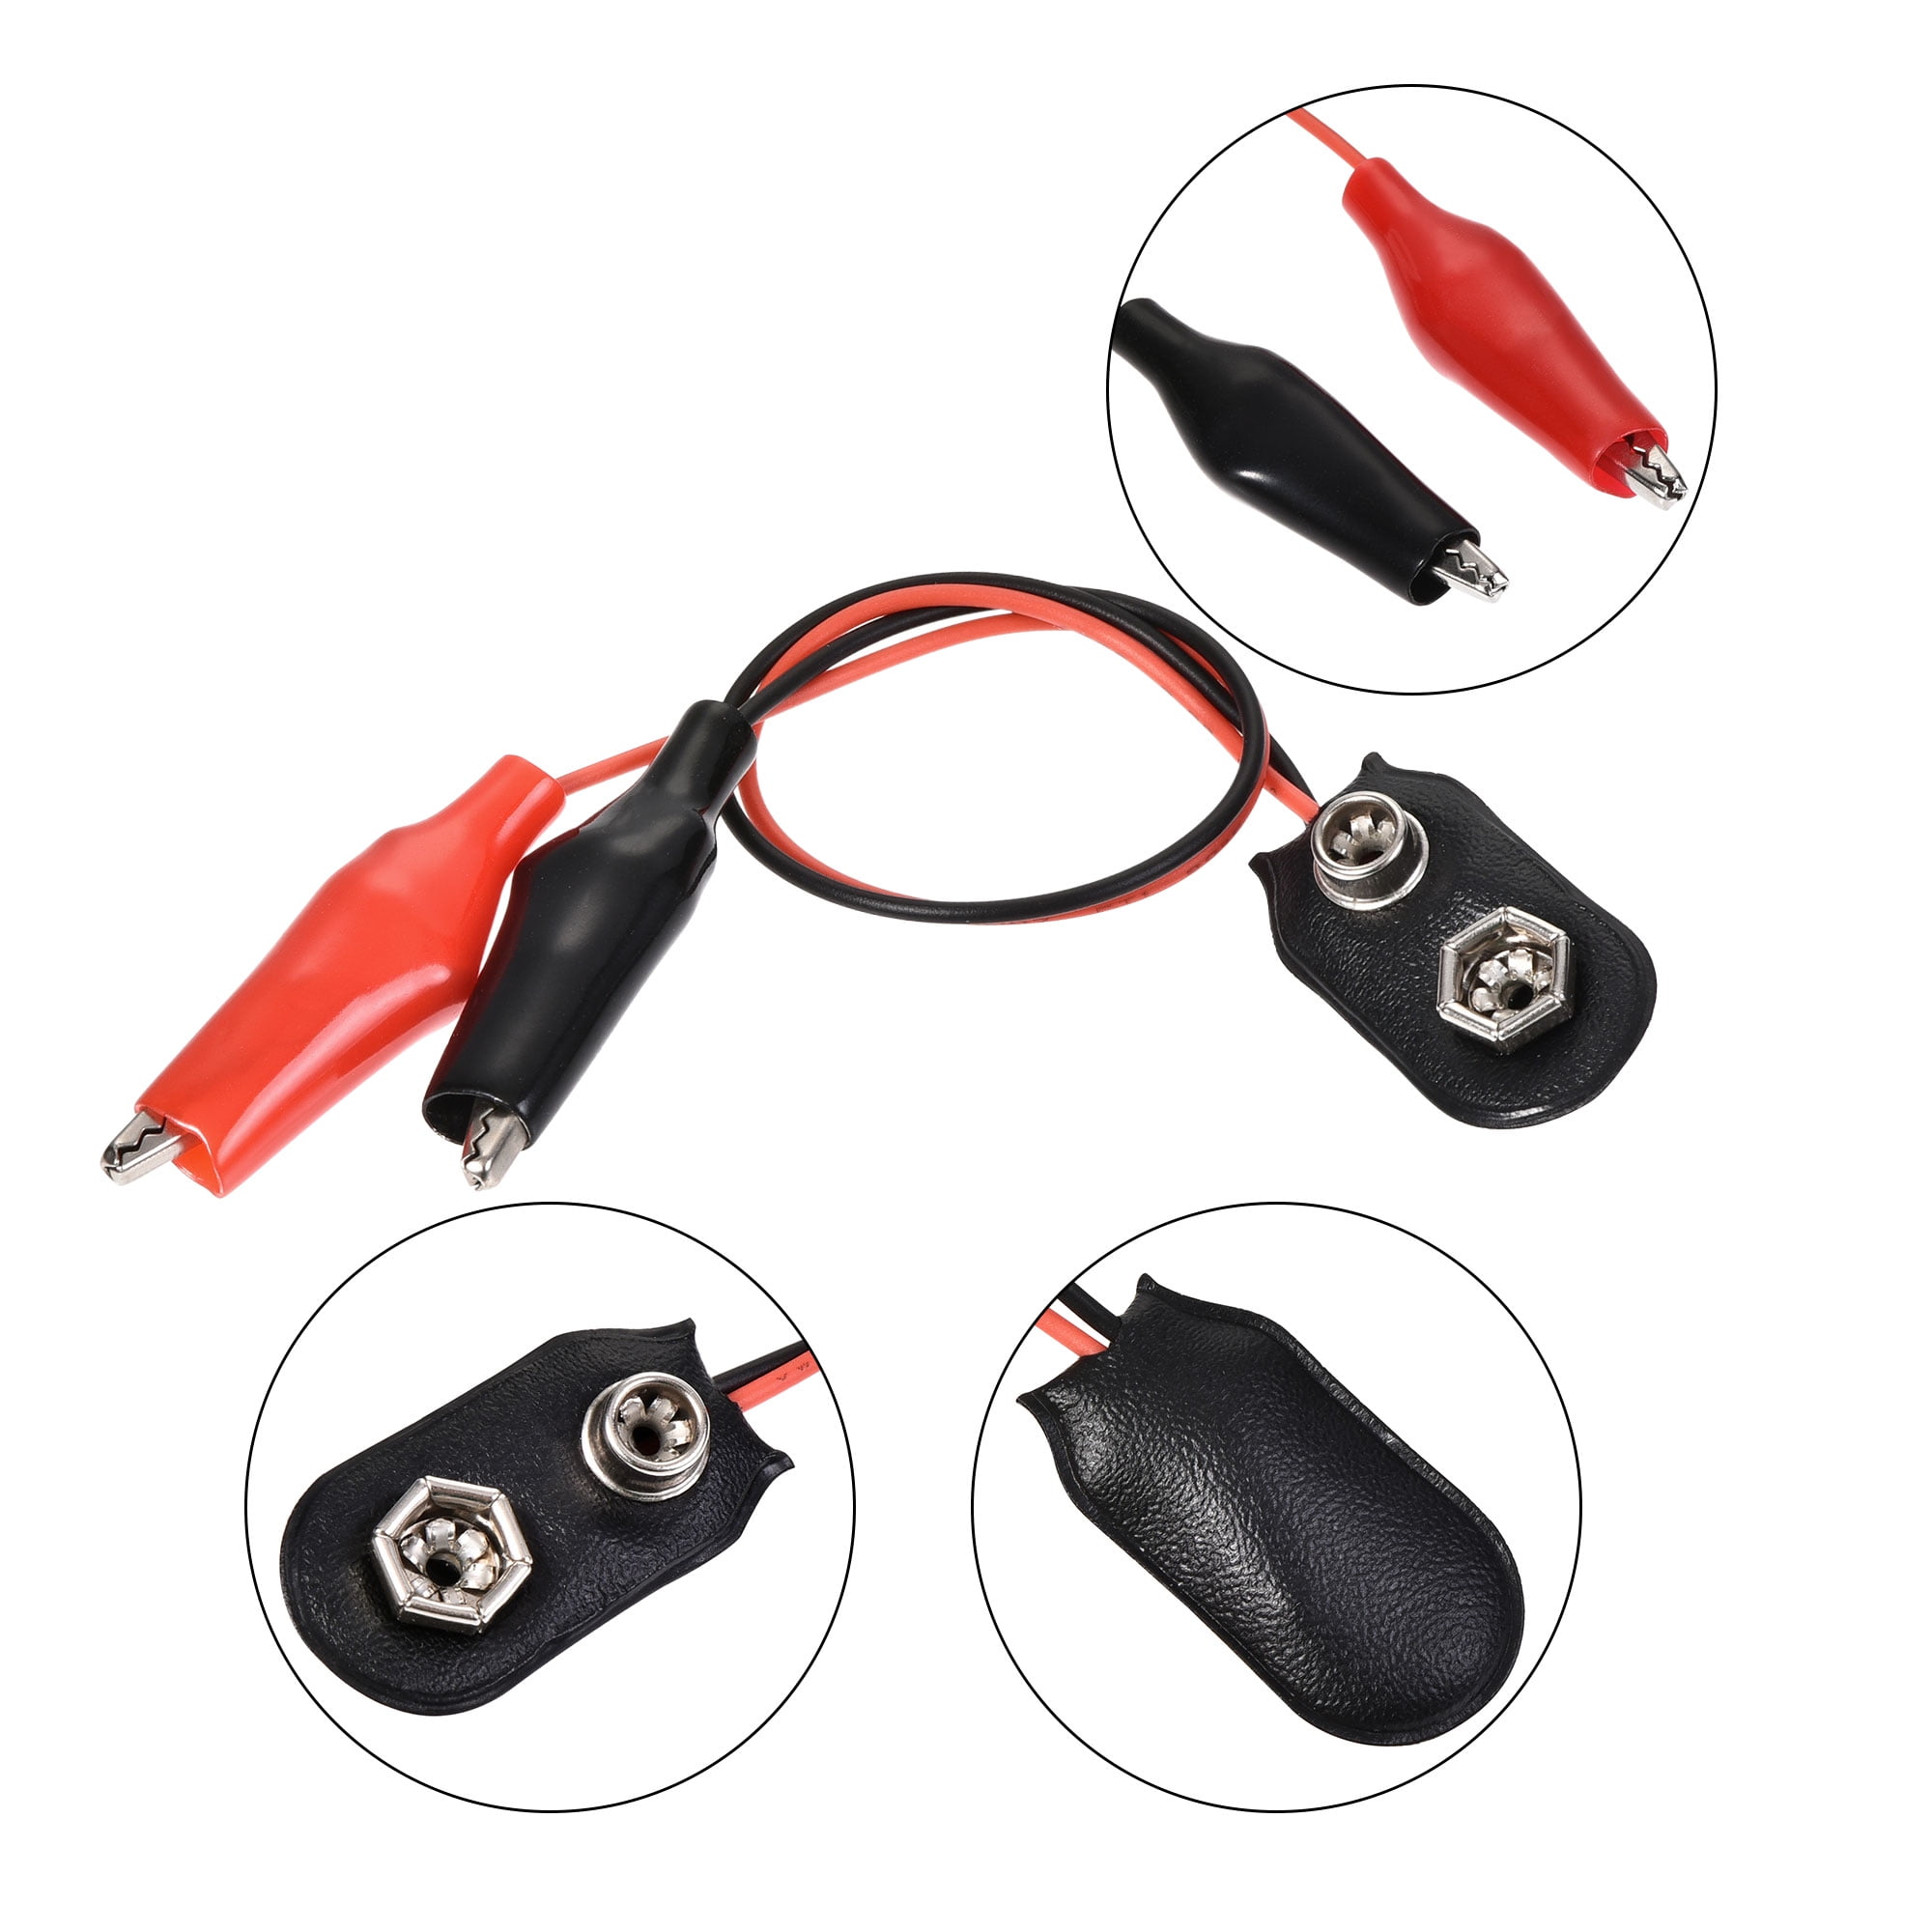
Quick connections without soldering wires every time.
uxcell 10Pcs 9V Battery Snap Connectors Reusable snaps make testing and projects plug-and-play.

Disassembly steps.
TEKTON Mini Pliers and Cutters Set Precise for prying and tab removal without damaging cells.
Stubborn connections during extraction.
MG Chemicals Rosin Flux Paste Improves solder flow for easier desoldering of tiny tabs.