Changing classical guitar strings can seem daunting with their unique tie-block bridge and slotted tuning pegs, but it's a rewarding skill that keeps your guitar sounding its best. Over time, nylon strings lose their brightness and intonation, or they may break. This guide will walk you through the entire process—from removing old strings to tuning up fresh ones—so you can do it confidently in about 30-45 minutes. No prior experience needed; just patience and a few basic tools.
▸What You'll Need
- •New set of nylon classical guitar strings
- •String winder (optional but highly recommended)
- •Wire cutters or nail clippers for trimming excess
- •Soft, lint-free cloth for cleaning
- •Clip-on or smartphone tuner
- •Small screwdriver or flat tool (only if your bridge has removable pins; most classical guitars use a tie-block)
Estimated Time: 30-45 minutes
Difficulty: beginner
▸Step-by-Step Instructions
Step 1: Remove the Old Strings
Loosen each string slowly using your tuning pegs (or a string winder) until they are completely slack. For the three bass strings (wound), unwrap them from the tuning pegs. For the treble strings (plain), you can cut them with wire cutters near the center of the fretboard to speed things up—but only if they're already loose. Then, untie the knots at the bridge and remove the strings. Be careful not to scratch the guitar's finish with the sharp ends.
💡 Tips:
- •If you don't have a string winder, you can use your fingers, but it will take longer.
- •Remove strings one by one or all at once, but changing one at a time helps maintain neck tension.
⚠️ Warnings:
- •Never cut a tight string; it can snap and cause injury. Always loosen first.
- •Dispose of old strings properly—they can be sharp.
Step 2: Clean the Guitar
With the strings off, it's the perfect time to clean the fretboard, body, and bridge area. Use a soft, dry cloth to wipe away dust and grime. If needed, lightly dampen the cloth with a little water or a guitar-specific cleaner. Avoid getting moisture into the soundhole or tuning pegs. Clean the fretboard gently, especially if you notice buildup near the frets.
💡 Tips:
- •Use a microfiber cloth to avoid lint.
- •A little lemon oil (for rosewood fretboards) can condition the wood, but check your guitar's finish first.
⚠️ Warnings:
- •Do not use household cleaners or alcohol on the finish; they can damage the lacquer.
Step 3: Tie the String at the Bridge
Insert the end of the string through the hole in the bridge block from the soundhole side. Leave about 3-4 inches of excess string sticking out. Make a simple knot: pass the string end under the main length, then bring it over and through the loop (like starting to tie a shoe). Pull tight to form a loop around the bridge. For extra security, repeat to create a second knot on top of the first (double knot). Trim the tag end to about 1/2 inch. The knot should sit snugly against the bridge.
💡 Tips:
- •For the thinner treble strings, make an extra loop or wrap around the main string to prevent slipping.
- •Some players prefer a specific 'classical knot'—you can find video demonstrations online.
⚠️ Warnings:
- •Don't cut the tag end too short or the knot may slip. Leave at least 1/4 inch.
- •Ensure the knot doesn't rest on the soundboard; it should sit on the bridge itself.
Step 4: Insert the String into the Tuning Peg
Pass the other end of the string through the hole in the tuning peg (roller). For classical guitars, the hole is typically in the center of the roller. Pull most of the slack through, leaving only about 2 inches of string beyond the hole. The aim is to have enough to wrap around the peg 2-3 times for stability.
💡 Tips:
- •Before inserting, lightly stretch the string to remove any kinks.
- •For the lower strings (thicker), you may need to use the string winder to open the hole slightly if it's tight.
⚠️ Warnings:
- •Make sure the string sits properly in the nut slot—do not force it into a wrong slot.
Step 5: Wind the String Properly
Hold the string taut with one hand and start turning the tuning peg with the other (clockwise for the right-hand side pegs, counterclockwise for the left). Guide the string so it wraps neatly from the top of the roller downwards (or bottom-up depending on preference). The wraps should be close together and not overlapping. For the first wind, the string should go over the tail end to lock it in place. Aim for 2-3 tight wraps.
💡 Tips:
- •Use a string winder to speed up the process, but finish by hand to feel the tension.
- •Keep a slight constant tension on the string as you turn to ensure even wrapping.
⚠️ Warnings:
- •Do not overtighten yet—just take out the slack so the string is firm but not at pitch.
- •Avoid crossing the strings over each other at the nut; keep them in their correct slots.
Step 6: Repeat for All Six Strings
Install the remaining strings one by one. Classical guitars typically have three wound bass strings (low E, A, D) and three plain treble strings (G, B, high E). The order doesn't matter much, but many start with the high E (first string) and work toward the low E (sixth) to keep the bridge organized. Be patient and ensure each string is properly tied and wound.
💡 Tips:
- •You can change strings one at a time to maintain neck tension, but for a full restring, it's fine to remove all first.
- •Check that each string lies straight from the nut to the tuning peg without sharp angles.
⚠️ Warnings:
- •Double-check your bridge knots—if one slips, you'll need to redo it.
- •Don't pull the string too tight before tuning; leave some flexibility.
Step 7: Stretch and Tune the Strings
Now, tune each string to its approximate pitch using a tuner. Classical guitars are tuned to E-A-D-G-B-E (same as acoustic). After bringing each string up to pitch, gently stretch it by pulling it away from the fretboard (about an inch) along its length. This will cause the string to go flat. Retune and repeat stretching until the string holds its pitch after several pulls. Stretching is crucial for nylon strings as they settle more than steel.
💡 Tips:
- •Clip-on tuners work well for classical guitars; set them to the correct mode (chromatic).
- •Stretch each string a few times, retuning after each pull.
⚠️ Warnings:
- •Be careful not to pull too hard—nylon strings can snap if overstretched, especially the thin trebles.
- •New strings will take a few days to fully stabilize; expect frequent retuning initially.
Step 8: Trim Excess String Ends
Once the strings are at pitch and have been stretched, use wire cutters to trim the excess string at the tuning pegs. Leave about 1/4 to 1/2 inch from the peg to prevent scratching. Also trim the tag ends at the bridge if they are long. A curved nail clipper works well for nylon. Make sure no sharp ends are sticking out that could poke you or damage the guitar case.
💡 Tips:
- •Trim after tuning to avoid cutting too short; you may need to restring if you cut too close.
- •For the bridge ends, some players prefer to leave a small loop for aesthetic reasons.
⚠️ Warnings:
- •Be careful not to cut the string itself while trimming near the peg.
- •Dispose of cut ends safely—they are sharp.
▸Pro Tips
- •Use a string winder to save time and reduce hand fatigue.
- •When tying the bridge knot, moisten the string end to make it easier to tighten.
- •Always have a backup set of strings—breaking one during installation is common.
- •Write down the string order (6th to 1st) to avoid confusion.
- •For better tuning stability, lubricate the nut slots with graphite (pencil lead) before stringing.
- •Change strings in a quiet environment to avoid distractions.
▸Common Mistakes to Avoid
- •Tying the bridge knot incorrectly: Ensure the knot pulls tight against the bridge, not the soundboard.
- •Not stretching new strings: Skipping stretching leads to constant detuning.
- •Overlapping wraps on the tuning peg: This causes slippage and poor tuning stability.
- •Cutting strings too short before tuning: You may need to restring if you trim too early.
- •Using the wrong string order: Installing a string in the wrong tuning peg slot can cause binding.
▸Troubleshooting
Problem: String keeps slipping out of the tuning peg hole.
Solution: Make sure you have enough wraps (2-3) and that the first wrap crosses over the tail to lock the string.
Problem: String buzzes when played open.
Solution: Check that the string sits properly in the nut slot. If the slot is too tight, gently widen it with a nut file or folded sandpaper.
Problem: String breaks during tuning.
Solution: You may have over-tightened past pitch, or the string had a defect. Replace it and tune carefully, checking pitch with a tuner.
Problem: Bridge knot unravels.
Solution: Redo the knot with a double knot or use an extra loop. Ensure you pull it tight and leave enough tag end.
Problem: Tuning pegs feel loose or skip.
Solution: This indicates worn pegs. For friction pegs, try applying peg compound; for geared pegs, tighten the screw on the back.
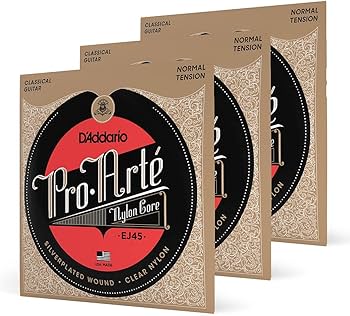
D'Addario EJ45 Pro-Arte Nylon Classical Guitar Strings
These are the industry standard for balanced tone and reliability, suitable for beginners to professionals.
Best for: Your go-to set for restringing; offers clear trebles and warm basses with excellent intonation.
Price Range: $10 - $15
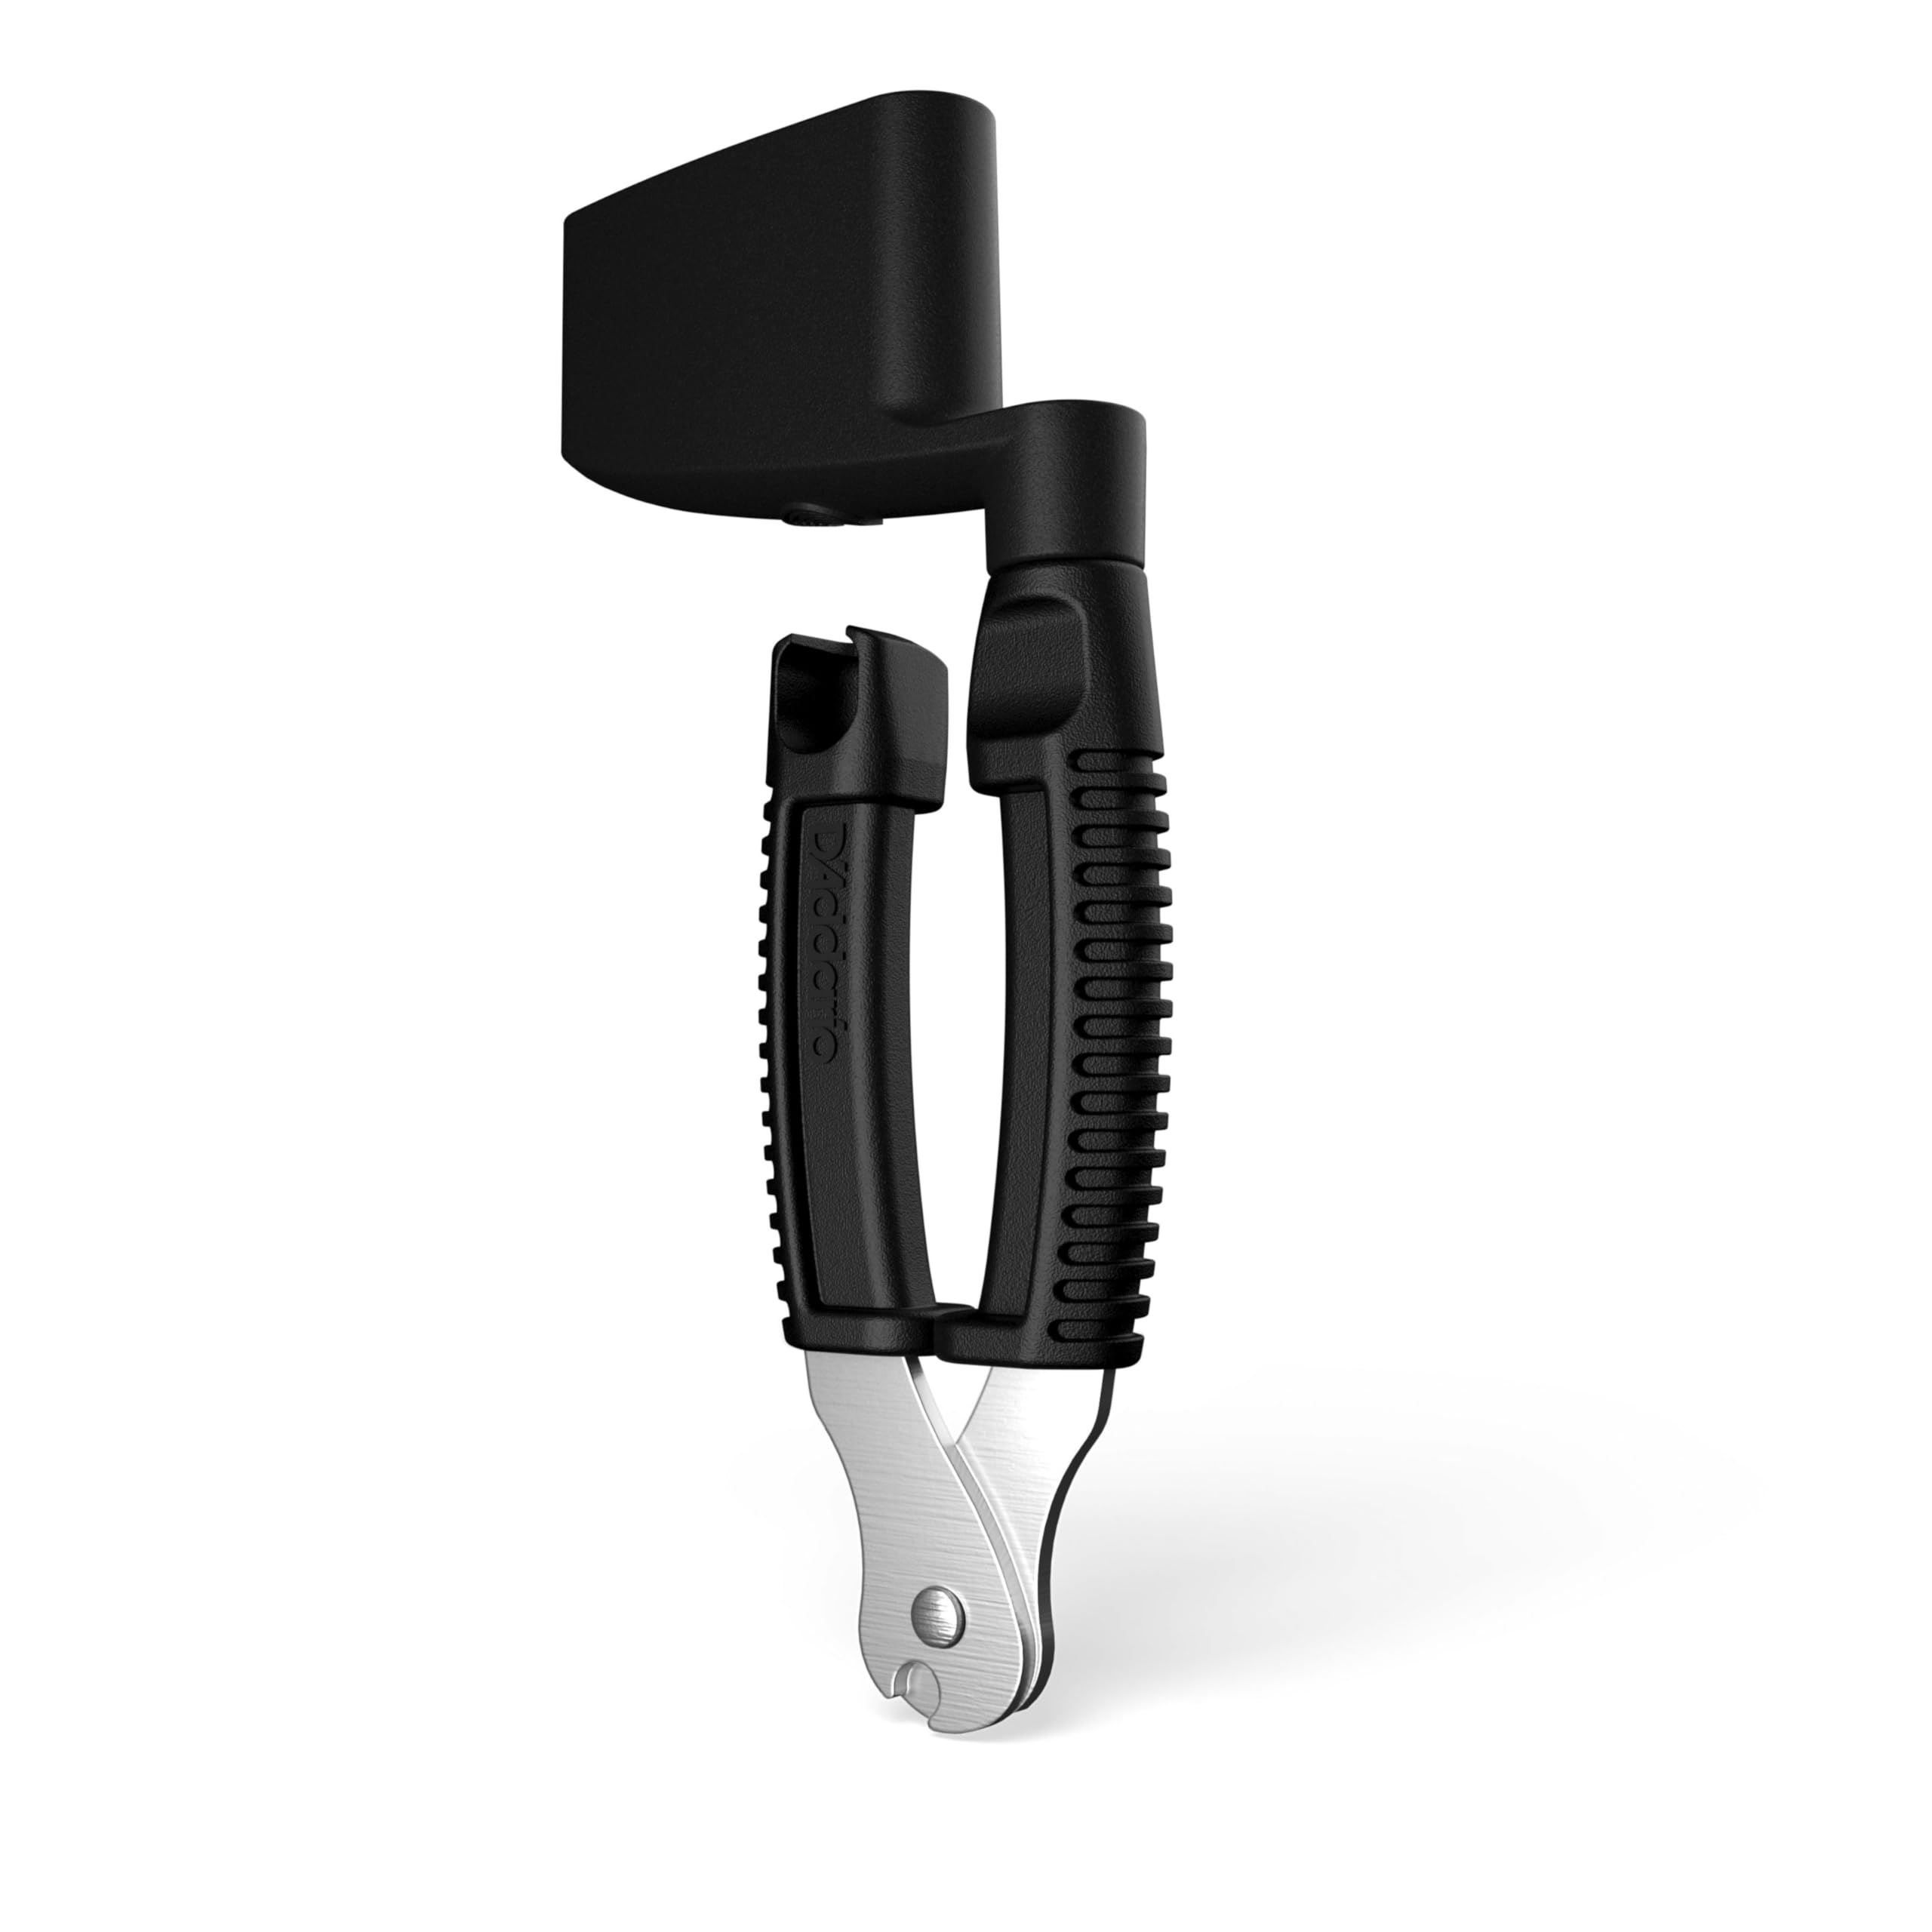
Planet Waves Pro-Winder String Winder and Cutter
Combines a string winder, peg, and cutter in one tool, speeding up the restringing process significantly.
Best for: Use to quickly wind strings and trim excess, especially useful for beginners to avoid hand strain.
Price Range: $8 - $12
Snark SN-2 Clip-On Tuner
Affordable and accurate clip-on tuner with a clear display that works well for classical guitar tuning.
Best for: Clip onto the headstock for quick and precise tuning, essential for new strings that need frequent adjustment.
Price Range: $12 - $18
Music Nomad MN105 Premium Guitar Polish and Cleaner
Safe for all finishes and helps maintain the guitar's appearance while restringing.
Best for: Clean the fretboard and body after removing old strings to keep your guitar in top condition.
Price Range: $10 - $15