
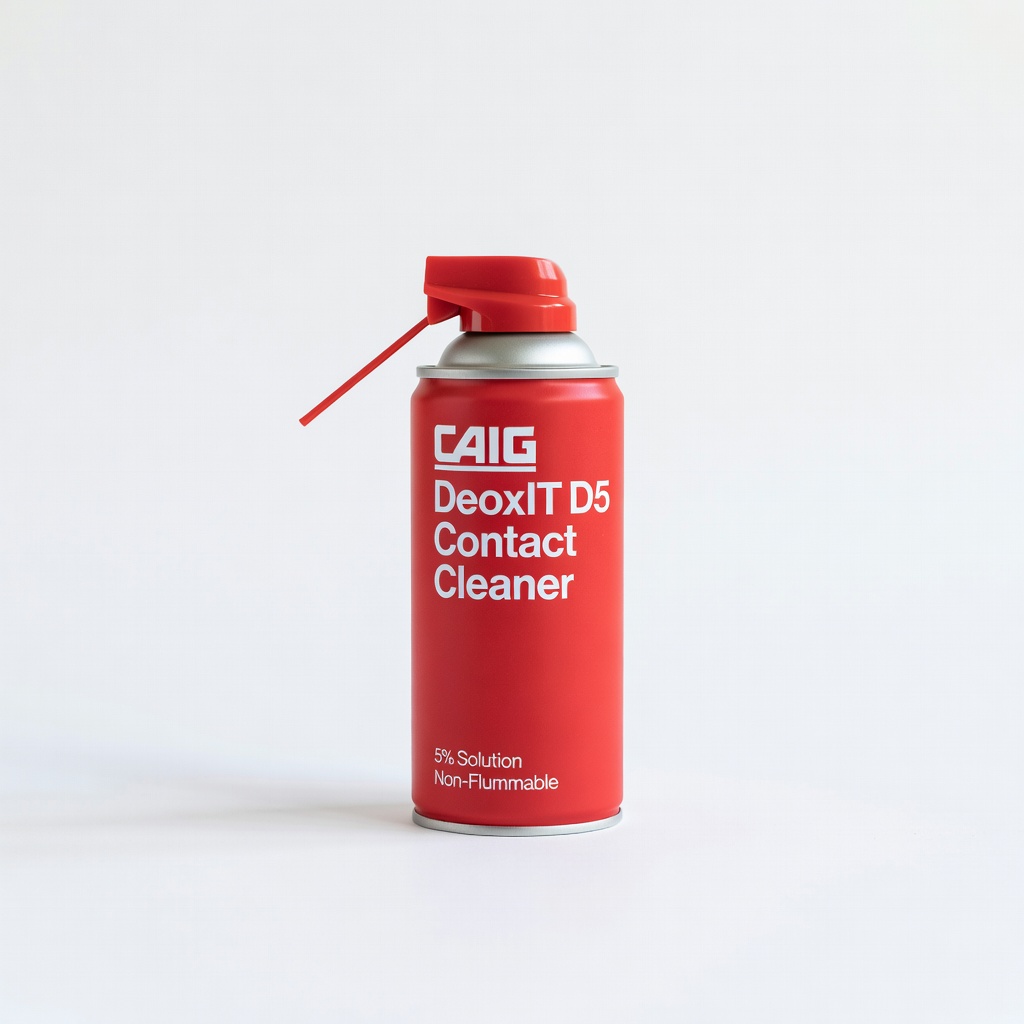
CAIG DeoxIT D5 Contact Cleaner
Steps 3 & 4: Revives flaky JAMMA signals instantly.
$17.95
CAIG DeoxIT D5 Contact Cleaner Gold standard for cleaning corroded arcade connectors/edge pins without residue.
Get the App
Better experience on mobile
Expert guide to fully restore classic 80s/90s arcade cabinets, from disassembly to playable perfection, for advanced hobbyists.
Vintage arcade cabinets from the golden era (Pac-Man, Galaga, Street Fighter) evoke pure nostalgia, but decades of wear leave them dusty, flickering, or dead. Many enthusiasts buy cheap at auctions only to face failing CRTs, bad caps, and faded art. Restoring one revives gaming history and boosts value—fully restored units fetch $1,000+.
This advanced guide teaches you to assess, disassemble, repair electronics, refinish the cabinet, and test for authenticity. Expect hands-on woodworking, soldering, and high-voltage work. You'll achieve a museum-quality machine ready for home or bar use.
Expectations: 40-100 hours over 4-8 weeks part-time. Advanced skills in electronics, painting, and mechanics required—no beginner shortcuts.
Estimated Time: 40-100 hours over 4-8 weeks Difficulty: advanced
Power on the cabinet safely outdoors or ventilated area. Note symptoms: no power, boot but no video, flickering, bad controls. Open coin door and side panels to inspect PCB, power supply, wiring for burn marks, bulging caps, corrosion.
Photograph everything for reference. Test voltages at power brick (5V, 12V DC). Use multimeter on JAMMA edge connector. Success: Detailed inventory of issues (e.g., 'C15 cap failed, monitor HV leak').
This prevents wasted effort on total losses.
💡 Tips:
⚠️ Warnings:
Label all wires, screws, brackets with tape/markers. Remove monitor (unplug HV first, discharge tube), PCB, control panel, harnesses systematically. Store parts in bins by section.
Disassemble cabinet into wood panels, CP, monitor chassis. Success: Empty shell with all parts organized, no lost hardware.
Why? Reassembly is reverse—docs ensure no mix-ups.
💡 Tips:
⚠️ Warnings:
Compressed air for dust, isopropyl alcohol/DeoxIT for boards/connectors. Ultrasonic cleaner for small parts like buttons. Avoid water on electronics.
Wipe cabinet interior/exterior. Success: Shiny, corrosion-free parts ready for repair.
Prevents shorts and improves reliability.
💡 Tips:
⚠️ Warnings:
Identify/replace bad caps (bulging/leaking). Reflow cold solder joints. Test diodes, resistors with multimeter. Recap power supply fully.
Bench-test PCB outside cabinet with JAMMA tester. Success: Stable 5/12V outputs, clean video/audio signals on scope.
80% of failures are caps—prolongs board life 20+ years.
💡 Tips:
⚠️ Warnings:
Discharge CRT (clip yoke to chassis). Clean neck board, test flyback. Rejuvenate if weak (use professional tool). Or swap for modern LCD kit.
Rebuild HV section. Success: Crisp picture, no geometry issues.
Dangerous step—HV can kill.
💡 Tips:
⚠️ Warnings:
Strip old paint/vinyl with chemical stripper/sandpaper. Sand to bare wood, fill dents with Bondo. Prime, paint base coat, apply vinyl decals or stencil art.
Clear coat for protection. Success: Fresh, authentic look matching originals.
Revives aesthetics, protects wood.
💡 Tips:
⚠️ Warnings:
Replace leaf switches, leafs, joystick microswitches. New T-molding, overlay, buttons. Route harness cleanly.
Success: Responsive controls, zero stickiness.
Most-played part—deserves best.
💡 Tips:
⚠️ Warnings:
Reverse disassembly: mount PCB, monitor, CP. Power up incrementally (no boot? Check voltages). Calibrate controls, adjust monitor pots.
Playtest 1-2 hours. Success: Flawless gameplay, warm nostalgic glow.
Final validation.
💡 Tips:
⚠️ Warnings:
Problem: No video but sound
Solution: Check sync pins on JAMMA (pins K/L), video amp ICs (e.g., 4053).
Problem: Flickering monitor
Solution: HOT (horizontal output transistor) failing—replace with datasheet match.
Problem: Controls unresponsive
Solution: Clean/replace microswitches; test continuity.
Problem: Power supply hums/smokes
Solution: Recap fully; check bridge rectifier.
Problem: Boot loops
Solution: ROMs dirty—clean with isopropyl; reseat.
Gold standard for cleaning corroded arcade connectors/edge pins without residue.
Best for: Steps 3 & 4: Revives flaky JAMMA signals instantly.
Price Range: $17.95
Accurate for DC/AC voltage, capacitance—essential for PCB diagnostics.
Best for: Steps 1,4,8: Troubleshoot power/video issues precisely.
Price Range: $12.99
Pre-sorted values match most 80s arcade boards; high-quality Japanese caps.
Best for: Step 4: Bulk recap power supplies/PCBs affordably.
Price Range: $19.99
Durable, even coverage mimics original cabinet finish; UV resistant.
Best for: Step 6: Base coat for Taito/Williams cabinets.
Price Range: $6.48
Fast paint removal without chemicals; adjustable for wood/plastic.
Best for: Step 6: Prep cabinet shells efficiently.
Price Range: $29.99
Steps 3 & 4: Revives flaky JAMMA signals instantly.
CAIG DeoxIT D5 Contact Cleaner Gold standard for cleaning corroded arcade connectors/edge pins without residue.
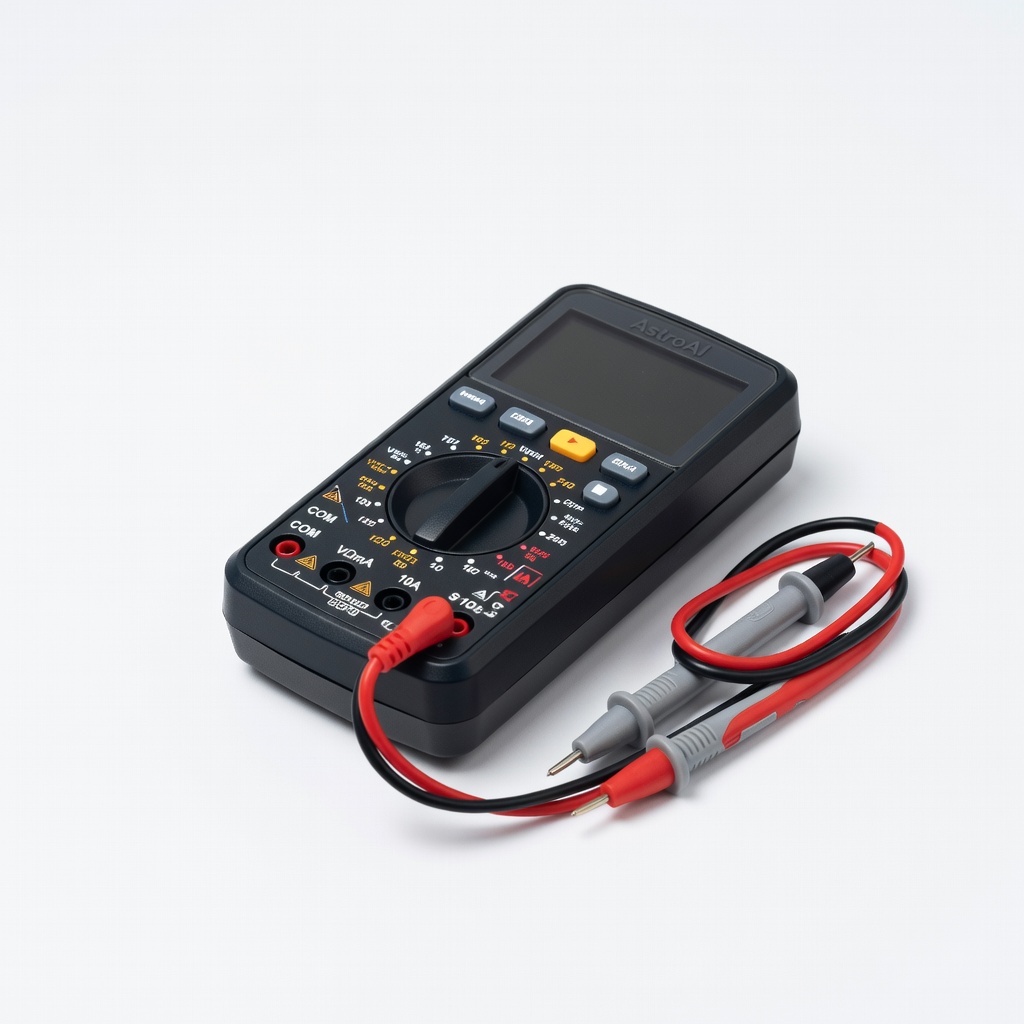
Steps 1,4,8: Troubleshoot power/video issues precisely.
AstroAI Digital Multimeter Accurate for DC/AC voltage, capacitance—essential for PCB diagnostics.
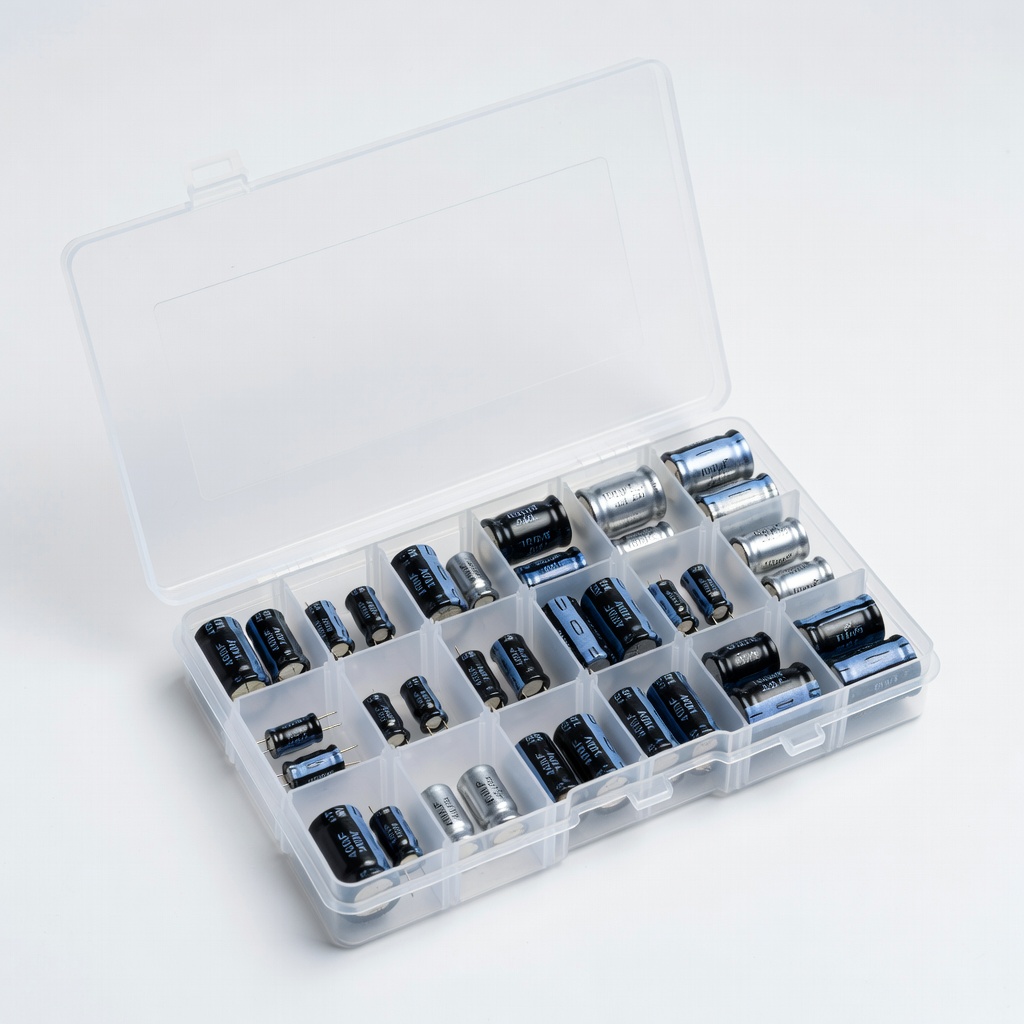
Step 4: Bulk recap power supplies/PCBs affordably.
WEMATE 400 Piece Electrolytic Capacitors Kit Pre-sorted values match most 80s arcade boards; high-quality Japanese caps.
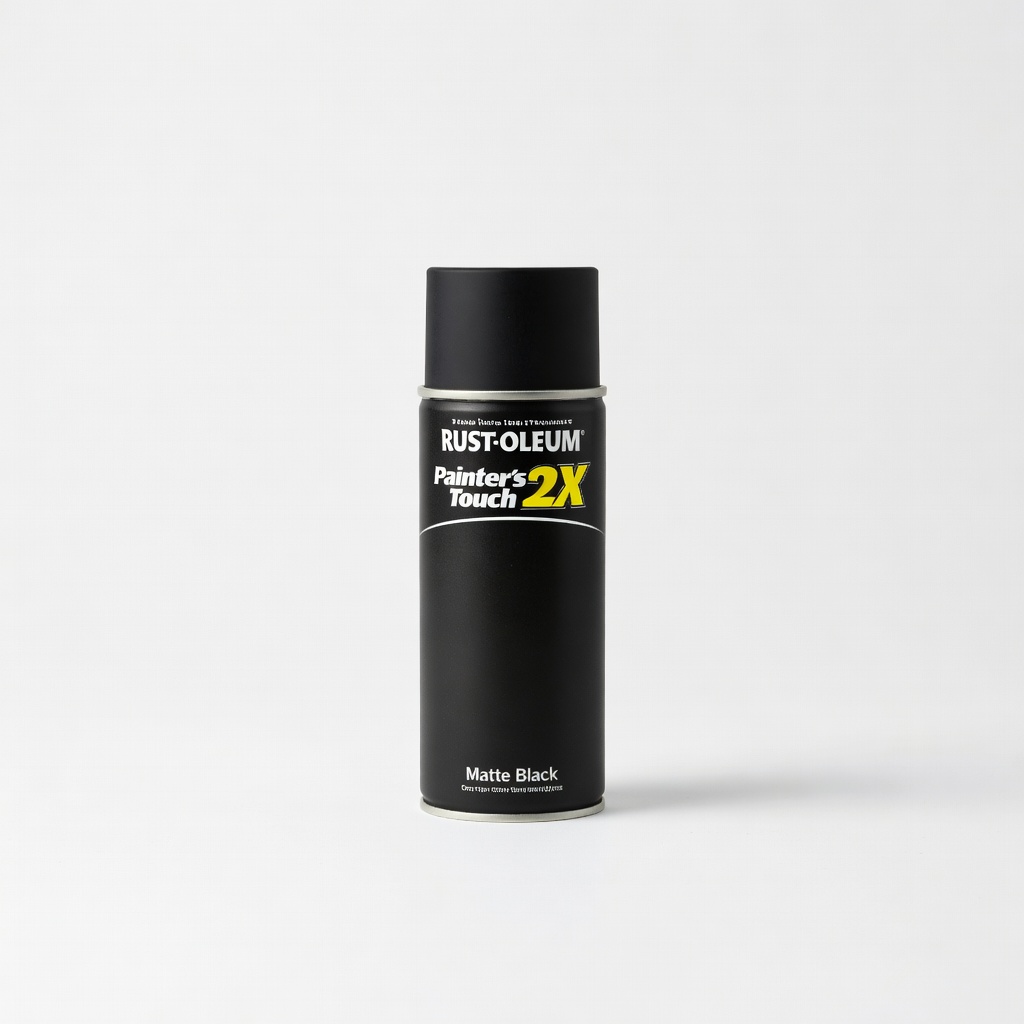
Step 6: Base coat for Taito/Williams cabinets.
Rust-Oleum Painter's Touch 2X Spray Paint (Matte Black) Durable, even coverage mimics original cabinet finish; UV resistant.
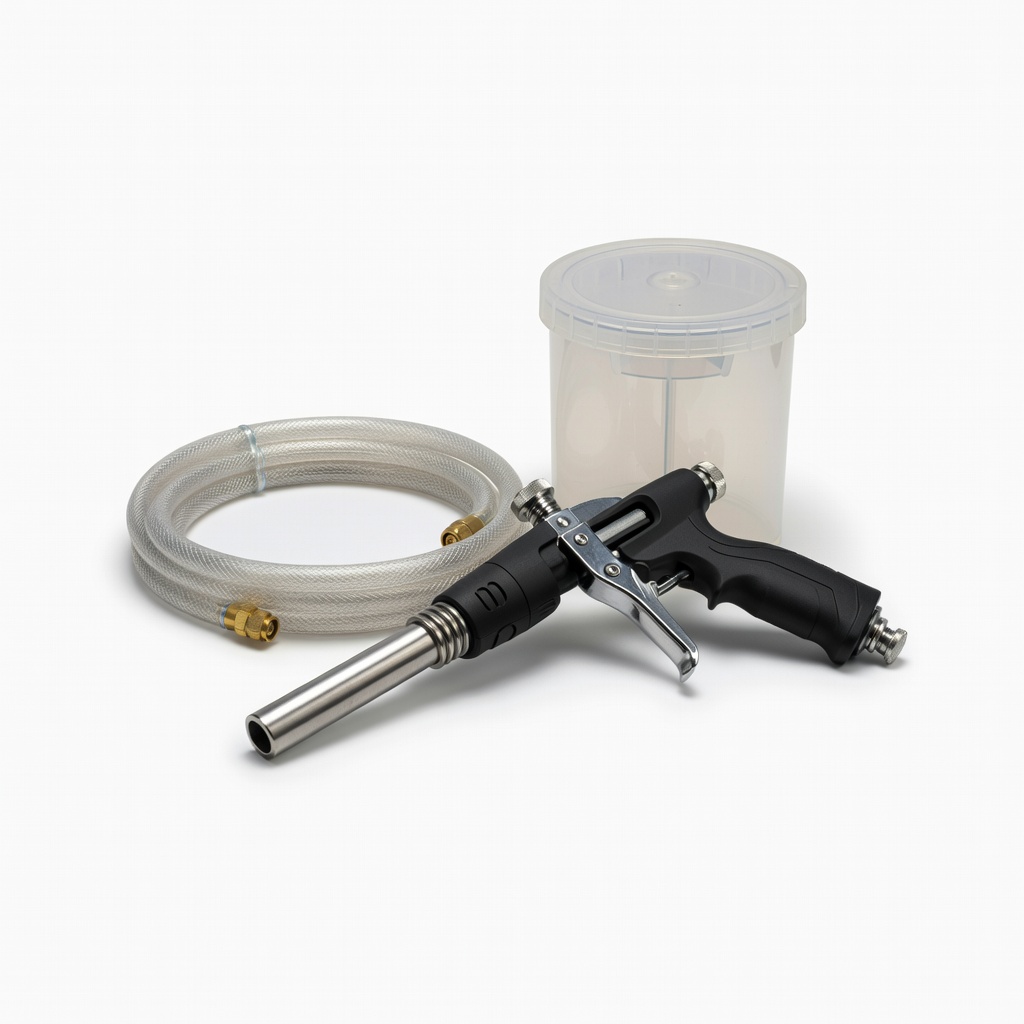
Step 6: Prep cabinet shells efficiently.
LE LEMATEC Sand Blaster Gun Kit Fast paint removal without chemicals; adjustable for wood/plastic.