Nothing kills the vibe of a backyard gathering like faded, dull patio furniture that looks years older than it is. Sun exposure, rain, and dirt can strip away color and vibrancy from plastic, wicker, or metal pieces, making your outdoor oasis feel neglected. But before you toss it out and splurge on new sets, restoring it yourself is a rewarding DIY project that can breathe new life into your space.
In this guide, you'll learn how to assess, clean, repair, and refinish faded patio furniture for a like-new finish. We'll cover common materials like plastic resin and wicker, with tips for wood and metal too. The process is straightforward but requires some elbow grease—expect intermediate skills like basic sanding and painting. With the right tools, you can complete a full restoration in one afternoon, transforming your patio without breaking the bank.
By the end, your furniture will boast renewed color, protection from the elements, and that fresh look that makes outdoor living enjoyable again. Let's get started and turn back the clock on your patio setup.
▸What You'll Need
- •Mild dish soap (like Dawn) and warm water
- •Soft-bristle brush or sponge
- •Pressure washer (optional, for heavy dirt)
- •Sandpaper (220-grit for plastic/wicker, 150-grit for wood/metal)
- •Plastic primer or adhesion promoter (for non-porous surfaces)
- •Outdoor-rated spray paint or furniture restorer (color-matched to original)
- •Clear sealant (UV-resistant polyurethane or spar urethane)
- •Drop cloths or old newspapers
- •Painter's tape
- •Gloves, safety goggles, and respirator mask
- •Clean rags or microfiber cloths
- •Optional: Orbital sander for larger pieces
Estimated Time: 2-4 hours per furniture piece, plus 24 hours drying time
Difficulty: intermediate
▸Step-by-Step Instructions
Step 1: Assess the Damage
Start by inspecting your patio furniture in good lighting. Look for fading, cracks, peeling, or structural weaknesses. For plastic or resin pieces, note if the color is just dulled or if it's brittle. Wicker might have frayed weaves, while wood or metal could show rust or rot. This step helps you decide if restoration is viable—minor fading is ideal; severe damage might need professional repair.
Why it matters: Skipping assessment can lead to wasted effort on unsalvageable items. Expect to identify the material type, which dictates your approach. Success looks like a clear plan: list areas needing extra attention, like faded arms or rusty legs.
Take photos before and after for comparison.
💡 Tips:
- •Work on a dry day to avoid moisture complicating things.
- •If unsure about material, test a small spot with soap to see how it cleans.
⚠️ Warnings:
- •Don't attempt restoration on furniture with mold or deep cracks without reinforcing first—it could worsen over time.
Step 2: Clean Thoroughly
Mix mild dish soap with warm water in a bucket. Use a soft-bristle brush to scrub all surfaces, focusing on crevices where dirt hides. For stubborn grime, a pressure washer on low setting (under 1500 PSI) can blast away buildup without damaging the material. Rinse everything with clean water and let it air dry completely— this usually takes 1-2 hours.
Cleaning is crucial because residue prevents paint from adhering, leading to peeling later. You'll see success when the furniture looks uniformly clean, with original colors faintly visible under the grime. For wicker, ensure weaves are free of debris to avoid trapping moisture.
Pat dry with rags if needed, but avoid direct sun to prevent uneven drying.
💡 Tips:
- •Add a cup of white vinegar to the soapy water for natural mildew removal.
- •Clean in sections to avoid the solution drying on the surface.
⚠️ Warnings:
- •Avoid harsh abrasives like steel wool on plastic—they can scratch and worsen fading.
Step 3: Sand the Surface
Once dry, lightly sand the faded areas with 220-grit sandpaper for plastic or wicker (150-grit for wood/metal). Use circular motions to scuff the surface, removing the oxidized layer without going too deep. An orbital sander speeds this up for large pieces, but hand-sand curves. Wipe away dust with a tack cloth or damp rag.
Sanding creates texture for better paint adhesion and evens out color. Expect a slightly rough, matte finish—success means no shiny spots left, preparing for priming. For metal, focus on rust spots and feather edges.
This step takes 20-30 minutes per piece; wear a mask to avoid inhaling dust.
💡 Tips:
- •Sand in the direction of the grain for wood to prevent scratches.
- •Test sand on a hidden area to ensure you don't remove too much material.
⚠️ Warnings:
- •Over-sanding plastic can make it brittle; stop if you feel it thinning.
Step 4: Apply Primer
Shake your plastic primer or adhesion promoter well, then spray in thin, even coats from 8-10 inches away. Cover the entire surface, starting with edges and undersides. Let the first coat dry for 15-20 minutes, then apply a second if needed. For wood or metal, use a rust-inhibiting primer.
Priming ensures the topcoat bonds properly, preventing chipping from weather. Success is a smooth, tack-free base that slightly darkens the surface. Avoid drips by moving steadily—expect 30 minutes total, including drying.
Work in a shaded, well-ventilated area.
💡 Tips:
- •Mask off non-furniture areas with painter's tape for clean lines.
- •Choose a primer matching your paint's brand for compatibility.
⚠️ Warnings:
- •Don't rush drying; wet primer leads to bubbling under paint.
Step 5: Paint or Restore Color
Select an outdoor-rated spray paint or restorer matched to your furniture's original color. Apply in light, sweeping coats, allowing 10-15 minutes between each (2-3 coats total). For plastic, a color restorer penetrates the material; for fabric cushions, use fabric spray paint.
This step revives the vibrancy—why it matters: It protects against UV fading. Expect a glossy, uniform hue after the final coat dries (1 hour). Success looks like even coverage without runs, mimicking new furniture.
Rotate pieces for all-around application.
💡 Tips:
- •Spray on a calm day to avoid wind-blown overspray.
- •For wicker, use a brush for tight weaves after spraying.
⚠️ Warnings:
- •Thick coats cause drips; less is more for a professional finish.
Step 6: Seal for Protection
Once paint is fully dry (wait 24 hours), apply a clear UV-resistant sealant in thin coats. Use polyurethane for wood/plastic or spar urethane for outdoor exposure. Two coats, with 2 hours drying between, provide a durable barrier against sun and rain.
Sealing locks in color and adds weatherproofing—essential for longevity. Success is a subtle sheen that enhances the finish without stickiness. This final step takes 30 minutes active time.
Let cure fully before use (48 hours).
💡 Tips:
- •Buff lightly with a cloth after curing for extra shine.
- •Reapply sealant annually for maintenance.
⚠️ Warnings:
- •Skip sealant on unsealed surfaces, and fading returns quickly.
▸Pro Tips
- •Work in small batches to maintain wet-edge on paint for seamless blending.
- •Use color-matched samples from your furniture's manufacturer for accurate restoration.
- •Incorporate baking soda paste for tough stains during cleaning—it's gentle and effective.
- •Elevate furniture on blocks during drying to ensure even airflow underneath.
- •For multi-piece sets, restore one item first as a test run to refine your technique.
- •Store tools in a soapy bucket between steps to prevent dried-on residue.
- •Choose low-VOC paints to minimize fumes in outdoor spaces.
▸Common Mistakes to Avoid
- •Skipping cleaning: Leads to poor adhesion and peeling paint within months—always degrease first.
- •Applying paint in direct sun: Causes uneven drying and bubbling—shade is key for pros.
- •Using indoor paint outdoors: It fades quickly from UV; opt for exterior formulas to avoid repaints.
- •Overlooking ventilation: Fumes can cause headaches—work upwind and wear a respirator.
- •Rushing drying times: Wet layers trap moisture, leading to mold—patience pays off.
▸Troubleshooting
Problem: Paint won't adhere or bubbles appear
Solution: Surface wasn't clean or primed; sand lightly and re-prime. For bubbles, wait longer between coats and use thinner layers.
Problem: Color mismatch after painting
Solution: Test on a scrap first next time. If off, sand lightly and repaint with a better match.
Problem: Furniture cracks during sanding
Solution: Material is too brittle—stop and use a restorer instead of paint, or replace the piece. Seek pro help for structural issues.
Problem: Sealant turns cloudy
Solution: Applied over uncured paint; wait full 48 hours before sealing. Buff with fine steel wool if minor.
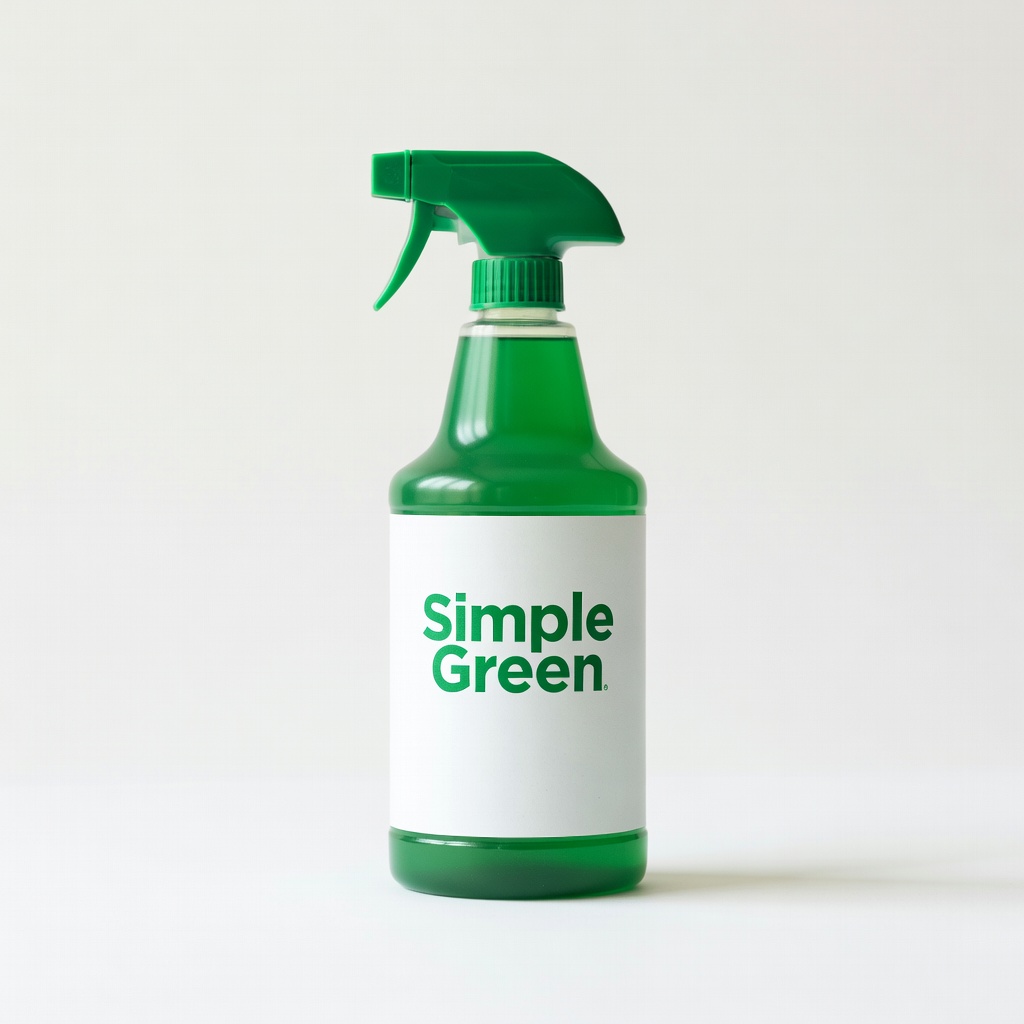
Simple Green All-Purpose Cleaner
This biodegradable cleaner cuts through outdoor grime without damaging plastic or wicker, making initial cleaning effortless.
Best for: Use for the thorough scrub in step 2, especially on heavily soiled furniture.
Price Range: $10-$15
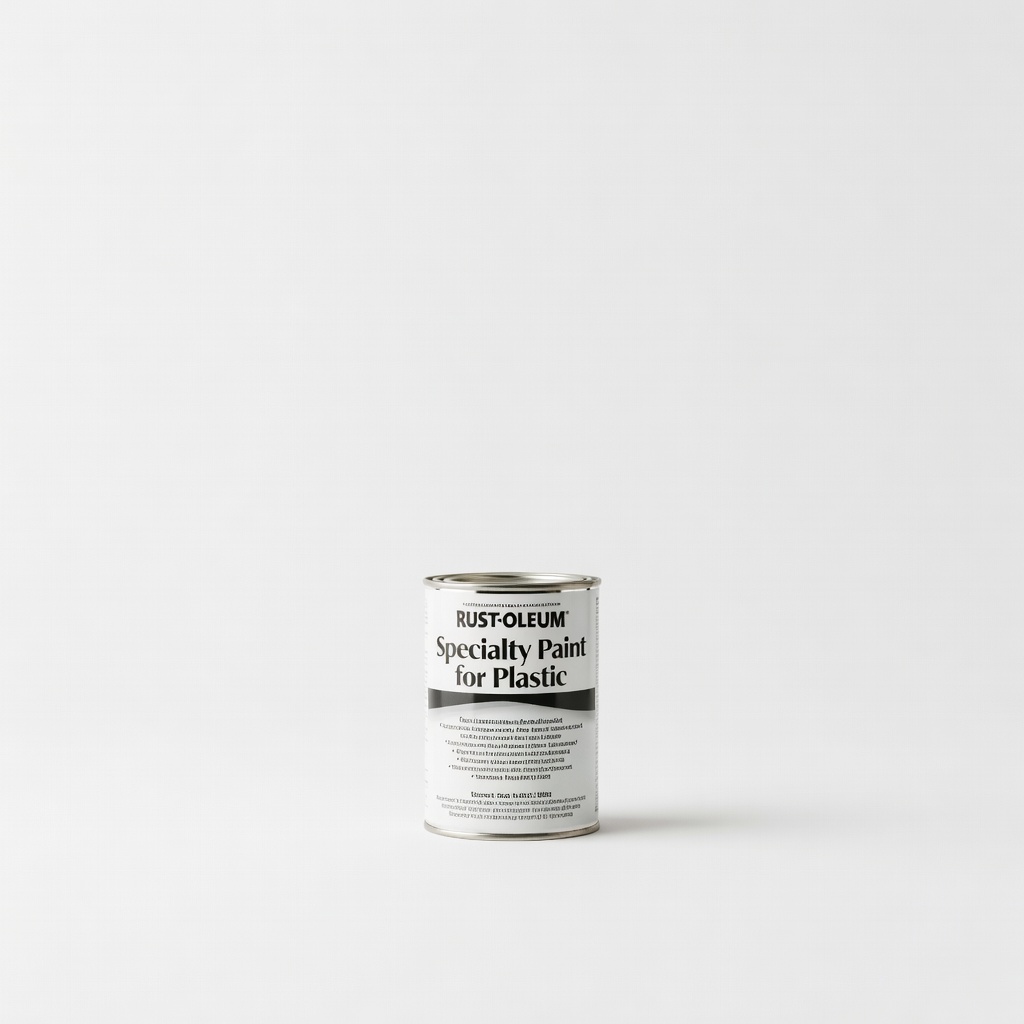
Rust-Oleum Specialty Paint for Plastic
Specifically formulated for non-porous surfaces like patio chairs, it adheres strongly and resists fading from sun exposure.
Best for: Ideal for color restoration in step 5 on plastic resin furniture.
Price Range: $8-$12 per can
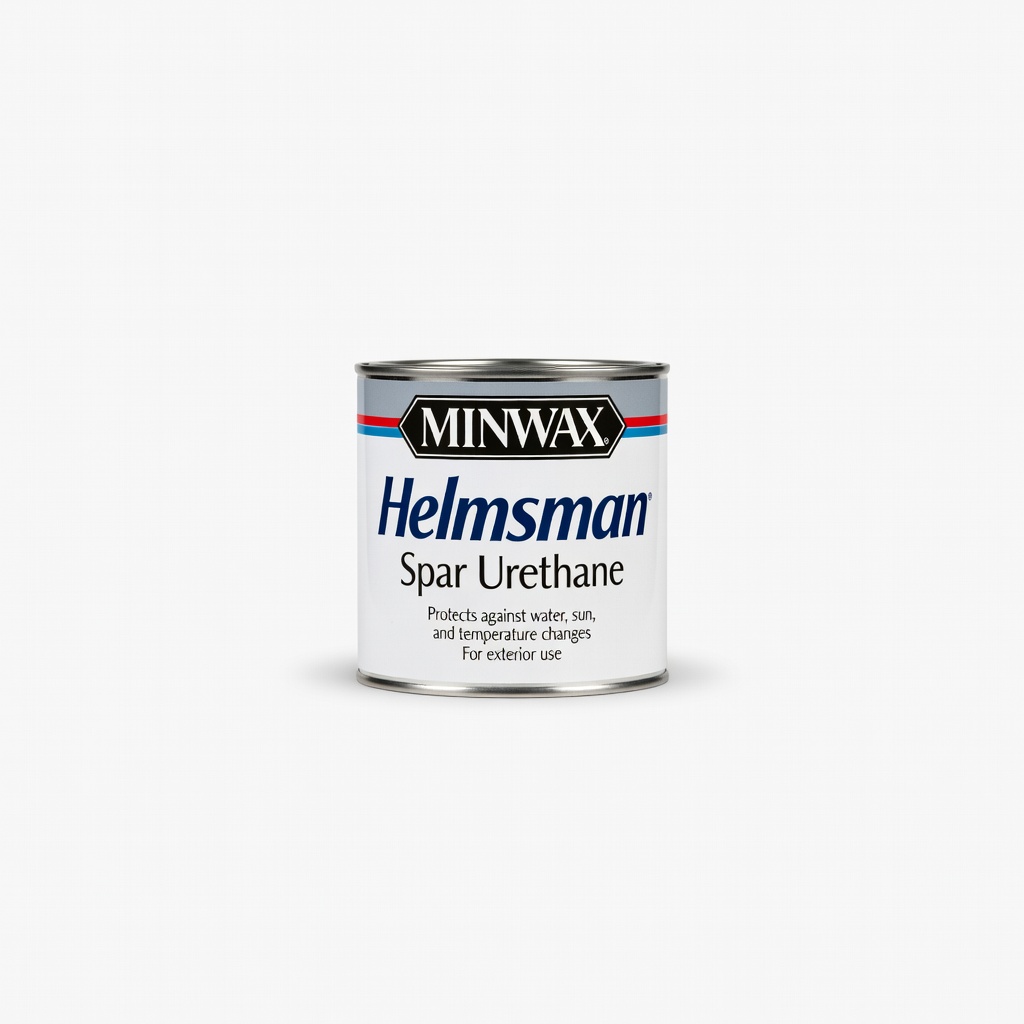
Minwax Helmsman Spar Urethane
Provides excellent UV and water protection for all furniture types, ensuring long-lasting results post-painting.
Best for: Apply as the sealant in step 6 for wood, metal, or painted plastic.
Price Range: $15-$20 per quart
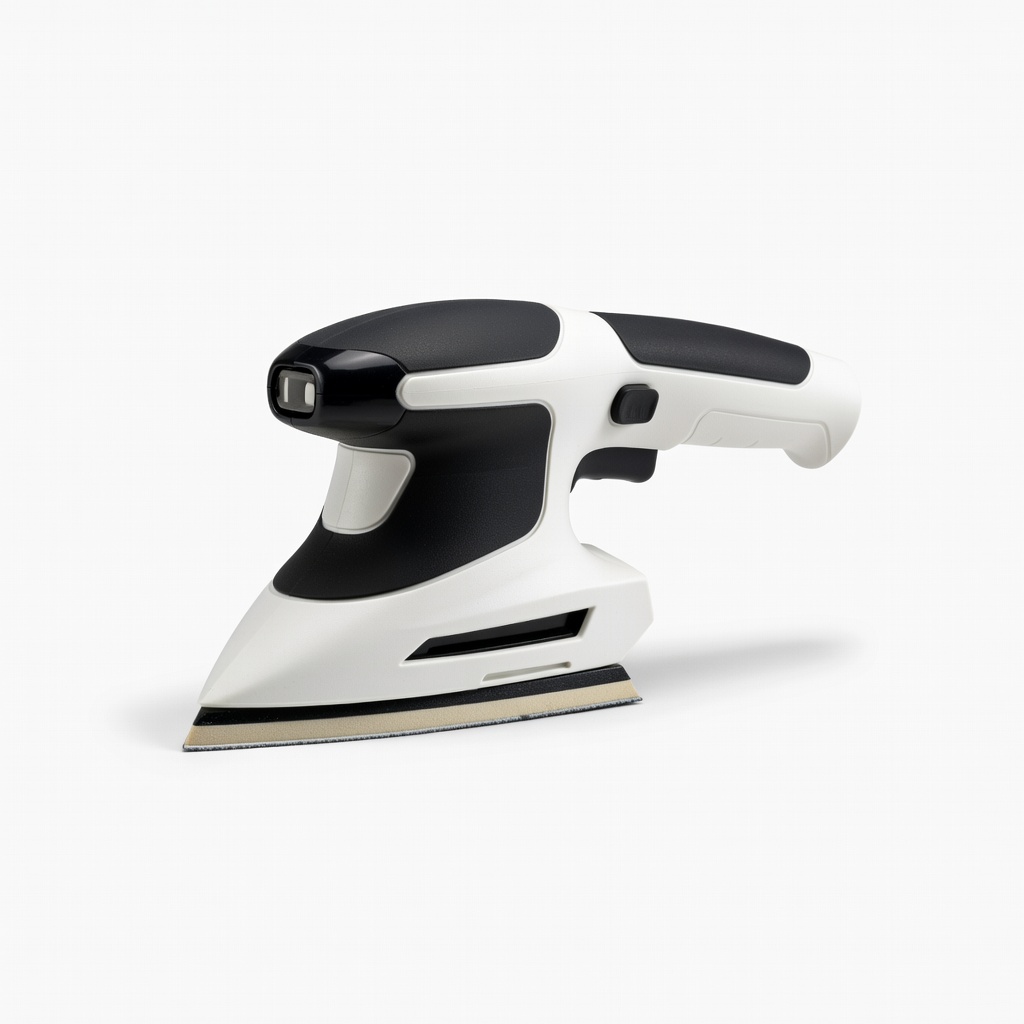
BLACK+DECKER Mouse Detail Sander
Compact and powerful for sanding curves and details without fatigue, speeding up prep on irregular shapes.
Best for: Use optionally in step 3 for larger or intricate furniture pieces.
Price Range: $25-$35
Krylon Fusion All-In-One Spray Paint
Bonds directly to plastic without primer, simplifying the process for quick touch-ups or full restores.
Best for: Alternative for steps 4-5 on plastic items when time is short.
Price Range: $7-$10 per can