
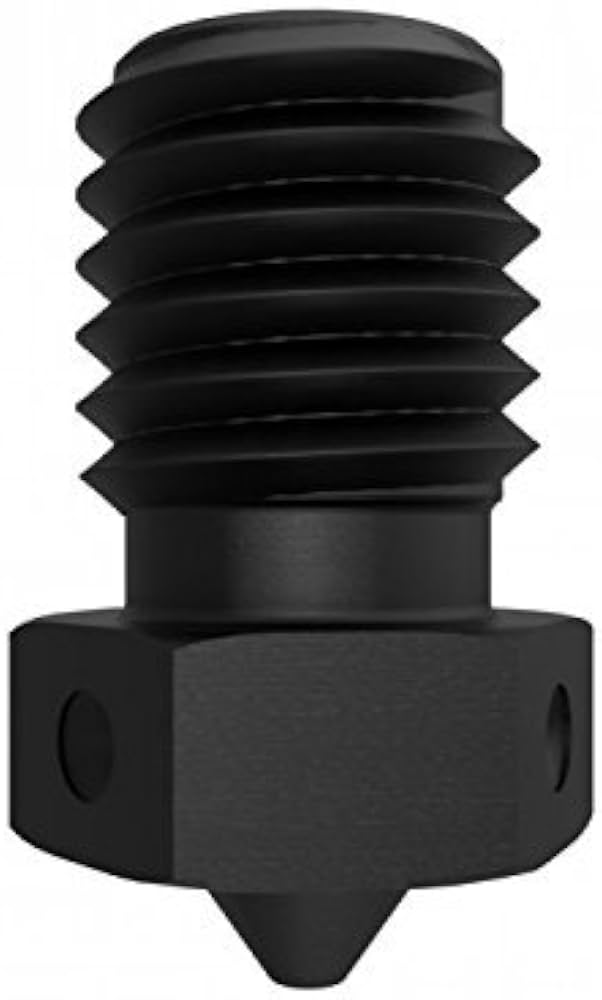
E3D Nozzle X (Hardened Steel)
Ideal for printing carbon fiber, glow-in-the-dark, or metal-filled filaments.
$25-$35
E3D Nozzle X (Hardened Steel) Excellent wear resistance for abrasive filaments; high temperature capability (up to 500°C).
Get the App
Better experience on mobile
Learn to safely swap your 3D printer nozzle for improved print quality and material compatibility. Step-by-step guide with pro tips.
A clogged or worn nozzle is a common cause of poor print quality, under-extrusion, and failed prints. Replacing the nozzle is a straightforward maintenance task that can restore your printer's performance and allow you to experiment with different materials. This guide will walk you through the entire process, from gathering tools to running a test print, with expert tips to avoid common pitfalls. Whether you're upgrading to a hardened steel nozzle for abrasive filaments or simply replacing a worn brass nozzle, this guide covers the essentials. The process typically takes 20-30 minutes and requires intermediate skills, but with careful attention, even beginners can succeed.
Estimated Time: 20-30 minutes Difficulty: intermediate
Start by preheating the hotend to the operating temperature of the filament currently loaded (e.g., 200°C for PLA). Once molten, retract the filament using the printer's controls. If the filament is stuck, you may need to perform a cold pull later. After retraction, let the hotend cool to room temperature. Lower the build plate to provide easy access to the hotend and remove any removable build surface if necessary.
💡 Tips:
⚠️ Warnings:
Turn on the printer and set the hotend temperature to the typical range for nozzle changes: 200-220°C for PLA, 240-260°C for ABS, or the recommended temperature for your nozzle material. Heating allows the metal to expand slightly, making the nozzle easier to remove without excessive force. Wait for the temperature to stabilize (about 2-5 minutes). The thermal expansion also helps break any seized threads.
💡 Tips:
⚠️ Warnings:
Using a backing wrench or pliers, gently hold the heat block to prevent it from twisting the entire hotend. The heat block is often aluminum and can be damaged by excessive force. With your nozzle wrench, carefully turn the old nozzle counter-clockwise to break it free. Apply steady, even pressure – it should loosen with moderate force. Do not over-torque or jerk the wrench.
💡 Tips:
⚠️ Warnings:
Once loosened, unscrew the nozzle by hand (if cool enough) or continue with the wrench. Set the old nozzle aside. Inspect it for wear, clogs, or deformation – this helps diagnose print issues. While the hotend is still hot, use a brass brush or folded paper towel to gently clean any burnt filament from the heat block threads. Be quick but careful not to burn yourself.
💡 Tips:
⚠️ Warnings:
With the nozzle removed, you have access to the heat break (the tube connecting the heat block to the heat sink). Inspect it for filament residue. Use a thin wire, cleaning filament, or a 1.5mm hex key to gently push out any debris. Wipe the internal threads of the heat block with a cotton swab dipped in isopropyl alcohol. This step ensures the new nozzle seats perfectly and prevents future clogs.
💡 Tips:
⚠️ Warnings:
If you have thermal paste (e.g., boron nitride), apply a very small amount to the top 2-3 threads of the new nozzle. This improves heat transfer between the nozzle and heat block and makes future removal easier. Be sparing – excess paste can ooze out and contaminate prints. Skip this step if your nozzle is nickel-plated or if paste is not available.
💡 Tips:
⚠️ Warnings:
Screw the new nozzle into the heat block by hand, turning clockwise. Go slowly to avoid cross-threading. Once finger-tight, use the wrench to give an additional 1/8 to 1/4 turn. The nozzle should be snug but not overly tight – the ideal is 'finger tight plus a quarter turn' while the hotend is hot. Do not force it. The nozzle tip should be flush with the heat block's bottom surface (most nozzles have a shoulder that stops at the block).
💡 Tips:
⚠️ Warnings:
Let the hotend cool to room temperature if you worked with it hot (some prefer to install at temperature). Reattach any removed parts like the silicone sock or fan shroud. Preheat the hotend to the printing temperature of your filament. Insert the filament and extrude about 50-100mm to purge any air or old material. Watch for a smooth, steady extrusion. If it's stringy or inconsistent, you may need to tighten the nozzle slightly (while hot) or check for a clog.
💡 Tips:
⚠️ Warnings:
If you changed nozzle size or the new nozzle is slightly different in length, the Z-offset will need to be recalculated. Even identical nozzles can have minor variations. Home the printer and use the 'paper test' or a feeler gauge to set the correct nozzle-to-bed distance. Adjust the Z-probe offset (if using auto-leveling) or manually level the bed. This step ensures first layer adhesion.
💡 Tips:
⚠️ Warnings:
Finally, load a simple test print like a calibration cube (20x20x20mm) or a temperature tower. Print at standard settings for your filament. Inspect the first layer – it should be smooth and even. Listen for clicking (extruder skipping) or look for gaps that indicate under-extrusion. A successful nozzle replacement should yield prints comparable to or better than before.
💡 Tips:
⚠️ Warnings:
Problem: New nozzle leaks at the heat break or threads
Solution: Tighten the nozzle while hot – the gap is likely due to insufficient tightening. If that fails, remove and check for debris on threads. Apply a small amount of PTFE tape on the threads (avoid the tip) as a last resort.
Problem: Filament oozes continuously after installation
Solution: The nozzle might be partially clogged or not seated properly. Perform a cold pull. Also ensure the hotend is not overheated – reduce temperature by 5-10°C and test again.
Problem: Nozzle seizes during removal and won't budge
Solution: Heat the hotend to the maximum safe temperature (like 280°C for an all-metal hotend) to expand the block. Use a wrench with more leverage. If still stuck, apply WD-40 or penetrating oil to the threads (allow to cool first).
Problem: Prints show under-extrusion after nozzle swap
Solution: Recalibrate your extruder steps per millimeter (E-steps) and flow rate. Also check that the new nozzle is the same size as set in your slicer. If using a larger nozzle, you may need to increase flow.
Excellent wear resistance for abrasive filaments; high temperature capability (up to 500°C).
Best for: Ideal for printing carbon fiber, glow-in-the-dark, or metal-filled filaments.
Price Range: $25-$35
High-flow design increases print speed by up to 30% without sacrificing quality.
Best for: Great for fast prototyping and large prints with standard filaments like PLA and PETG.
Price Range: $30-$40
Cost-effective way to have a range of nozzle diameters for different printing needs.
Best for: Beginner-friendly kit for experimenting with 0.2, 0.4, 0.6, 0.8mm nozzles.
Price Range: $10-$15
Improves heat transfer between nozzle and heat block, reducing temperature fluctuations and preventing heat creep.
Best for: Recommended for high-temperature printing or all-metal hotends.
Price Range: $10-$15
Essential for clearing clogs and maintaining nozzle performance between replacements.
Best for: Keep near your printer for quick cold pulls and thread cleaning.
Price Range: $8-$12
Ideal for printing carbon fiber, glow-in-the-dark, or metal-filled filaments.
E3D Nozzle X (Hardened Steel) Excellent wear resistance for abrasive filaments; high temperature capability (up to 500°C).
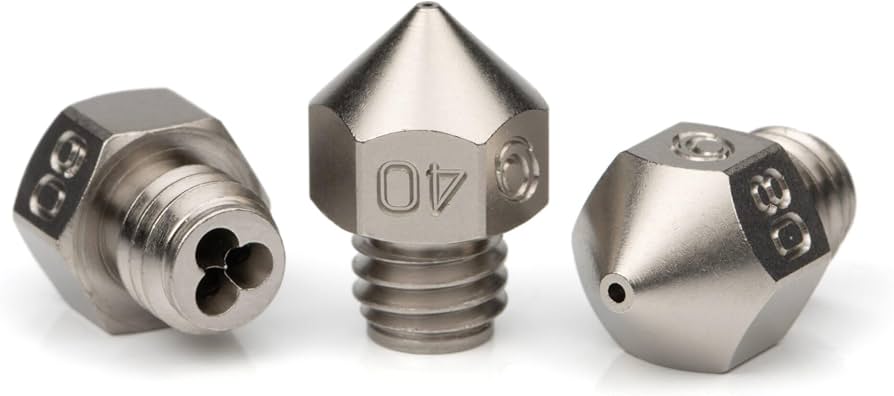
Great for fast prototyping and large prints with standard filaments like PLA and PETG.
Bondtech CHT Nozzle (Brass) High-flow design increases print speed by up to 30% without sacrificing quality.
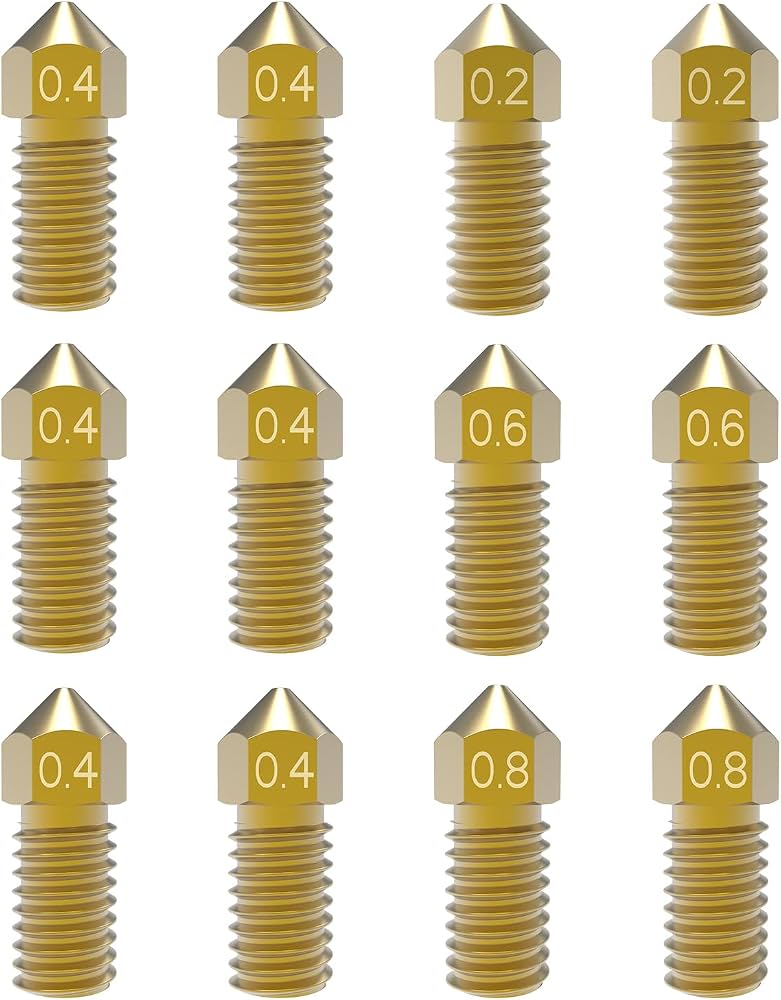
Beginner-friendly kit for experimenting with 0.2, 0.4, 0.6, 0.8mm nozzles.
Brass Nozzle Kit (Assorted Sizes) Cost-effective way to have a range of nozzle diameters for different printing needs.
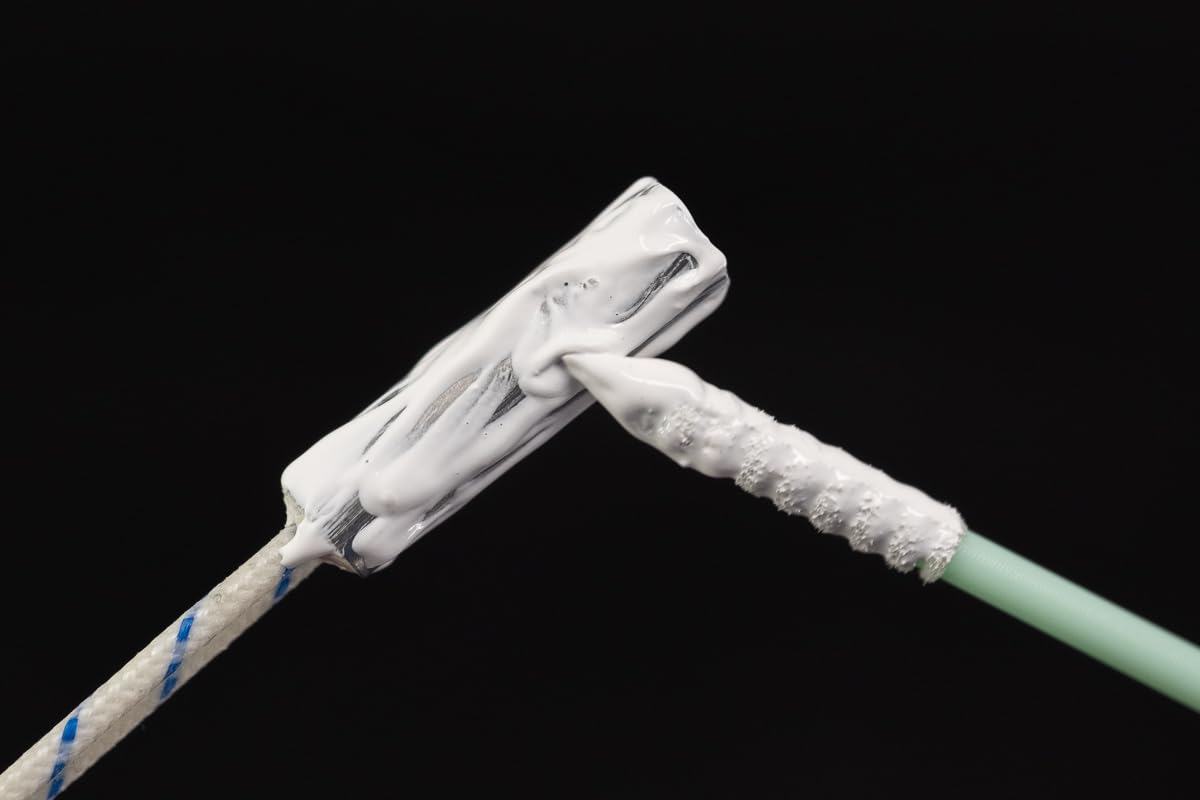
Recommended for high-temperature printing or all-metal hotends.
Slice Engineering Boron Nitride Thermal Paste Improves heat transfer between nozzle and heat block, reducing temperature fluctuations and preventing heat creep.
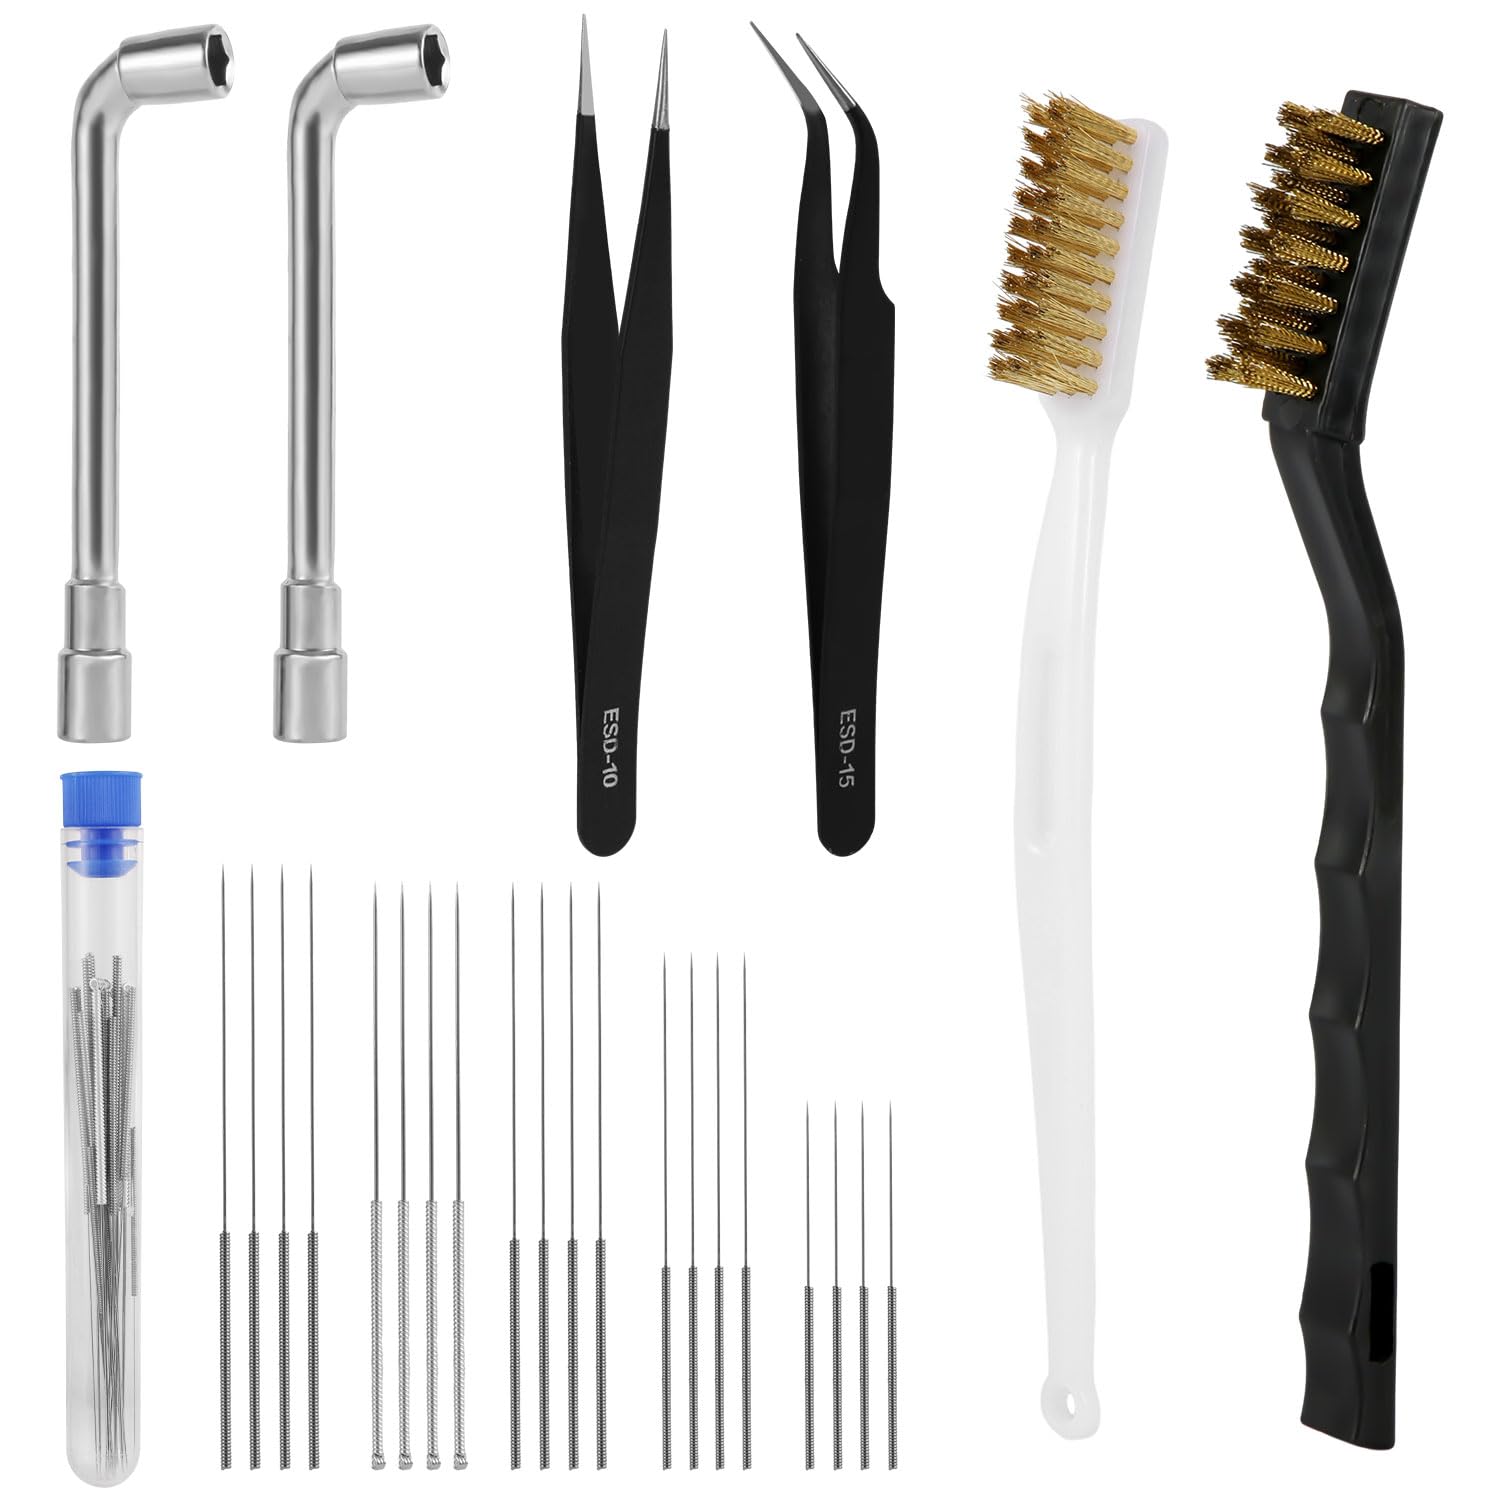
Keep near your printer for quick cold pulls and thread cleaning.
Nozzle Cleaning Kit (Needles and Brushes) Essential for clearing clogs and maintaining nozzle performance between replacements.