

WORKPRO 9-Piece Torx Screwdriver Set
Removing body panels and controllers on Xiaomi/Segway models.
$12.99
WORKPRO 9-Piece Torx Screwdriver Set Essential for e-scooter Torx bolts (T20-T30 common); magnetic tips grab screws easily.
Get the App
Better experience on mobile
Master step-by-step replacement of tires, brakes, or batteries on your e-scooter to save money and keep riding safely.
E-scooters are fun and convenient, but worn parts like tires, brakes, or batteries can lead to accidents or breakdowns. Instead of paying expensive repair shop fees, you can replace them yourself safely with basic tools and knowledge. This guide targets intermediate users familiar with basic mechanics.
You'll learn a general process applicable to most models (e.g., Segway, Xiaomi, Gotrax), with examples for common parts. Expect clear steps, safety emphasis, and testing protocols. The process takes 45-90 minutes depending on the part, assuming you have the right replacement.
By the end, your scooter will ride like new, extending its lifespan and boosting your confidence in DIY maintenance.
Estimated Time: 45-90 minutes (varies by part: tires 45 min, battery 90 min) Difficulty: intermediate
Choose a flat, well-lit area like a garage. Lay down a towel or mat to catch small parts. Put on safety gloves and goggles to protect against sharp edges or pinching.
Why it matters: A clean workspace prevents losing screws, and PPE avoids injuries. Success looks like a organized station with tools laid out.
Lay out all tools and the new part nearby for quick access.
💡 Tips:
⚠️ Warnings:
Turn off the scooter, remove the key if applicable. Locate the battery compartment (often under the deck). Disconnect the main battery connector by gently pulling the plug—do not yank wires.
For electrical safety: Use a multimeter to confirm zero voltage across terminals. Why? Prevents shocks or short circuits. Success: Scooter shows no power lights.
Tape exposed connectors if needed.
💡 Tips:
⚠️ Warnings:
Use Torx or Phillips screws to remove deck panels or body covers guarding the part. Start with visible screws; refer to your model's manual.
Work methodically: Unscrew in a pattern (e.g., outer first). Pry gently with plastic tools to avoid scratches. Success: Access to target part without damaging plastics.
Place screws in labeled cups.
💡 Tips:
⚠️ Warnings:
For tires: Loosen axle nuts with Allen keys, slide off wheel. For brakes: Unclip pads from caliper. For battery: Unbolt and lift out.
Inspect for wear causes (e.g., punctures). Why? Prevents repeat issues. Expect resistance from clips—wiggle gently. Success: Old part free without broken tabs.
Clean mounting area with isopropyl alcohol.
💡 Tips:
⚠️ Warnings:
Align new part precisely (e.g., tire bead seats fully). Secure with bolts, applying lubricant to threads.
Match orientation—check for 'L/R' marks. Why precision? Ensures balance and function. Success: Part seats flush without gaps.
Hand-tighten all fasteners first.
💡 Tips:
⚠️ Warnings:
Replace covers, torque screws to spec (typically 4-8 Nm for body, 10-12 Nm for axles—check manual).
Sequence: Inner to outer. Why torque? Prevents loosening from vibrations. Success: All snug, no wobble.
Reconnect battery last.
💡 Tips:
Power on, check display, throttle response, lights, brakes. Use multimeter for continuity if electrical.
Why? Catches loose wires. Success: All functions normal, no error codes.
💡 Tips:
⚠️ Warnings:
Short low-speed ride (5-10 min). Check for noises, vibrations, braking.
Inspect for leaks or looseness post-ride. Success: Smooth operation, confident ride.
Log the date for future maintenance.
💡 Tips:
⚠️ Warnings:
Problem: Scooter won't power on after reassembly
Solution: Check battery connection and fuses with multimeter. Reseat plugs firmly.
Problem: Wheel wobbles or brakes drag
Solution: Retorque axle to spec (8-12 Nm). Ensure tire seats evenly and caliper aligned.
Problem: Error codes or throttle issues
Solution: Reset via app/power cycle. Inspect wire crimps for damage.
Problem: Part doesn't fit
Solution: Confirm model compatibility. Seek pro if custom mods.
Essential for e-scooter Torx bolts (T20-T30 common); magnetic tips grab screws easily.
Best for: Removing body panels and controllers on Xiaomi/Segway models.
Price Range: $12.99
Precise torque prevents over/under-tightening critical fasteners.
Best for: Axle nuts, stem bolts during tire/brake swaps.
Price Range: $19.99
Tests battery voltage and continuity safely for electrical parts.
Best for: Battery/throttle replacement verification.
Price Range: $28.99
Prevents corrosion on bolts for easy future disassembly.
Best for: All threaded fasteners in humid climates.
Price Range: $9.99
Puncture-proof replacement for popular models like Hiboy/Hover-1.
Best for: Tire swaps on urban commuters.
Price Range: $29.99
Removing body panels and controllers on Xiaomi/Segway models.
WORKPRO 9-Piece Torx Screwdriver Set Essential for e-scooter Torx bolts (T20-T30 common); magnetic tips grab screws easily.
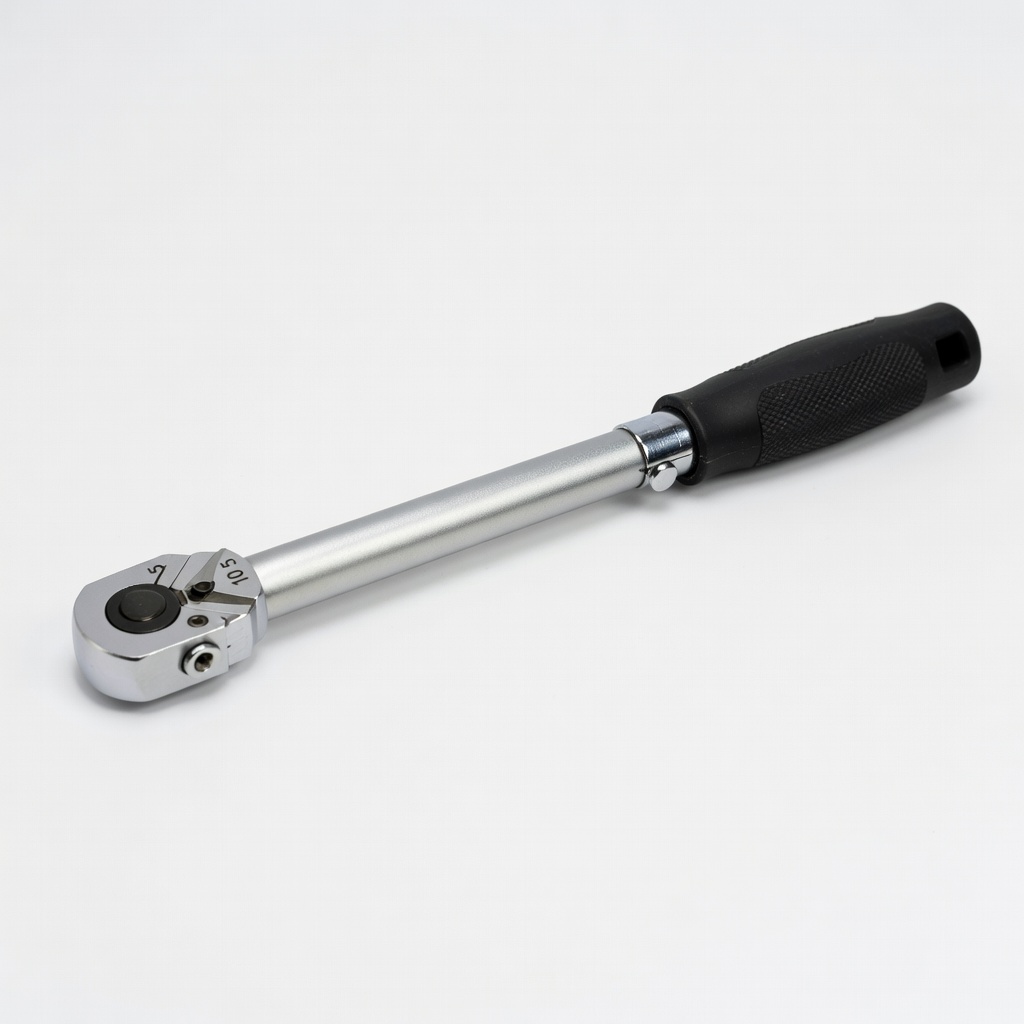
Axle nuts, stem bolts during tire/brake swaps.
EPAuto 1/4-Inch Drive Click Torque Wrench (5-20Nm) Precise torque prevents over/under-tightening critical fasteners.
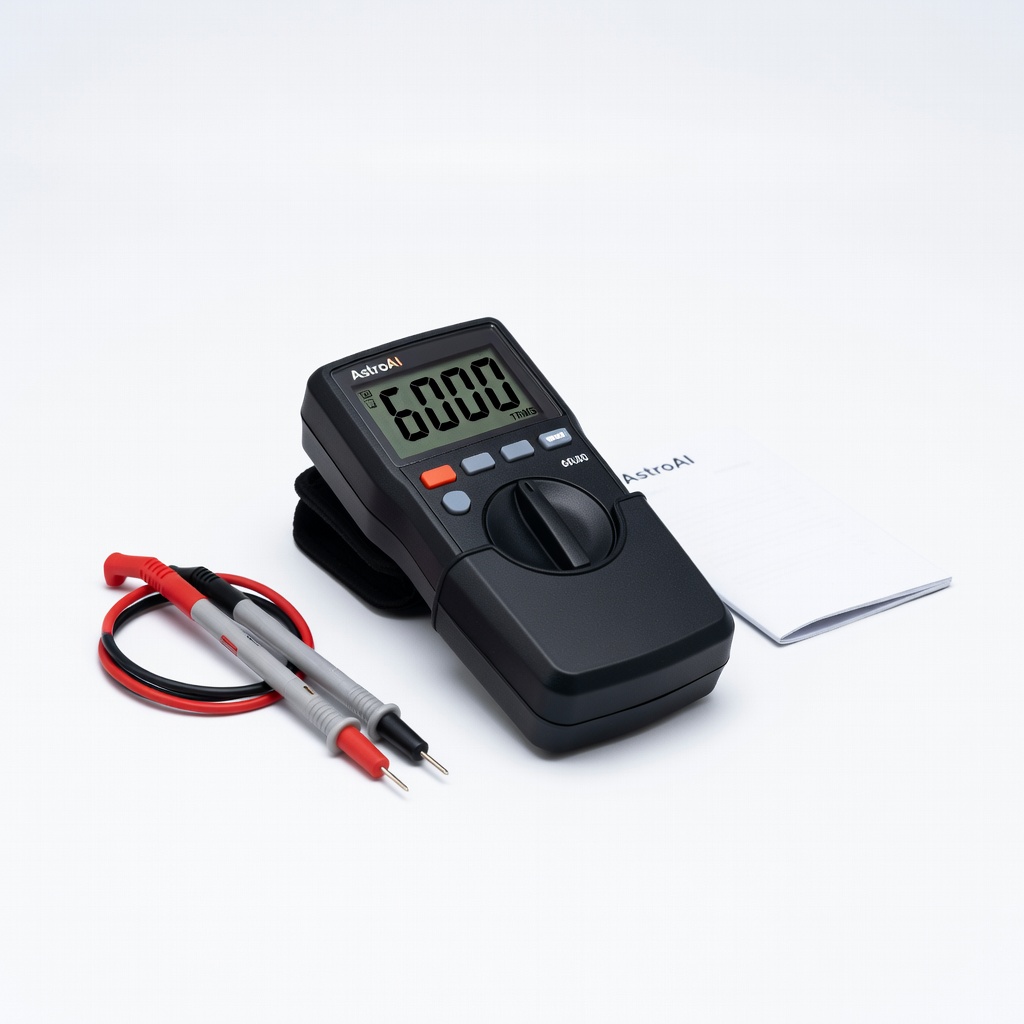
Battery/throttle replacement verification.
AstroAI Digital Multimeter TRMS 6000 Counts Tests battery voltage and continuity safely for electrical parts.

All threaded fasteners in humid climates.
Permatex 80078 Anti-Seize Lubricant Prevents corrosion on bolts for easy future disassembly.
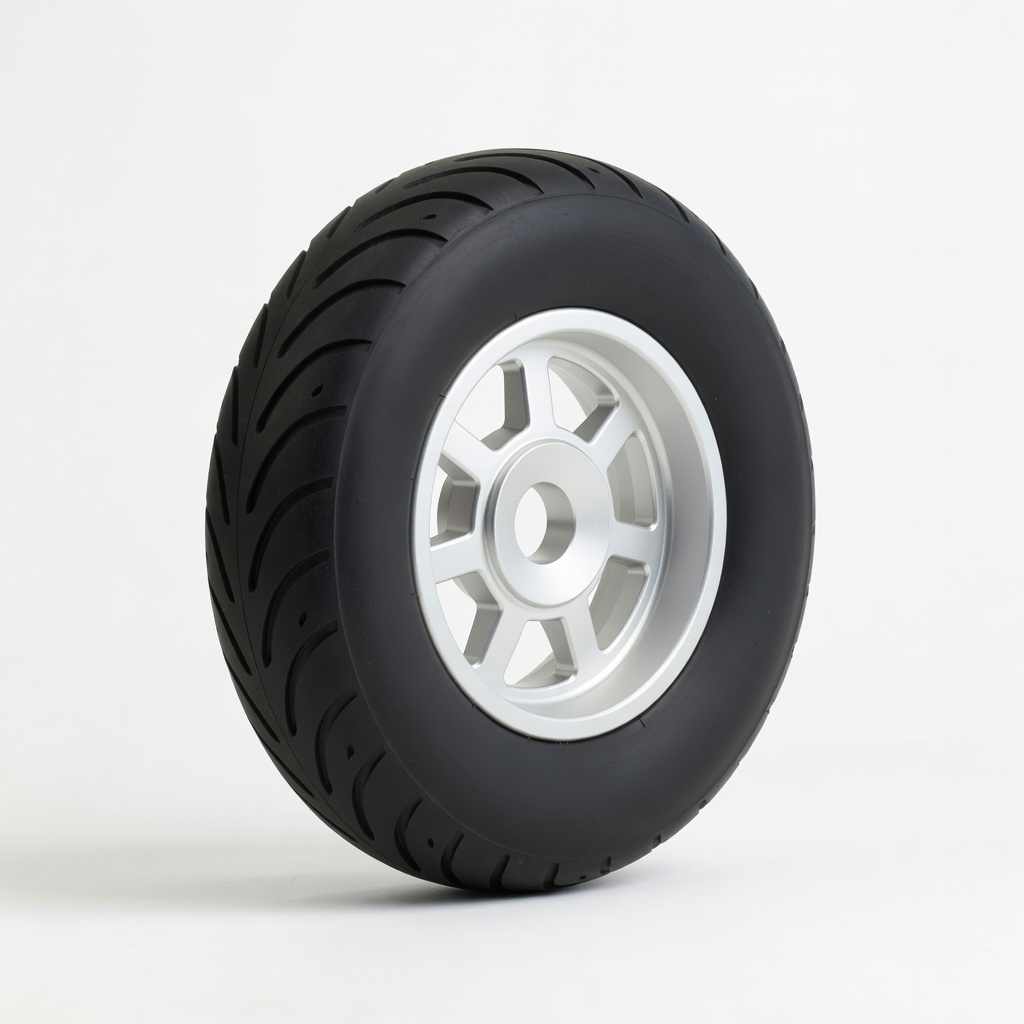
Tire swaps on urban commuters.
Vevitts 8.5 Inch Electric Scooter Solid Tire Puncture-proof replacement for popular models like Hiboy/Hover-1.