Squealing brakes or a soft pedal? If you're an experienced DIYer, replacing your own brake pads can save hundreds of dollars and give you confidence in your vehicle's stopping power. This guide covers the complete process for a standard disc brake system—from lifting and wheel removal to bedding in new pads. Expect to spend about 1–2 hours per axle, and you'll need a solid set of tools and a clean workspace. We'll also show you which premium components are worth the investment for better performance and longevity.
▸What You'll Need
- •Jack and jack stands (rated for vehicle weight)
- •Lug wrench or impact gun
- •C-clamp or brake caliper piston tool
- •Combination wrench set (typically 12mm–19mm)
- •Screwdriver (flathead or pry bar for caliper retraction)
- •Socket and ratchet set
- •Torque wrench (ft-lb range)
- •Brake pads (correct for your vehicle make/model)
- •Brake hardware kit (clips, shims, guides) – optional but recommended
- •Anti-seize compound (copper or synthetic)
- •Brake cleaner (aerosol can)
- •High-temperature brake grease (silicone or moly-based)
- •Shop towels or rags
- •Safety glasses and gloves
- •Penetrating oil (e.g., PB Blaster) – optional for stubborn bolts
Estimated Time: 1–2 hours per axle (front or rear)
Difficulty: advanced
▸Step-by-Step Instructions
Step 1: Prepare the Vehicle
Park on a level surface, chock the opposite wheels, and loosen the lug nuts on the wheel(s) you'll be working on while the car is still on the ground. Then jack up the vehicle securely and place jack stands under the manufacturer-recommended lift points. Never rely solely on a jack. Double-check stability before proceeding.
💡 Tips:
- •For rear brakes, ensure the parking brake is off if the caliper uses hydraulic actuation.
- •Use wheel chocks behind the rear wheels if lifting the front, and vice versa.
⚠️ Warnings:
- •Do not work under a vehicle supported only by a jack. Always use jack stands.
Step 2: Remove the Wheel
Finish removing the loosened lug nuts and take off the wheel. Set it aside (tire side up) to avoid scratching the face. This exposes the brake caliper, rotor, and pads.
💡 Tips:
- •If the wheel is stuck, apply penetrating oil around the hub and gently tap the inner edge with a rubber mallet.
⚠️ Warnings:
- •Be careful not to damage the wheel studs or hub surface.
Step 3: Remove the Caliper Mounting Bolts
Locate the two caliper guide pin bolts (often 12–14mm). Use a combination wrench or socket to remove them. Some calipers slide out after removing bolts; others require prying. Note: the caliper may be held by additional anchor brackets – identify the correct bolts. Once the bolts are out, gently wiggle the caliper off the rotor. Hang it with a zip tie or bungee cord from the suspension spring to avoid stressing the brake hose.
💡 Tips:
- •Mark which bolt goes where if they are different lengths (typical on some German cars).
- •Take a photo before disassembly for reference.
⚠️ Warnings:
- •Never let the caliper hang by the brake hose – it can damage the hose and cause brake failure.
Step 4: Compress the Caliper Piston
Before installing new pads, you must retract the caliper piston to accommodate the thicker new pads. Place a C-clamp or brake piston tool over the old inner pad (or directly on the piston) and slowly crank it inward. Monitor the brake fluid reservoir – if it's full, you may need to siphon some out to avoid overflow. For rear calipers that have an electronic parking brake or require a twist-in motion, use a wind-back tool or follow vehicle-specific procedures (e.g., retract electronically via scan tool).
💡 Tips:
- •Open the bleeder screw slightly while compressing to ease fluid back, then retighten. This helps prevent damage to the ABS module.
- •Use a piece of wood between the clamp and piston to avoid scratching.
⚠️ Warnings:
- •Never force a rear piston that rotates – you need the correct tool or method to avoid breaking the caliper.
- •Brake fluid is corrosive; clean any spills immediately with water.
Step 5: Remove Old Brake Pads and Hardware
Slide the old pads out of the caliper bracket. Remove the hardware clips, shims, and anti-rattle springs. Note their orientation. Clean the caliper bracket thoroughly with brake cleaner and a wire brush to remove rust and debris – this ensures proper pad movement.
💡 Tips:
- •Inspect the rotor surface; if it's deeply scored or has a lip, it may need resurfacing or replacement.
- •Use a small pick to remove stubborn hardware.
⚠️ Warnings:
- •Avoid getting brake cleaner on painted surfaces or rubber components to prevent damage.
- •Do not reuse old hardware – always install new clips and shims for even pad wear and noise prevention.
Step 6: Install New Hardware and Lubricate
Apply a thin layer of high-temperature brake grease to the caliper guide pins (where they slide into the bracket) and to the back of the new pads (where they contact the caliper or shims). Also grease the pad contact points on the bracket. Slide the new hardware clips into place, ensuring they snap in firmly. Insert the new pads into the bracket – the wear indicator should face inward or according to vehicle spec.
💡 Tips:
- •Use silicone-based grease for rubber-compatible pin boots; use moly or copper grease for metal-to-metal contacts.
- •Do not get grease on the friction surface of the pad or rotor.
⚠️ Warnings:
- •Excessive grease can attract dirt and cause squealing. Use sparingly.
Step 7: Reinstall the Caliper
Carefully lower the caliper over the new pads. Align the guide pin holes and insert the bolts. Tighten them to the manufacturer’s torque specification (usually 25–35 ft-lb for front, slightly less for rear). Use a torque wrench for accuracy. If the caliper is a floating type, ensure the pins slide freely. Reinstall any anti-rattle springs or retaining clips as removed.
💡 Tips:
- •Check brake hose routing – it should not be twisted or kinked.
- •Apply a drop of thread locker only if specified by the manufacturer.
⚠️ Warnings:
- •Over-torquing guide pins can cause binding and uneven wear. Under-torquing can lead to caliper looseness.
Step 8: Reinstall the Wheel and Lower Vehicle
Place the wheel back on the hub, hand-tighten the lug nuts in a star pattern, then lower the vehicle to the ground. Once safely on the ground, torque the lug nuts to specification (typically 80–100 ft-lb for most cars). Do not use an impact gun for final tightening – use a torque wrench.
💡 Tips:
- •Clean the wheel hub and rotor face of any rust or debris for a flat mounting surface.
- •If you replaced both axles, repeat steps for the other side at this point.
⚠️ Warnings:
- •Tighten lug nuts evenly to prevent warping the rotor or wheel wobble.
Step 9: Pump the Brake Pedal
Before starting the engine, pump the brake pedal several times until it feels firm. This resets the caliper pistons and seats the pads against the rotors. The pedal may go to the floor initially – that's normal. Keep pumping until resistance builds.
💡 Tips:
- •Check the brake fluid level in the reservoir; add DOT 3/4/5.1 as needed, but don't overfill.
- •If the pedal stays soft after pumping, you may have air in the system – bleeding is required.
⚠️ Warnings:
- •Do not drive the car until the brake pedal is hard. A soft pedal means brakes are not functional.
Step 10: Bed In the New Brake Pads
Find a safe, straight road with minimal traffic. Perform a series of 10 moderate stops from about 35 mph to 5 mph without coming to a complete stop. Then do 3 hard stops from 45 mph to 10 mph, again without fully stopping. Finally, drive for 5 minutes without braking to cool the rotors. This transfers an even layer of pad material to the rotor surface, optimizing friction and preventing noise.
💡 Tips:
- •If you smell a burning odor during bedding, it's normal – it's the resin in the pads curing.
- •Do not engage the parking brake during cool-down; it can cause pad imprinting on the rotor.
⚠️ Warnings:
- •Avoid aggressive braking for the first 100 miles to allow full cure of new pads.
- •Bedding is critical for performance; skipping it can lead to glazing and reduced stopping power.
▸Pro Tips
- •Always replace brake pads on both sides of the same axle simultaneously to maintain even braking.
- •If rotors are worn, have them resurfaced or replaced. New pads on old, grooved rotors will not bed properly.
- •Use OEM or premium aftermarket pads – cheap pads may fade under heat or produce excessive dust.
- •Keep a container of brake fluid handy and check the reservoir frequently during piston retraction.
- •Label the wheels if you rotate them – it helps with future maintenance.
- •Photograph the assembly before removal as a reference for hardware orientation.
- •Use a vacuum bleeder if you open the brake system – it's faster and prevents air ingress.
▸Common Mistakes to Avoid
- •Mistake: Not compressing the caliper piston before attempting to install new pads. Result: pads won't fit and caliper may break when forced. Solution: Always compress the piston first.
- •Mistake: Reusing old hardware clips and shims. Result: squealing, rattling, and uneven pad wear. Solution: Always install a fresh hardware kit.
- •Mistake: Overtightening caliper guide pins or lug nuts. Result: binding caliper, warped rotors, or stripped threads. Solution: Use a torque wrench and follow specs.
- •Mistake: Forgetting to pump the brake pedal after installation. Result: soft pedal and no brakes. Solution: Always pump before moving the car.
- •Mistake: Bedding pads incorrectly or skipping the process. Result: loud brakes, reduced stopping power, and glazed pads. Solution: Follow the bedding procedure exactly.
▸Troubleshooting
Problem: Brake pedal feels spongy after replacement.
Solution: You may have air in the lines. Bleed the brakes starting at the farthest wheel from the master cylinder. Or check for fluid leaks.
Problem: Brakes squeal or squeak after installation.
Solution: Ensure all hardware is correctly installed and the pads are bedded. Check that anti-squeal shims are in place and lubricated. If rotor surface is glazed, re-bed or lightly sand the pads.
Problem: Caliper guide pins are rusted or stuck.
Solution: Remove pins, clean thoroughly with brake cleaner and a wire brush, then lubricate with high-temp grease. If excessively worn, replace the pins and boots.
Problem: Parking brake warning light stays on (rear electronic brake).
Solution: Some vehicles require a scan tool to retract the parking brake motor. Refer to the service manual. Do not force the caliper mechanically.
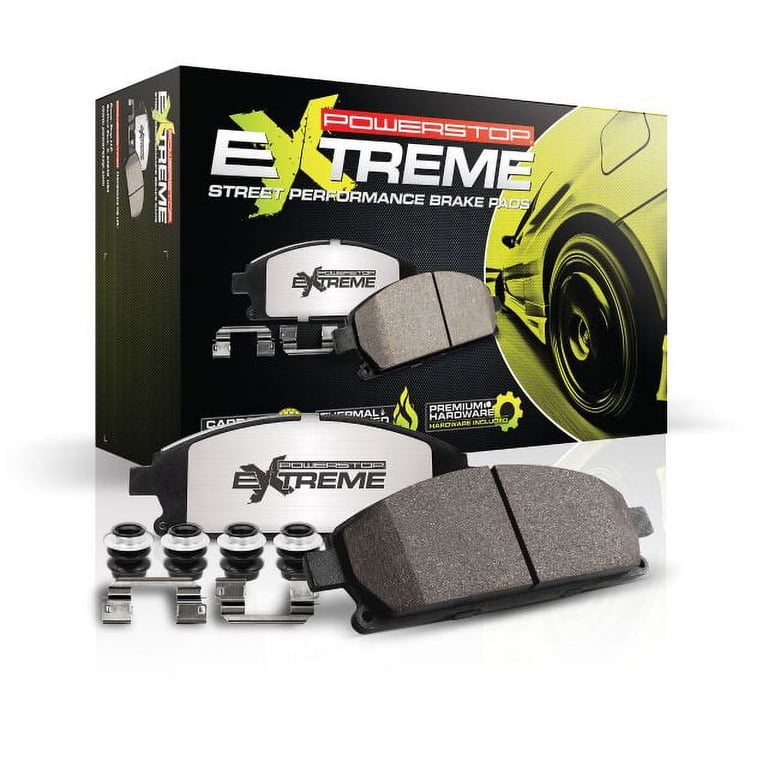
Power Stop Z26 Street Warrior Brake Pads
Excellent all-around upgrade: ceramic formulation for low dust, quiet operation, and strong stopping power. Perfect for daily drivers and light performance use.
Best for: Replacing front brake pads on a sedan, SUV, or truck without track use.
Price Range: $40–$80 per axle
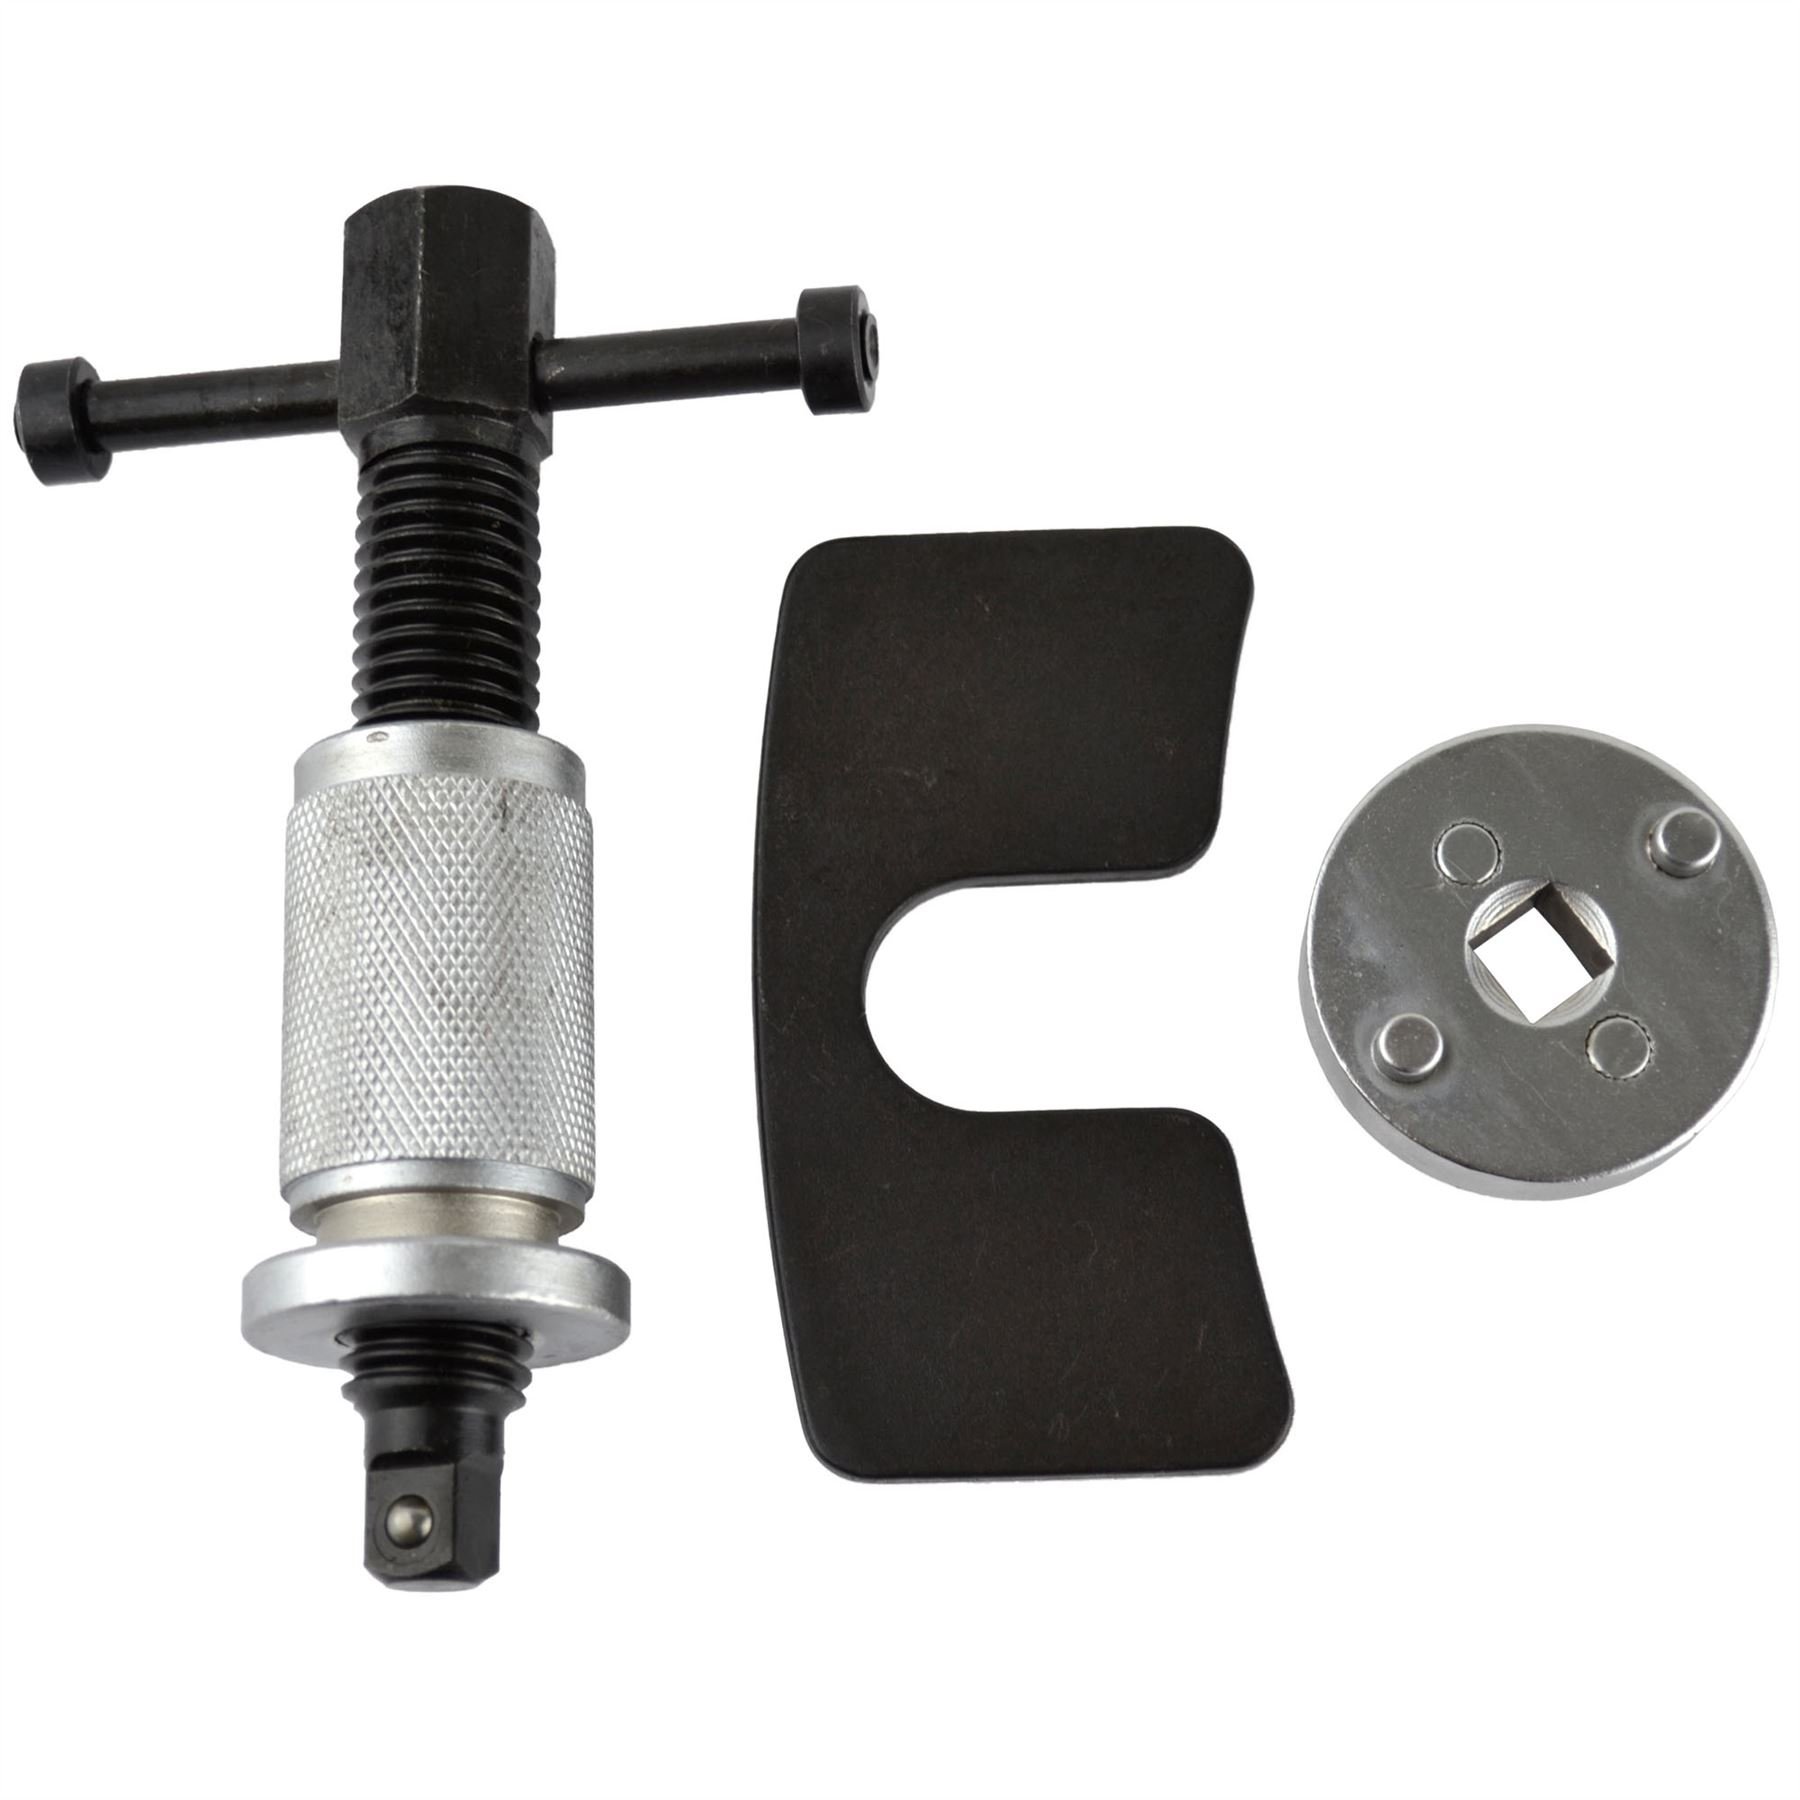
AUTOOL Brake Caliper Wind Back Tool Set
Essential for rear calipers with electronic parking brakes or that require rotation during retraction. Saves time and prevents damage.
Best for: When compressing rear calipers with twist-in pistons (many European and Asian vehicles).
Price Range: $25–$35
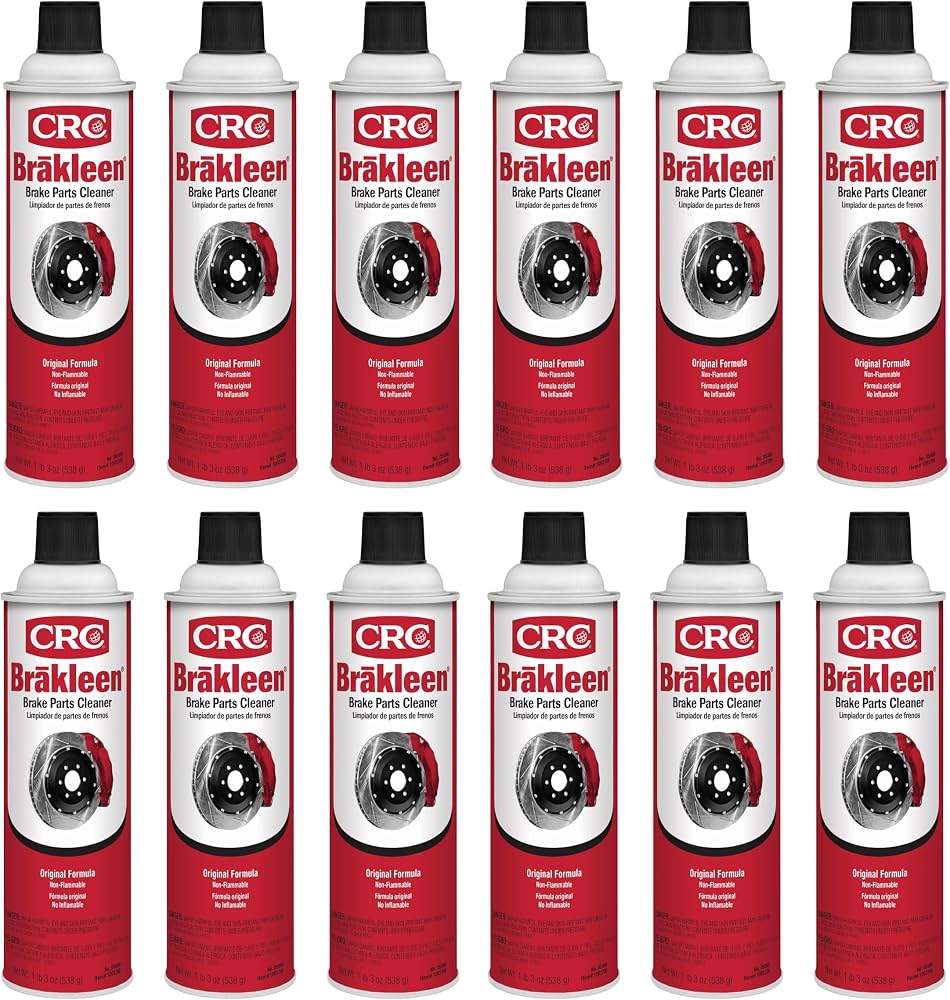
CRC Brake Cleaner (Aerosol)
Quick-drying, non-chlorinated formula that evaporates without residue. Perfect for cleaning rotors, calipers, and brackets before installation.
Best for: Cleaning brake parts during pad replacement.
Price Range: $5–$10 per can
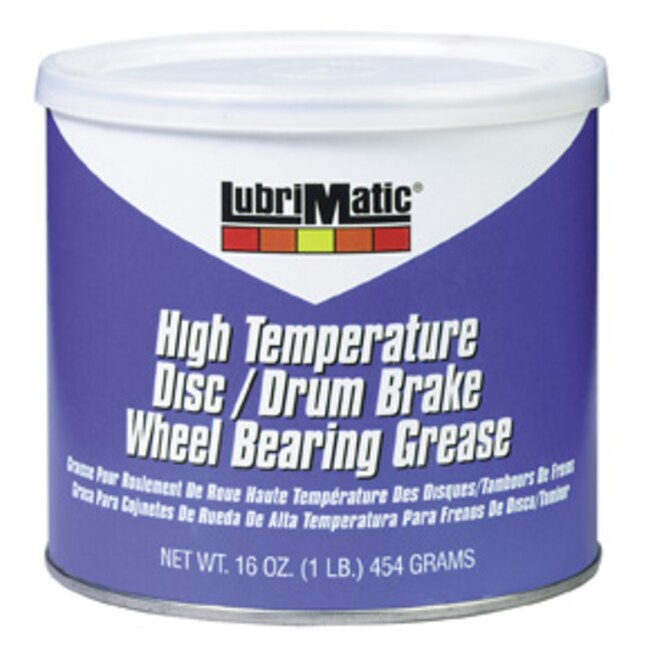
LubriMatic High-Temp Synthetic Brake Grease
Withstands extreme heat, safe for rubber parts, and prevents noise. A little goes a long way.
Best for: Lubricating caliper guide pins and pad backing plates.
Price Range: $5–$10 per tube
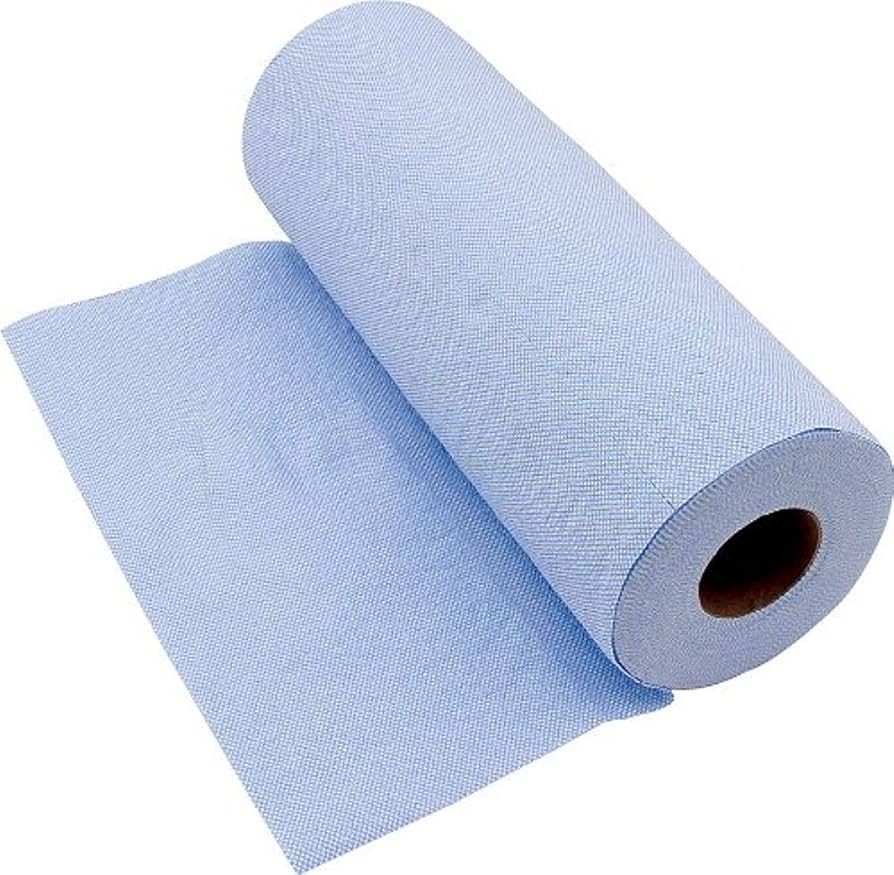
Allstar Performance Shop Towels (50-Pack)
Heavy-duty, lint-free shop towels ideal for cleaning brake parts and hands. Absorbent and strong.
Best for: Wiping down components and cleaning spills.
Price Range: $10–$15