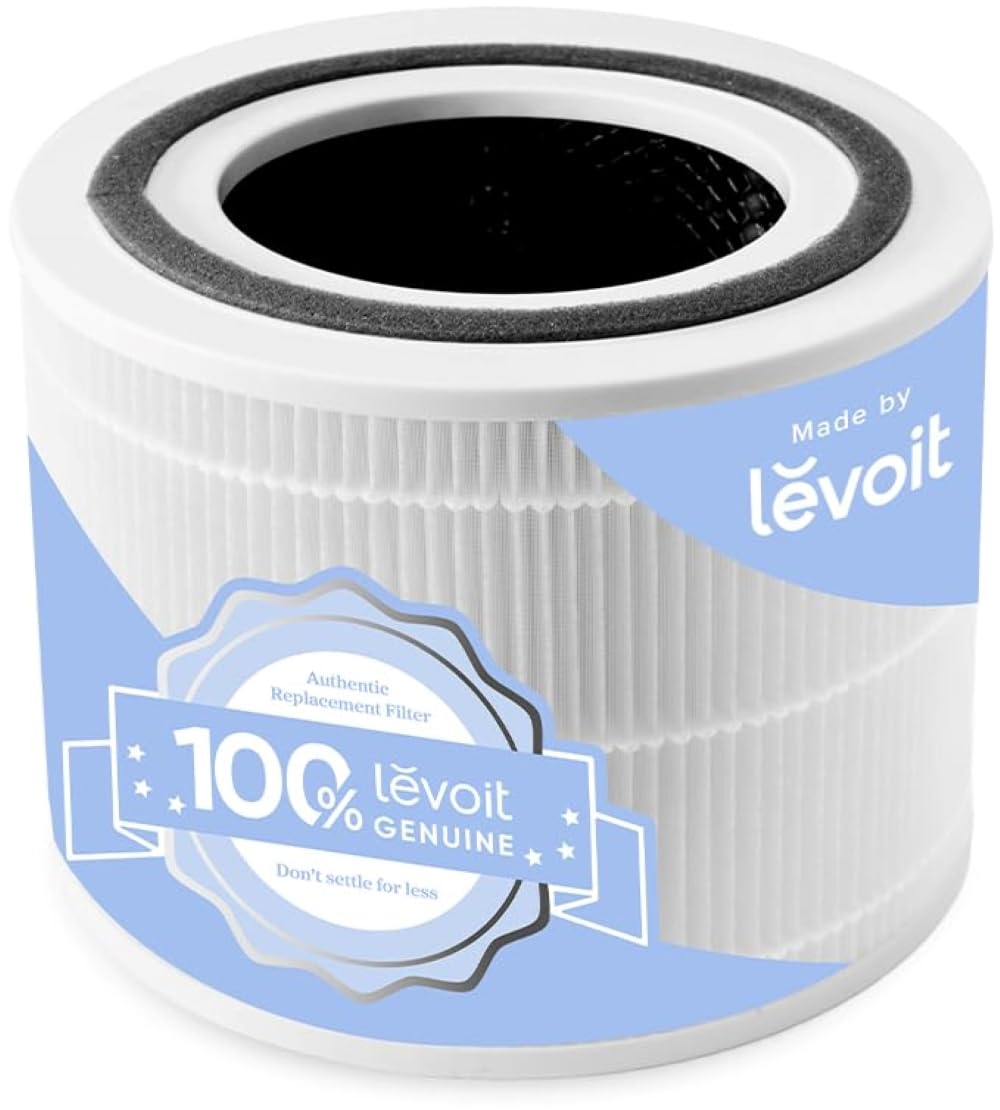
Dirty air purifier filters can trap dust, allergens, and odors, reducing efficiency by up to 50% and letting pollutants back into your air. If your device beeps, lights up a filter indicator, or blows weaker air, it's time for a replacement. Regular swaps ensure cleaner indoor air, extend your purifier's life, and save energy.
This beginner-friendly guide walks you through every step for most models like Levoit, Honeywell, or Coway. You'll learn to identify your filter type, remove the old one safely, and install a new one correctly. The whole process takes 10-20 minutes with no tools needed.
Expect straightforward actions with safety first—always unplug first. By the end, your purifier will hum efficiently again.
▸What You'll Need
- •Compatible replacement filter for your air purifier model (check manual or manufacturer's site)
- •Owner's manual (digital or physical)
- •Soft cloth or vacuum with brush attachment (optional, for cleaning housing)
- •Trash bag for old filter
- •Gloves (optional, to avoid dust contact)
Estimated Time: 10-20 minutes
Difficulty: beginner
▸Step-by-Step Instructions
Step 1: Identify Your Air Purifier Model and Filter Type
Start by checking the model number on your air purifier—usually on the back, bottom, or in the manual. Search online for '[model] replacement filter' to confirm the exact part needed. Why? Filters vary by size and type (HEPA, carbon, etc.), and mismatches won't fit or work.
Expect to see something like 'Core 300' for Levoit or 'HPA300' for Honeywell. Download the manual from the manufacturer's site if lost. Success looks like having the correct filter in hand before proceeding.
💡 Tips:
- •Take a photo of the model label for quick reference.
⚠️ Warnings:
- •Never guess the filter type—wrong ones can damage the unit.
Step 2: Turn Off and Unplug the Air Purifier
Power off the unit using the switch or remote, then unplug from the wall. This prevents electrical hazards and fan activation during filter removal.
Wait 5 minutes for any residual charge to dissipate. Your purifier should now be silent and safe to handle.
💡 Tips:
- •Work in a well-lit area near a trash bin.
⚠️ Warnings:
- •Skipping this risks shock or injury from spinning fans.
Step 3: Locate and Open the Filter Compartment
Refer to your manual for the access panel—often on the back, side, or bottom. Gently press latches, slide tabs, or lift covers to open. No screws for most models.
The compartment reveals the old filter, likely gray and dusty. If stuck, wiggle gently without forcing.
💡 Tips:
- •Lay the unit on its side on a towel to avoid scratches.
Step 4: Remove the Old Filter
Pull the filter straight out by handles or edges. Note orientation (airflow arrows usually point toward the outlet).
Inspect for heavy dirt—this confirms replacement need. Place in a trash bag immediately to contain dust.
💡 Tips:
- •Wear gloves if sensitive to dust.
⚠️ Warnings:
- •Don't touch the filter media; it releases particles.
Step 5: Clean the Filter Housing
Use a dry cloth or vacuum brush to wipe out dust bunnies or debris from the empty compartment. No water or cleaners—moisture damages electronics.
A spotless housing ensures optimal new filter seal. Shake gently if needed.
💡 Tips:
- •Vacuum outside to avoid indoor dust spread.
Step 6: Insert the New Filter
Unpack the new filter, remove plastic wraps, and align arrows with unit markings. Slide in firmly until it clicks or seats flush.
It should fit snugly without gaps. Double-check orientation per manual.
💡 Tips:
- •Let new filter sit 24 hours before max performance.
⚠️ Warnings:
- •Don't bend or force—return if damaged.
Step 7: Close the Panel, Reset Indicator, and Test
Snap the cover shut securely. Plug in, power on, and press the filter reset button (often a light or dedicated key—check manual).
Run on high for 5 minutes; air should flow strong with no error lights. Success: Clean air and reset indicator.
💡 Tips:
- •Note replacement date for future scheduling.
▸Pro Tips
- •Subscribe to filter auto-shipments from Amazon for 15% discounts and timely delivery.
- •Replace every 6-12 months or when indicator lights, based on usage.
- •Buy genuine OEM filters—generics may underperform.
- •Mark your calendar post-replacement to track cycles.
- •Clean pre-filter monthly (washable mesh) to extend main filter life.
- •Test airflow post-install by holding paper to intake.
- •Store spares in a dry, sealed bag.
▸Common Mistakes to Avoid
- •Using wrong filter size: Causes poor fit and air leaks—always verify model compatibility.
- •Forgetting to unplug: Risks injury—double-check power status.
- •Skipping reset: Filter light stays on, confusing maintenance schedule.
- •Rushing insertion: Misalignment reduces efficiency—align arrows carefully.
- •Throwing away manual: Hard to find reset instructions later—bookmark online version.
▸Troubleshooting
Problem: Filter doesn't fit or clicks loosely
Solution: Confirm model match; try rotating 180°. Contact seller for exchange if defective.
Problem: Filter indicator light won't reset
Solution: Hold reset button 3-5 seconds or power cycle (unplug 10 mins). Check manual for model-specific sequence.
Problem: Reduced airflow after replacement
Solution: Run 24 hours to unpack fibers. Clean housing again if needed.
Problem: Dust smell from new filter
Solution: Normal off-gassing; air out in garage 24 hours before installing.
LEVOIT Core 300 Replacement Filter (LV-PUR131)
Genuine 3-in-1 HEPA filter perfectly fits Levoit Core 300/300S, capturing 99.97% particles with easy install.
Best for: Ideal for small rooms; top-rated for beginners with affordable packs.
Price Range: $24.99
Honeywell HRF-R1 True HEPA Replacement Filter
Durable, high-capacity filter for HPA300 series; lasts up to 12 months with superior allergen capture.
Best for: Great for allergy sufferers in larger spaces needing reliable performance.
Price Range: $39.99
Coway Airmega AP-1512HH True HEPA Filter
OEM filter with activated carbon for odor control; seamless fit and greenHEPA tech for eco-conscious users.
Best for: Perfect for medium rooms; pairs with app-monitored purifiers.
Price Range: $49.99
Microfiber Cleaning Cloths (E-Cloth Brand)
Lint-free for dust-free housing cleaning without residue.
Best for: Essential optional tool during step 5 for all models.
Price Range: $12.99