
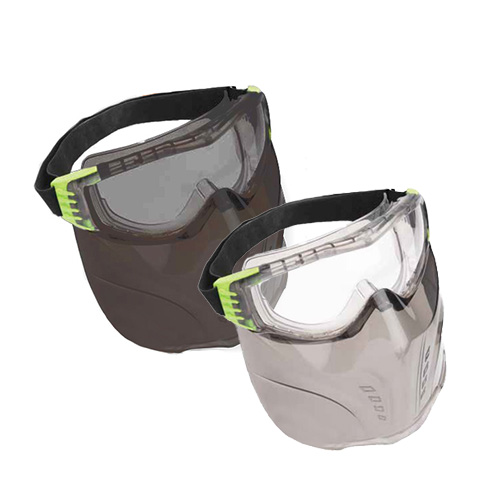
Safety Glasses / Face Shield Combo
Any cutting or grinding operation with an angle grinder.
$10–$30
Safety Glasses / Face Shield Combo Essential for eye protection from flying debris; a face shield offers extra coverage for your face.
Get the App
Better experience on mobile
Master the safe, step-by-step process of changing abrasive wheels on your angle grinder.
Changing an angle grinder wheel seems simple, but doing it wrong can cause serious injury or damage your tool. Many beginners don't realize that grinding wheels can shatter if improperly mounted, or that the spindle lock can break if forced. This guide walks you through the entire process—from safety checks to final testing—so you can swap wheels confidently every time. You'll learn the correct tool use, why each step matters, and how to avoid common, dangerous mistakes. Whether you're a DIYer or a pro, these instructions will keep you safe and your grinder running smoothly.
Estimated Time: 5–10 minutes Difficulty: beginner
Unplug the angle grinder from the electrical outlet. If you have a cordless model, remove the battery pack entirely. This is the single most important safety step—never trust that the switch is off or that the grinder won't accidentally start. Double-check that the tool is completely disconnected before proceeding. Why it matters: A grinder that powers on unexpectedly during wheel change can cause severe cuts or launching of the wheel.
💡 Tips:
⚠️ Warnings:
Before touching the grinder, wear safety glasses or a full face shield, heavy work gloves, and hearing protection. Grinding dust and wheel fragments can fly unpredictably. If you're cutting metal or concrete, a dust mask or respirator is also necessary. Why it matters: A shattered wheel can send shards at high speed; gloves protect against cuts and abrasions from the old wheel.
💡 Tips:
⚠️ Warnings:
Most angle grinders have a spindle lock button on the gear head (usually a small round button near the disc). Press and hold this button to lock the spindle in place. You'll hear a click or feel resistance when engaged. Why it matters: The spindle lock prevents the shaft from rotating while you loosen the flange nut, making wheel removal possible without engaging the motor.
💡 Tips:
⚠️ Warnings:
While holding the spindle lock, use the grinder wrench (usually two-pronged) to turn the flange nut counterclockwise. The nut may be tight from previous use; apply steady, even pressure. If it won't budge, try using an adjustable wrench with more leverage. Why it matters: The flange nut secures the wheel; loosening it allows you to remove the old wheel.
💡 Tips:
⚠️ Warnings:
Once the nut is loose, unscrew it completely by hand. Remove the outer flange (the metal washer that sits against the wheel). Carefully lift the old abrasive wheel off the spindle. Note the order of components: from the outside, you have nut, outer flange, wheel, inner flange (which stays on the spindle), and then the tool body. Why it matters: Reassembling in the wrong order can misalign the wheel or prevent proper clamping.
💡 Tips:
⚠️ Warnings:
Before mounting the new wheel, wipe the spindle threads and the inner/outer flanges with a clean rag. Remove any accumulated metal filings, dust, or grit. Check that the inner flange is not bent or cracked. Why it matters: Debris can cause the new wheel to sit unevenly, leading to vibration or cracking during use. Clean threads ensure the nut tightens properly.
💡 Tips:
⚠️ Warnings:
Slide the new wheel onto the spindle, ensuring the center hole fits snugly over the inner flange. Important: Most grinding wheels have a printed arrow showing the direction of rotation. Align this arrow with the grinder's rotation direction (usually marked on the guard). For cutting wheels, the orientation doesn't matter as much, but always follow manufacturer instructions. Why it matters: An incorrectly mounted wheel can be unbalanced or can come loose during operation.
💡 Tips:
⚠️ Warnings:
Place the outer flange over the wheel, then screw the flange nut back onto the spindle by hand until snug. Press and hold the spindle lock again, then use the wrench to tighten the nut clockwise. Tighten firmly—do not overtighten, as this can crack the wheel or strip the threads. A good rule: tighten to about 15–20 ft-lb (a solid hand tightening with the wrench). Why it matters: A properly tightened nut prevents the wheel from slipping or coming off at high RPM.
💡 Tips:
⚠️ Warnings:
After tightening, visually inspect the mounted wheel. It should sit flat against both flanges with no gaps. Spin the wheel by hand—it should rotate freely without wobbling or rubbing against the guard. If you feel any resistance or hear scraping, the wheel may be misaligned or the guard is interfering. Why it matters: A wobbling wheel can cause dangerous vibrations and premature failure.
💡 Tips:
⚠️ Warnings:
Plug the grinder back in (or reinsert the battery). Place the grinder on a workbench with the wheel pointing away from you and any bystanders. Briefly depress the trigger for 1–2 seconds to let the wheel spin up. Listen for abnormal vibrations or sounds. If everything sounds smooth, run the wheel at full speed for about 30 seconds while holding the grinder securely. Why it matters: A test run confirms that the wheel is correctly mounted and that the grinder is functioning safely before you start your work.
💡 Tips:
⚠️ Warnings:
Problem: The flange nut is stuck and won't loosen.
Solution: Apply penetrating oil (like WD-40) around the nut threads and wait 5 minutes. Then use a longer wrench or a pipe wrench for extra leverage. Alternatively, tap the wrench handle gently with a rubber mallet while pressing the spindle lock.
Problem: The spindle lock won't engage or feels loose.
Solution: Try rotating the disc by hand to align the lock's internal teeth. If it still doesn't engage, the lock may be broken—consult the grinder's manual or a repair shop. Never force it.
Problem: The new wheel wobbles after tightening.
Solution: Remove the wheel and check that the inner flange is clean and not bent. Also verify the wheel's center hole is exactly the right size. If the wheel is warped, replace it.
Problem: The grinder vibrates excessively during the test run.
Solution: Shut off immediately. Re-check the wheel mounting for debris, and ensure the nut is tight. Also inspect the wheel for cracks. If the problem persists, the grinder's bearings may be worn.
Essential for eye protection from flying debris; a face shield offers extra coverage for your face.
Best for: Any cutting or grinding operation with an angle grinder.
Price Range: $10–$30
Protects hands from sharp edges of used wheels and accidental contact with the spinning wheel.
Best for: Handling old wheels, tightening nuts, and general grinder use.
Price Range: $15–$40
A proper wrench ensures a secure grip on the flange nut without slipping; pin spanners work on grinders without standard holes.
Best for: Loosening and tightening the flange nut during wheel changes.
Price Range: $8–$20
Having the right wheel for your task improves safety and efficiency; choose wheels with matching arbor size and RPM rating.
Best for: Replacing worn wheels for different applications (metal grinding, tile cutting, surface blending).
Price Range: $15–$50
Angle grinders can exceed 100 dB; prolonged exposure without protection causes hearing damage.
Best for: Any grinding or cutting task lasting more than a few minutes.
Price Range: $10–$30
Any cutting or grinding operation with an angle grinder.
Safety Glasses / Face Shield Combo Essential for eye protection from flying debris; a face shield offers extra coverage for your face.

Handling old wheels, tightening nuts, and general grinder use.
Cut‑Resistant Work Gloves (Leather or Kevlar) Protects hands from sharp edges of used wheels and accidental contact with the spinning wheel.
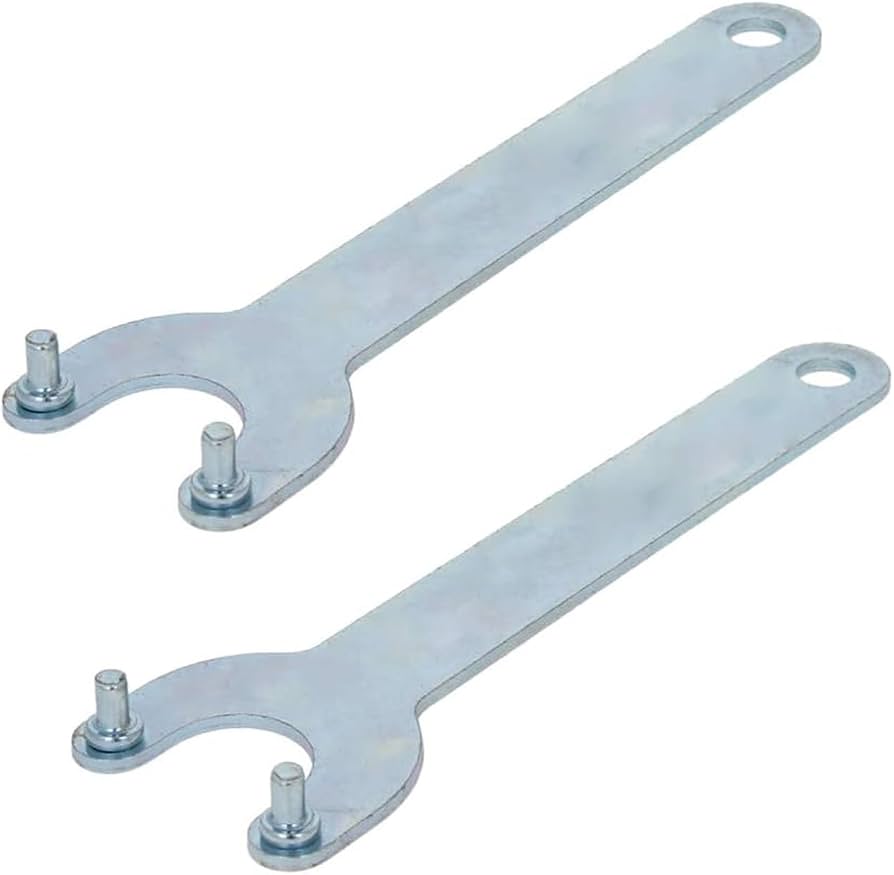
Loosening and tightening the flange nut during wheel changes.
Angle Grinder Wrench Set (Two‑Pronged and Pin Spanner) A proper wrench ensures a secure grip on the flange nut without slipping; pin spanners work on grinders without standard holes.
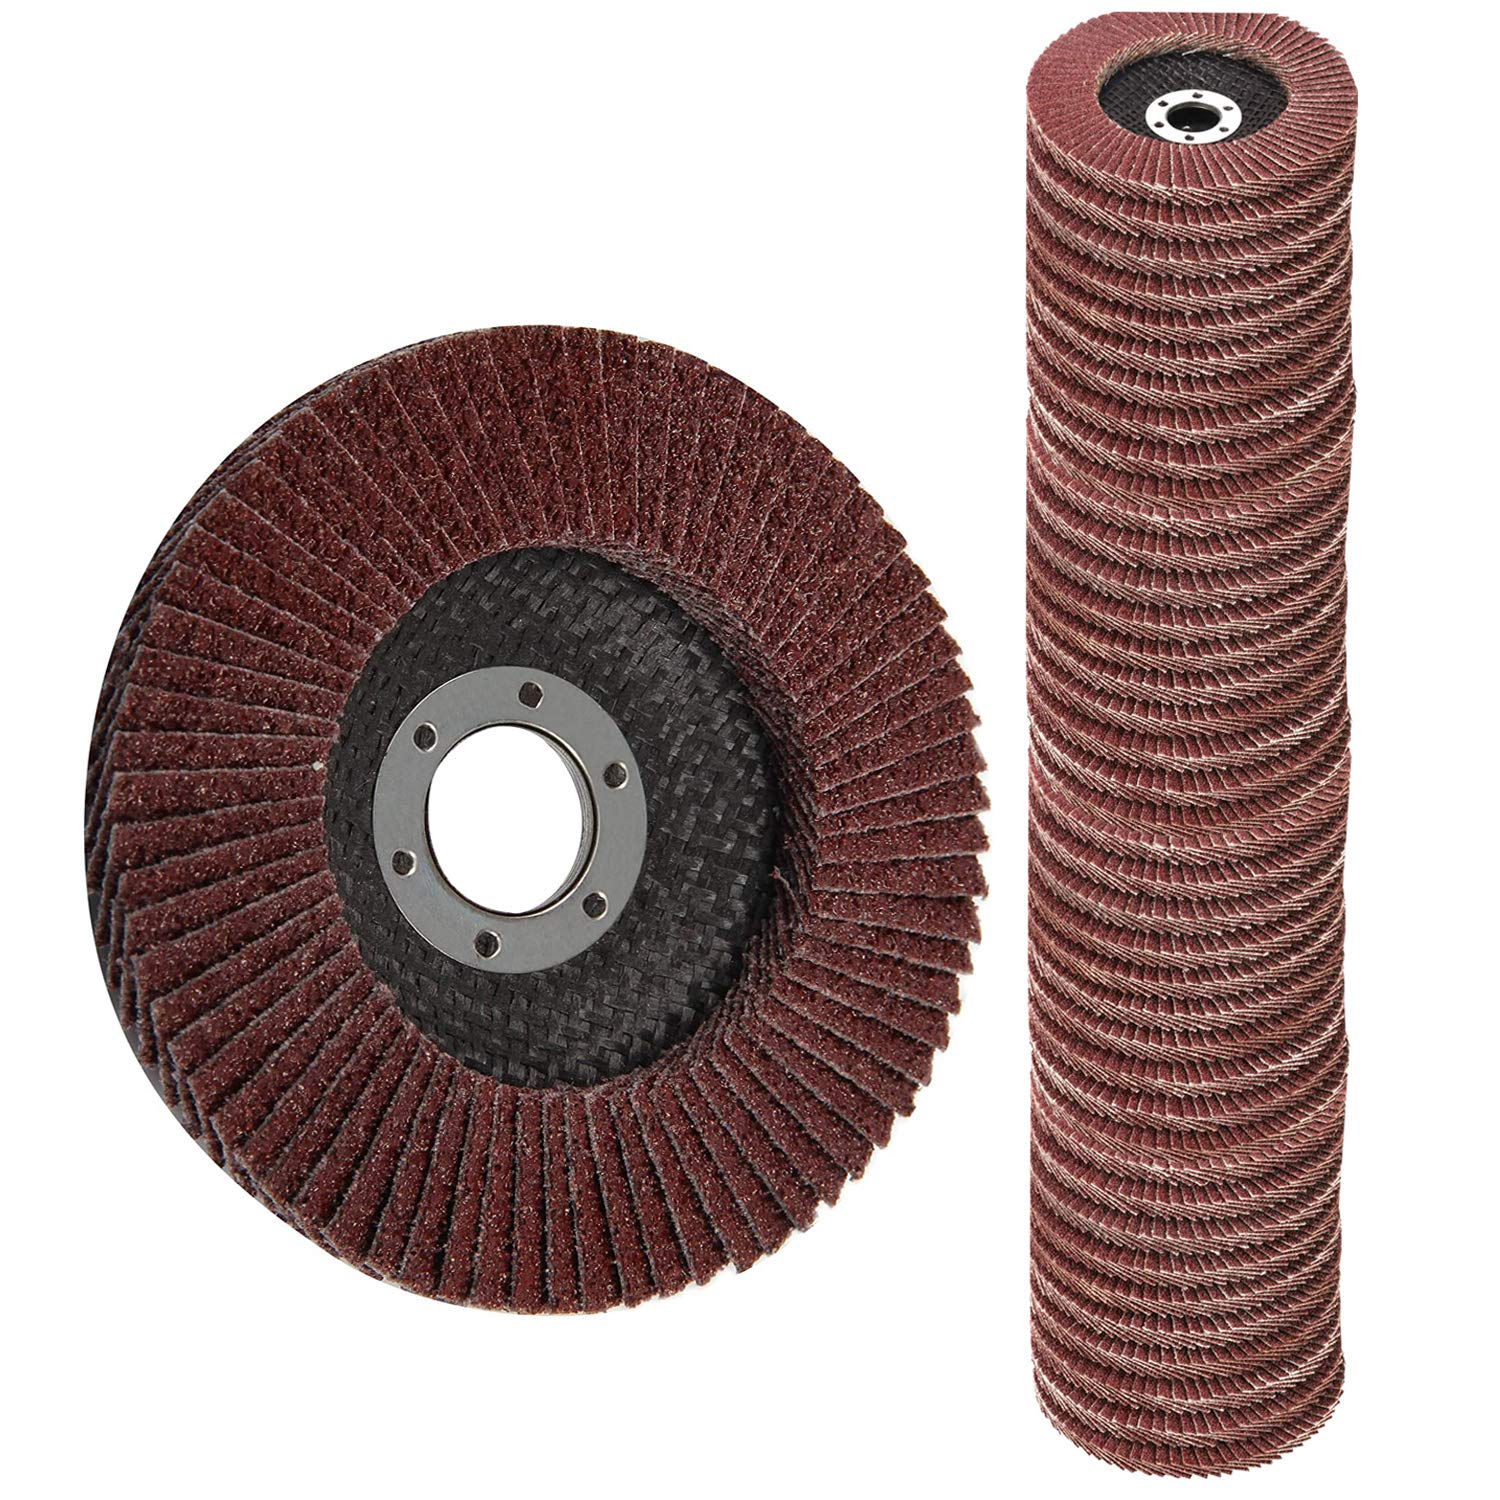
Replacing worn wheels for different applications (metal grinding, tile cutting, surface blending).
Assorted Abrasive Wheels (Grinding, Cutting, Flap Discs) Having the right wheel for your task improves safety and efficiency; choose wheels with matching arbor size and RPM rating.

Any grinding or cutting task lasting more than a few minutes.
Hearing Protection (Earmuffs or Earplugs) Angle grinders can exceed 100 dB; prolonged exposure without protection causes hearing damage.