
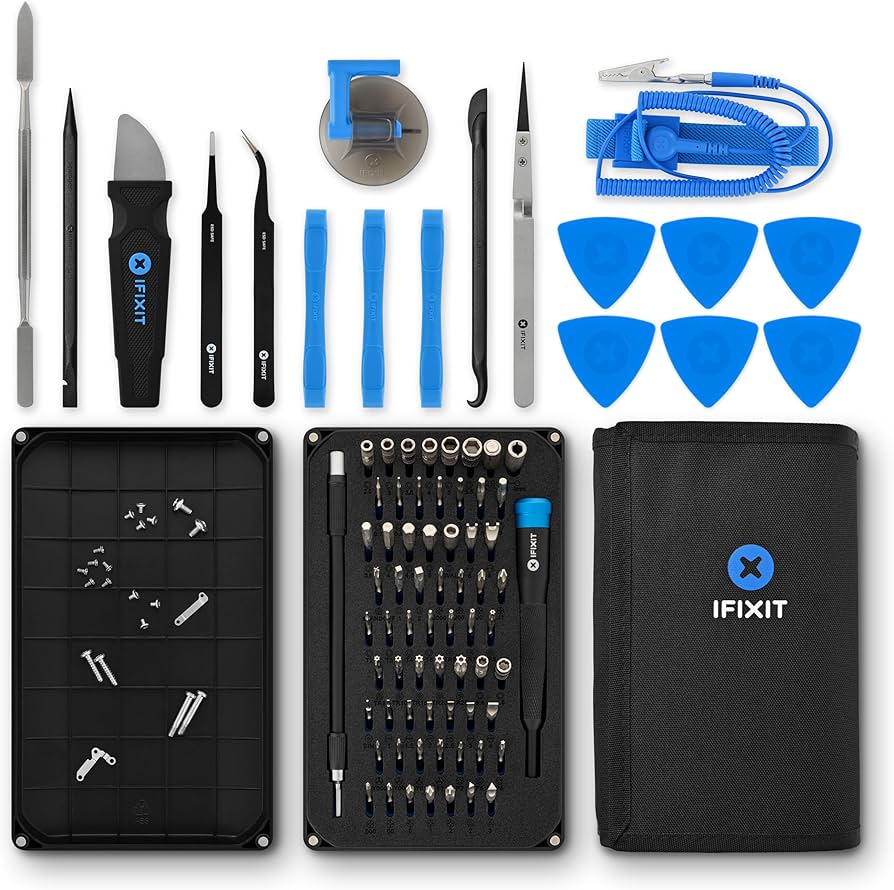
iFixit Pro Tech Toolkit
Use for disassembling the laptop and prying open the bezel.
$60 - $80
iFixit Pro Tech Toolkit Comprehensive set of precision bits, spudgers, and opening tools specifically designed for electronics repair.
Get the App
Better experience on mobile
Step-by-step guide to safely replacing a cracked or unresponsive touchscreen on a convertible laptop, including tools, techniques, and troubleshooting.
A cracked or malfunctioning screen on your 2-in-1 laptop can be frustrating, especially when it affects touch input and display quality. Replacing it yourself can save hundreds of dollars compared to manufacturer repair costs. This guide is designed for advanced users with some electronics repair experience. You'll learn the complete process: from powering down and disassembling the laptop, to removing the bezel, disconnecting delicate cables, installing the new screen, and reassembling everything. Expect to spend 1–2 hours, and proceed with caution—one wrong move can damage the new screen or other components. Follow each step carefully, and you'll have your convertible back in action.
Estimated Time: 1–2 hours Difficulty: advanced
Shut down the laptop completely. Do not put it to sleep. Unplug the AC adapter and remove any USB devices or SD cards. Then, open the laptop and hold the power button for 10 seconds to drain any residual charge in the capacitors. This reduces the risk of short circuits. For additional safety, wear an anti-static wrist strap grounded to a metal surface. If your laptop has a removable battery, take it out now. Most modern 2-in-1s have internal batteries, so you'll need to disconnect it internally later.
💡 Tips:
⚠️ Warnings:
Flip the laptop over and locate all the screws securing the bottom panel. They are often hidden under rubber feet or stickers; use a spudger to gently pry up the feet if needed. Use a magnetized mat or small tray to keep screws organized by location. After removing all visible screws, use a plastic opening tool to carefully pry the bottom panel away from the chassis. Start at a corner and work your way around. The panel is usually held on by clips; apply steady pressure to release them. Once loose, lift the panel off and set it aside.
💡 Tips:
⚠️ Warnings:
Locate the battery connector on the motherboard. It is usually a white or black plastic plug with colored wires. Carefully pry up the connector using a plastic spudger or your fingernail—do not pull on the wires themselves. Some connectors have a small latch you need to flip up first. Once disconnected, press the power button again for 10 seconds to discharge any remaining power. This step is critical to prevent electrical damage to the screen or motherboard during the replacement.
💡 Tips:
⚠️ Warnings:
2-in-1 laptops typically have the display bezel glued down with strong adhesive. Use a heat gun or hair dryer on low heat to warm the bezel edges for 1–2 minutes. Test the temperature with your hand—it should be hot but not burning. Then, insert a thin plastic pick between the bezel and the screen panel. Gently slide it along the edges to cut through the adhesive. Work slowly to avoid cracking the bezel or damaging the LCD underneath. Once all edges are free, carefully lift off the bezel. You may need to remove a few screws from the hinges or camera module before the bezel comes off completely.
💡 Tips:
⚠️ Warnings:
With the bezel removed, you will see the LCD panel and its cables. Look for the display cable (eDP) and the touchscreen digitizer cable. They typically connect to small circuit boards at the bottom or side of the screen. Use a spudger to flip up any latches on the ZIF connectors, then gently pull the cables straight out. If the cable is taped down, carefully remove the tape. Also disconnect any other cables like the webcam or microphone. Note the routing of the cables—take a picture for reference during reassembly.
💡 Tips:
⚠️ Warnings:
The screen is usually held in place by strong adhesive along the edges and sometimes screws. If there are screws, remove them and set aside. For adhesive, use a heat gun to warm the back of the screen (through the chassis if possible) or the screen itself for 1–2 minutes. Insert a thin plastic card between the screen and the chassis, and gently pry along the edges to break the adhesive. Start at a corner and work your way around. Once the adhesive is loose, carefully lift the screen away from the laptop body. Be cautious not to bend the screen—it can shatter. Place the old screen aside on a soft surface.
💡 Tips:
⚠️ Warnings:
Before applying adhesive, test the new screen by connecting the display and digitizer cables (just lay the screen on the chassis). Reconnect the battery momentarily, power on the laptop, and verify that the display works and touch input responds. Then power down, disconnect the battery again, and clean the mounting area with isopropyl alcohol. Apply new adhesive strips around the edges of the screen well, following the original pattern. Peel the backing off one side, align the new screen carefully, and press it firmly into place. Route the cables through the chassis channels exactly as the original were routed. Connect the cables to the motherboard connectors, ensuring they are seated fully and latched.
💡 Tips:
⚠️ Warnings:
First, reattach the display bezel by pressing it firmly around the edges until it clicks or sticks. If the bezel uses adhesive, apply new double-sided tape before pressing it on. Then, connect the battery internally, carefully reinstall the bottom panel, and secure all screws. Do not force any panels—if something doesn't align, check for trapped cables. Once reassembled, power on the laptop. Test the display for dead pixels, discoloration, or flickering. Verify that touch and pen input work across the entire screen. Also test the webcam, microphone, and any other components that were disconnected. Finally, calibrate the touchscreen if needed (in Windows: Settings > Calibrate the screen for pen or touch).
💡 Tips:
⚠️ Warnings:
Problem: Screen doesn't turn on after replacement
Solution: Check that the display cable is fully inserted and latched. Reconnect the battery and ensure it's charged. Test the old screen to see if the issue is with the new screen or the laptop.
Problem: Touchscreen not working
Solution: Verify that the digitizer cable is connected properly. Reboot the laptop and check if the driver is installed in Device Manager. Recalibrate the touchscreen in operating system settings.
Problem: Display shows backlight but no image
Solution: This could indicate a faulty display cable or incompatible screen. Verify the screen model matches your laptop's specs. Try reseating the cable at both ends.
Problem: Laptop won't power on after reassembly
Solution: Ensure the battery connector is securely attached. Check that all internal cables are properly connected and not shorting any pins. Remove the bottom panel and inspect for loose screws or stray tools.
Comprehensive set of precision bits, spudgers, and opening tools specifically designed for electronics repair.
Best for: Use for disassembling the laptop and prying open the bezel.
Price Range: $60 - $80
Variable temperature heat gun with precise control to soften adhesive without damaging components.
Best for: Heating the bezel and screen adhesive for safe removal.
Price Range: $40 - $60
High-bond adhesive tape specifically designed for attaching screens and bezels without residue.
Best for: Replacing the adhesive that holds the screen and bezel in place.
Price Range: $10 - $20
Grounded wrist strap to prevent electrostatic discharge that can damage sensitive electronics.
Best for: Wear during the entire replacement process for safety.
Price Range: $5 - $15
Magnetized mat with labeled sections to keep screws organized and prevent loss.
Best for: Place screws on the mat as you remove them to remember locations.
Price Range: $10 - $30
Use for disassembling the laptop and prying open the bezel.
iFixit Pro Tech Toolkit Comprehensive set of precision bits, spudgers, and opening tools specifically designed for electronics repair.
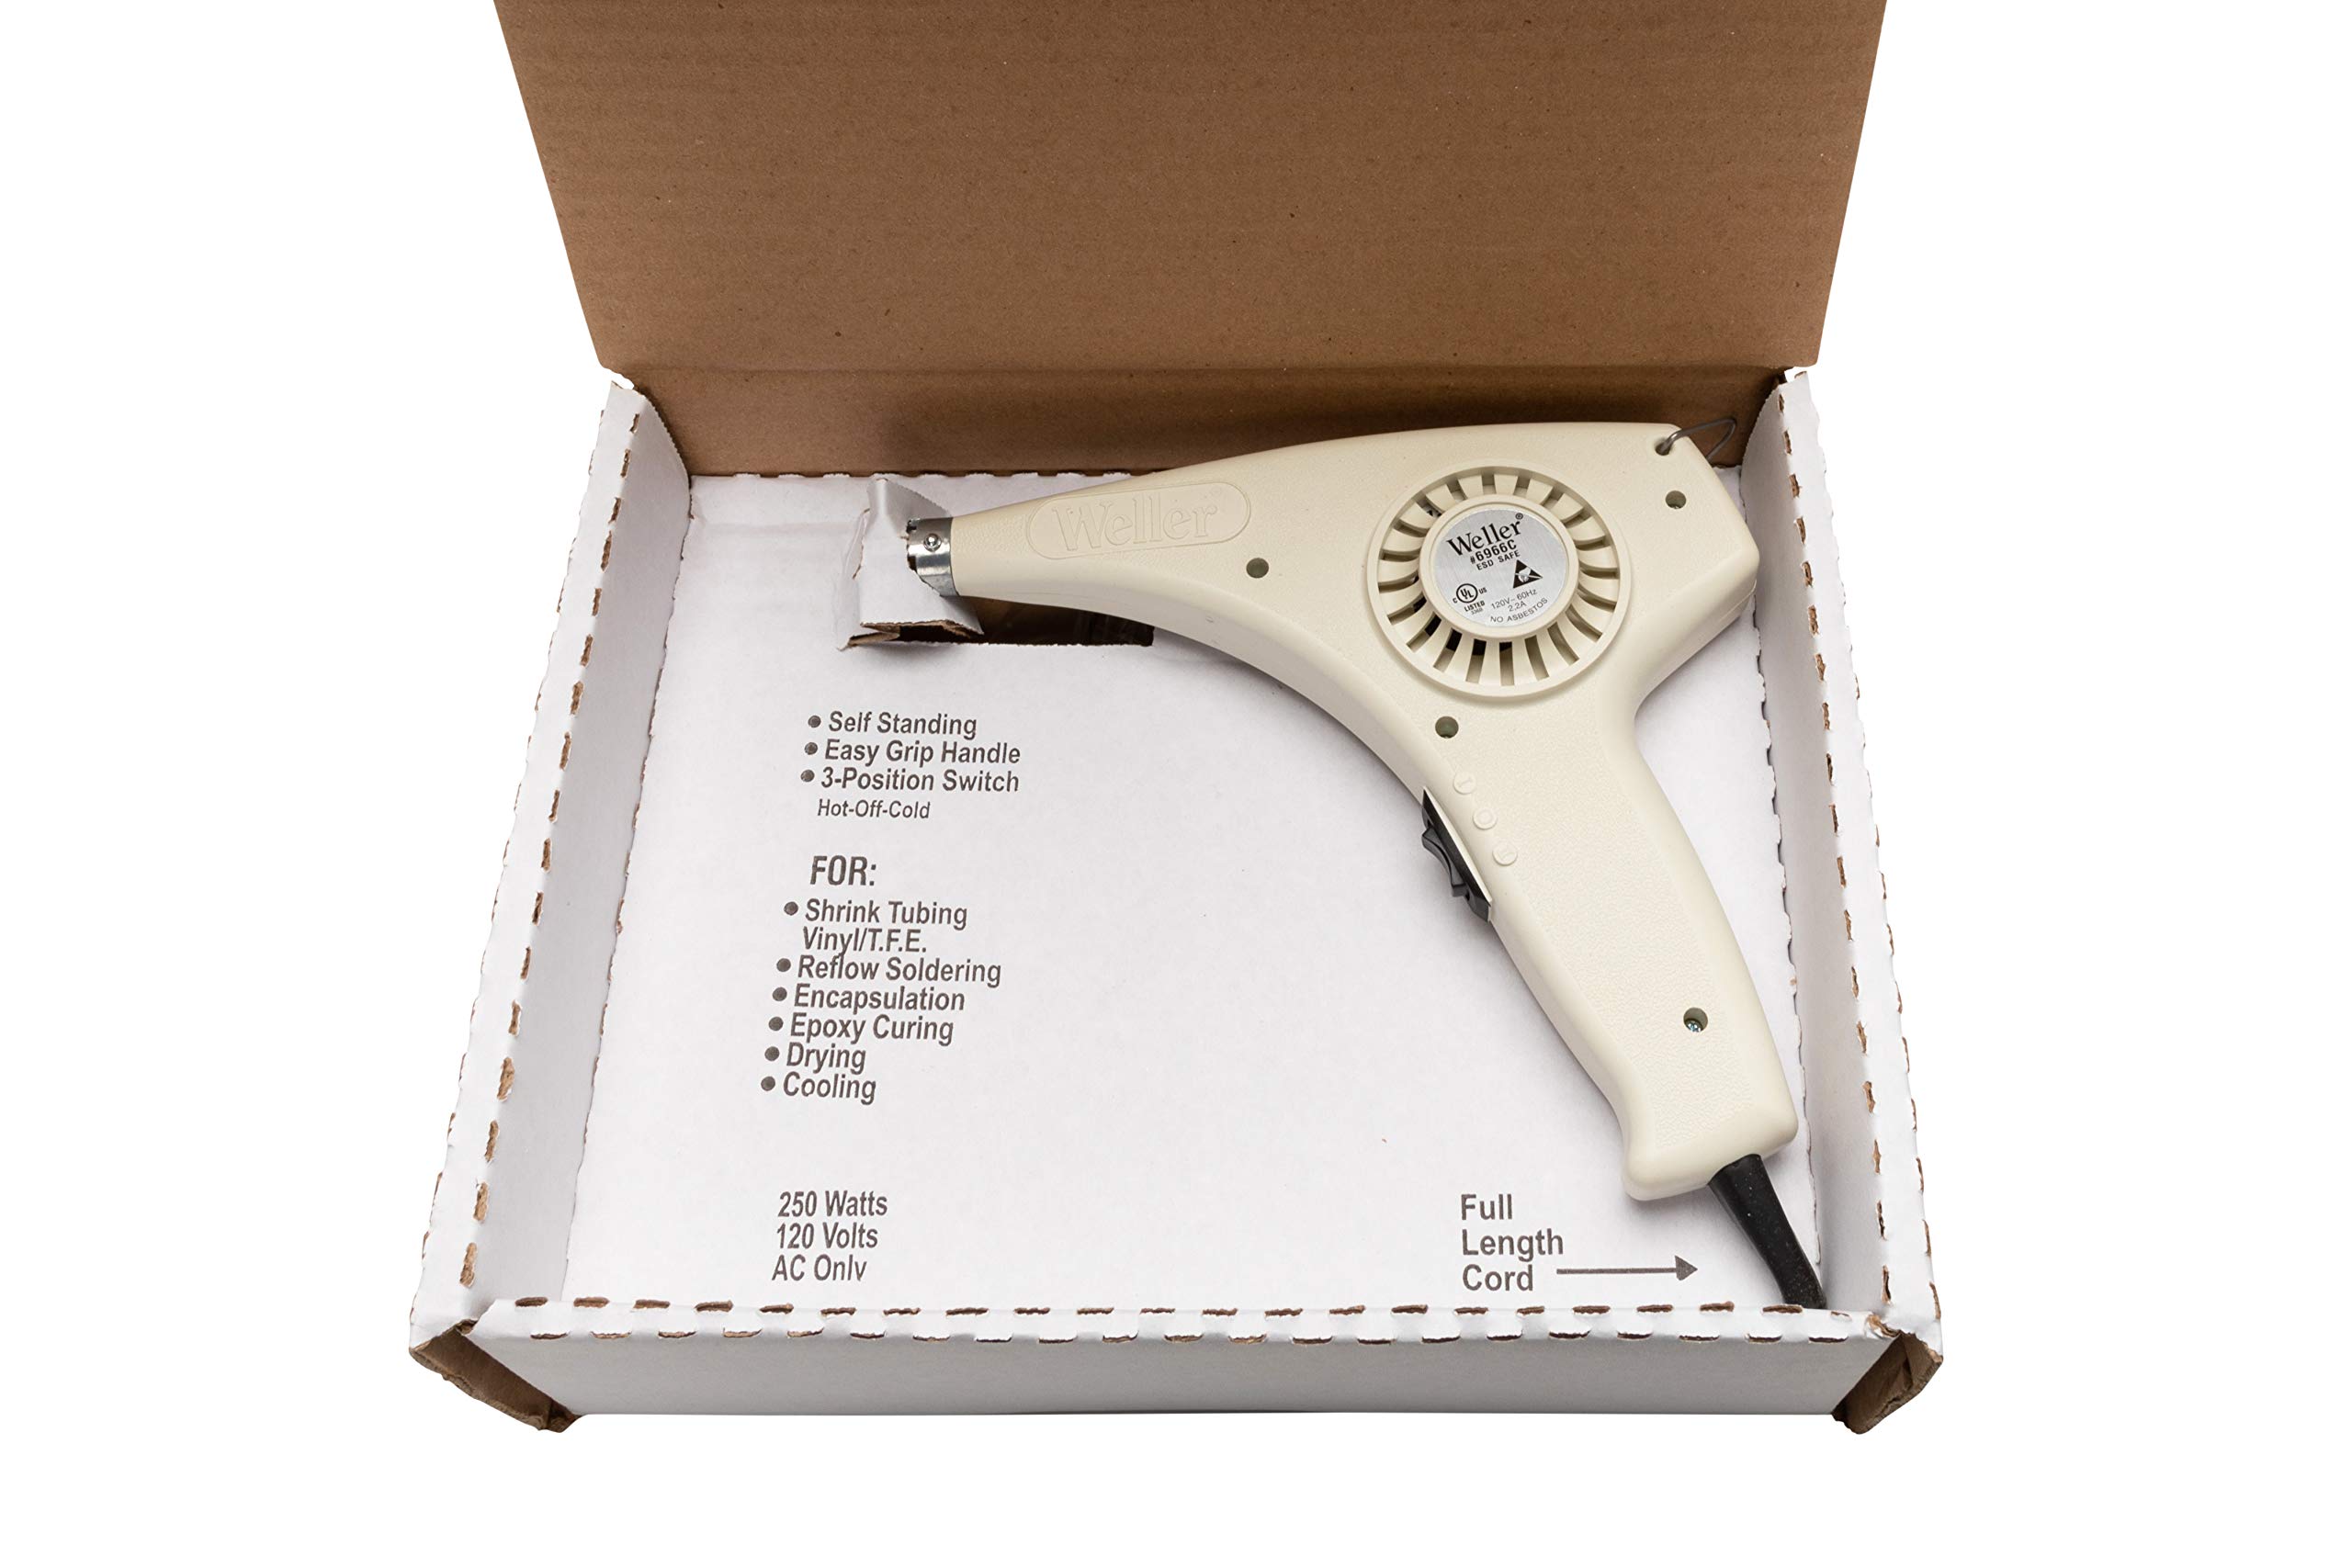
Heating the bezel and screen adhesive for safe removal.
Weller 6966C Heat Gun Variable temperature heat gun with precise control to soften adhesive without damaging components.
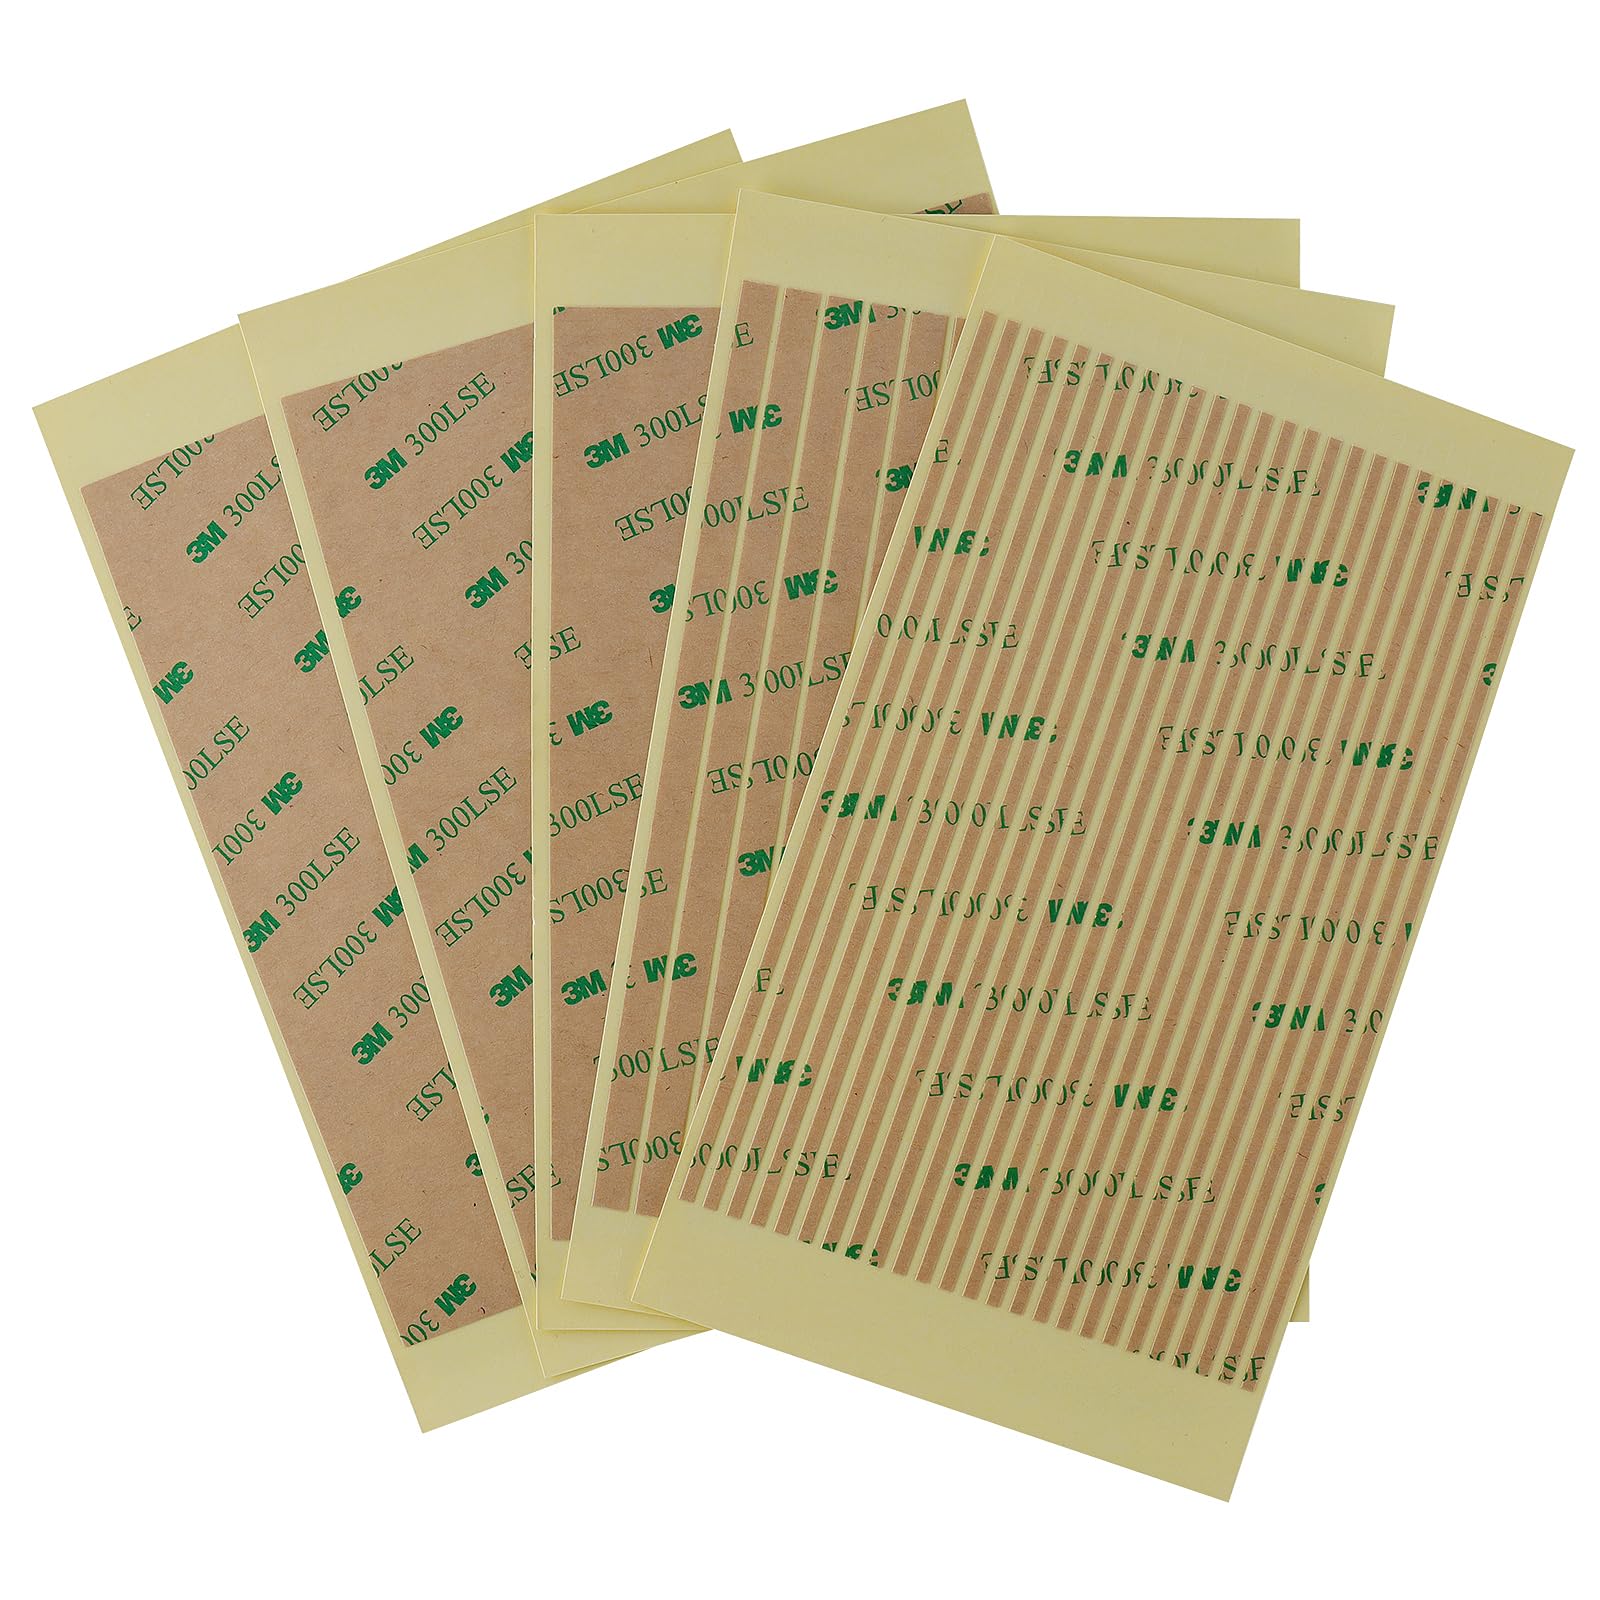
Replacing the adhesive that holds the screen and bezel in place.
3M Double Sided Tape for LCD Screens High-bond adhesive tape specifically designed for attaching screens and bezels without residue.
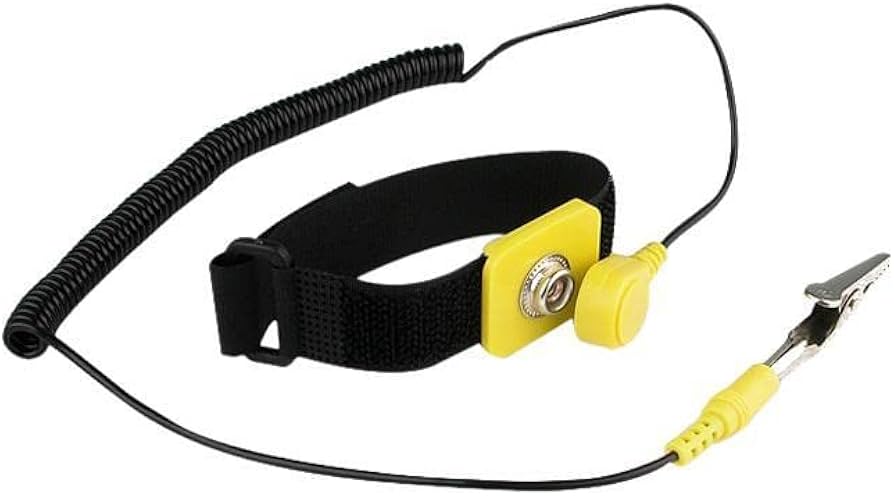
Wear during the entire replacement process for safety.
Rosewill ESD Anti-Static Wrist Strap Grounded wrist strap to prevent electrostatic discharge that can damage sensitive electronics.

Place screws on the mat as you remove them to remember locations.
Magnetic Project Mat (e.g., IFIXIT Magnetic Mat) Magnetized mat with labeled sections to keep screws organized and prevent loss.