Golf cart batteries wear out after 3-5 years of regular use, leading to sluggish performance, short range, and frustrating downtime. Replacing the standard 6V deep-cycle batteries (typically six in a 36V system) yourself is a smart DIY fix that extends your cart's life and keeps costs down. This guide targets intermediate DIYers comfortable with basic tools and electrical work.
You'll learn a foolproof, sequential process to swap batteries efficiently, including safety protocols, cleaning tips, and testing. Expect 1-2 hours total for a standard setup, depending on your cart model (Club Car, EZ-GO, Yamaha). No special skills beyond wrenching and caution around lead-acid batteries are needed.
By the end, your cart will run like new—full voltage, smooth acceleration, and 20-30 mile range restored.
▸What You'll Need
- •Safety gear: Acid-resistant gloves, safety goggles, apron (required)
- •Wrenches or socket set (10mm-13mm common, required)
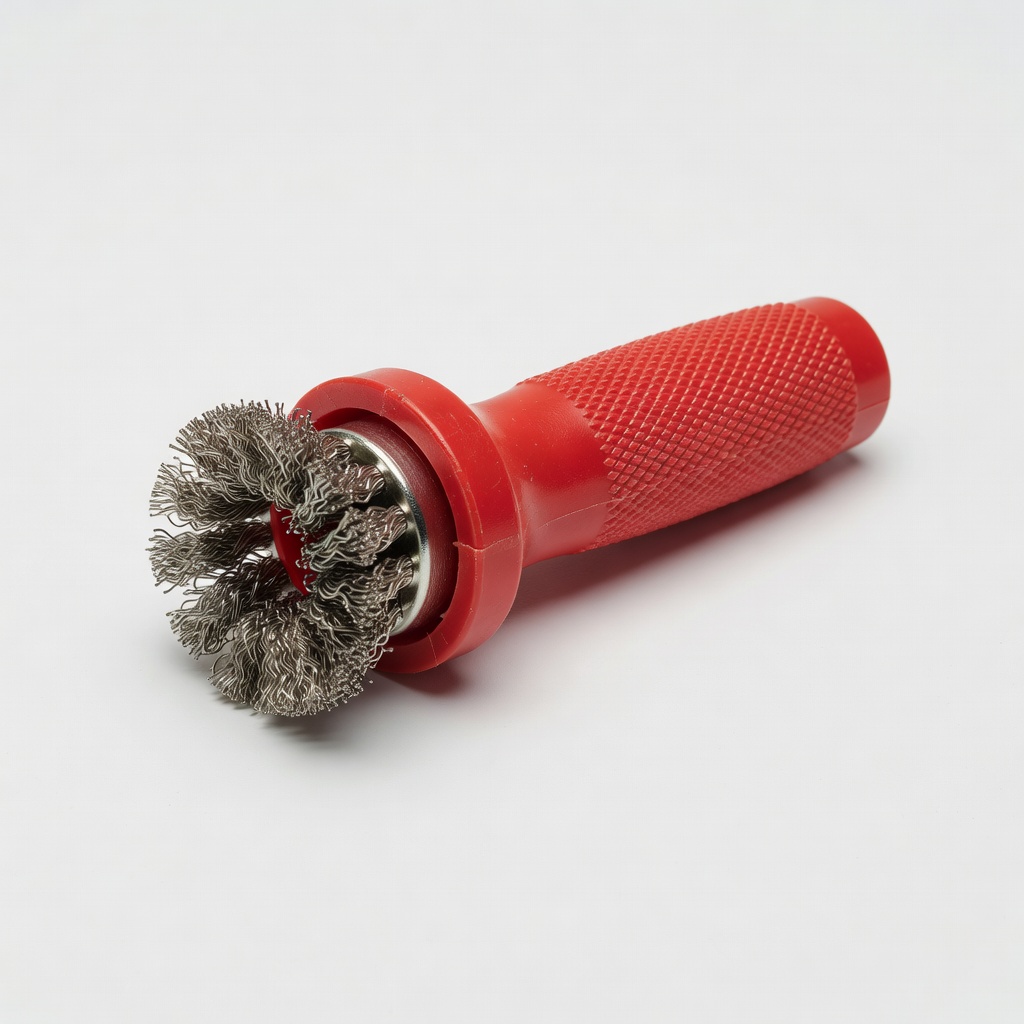
- •Battery terminal cleaner brush and baking soda solution (required)
- •Terminal grease or protector spray (recommended)
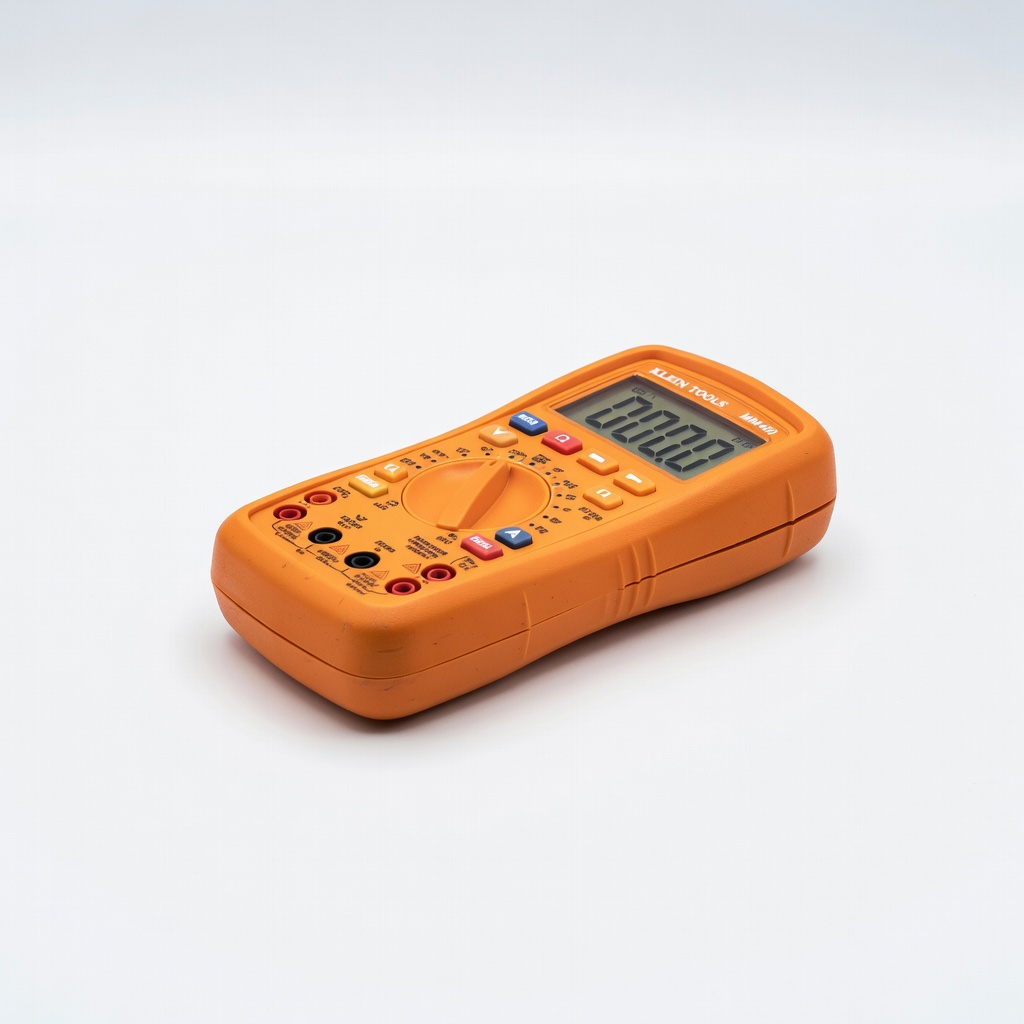
- •Digital multimeter (required for testing)
- •Golf cart jack or hoist (required for safe lifting)
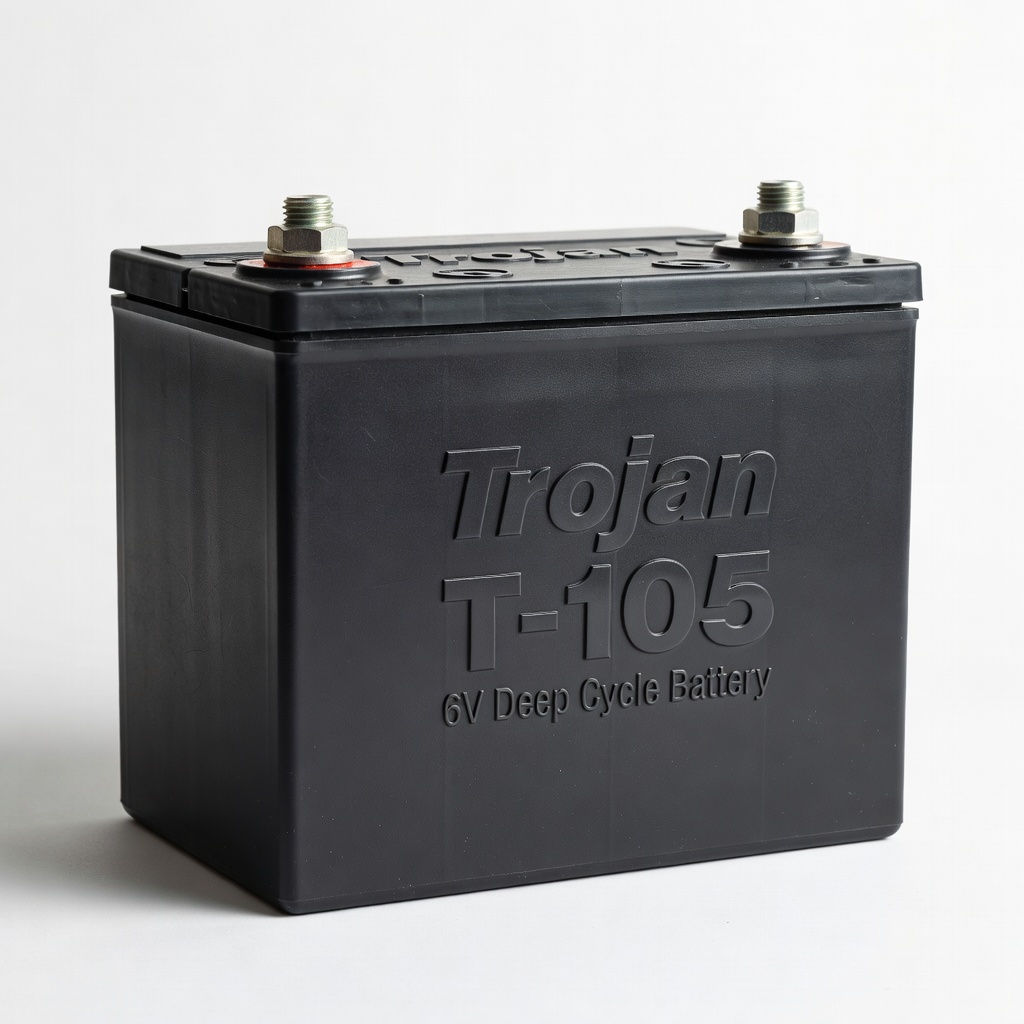
- •New 6V deep-cycle batteries (6x for 36V system; Trojan T-105 recommended)
- •Anti-corrosion washers or post protectors (optional but highly recommended)
- •Distilled water (for flooded batteries, optional)
Estimated Time: 1-2 hours (30 min prep/removal, 45 min install/test)
Difficulty: intermediate
▸Step-by-Step Instructions
Step 1: Prepare Workspace and Gear
Park your golf cart on a flat, well-ventilated surface away from flames or sparks. Turn off the key and remove the key. Disconnect the main positive cable from the battery bank to kill all power—this prevents shorts.
Don your PPE: gloves protect against acid spills, goggles shield eyes. Lay down cardboard or a tarp to catch spills. Have a baking soda bucket ready to neutralize acid (1 cup soda per gallon water).
Success looks like: Cart fully powered down, workspace protected, gear on.
💡 Tips:
- •Work in shade to avoid heat swelling batteries.
- •Label cables with tape if your setup is complex.
⚠️ Warnings:
- •Never smoke or use open flames—batteries emit hydrogen gas.
Step 2: Locate and Access Batteries
Lift the seat or open the battery compartment (under seat or rear). Most 36V carts have 6 batteries in series: front-to-back or side-by-side.
Inspect for corrosion, leaks, or damage. Note cable routing and polarity (+ red, - black).
Success looks like: Batteries fully visible, cables traced.
💡 Tips:
- •Take photos of wiring for reference.
Step 3: Disconnect Cables (Negative First)
Start with the negative (-) terminal on the last battery in the chain. Use wrench to loosen nut, remove cable, and tuck away. Repeat for positives, moving upstream.
Why negative first? Reduces arc risk if wrench touches metal. Insulate disconnected ends with tape.
Success looks like: All 12 cables loose and isolated—no contact.
⚠️ Warnings:
- •Avoid metal-on-metal contact to prevent sparks.
Step 4: Remove Hold-Downs and Lift Out Old Batteries
Unscrew hold-down straps, rods, or brackets (usually 13mm bolts). Use jack/hoist to lift each ~60lb battery out one-by-one onto the tarp.
Place old batteries upright in a spill-proof tray for recycling—don't tip them.
Success looks like: Tray empty, batteries staged safely.
💡 Tips:
- •Lift with legs, not back; get a buddy for heavy carts.
⚠️ Warnings:
- •Acid can spill if tilted—handle gently.
Step 5: Clean Battery Tray and Terminals
Scrub tray with baking soda solution and brush to neutralize acid residue. Rinse with water, dry thoroughly. Clean cable ends with wire brush.
This prevents new batteries from corroding prematurely.
Success looks like: Shiny clean tray, no white/green gunk.
💡 Tips:
- •Use a shop vac for rinse water.
Step 6: Install New Batteries
Match old positions exactly. Lower first battery into tray using jack. Add others sequentially.
Ensure vents face up for flooded types; check date codes for freshness.
Success looks like: All 6 batteries seated firmly.
💡 Tips:
Step 7: Secure Hold-Downs and Connect Cables
Reinstall straps/bolts snug but not overtight. Connect positives first, then negatives, reversing disconnect order. Torque to 10-12 ft-lbs.
Apply dielectric grease to terminals.
Success looks like: Cables tight, no loose play.
⚠️ Warnings:
- •Polarity mix-up kills batteries—double-check!
Step 8: Test Voltage and Functionality
Reconnect main positive cable. Use multimeter: set to DCV 50V, probe pack terminals—should read ~36V fully charged.
Start cart, test drive short distance. Check for heat or smoke.
Success looks like: 36V reading, cart runs smoothly.
💡 Tips:
- •Charge new batteries fully before first use (8-12 hours).
▸Pro Tips
- •Replace all 6 batteries at once—mixing old/new shortens life.
- •Buy batteries winter (lower demand, better deals).
- •Grease terminals before connecting for 2x corrosion resistance.
- •Use a torque wrench for even bolt tension.
- •Recyle old batteries at auto stores for $5-10 credit each.
- •Label batteries 1-6 for easy reassembly.
- •Pre-charge new batteries off-cart if possible.
▸Common Mistakes to Avoid
- •Connecting positive before negative—risks sparks/shorts; always reverse disconnect order.
- •Skipping cleaning—corrosion transfers, dooms new batteries in months.
- •Over-tightening hold-downs—cracks cases; snug is enough.
- •Ignoring polarity—flips damage electronics; map with photos.
- •Driving without full charge—sulfation starts immediately.
▸Troubleshooting
Problem: Cart won't start after install
Solution: Check all connections for tightness/polarity. Verify 36V with multimeter. Charge fully.
Problem: Voltage low (under 30V)
Solution: New batteries need initial charge. Inspect for loose cables or dead cell.
Problem: Corrosion reappears quickly
Solution: Apply more grease; ensure tray was fully neutralized.
Problem: Battery leaks during lift
Solution: Rinse with soda water immediately. Replace if case cracked—don't reinstall.
Problem: Uneven performance
Solution: Equalize charge all batteries. Seek pro if persists (bad charger).
Trojan T-105 6V Deep Cycle Battery
Gold standard for golf carts: 225Ah capacity, 10+ year lifespan with proper care, BCI Group GC2 size fits most.
Best for: Direct replacement for worn 6V batteries in 36V systems.
Price Range: $170-$200 each
Permatex 80073 Dielectric Tune-Up Grease
Prevents corrosion on terminals 2-3x longer than bare metal.
Best for: Apply to all connections during install.
Price Range: $8-$12
Klein Tools MM400 Digital Multimeter
Auto-ranging, accurate for DCV testing up to 600V—essential for verifying pack voltage.
Best for: Pre/post install voltage checks.
Price Range: $29.99
NOCO NCP2 Battery Corrosion Preventative
Spray-on shield stops acid vapor corrosion; easy aerosol application.
Best for: Final protectant on terminals and cables.
Price Range: $12-$15
CartPartsNow Battery Terminal Cleaning Brush
Dual-end brush scrubs posts and cable ends effectively without scratching.
Best for: Cleaning old corrosion during removal.
Price Range: $9.99