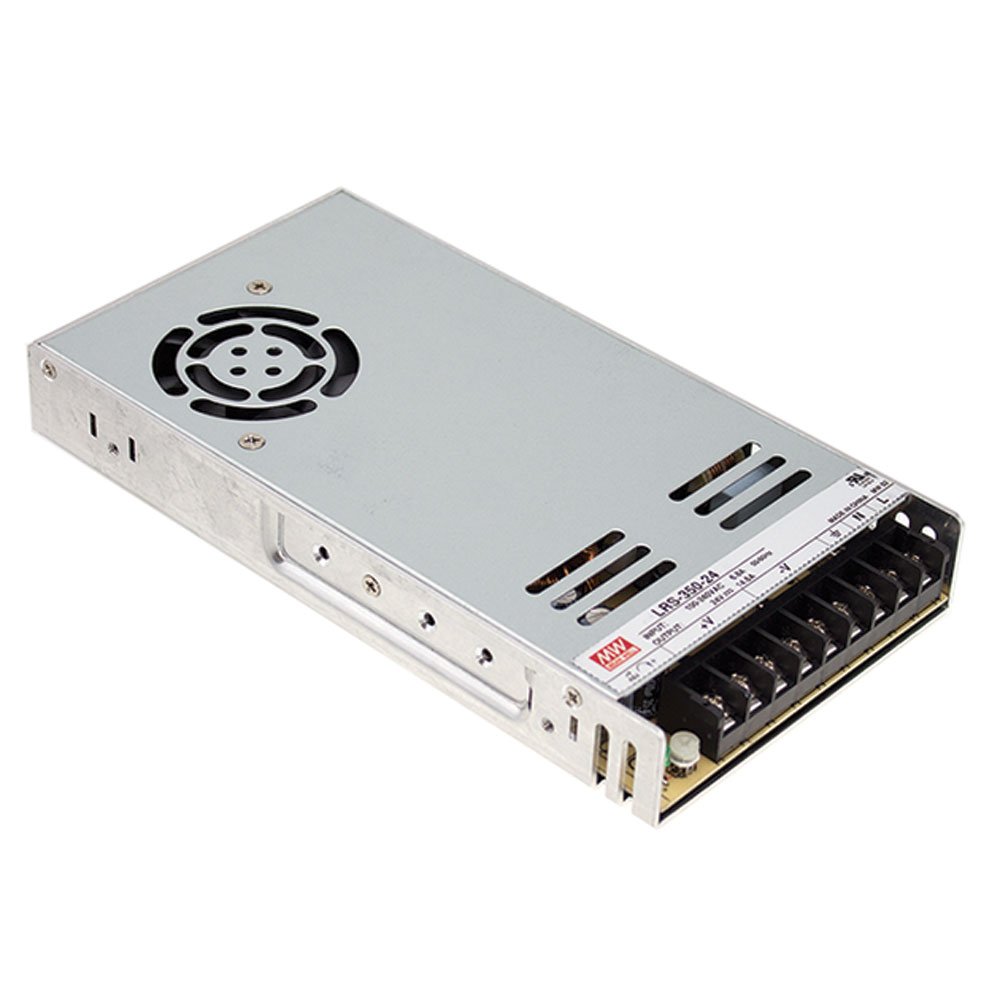
MEAN WELL LRS-350-24 24V 14.6A Power Supply
Direct replacement or upgrade for printers up to 350W draw.
$35-$45
MEAN WELL LRS-350-24 24V 14.6A Power Supply Industry-standard reliability, quiet fan, perfect drop-in for Ender 3/5 and Prusa.
Get the App
Better experience on mobile
Master the step-by-step process to swap your 3D printer's PSU safely, avoiding shocks, fires, and downtime for reliable printing.
A failing power supply unit (PSU) is one of the most common culprits behind 3D printer issues like sudden shutdowns, inconsistent heating, or complete failures. For advanced users running high-demand printers like Ender 3, Prusa MK3, or custom builds, replacing the PSU restores performance without buying a new machine. This guide ensures you do it safely, minimizing risks associated with high-voltage components.
You'll learn everything from preparation and disconnection to installation and testing, tailored for those comfortable with electronics. The process involves basic wiring but requires caution around live circuits. Expect 45-90 minutes total, depending on your printer model and any custom modifications.
By the end, your printer will power up reliably, with a PSU matched to your needs—often upgrading to higher wattage for faster, hotter prints.
Estimated Time: 45-90 minutes Difficulty: advanced
Clear a well-lit, static-free workspace away from flammable materials. Power off your 3D printer completely and unplug it from the wall outlet. Wait at least 10 minutes for capacitors to discharge—this prevents shocks from residual voltage.
Wear insulated gloves and safety glasses. Ground yourself with an anti-static wrist strap clipped to a metal object. Locate your printer's manual or online wiring diagram (e.g., for Creality Ender 3) to identify PSU connections.
Success looks like: Printer fully powered down, workspace organized with tools laid out.
💡 Tips:
⚠️ Warnings:
Check your new PSU specs against the old one: voltage (typically 24V DC for modern printers), amperage (15A+), and connector types (e.g., Anderson or barrel jack). Use a multimeter to confirm output: set to DC voltage, connect probes to output terminals, and plug in briefly—expect stable 24V.
Compare physical mounting holes and fan size. For upgrades, ensure wattage exceeds your printer's max draw (e.g., 350W for heated beds).
Success looks like: Multimeter reads correct voltage; PSU matches printer dimensions.
💡 Tips:
⚠️ Warnings:
Remove the printer's bottom or side panels using appropriate screwdrivers (usually 4-8 Phillips screws). Gently lift panels without straining wires. If it's a CoreXY like Voron, access via rear panel.
Identify the PSU: rectangular metal box with input AC cord, output wires (red/black for +/–), and possibly bed/heater wires.
Success looks like: PSU fully exposed, no panels damaged.
💡 Tips:
Trace output wires: typically red (+24V), black (GND), and sometimes purple (bed thermistor). Unplug connectors or loosen screws—note polarity!
Use multimeter in continuity mode to label if undocumented. Cut zip ties holding wires.
Success looks like: All wires disconnected and labeled (e.g., 'Bed+', 'Hotend').
💡 Tips:
⚠️ Warnings:
Unscrew mounting brackets (2-4 screws). Slide out PSU carefully, avoiding fan snag. Inspect for damage like bulging capacitors—dispose as e-waste.
Clean dust from enclosure with compressed air.
Success looks like: Old PSU removed; bay empty and dust-free.
Drill or cut output holes if new PSU differs. For open-frame PSUs, add a 3D-printed enclosure. Crimp or solder new connectors matching old wires; use heat shrink for insulation.
Test new PSU standalone again.
Success looks like: Wires prepped with secure, insulated connections.
💡 Tips:
⚠️ Warnings:
Slide new PSU into bay, align holes, and screw down firmly. Route wires neatly to avoid pinch points.
Success looks like: PSU mounted securely, no wobble.
Match labels: connect + to +, GND to GND. Tighten terminals. Zip-tie wires. Reattach panels.
Success looks like: All connections secure, panels closed.
💡 Tips:
Plug in, power on. Monitor voltage at mainboard (24V steady). Run a test print: heat bed/hotend, homing.
If stable for 30 mins, success!
Success looks like: Printer boots, heats evenly, prints without power drops.
⚠️ Warnings:
Problem: Printer won't power on after install
Solution: Check main AC fuse, polarity, and loose connections. Measure input voltage.
Problem: Voltage drops during heating
Solution: PSU underrated—upgrade wattage. Check crimps for resistance.
Problem: Mainboard damaged post-install
Solution: Polarity reversed. Replace board; test PSU separately first.
Problem: Overheating PSU
Solution: Blocked fan or dust. Improve ventilation; seek pro if bulging caps.
Industry-standard reliability, quiet fan, perfect drop-in for Ender 3/5 and Prusa.
Best for: Direct replacement or upgrade for printers up to 350W draw.
Price Range: $35-$45
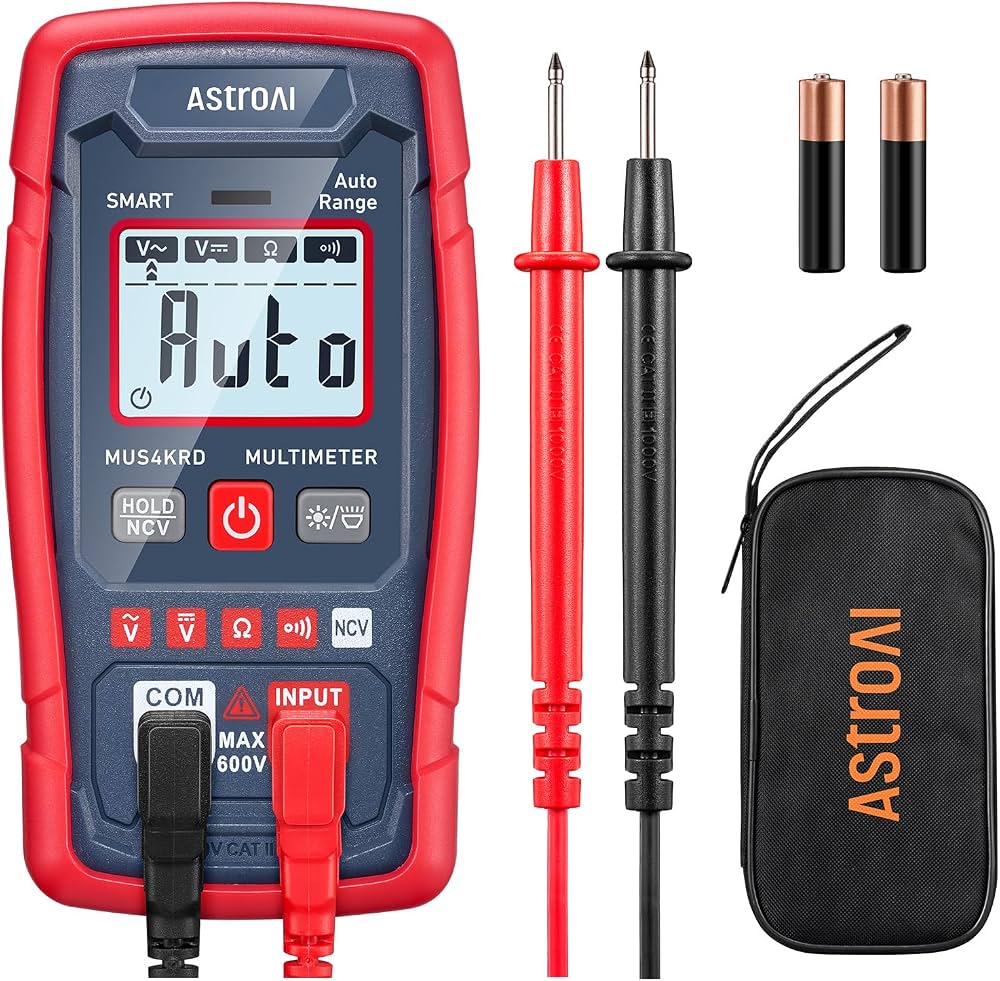
Accurate voltage/continuity testing essential for safe wiring verification.
Best for: Testing PSU output and polarity before/after install.
Price Range: $15-$25
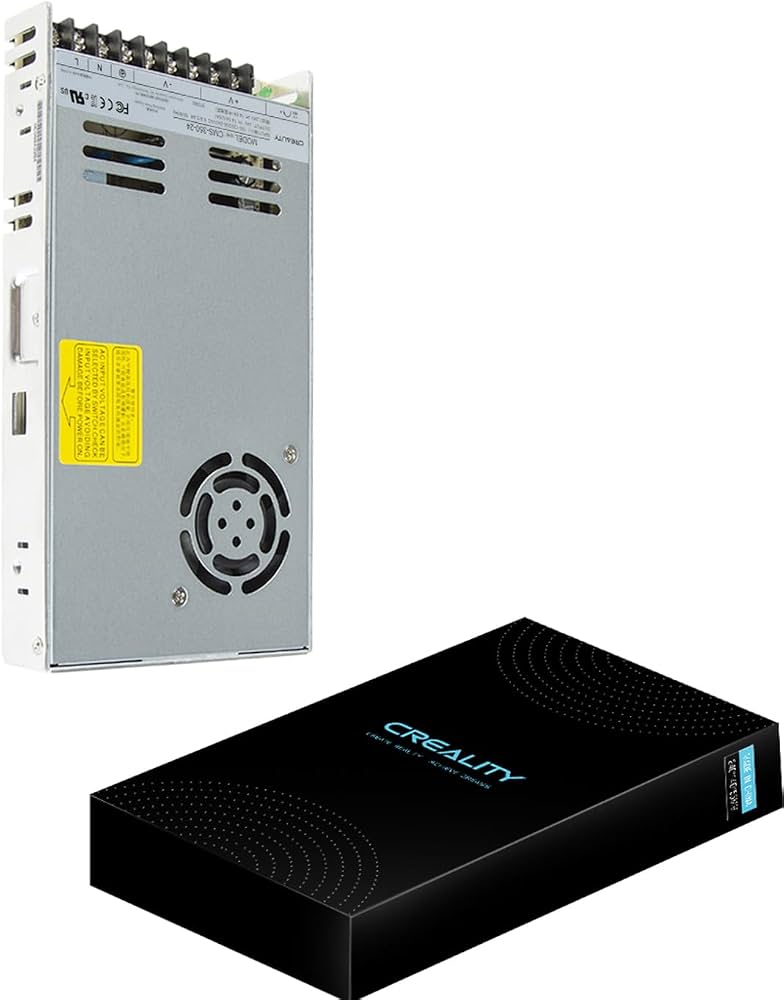
OEM-matched for plug-and-play on Creality printers.
Best for: Stock replacement without modifications.
Price Range: $25-$35
Precision drivers prevent stripped screws on delicate printer frames.
Best for: Disassembly of enclosures and mounting.
Price Range: $60-$75
Insulates custom wire splices for fire-safe connections.
Best for: When adapting connectors on non-standard PSUs.
Price Range: $10-$15
Direct replacement or upgrade for printers up to 350W draw.
MEAN WELL LRS-350-24 24V 14.6A Power Supply Industry-standard reliability, quiet fan, perfect drop-in for Ender 3/5 and Prusa.
Testing PSU output and polarity before/after install.
AstroAI Digital Multimeter Accurate voltage/continuity testing essential for safe wiring verification.
Stock replacement without modifications.
Creality Ender 3 Power Supply 350W (24V) OEM-matched for plug-and-play on Creality printers.

Disassembly of enclosures and mounting.
iFixit Pro Tech Toolkit Precision drivers prevent stripped screws on delicate printer frames.

When adapting connectors on non-standard PSUs.
Eventronic Heat Shrink Tubing Kit Insulates custom wire splices for fire-safe connections.