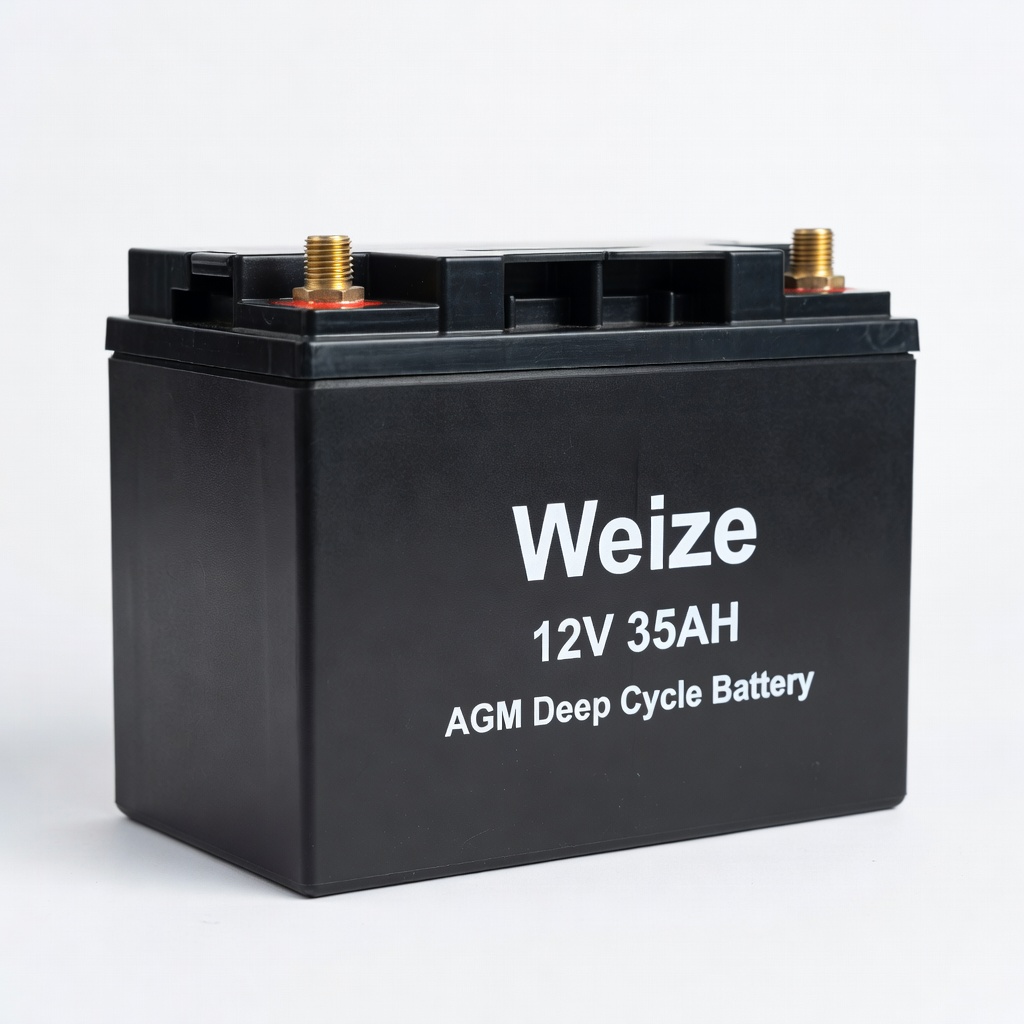
Weize 12V 35AH AGM Deep Cycle Battery
Direct swap for U1/Group 24 batteries in EZGO/Club Car.
$65-$75
Weize 12V 35AH AGM Deep Cycle Battery Perfect replacement for most 12V golf cart systems—maintenance-free, vibration-resistant, long-lasting.
Get the App
Better experience on mobile
Safely swap out your dead 12V golf cart battery in 20-30 minutes with this beginner-friendly step-by-step guide and get back to cruising.
Nothing kills the fun of a golf outing or neighborhood ride like a dead golf cart battery. If your 12V battery is failing—showing signs like slow starts, dim lights, or no power—replacing it yourself can save you $100+ in labor costs. This guide is perfect for beginners with no prior experience.
You'll learn everything from safety prep to testing the new battery, using simple tools you likely already have. The process involves disconnecting the old battery, installing a fresh one, and securing connections. Expect 20-30 minutes total, depending on your cart model (works for EZGO, Club Car, Yamaha with 12V setups).
No advanced skills needed—just follow these steps carefully to avoid shocks or damage. Let's get your cart powered up!
Estimated Time: 20-30 minutes Difficulty: beginner
Park your golf cart on a flat, stable surface away from flammable materials. Turn off the key, remove the key, and let the cart sit for 10 minutes to discharge any residual power.
Put on safety glasses and insulated gloves. This prevents acid spills or sparks from causing injury. Locate the battery compartment (usually under the seat or in the rear).
Success looks like: Clean, level workspace with you geared up and cart powered down.
💡 Tips:
⚠️ Warnings:
Identify the negative (black) cable on the battery. Use your wrench to loosen the nut counterclockwise and remove the cable. Tuck it away safely to prevent accidental contact.
Why first? This order minimizes short-circuit risk if tools touch the frame. Expect some resistance from corrosion—wiggle gently.
Success looks like: Negative cable fully detached and isolated.
💡 Tips:
⚠️ Warnings:
Now loosen and remove the positive (red) cable the same way. Secure it away from the battery.
This completes disconnection. Inspect cables for damage like fraying—replace if needed.
Success looks like: Both cables off, battery fully isolated.
💡 Tips:
Unscrew or unclip the hold-down bracket or strap securing the battery. Lift the battery straight up using handles or a strap—most weigh 20-40 lbs.
Place the old battery on a non-conductive surface for recycling later.
Success looks like: Empty battery compartment, old battery aside safely.
💡 Tips:
⚠️ Warnings:
Use the terminal cleaner brush to scrub corrosion from cable ends and compartment tray. Wipe with a baking soda-water mix (1:1) to neutralize acid, then dry.
This ensures optimal new battery performance and prevents future failures.
Success looks like: Shiny, clean terminals and tray free of white/green gunk.
💡 Tips:
Lower the new 12V battery into the compartment, matching polarity marks (+/-). Ensure it fits snugly without rocking.
Reinstall the hold-down bracket and tighten securely but not overly (snug is enough).
Success looks like: New battery seated firmly in place.
⚠️ Warnings:
Attach the positive (red) cable to the positive post. Tighten nut clockwise firmly (10-15 ft-lbs torque).
Apply terminal grease if using to prevent corrosion.
Success looks like: Positive securely connected, no loose wobble.
💡 Tips:
Attach the negative (black) cable last and tighten. Replace seat/cover.
Turn key on, test lights/starter. Charge if needed.
Success looks like: Cart powers up smoothly—no sparks or dim lights.
💡 Tips:
⚠️ Warnings:
Problem: Cart won't start after replacement
Solution: Check cable tightness/polarity. Test battery voltage (>12.6V). Charge fully.
Problem: Sparks or smoking during connection
Solution: Disconnect immediately. Verify polarity. Clean terminals. Seek pro if persists.
Problem: Battery drains quickly
Solution: Inspect for loose cables or parasitic draw. Use deep-cycle AGM type. Professional diag.
Problem: Acid leak or swelling
Solution: Battery defective—return/replace. Ventilate area. Don't use.
Perfect replacement for most 12V golf cart systems—maintenance-free, vibration-resistant, long-lasting.
Best for: Direct swap for U1/Group 24 batteries in EZGO/Club Car.
Price Range: $65-$75
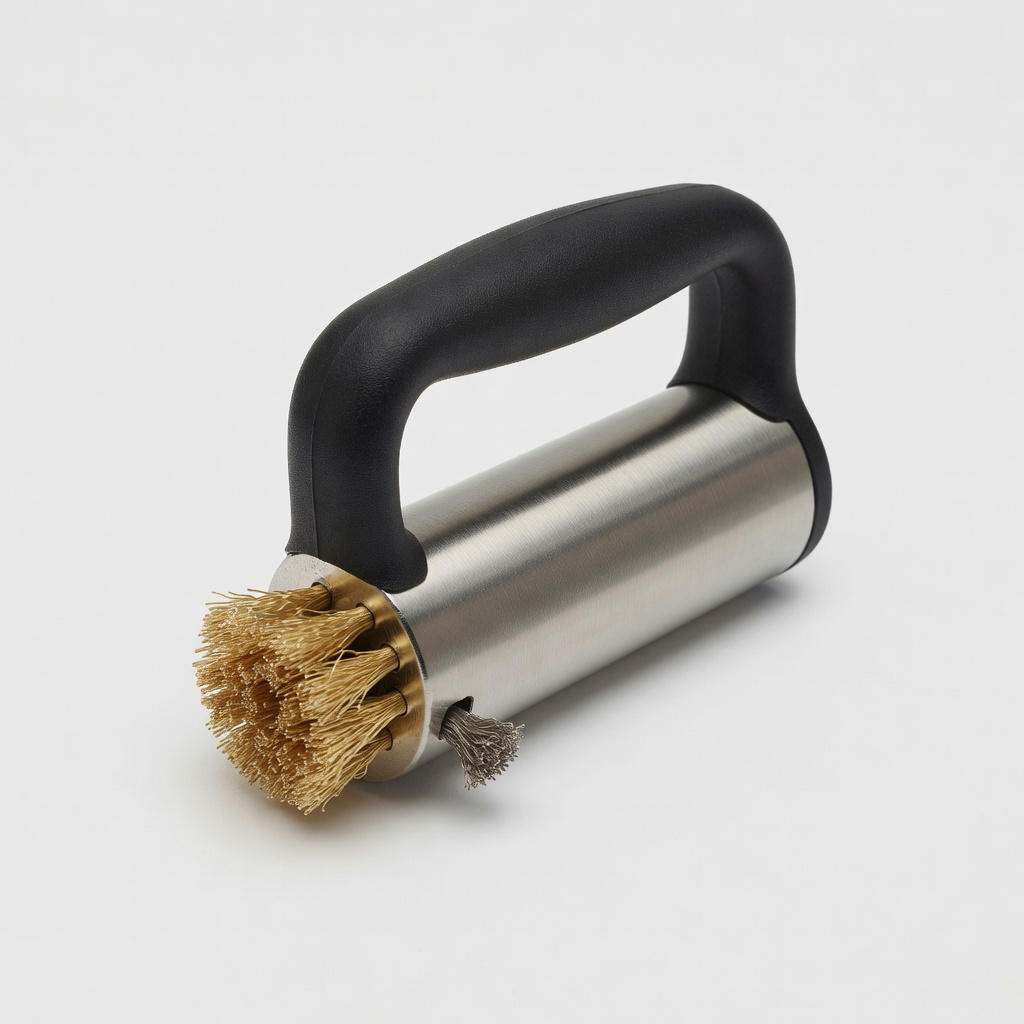
Dual-sided nylon brush removes corrosion without scratching—essential for clean connections.
Best for: Quickly prep old terminals during replacement.
Price Range: $8-$12
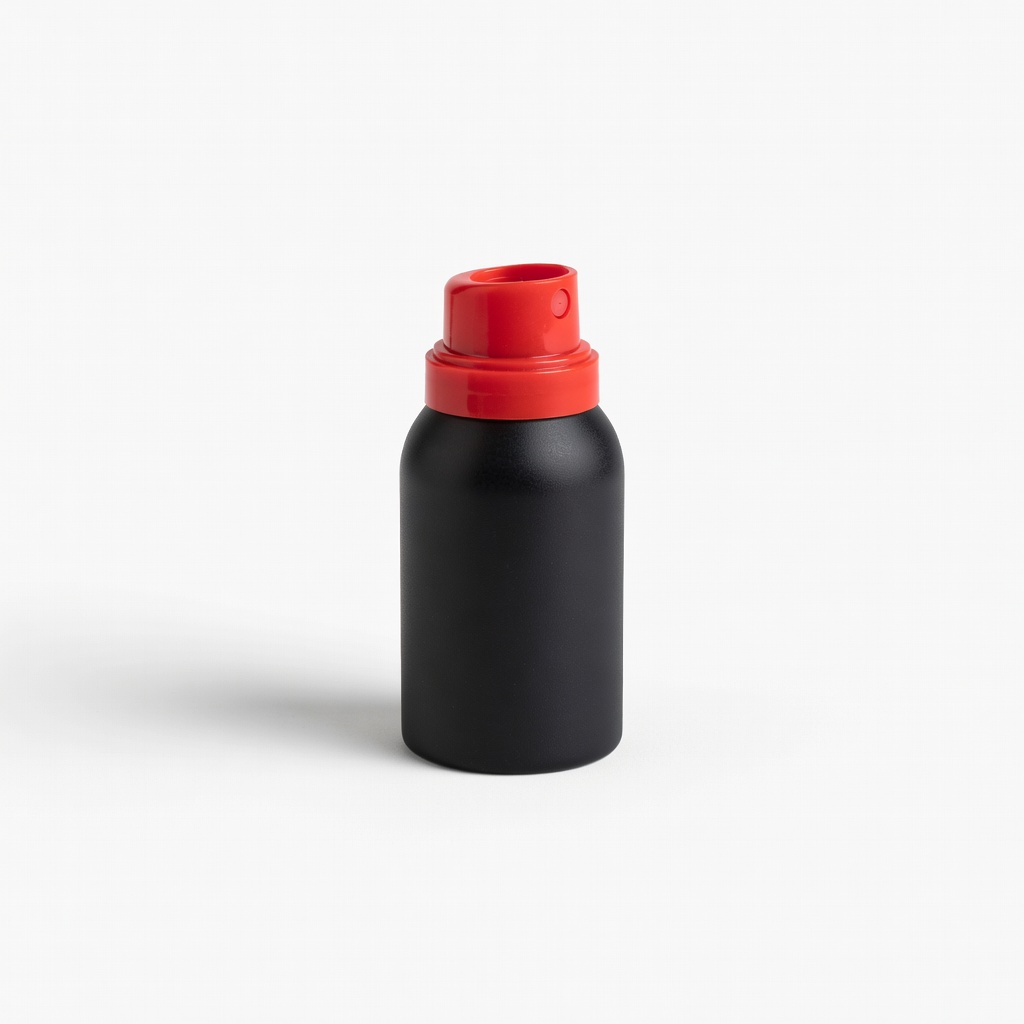
Spray-on corrosion inhibitor seals terminals—extends battery life by years in humid conditions.
Best for: Apply post-install for low-maintenance ownership.
Price Range: $10-$15
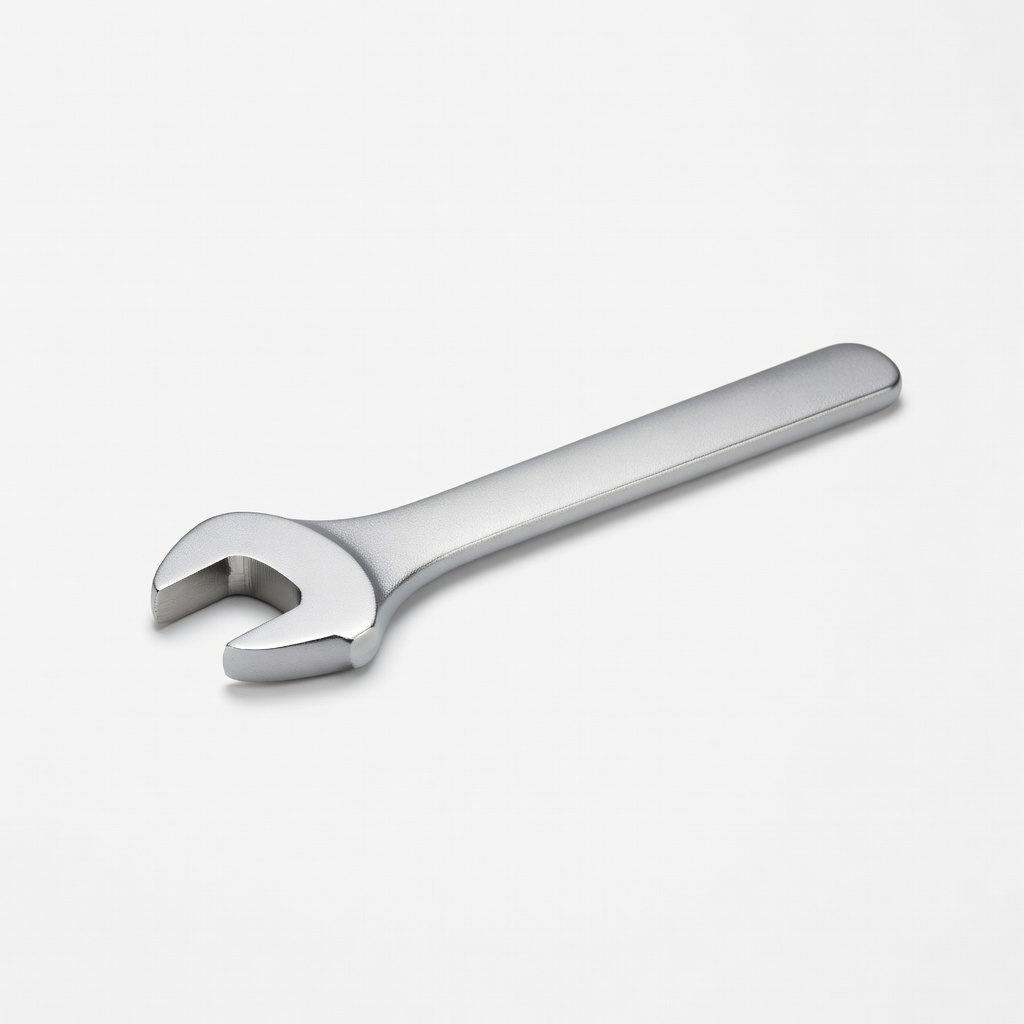
Offset design fits tight golf cart spaces without slipping—handles 10-13mm nuts perfectly.
Best for: Loosening/tightening terminals safely.
Price Range: $12-$18
Smart charger keeps new battery topped—prevents sulfation for 2x lifespan.
Best for: Post-install charging and monthly maintenance.
Price Range: $50-$70
Direct swap for U1/Group 24 batteries in EZGO/Club Car.
Weize 12V 35AH AGM Deep Cycle Battery Perfect replacement for most 12V golf cart systems—maintenance-free, vibration-resistant, long-lasting.
Quickly prep old terminals during replacement.
Mighty Max Battery Terminal Cleaning Brush Dual-sided nylon brush removes corrosion without scratching—essential for clean connections.
Apply post-install for low-maintenance ownership.
NOCO NCP2 Xtreme Battery Terminal Protector Spray-on corrosion inhibitor seals terminals—extends battery life by years in humid conditions.
Loosening/tightening terminals safely.
TEKTON Battery Service Wrench (5-Inch) Offset design fits tight golf cart spaces without slipping—handles 10-13mm nuts perfectly.
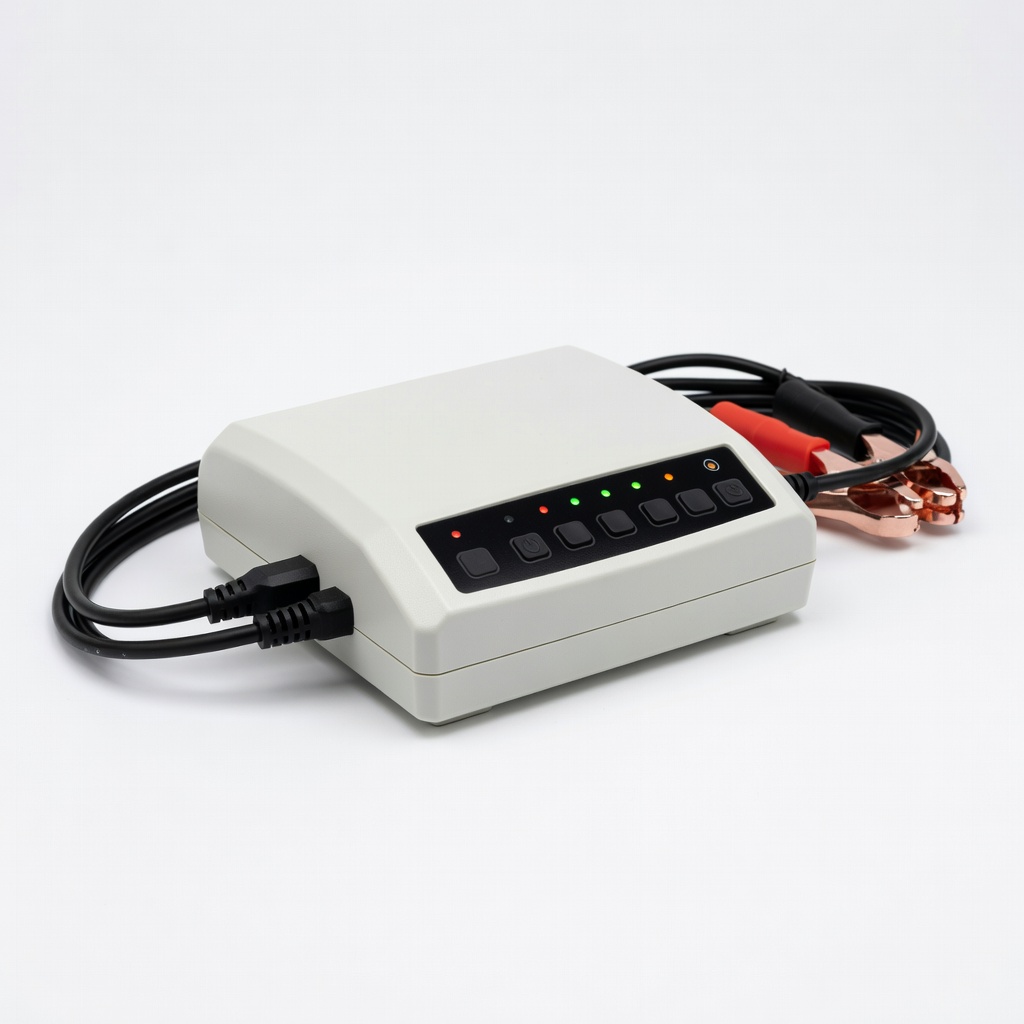
Post-install charging and monthly maintenance.
BatteryMINDer 12V Charger/Maintainer Smart charger keeps new battery topped—prevents sulfation for 2x lifespan.