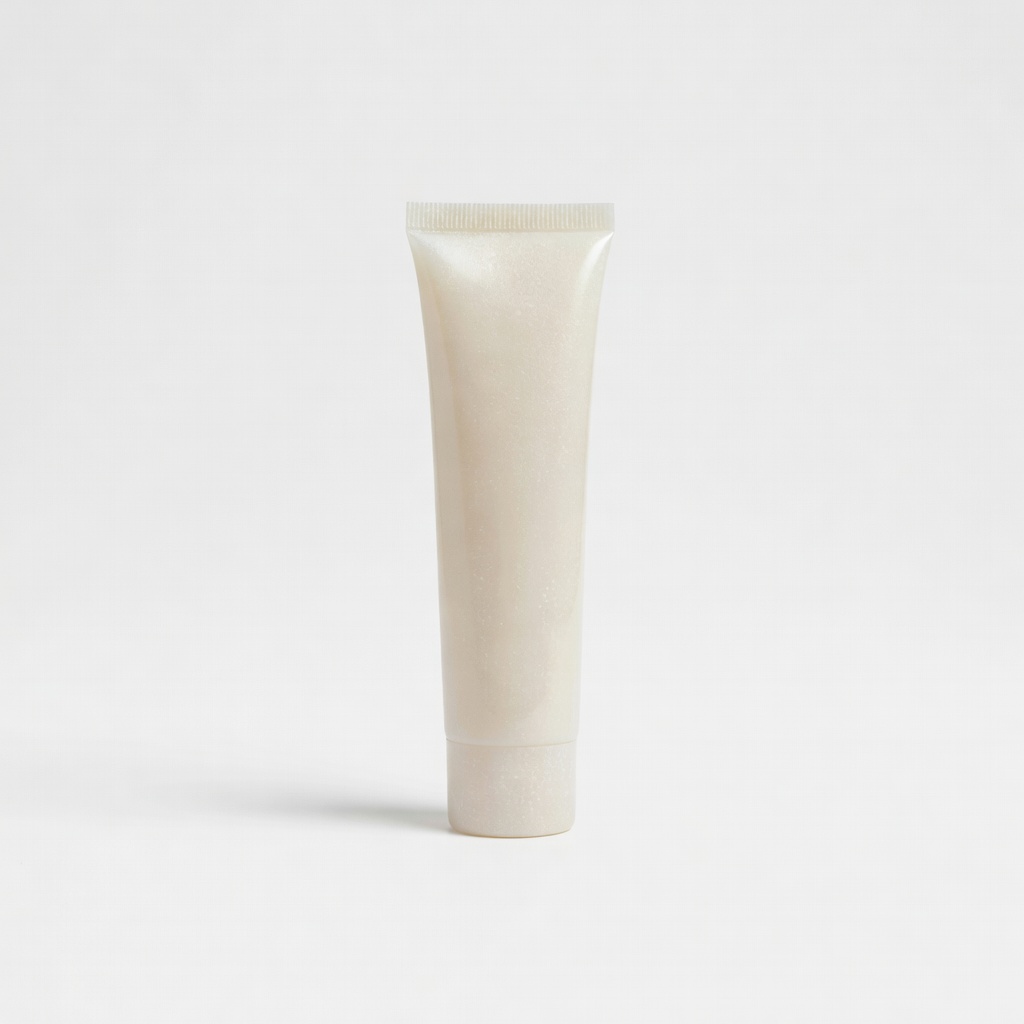
Gear Aid Zipper Wax
Apply during cleaning step for stuck zippers.
$7.99
Gear Aid Zipper Wax Best dry lubricant for activewear zippers—repels water and dirt from sweat.
Get the App
Better experience on mobile
Master simple repairs to fix stuck, broken, or jammed zippers on your active hoodies in under 30 minutes and extend their life.
Active hoodies are workout essentials, but their zippers take a beating from sweat, gym bags, and constant use. A stuck or broken zipper can sideline your favorite hoodie, forcing you to buy a replacement. The good news? Most issues are fixable at home without professional help.
In this guide, you'll learn how to diagnose and repair common zipper problems like jamming, separation, or broken pulls on active hoodies. We'll cover cleaning, lubricating, realigning, and even basic replacement. Expect intermediate skills like basic sewing—no advanced tailoring needed.
Total time: 20-30 minutes. You'll save money and keep your gear in top shape for more runs, lifts, and adventures.
Estimated Time: 20-30 minutes Difficulty: intermediate
Lay your hoodie flat on a clean surface. Gently run the zipper up and down several times to identify the issue: Is it stuck, separating, missing teeth, or has a broken pull? Note if teeth are misaligned, dirty, or if the slider is damaged.
Why it matters: Accurate diagnosis prevents unnecessary work. For active hoodies, sweat and fabric lint often cause jams.
Success: You've pinpointed the exact problem (e.g., 'slider won't grip teeth').
💡 Tips:
⚠️ Warnings:
Dip a cotton swab in rubbing alcohol and wipe both sides of the zipper teeth, slider, and fabric edges. Brush out debris with an old toothbrush. Let it dry completely (5 minutes).
Why it matters: Dirt, lint, and residue from sweat are top culprits in activewear jams.
Success: Zipper teeth look clean and shiny, moves slightly smoother.
💡 Tips:
⚠️ Warnings:
Apply zipper wax or graphite powder sparingly to the teeth and slider. Rub it in with your finger or a cloth, then zip up/down 10 times to distribute.
Why it matters: Lubrication reduces friction, preventing future jams in stretchy active hoodies.
Success: Zipper glides smoothly without catching.
💡 Tips:
If teeth won't mesh, pinch the slider with pliers and slowly slide it towards the separation. Feed teeth back in from the bottom up. Work evenly on both sides.
Why it matters: Misalignment is common in flexible hoodie fabric.
Success: Zipper zips halfway without popping apart.
⚠️ Warnings:
If the pull is loose, thread new cord through the slider hole and knot securely. For broken sliders, use pliers to remove and insert a replacement (match size #5).
Why it matters: Easy fix restores usability.
Success: Pull feels secure and operates smoothly.
💡 Tips:
For a few missing teeth, hand-sew a patch or skip them if minor. For full failure, rip out old zipper with seam ripper, pin new coil zipper, and sew with nylon thread using backstitch.
Why it matters: Extends hoodie life cost-effectively.
Success: New zipper aligns perfectly with seams.
⚠️ Warnings:
Zip fully up/down 20 times under tension (tug fabric). Add stopper if needed by crimping with pliers.
Why it matters: Ensures longevity during workouts.
Success: Zipper holds under stress, no jams.
💡 Tips:
Problem: Zipper still separates after realign.
Solution: Slider is worn—replace it or full zipper. Seek tailor if sewing intimidates.
Problem: Teeth won't mesh post-lube.
Solution: Re-clean with alcohol; ensure even application.
Problem: Pull tab breaks repeatedly.
Solution: Upgrade to metal pull; reinforce with epoxy.
Problem: Repair fails after wash.
Solution: Re-lube and air dry zipped open. Professional dry clean if needed.
Best dry lubricant for activewear zippers—repels water and dirt from sweat.
Best for: Apply during cleaning step for stuck zippers.
Price Range: $7.99
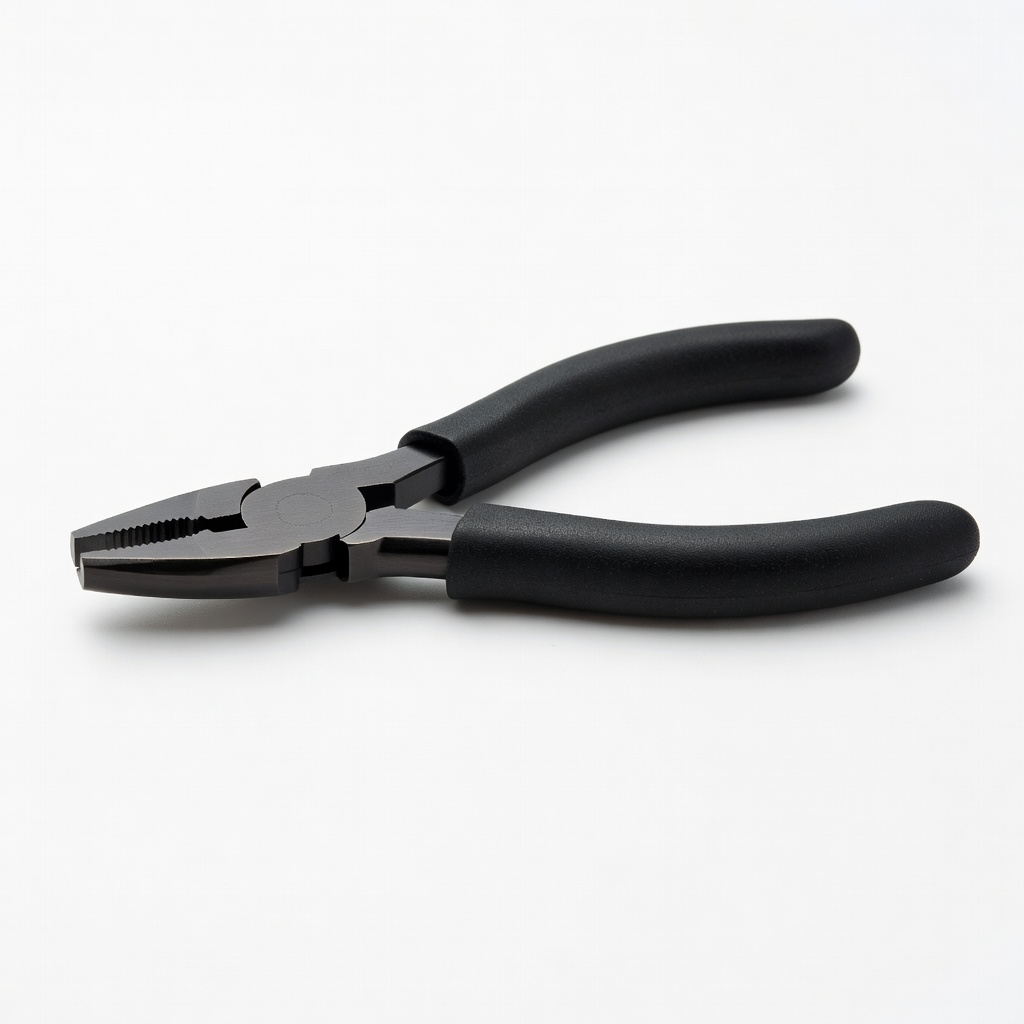
Precision jaws grip sliders without damage—ideal for intermediate repairs.
Best for: Realigning or replacing sliders/pulls.
Price Range: $20-25
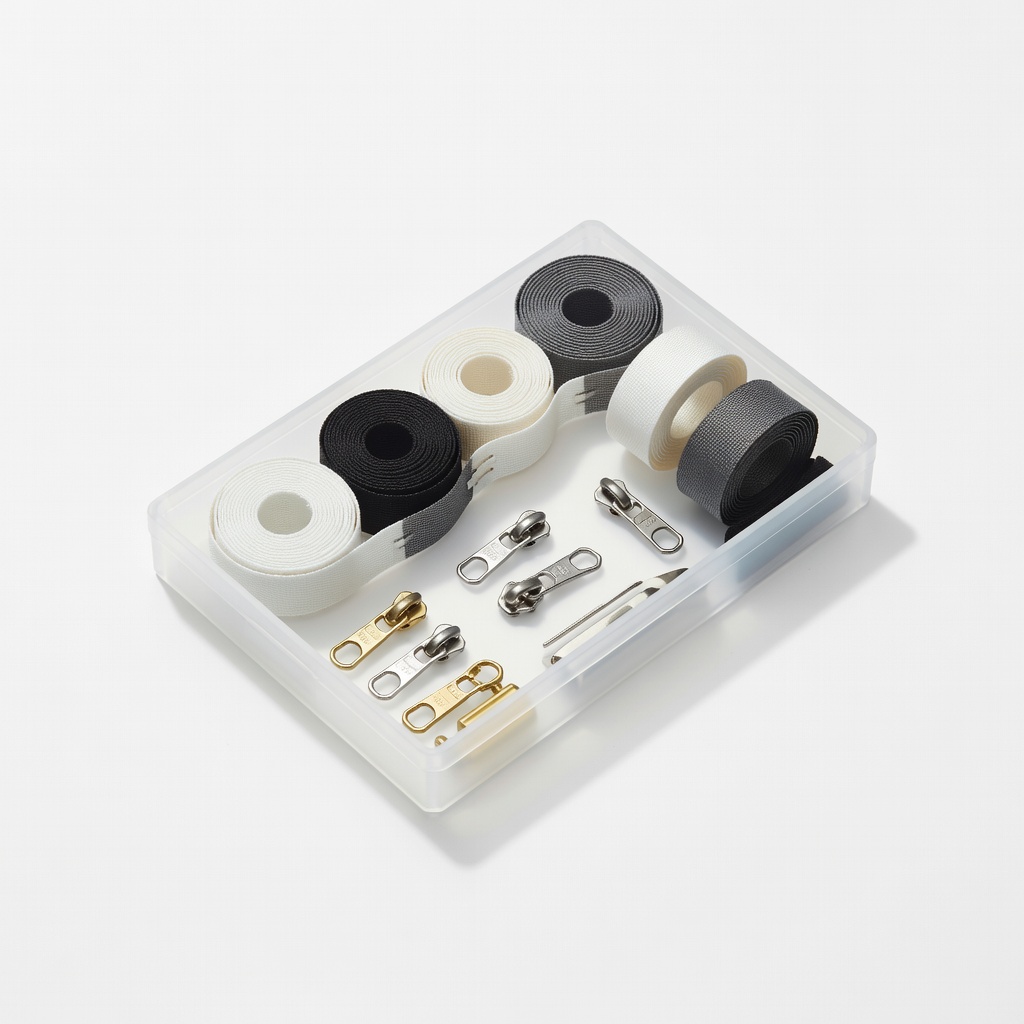
Includes pulls, stops, and thread—complete kit for hoodie fixes.
Best for: Quick pull tab or minor tooth repairs.
Price Range: $5.99
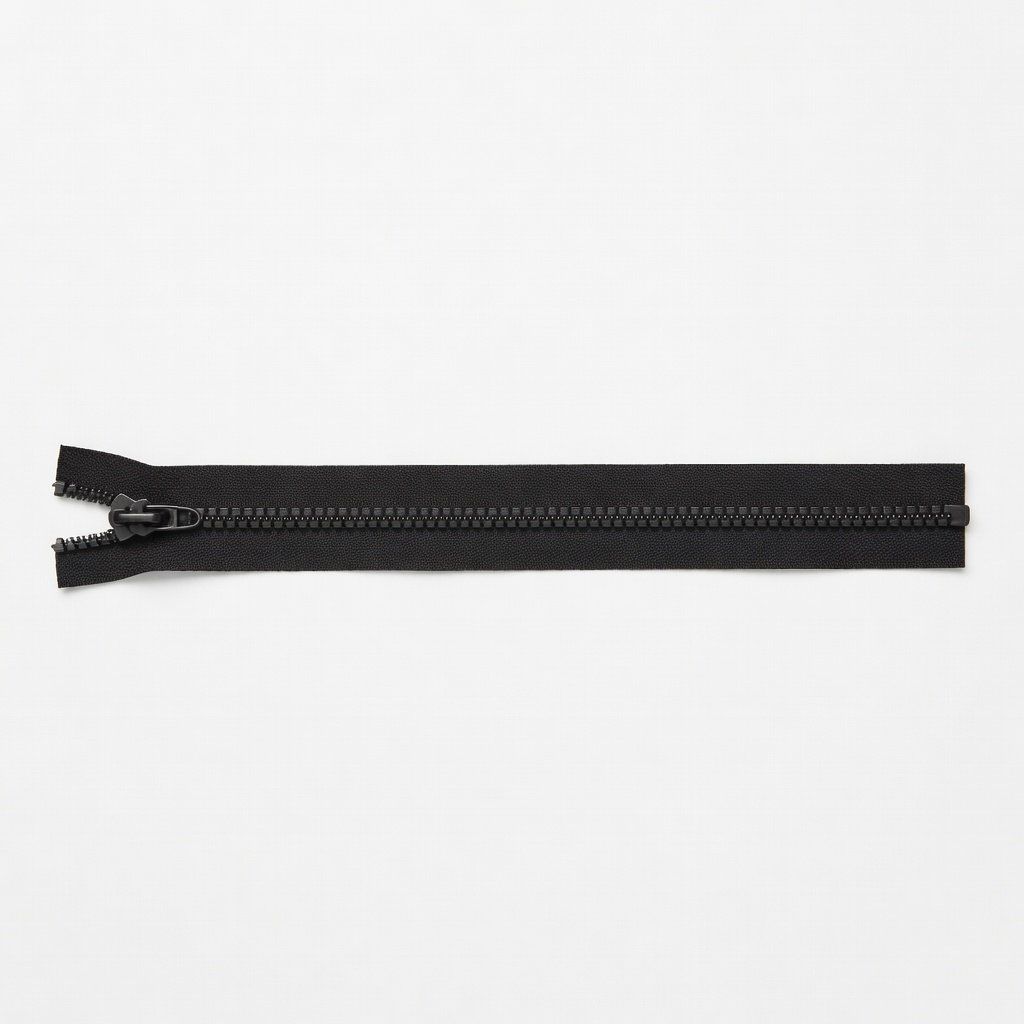
Matches most active hoodies; durable nylon coil flexes with fabric.
Best for: Full zipper replacement.
Price Range: $8-12
Strong, weather-resistant for sewing on stretch hoodies.
Best for: Attaching new zippers.
Price Range: $9.99
Apply during cleaning step for stuck zippers.
Gear Aid Zipper Wax Best dry lubricant for activewear zippers—repels water and dirt from sweat.
Realigning or replacing sliders/pulls.
Xuron Zipper Pliers Precision jaws grip sliders without damage—ideal for intermediate repairs.
Quick pull tab or minor tooth repairs.
Dritz Nylon Zipper Repair Kit Includes pulls, stops, and thread—complete kit for hoodie fixes.
Full zipper replacement.
YKK #5 Coil Zipper Black 24" Matches most active hoodies; durable nylon coil flexes with fabric.

Attaching new zippers.
Heavy Duty Nylon Upholstery Thread Strong, weather-resistant for sewing on stretch hoodies.