Active sweatshirts are workout warriors, but tears from snags, stretches, or rough use can sideline them fast. Instead of buying a new one, you can repair most tears at home in under 45 minutes, keeping your gear in action without a trip to the tailor.
This guide walks beginners through assessing damage, prepping the fabric, and applying durable fixes using iron-on patches or adhesive tape—perfect for stretchy fleece or polyester blends common in activewear. You'll learn no-sew techniques first, with a sewing option for bigger jobs.
Expect simple steps with household items or cheap buys; no prior skills needed. Success means a nearly invisible mend that withstands washes and workouts.
▸What You'll Need
- •Iron-on repair patches or flexible fabric tape (for fleece/activewear)
- •Fabric glue or adhesive tape like Tenacious Tape (no-sew option)
- •Scissors
- •Iron (with parchment paper to protect fabric)
- •Fabric marker or chalk (optional)
- •Needle and matching thread (for sewing option)
- •Ruler or measuring tape
- •Clean cloth and mild soap (for cleaning)
Estimated Time: 20-45 minutes (depending on tear size)
Difficulty: beginner
▸Step-by-Step Instructions
Step 1: Assess the Tear
Examine the tear closely. Measure its length and width with a ruler. Note if it's a straight rip, puncture, or frayed hole. For active sweatshirts, check if edges are stretchy fleece or knit—flexible repairs are key to maintain movement.
Small tears (under 2 inches) suit no-sew patches; larger ones may need sewing. Why it matters: Wrong method leads to re-tearing during workouts. Expect: You'll decide on patch vs. sew.
💡 Tips:
- •Work in good light to spot hidden frays.
⚠️ Warnings:
- •Avoid repairs on seams under arms or high-stretch zones if tear exceeds 4 inches—consider replacement.
Step 2: Clean and Dry the Area
Turn the sweatshirt inside out. Spot-clean the tear with mild soap and a damp cloth to remove dirt, sweat, or oils. Rinse and air-dry completely (no dryer heat yet).
Why: Dirt weakens adhesive bonds. Expect: Fabric feels fresh, no residue. Takes 10-20 mins drying.
💡 Tips:
- •Use a soft toothbrush for stubborn grime on fleece.
Step 3: Trim Loose Threads
Use sharp scissors to carefully trim frayed edges and loose threads around the tear. Cut minimally to avoid enlarging the hole.
Why: Smooth edges ensure strong adhesion. Expect: Clean, straight rip edges ready for patching.
⚠️ Warnings:
- •Don't pull threads—snip only to prevent unraveling.
Step 4: Cut and Position the Patch
Cut iron-on patch or tape 1-2 inches larger than the tear on all sides. For inside-out sweatshirt, slide patch under the tear, centering it. Pin or tape temporarily.
Why: Oversize prevents edges from peeling. Use flexible patches for activewear stretch. Expect: Patch fully covers damage invisibly from outside.
💡 Tips:
- •Match patch color to fabric for camouflage.
Step 5: Apply Heat or Adhesive
No-sew iron-on: Place parchment paper over patch, iron on cotton setting (no steam) for 30-60 seconds, pressing firmly. Flip and repeat 20 seconds.
Adhesive tape/glue: Press Tenacious Tape firmly, or apply thin glue layer, let tack 5 mins.
Why: Heat activates glue for durable bond. Expect: Patch feels secure, no shifting.
⚠️ Warnings:
- •Test iron heat on hem first—high heat melts synthetics.
Step 6: Let It Cure and Test
Cool 24 hours (or per product instructions). Gently stretch area to test flexibility. Hand-wash first cycle.
Why: Full cure prevents peeling. Expect: Seamless flex like new.
💡 Tips:
- •Sew edges for extra hold on activewear.
Step 7: Optional: Sew for Reinforcement
For big tears, whipstitch edges with stretchy thread after patching. Use thimble if needed.
Why: Adds strength for workouts. Expect: Double-secure mend.
▸Pro Tips
- •Choose patches labeled 'stretch' or 'fleece' for activewear mobility.
- •Work on a flat ironing board for even pressure.
- •Prevent future tears with seam sealant on high-wear edges.
- •Repair ASAP—small tears grow fast in washes.
- •Stock multi-color patches for all your gear.
- •Use a credit card to press tape flat without fingerprints.
- •For hoodies, stuff sleeves with towel to avoid creases.
▸Common Mistakes to Avoid
- •Skipping cleaning: Causes weak bonds and peeling after one wash.
- •Using non-flexible patches: Cracks during stretches, reopens tear.
- •Ironing too hot: Melts synthetic fabrics, creates shiny burns.
- •Undersized patches: Edges lift, allowing dirt in.
- •Rushing cure time: Repair fails under movement.
▸Troubleshooting
Problem: Patch peels after washing
Solution: Reapply with fabric glue under edges; air-dry future loads. Use gentler detergent.
Problem: Repair stiffens fabric
Solution: Switch to flexible tape like Tenacious Tape; avoid heavy glues.
Problem: Tear reopens during workout
Solution: Reinforce with sewing; if >3 inches, replace sweatshirt.
Problem: Adhesive won't stick
Solution: Ensure area bone-dry; roughen surface lightly with sandpaper.
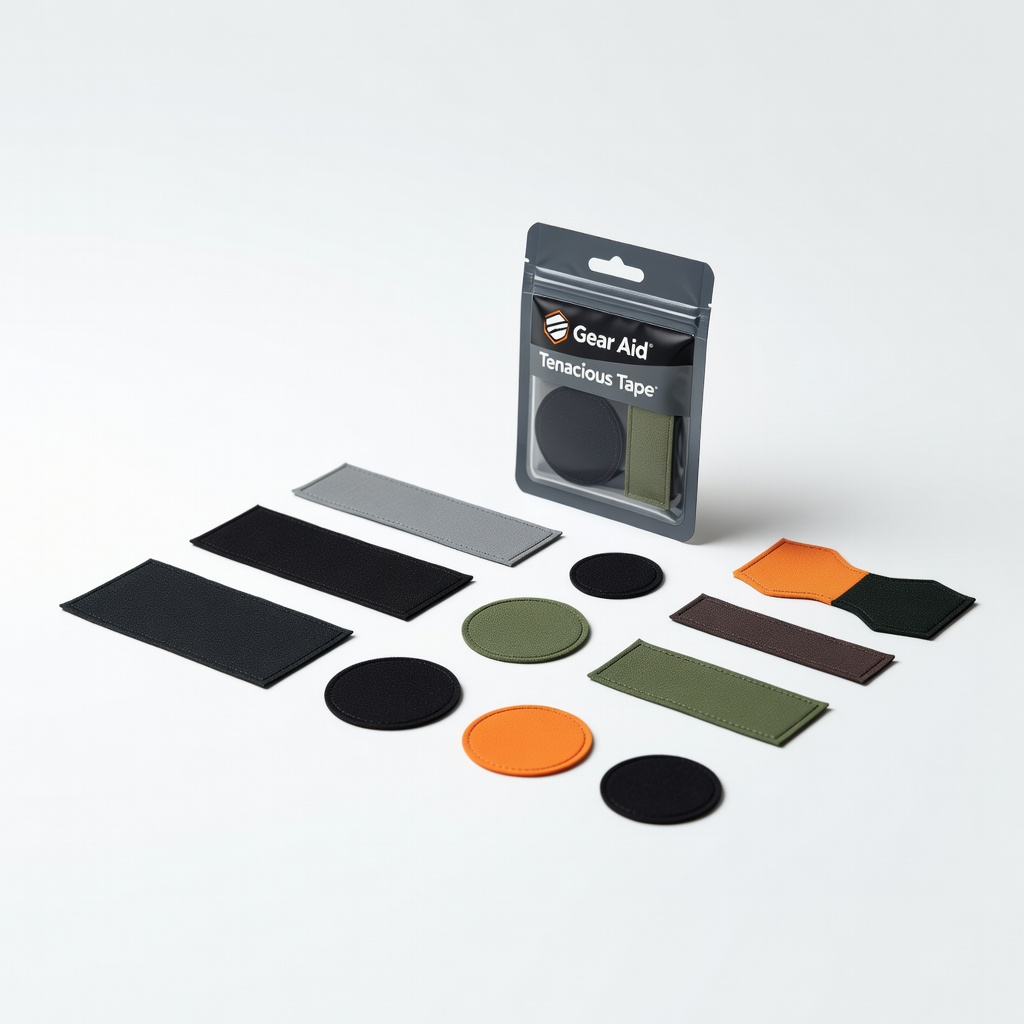
Gear Aid Tenacious Tape Repair Patches
Ultra-flexible, waterproof adhesive perfect for active sweatshirts—bonds to fleece/polyester without iron.
Best for: No-sew fixes on tears anywhere; withstands sweat, washes, stretches.
Price Range: $9.99-$12.99
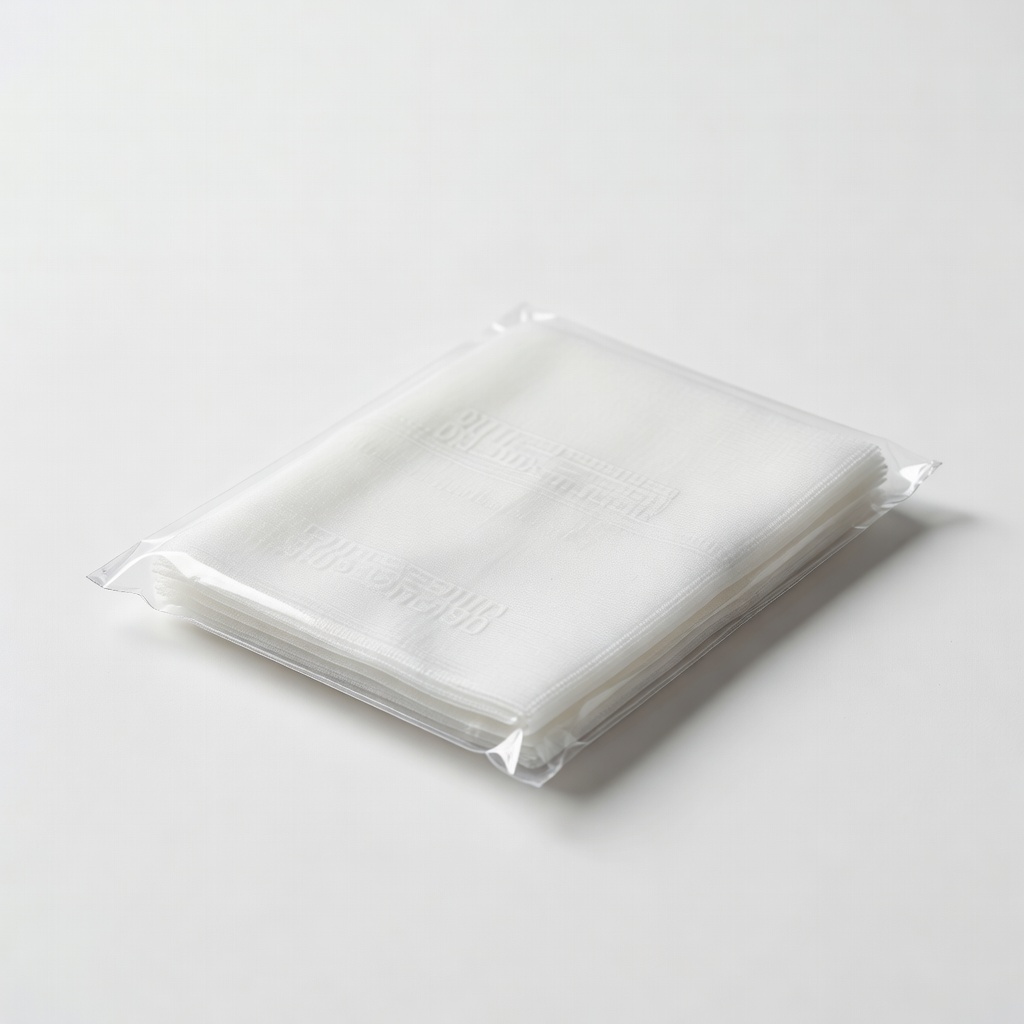
Dritz Iron-On Fusing Web Mending Fabric
Easy iron application for quick, invisible repairs on synthetic blends.
Best for: Small to medium tears; great for beginners with iron.
Price Range: $3.99-$5.99
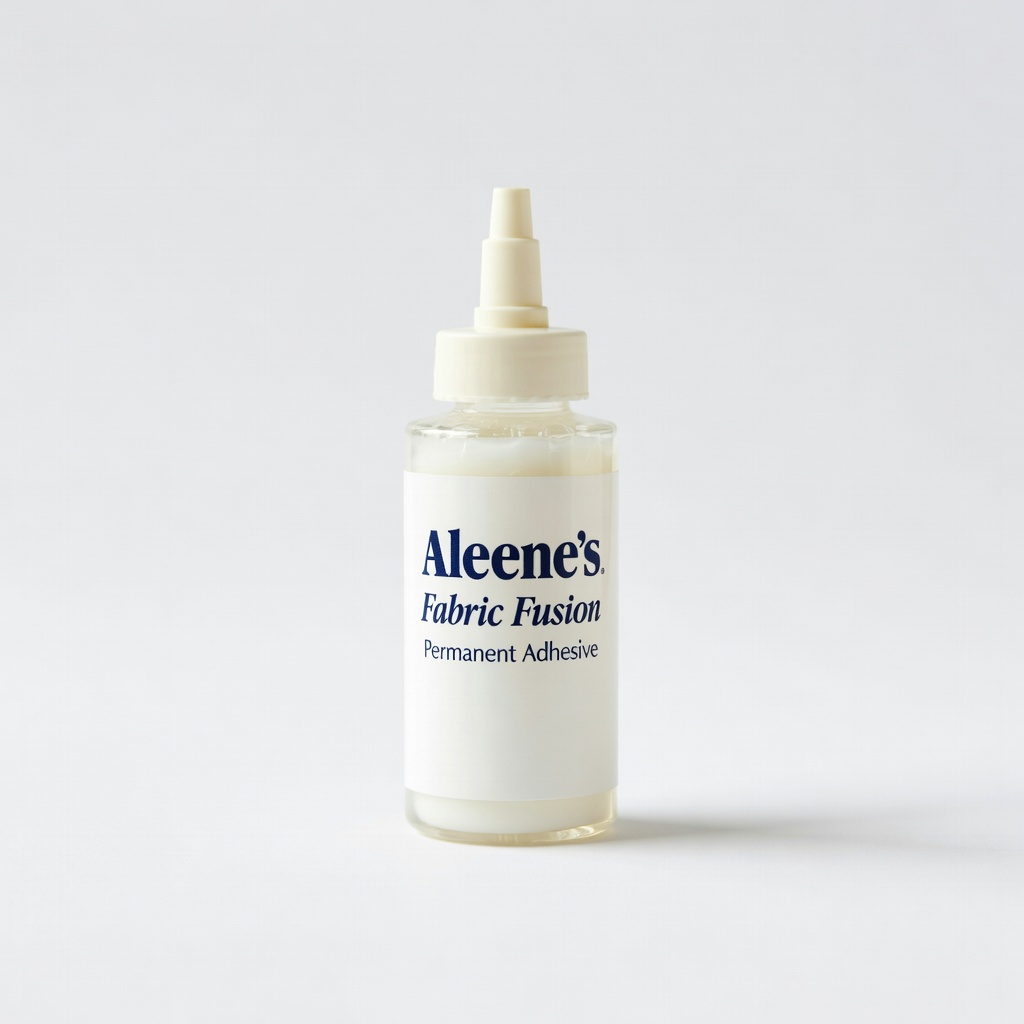
Aleene's Fabric Fusion Permanent Adhesive
Flexible, machine-washable glue for no-iron repairs; dries clear.
Best for: Patching without heat; ideal for delicate active fabrics.
Price Range: $4.99-$6.99
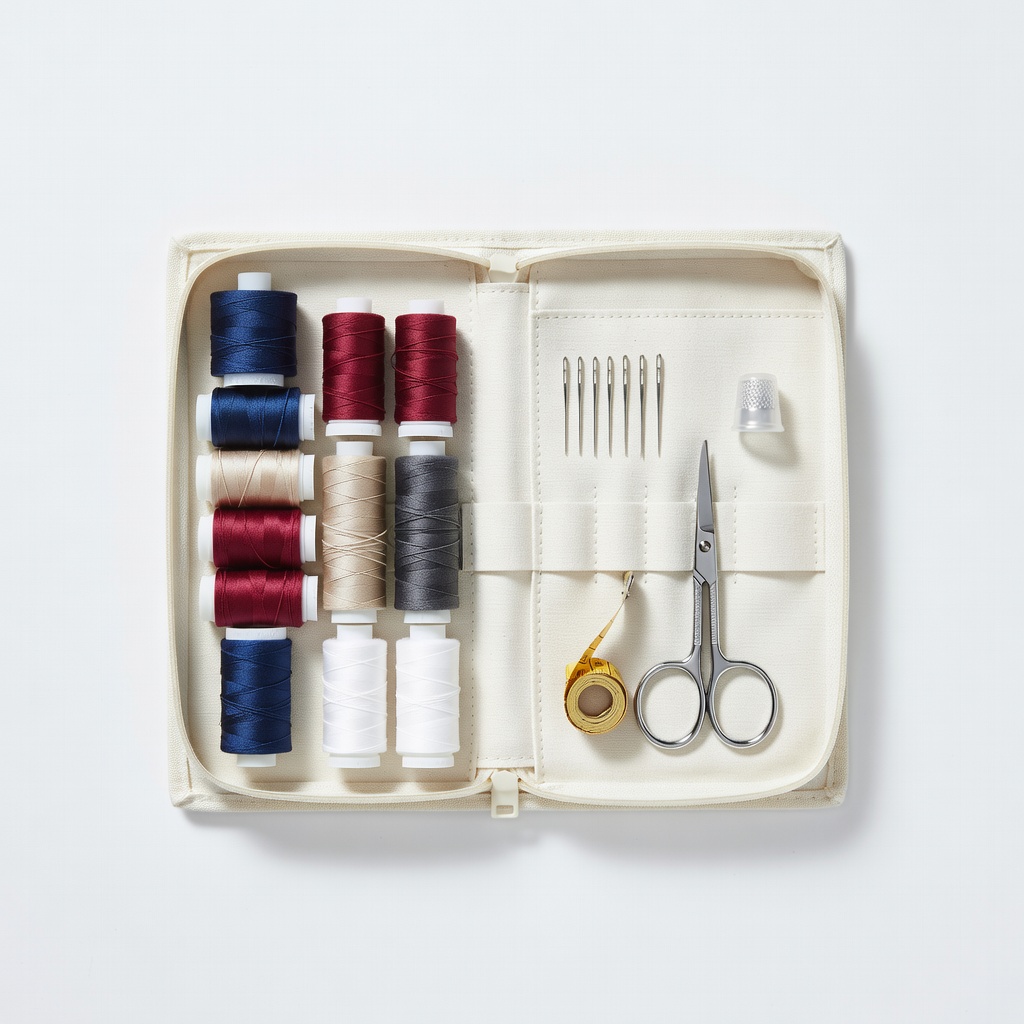
Singer Hand Sewing Kit
All-in-one beginner kit with stretch threads for reinforcing patches.
Best for: Sewing option on larger tears or high-movement areas.
Price Range: $12.99-$15.99