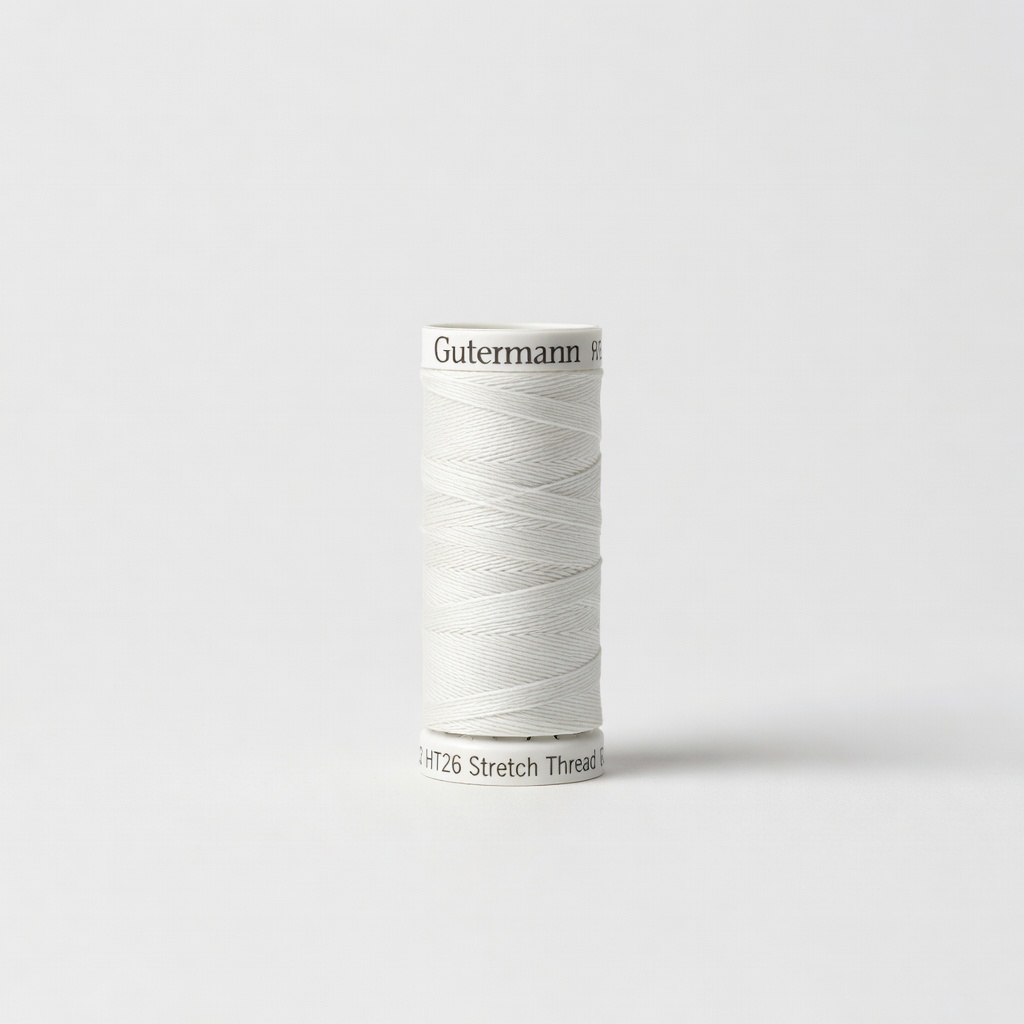
Gutermann HT26 Stretch Thread
Primary sewing thread for all repairs.
$4.99-$6.99
Gutermann HT26 Stretch Thread Designed for knits/activewear; won't break when stretched, perfect for durable seams.
Get the App
Better experience on mobile
Fix frayed or split seams on your stretchy active shirts at home with this intermediate sewing guide to save money and extend garment life.
Active shirts take a beating from workouts, washes, and stretches, leading to common seam failures like fraying, splitting, or puckering. Instead of tossing them, you can repair seams yourself, saving $20-50 per shirt and keeping your favorites in rotation longer. This guide is perfect for intermediate sewers familiar with basic stitching.
You'll learn to assess damage, prepare the fabric, and sew durable repairs using stretch-friendly techniques for polyester/spandex blends. The process uses simple tools and takes 30-60 minutes per seam, yielding a professional finish that withstands movement and laundry.
Expect a like-new seam that's flexible and strong—no bulky patches needed unless damage is severe.
Estimated Time: 30-60 minutes per seam Difficulty: intermediate
Examine the seam closely under good lighting. Check for fraying edges, splits, or loose stitching along shoulders, sides, or hems—common on active shirts due to stretch and sweat.
Identify the seam type: overlocked (serged) edges or flat seams. Measure the damaged length. If over 6 inches or multiple layers torn, consider professional help. Mark start/end points with tailor's chalk.
Success looks like: Clean boundaries marked, fabric stable, no hidden tears.
💡 Tips:
⚠️ Warnings:
Wash and dry the shirt per care label to remove dirt/sweat. Lay flat and use seam ripper to carefully remove damaged stitches, preserving good fabric.
Trim frayed threads/edges with scissors, leaving 1/4-inch seam allowance. Press open with iron on low heat (synthetic setting) to flatten—no steam to avoid scorching spandex.
Success looks like: Smooth, clean edges ready for re-sewing.
💡 Tips:
⚠️ Warnings:
Turn the shirt inside out to work on the wrong side. Align raw edges precisely, matching seams from both layers. Use pins perpendicular to the seam every 1-2 inches or clips to hold without piercing stretch fabric.
Stretch gently to ensure even alignment—activewear must retain flexibility.
Success looks like: Edges butted perfectly, no puckers when shirt is stretched.
💡 Tips:
Thread machine with stretch thread top and bobbin. Install stretch needle. Select zigzag stitch (width 2-3mm, length 2.5mm) or built-in stretch stitch for elasticity.
Test on scrap fabric (cut from old tee) to match tension—no skipped stitches or breaks.
Success looks like: Even zigzags on scrap that stretch without popping.
⚠️ Warnings:
Start 1/2 inch before damage, backstitch 3-5 times. Sew slowly, stretching fabric slightly ahead of presser foot to prevent tunneling. Overlap old seam if possible for strength.
End with backstitches, pull threads to wrong side, knot and trim.
Success looks like: Smooth, elastic seam that mimics original.
💡 Tips:
Remove pins/clips. Press seam open or to one side on low heat with pressing cloth. Topstitch 1/8 inch from seam edge with straight stitch for reinforcement if desired.
Turn right side out, stretch/test movement.
Success looks like: Flat, invisible-from-outside repair.
Tug seam vigorously, simulating workouts. Machine wash cold, air dry. Inspect post-wash.
Success looks like: Seam holds after stretch/wash, no gaps.
⚠️ Warnings:
Problem: Seam puckers or tunnels
Solution: Loosen tension, use zigzag wider, stretch fabric while sewing. Re-sew if needed.
Problem: Thread breaks or skips
Solution: Swap to fresh stretch needle/thread, re-thread machine fully.
Problem: Repair doesn't stretch
Solution: Wrong stitch—switch to triple stretch or overlock if possible.
Problem: Seam frays after wash
Solution: Apply fray check or topstitch edges; wash inside out cold.
Designed for knits/activewear; won't break when stretched, perfect for durable seams.
Best for: Primary sewing thread for all repairs.
Price Range: $4.99-$6.99
Lightweight with 27 stitches including zigzag/stretch; handles thick activewear seams easily.
Best for: Machine sewing for quick, pro results.
Price Range: $129-$150
Sharp, ergonomic for precise stitch removal without damaging fabric.
Best for: Prep step to undo old seams cleanly.
Price Range: $4.99-$7.99
Sharp, glide-cut for clean trims on synthetic blends without fraying.
Best for: Trimming edges accurately.
Price Range: $15-$25
Flexible glue for spot-fixing small tears if sewing isn't option.
Best for: Quick no-sew backup for minor splits.
Price Range: $4.99-$8.99
Primary sewing thread for all repairs.
Gutermann HT26 Stretch Thread Designed for knits/activewear; won't break when stretched, perfect for durable seams.
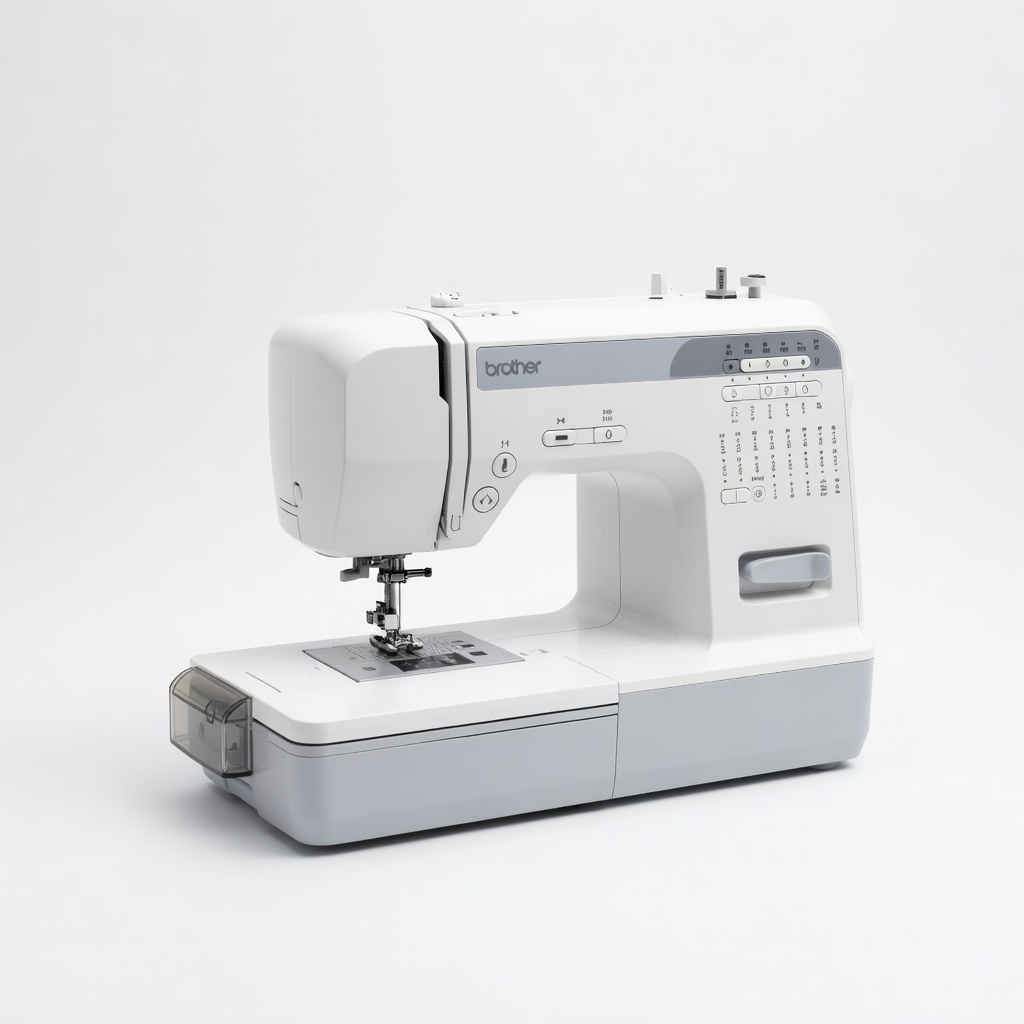
Machine sewing for quick, pro results.
Brother XM2701 Sewing Machine Lightweight with 27 stitches including zigzag/stretch; handles thick activewear seams easily.

Prep step to undo old seams cleanly.
Dritz Seam Ripper Sharp, ergonomic for precise stitch removal without damaging fabric.
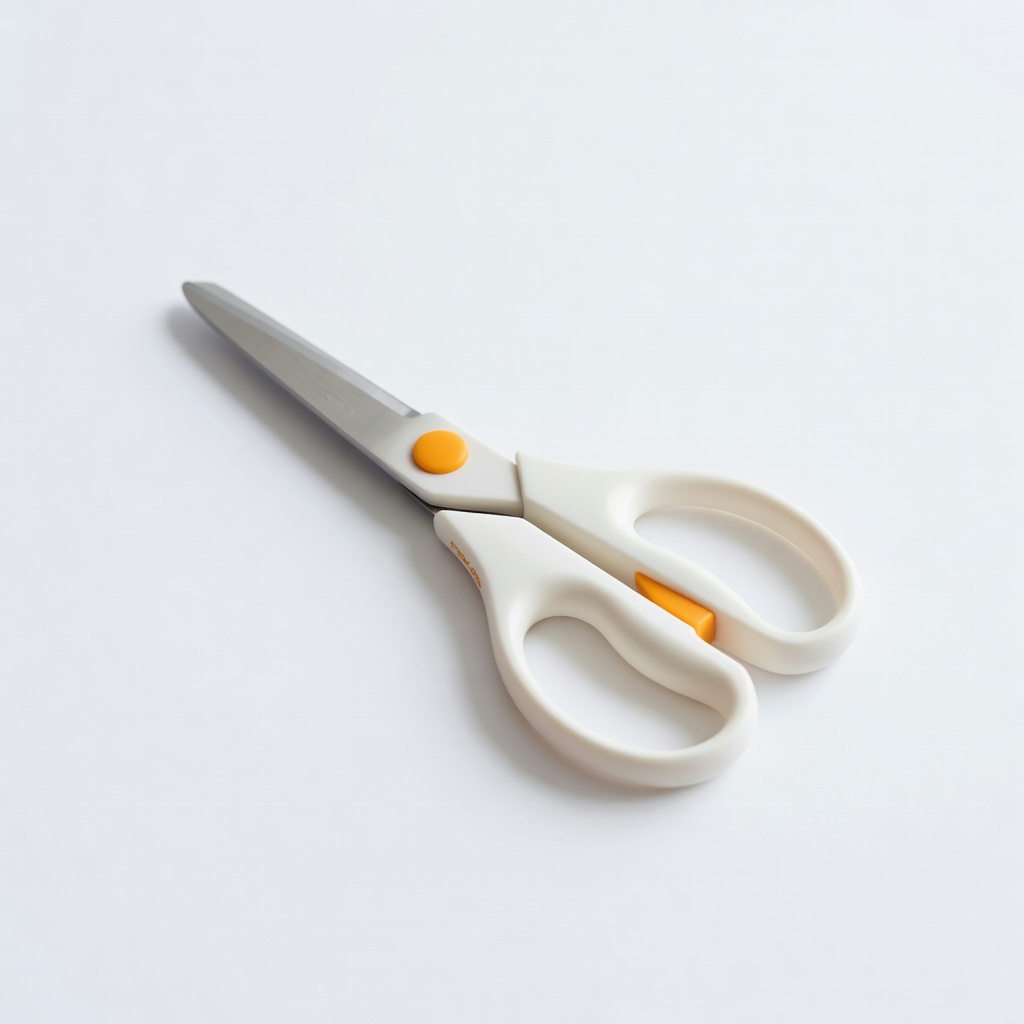
Trimming edges accurately.
Fiskars 8-Inch Fabric Scissors Sharp, glide-cut for clean trims on synthetic blends without fraying.
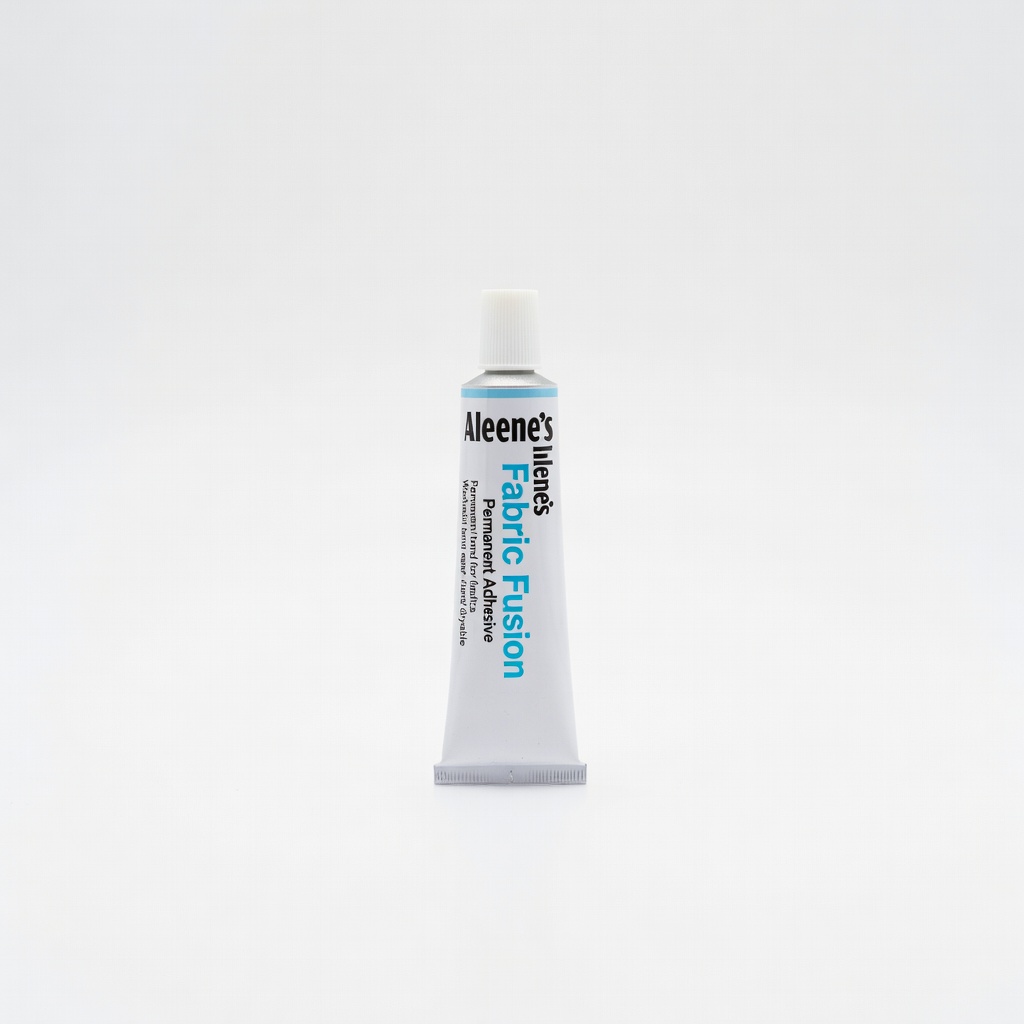
Quick no-sew backup for minor splits.
Aleene's Fabric Fusion Permanent Adhesive Flexible glue for spot-fixing small tears if sewing isn't option.