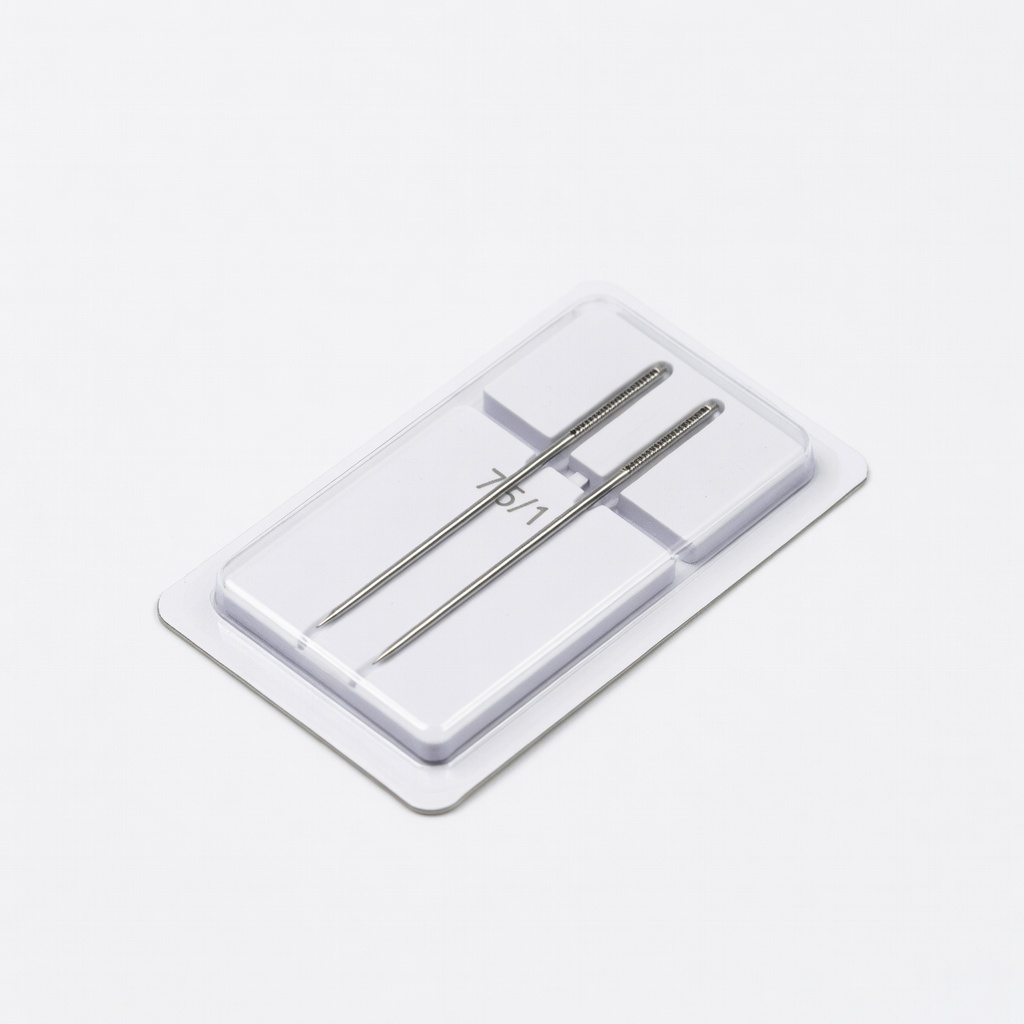
Schmetz Stretch Twin Machine Needles Size 75/11
Essential for machine sewing stretch seams without damage.
$8-$12
Schmetz Stretch Twin Machine Needles Size 75/11 Designed for knits/spandex; prevents laddering and skipped stitches on activewear.
Get the App
Better experience on mobile
Restore your worn-out workout leggings and pants with pro sewing techniques to save money and extend their lifespan.
Active pants like leggings and joggers take a beating from squats, runs, and daily wear, leading to frustrating seam splits at the crotch or inseam. Instead of tossing them, you can repair them yourself, saving $50-100 on new pairs. This guide teaches intermediate sewers how to fix seams durably using stretch-friendly methods.
You'll learn to assess damage, prep the fabric, sew reinforced seams, and finish professionally. The process works for most stretchy activewear (nylon, spandex blends). Expect sturdy repairs that withstand heavy use again.
Total time: 30-60 minutes per seam. Requires basic machine sewing skills; hand-sewing alternative provided.
Estimated Time: 30-60 minutes per seam Difficulty: intermediate
Turn your active pants inside out and examine the seam. Look for splits, fraying, or weak stitching along high-stress areas like the crotch or inner thigh.
Measure the damage length (typically 1-4 inches). If the fabric is torn beyond 6 inches or has large holes, consider patching first or replacing. Success: You've identified the exact repair zone and noted if reinforcement is needed.
Why it matters: Proper assessment prevents weak fixes that fail quickly.
💡 Tips:
⚠️ Warnings:
Wash and dry the pants per care label (cold water, air dry ideal). Use a seam ripper to remove loose threads or old stitching around the split.
Clip away frayed edges with sharp scissors, leaving clean 1/4-inch margins. Success: Smooth, debris-free edges ready for sewing—no lint or pills.
Why: Clean fabric ensures strong adhesion and prevents puckering.
💡 Tips:
⚠️ Warnings:
Keep pants inside out. Align the split edges perfectly, matching any original seam allowance (usually 1/4-1/2 inch).
Pin perpendicular to the seam line every 1 inch, or use clips for stretch fabrics. Tug gently to mimic wearing tension. Success: Flat, even alignment with no twists.
Why: Alignment prevents crooked seams that stress during movement.
💡 Tips:
Thread machine with stretch thread and ballpoint needle (size 70/10). Set to zigzag stitch (width 2-3mm, length 2.5mm) or stretch stitch if available.
For hand-sewing: Use backstitch with doubled thread. Test on scrap fabric. Success: Even stitches that stretch without breaking.
Why: Straight stitches snap on knits; zigzag mimics elasticity.
💡 Tips:
⚠️ Warnings:
Start 1/2 inch before the split, sew slowly with fabric flat. Backstitch at start/end. For extra strength, sew a second parallel seam 1/8 inch away.
Remove pins as you go. Success: Secure, elastic seam blending with originals—no gaps or pulls.
Why: Double seams distribute stress from workouts.
💡 Tips:
For crotch seams, add a rectangular patch (2x4 inches) of similar stretch fabric inside. Sew around all edges with zigzag.
Or apply seam sealant along new stitching. Success: Bulked-up area that flexes without splitting.
Why: Patches prevent repeat failures in wear hotspots.
💡 Tips:
⚠️ Warnings:
Trim threads, turn right-side out. Press seam flat with medium heat (no steam on synthetics), using pressing cloth.
Topstitch right-side if desired for flatness. Success: Invisible, professional-looking repair.
Why: Heat sets stitches for durability.
💡 Tips:
Wear pants through a workout simulation: squats, lunges, stretches. Inspect post-test.
Success: No seam gaps, full mobility restored. Re-sew if needed.
Why: Validates repair under real stress.
⚠️ Warnings:
Problem: Skipped stitches or thread breakage
Solution: Switch to ballpoint needle and lower tension. Rethread fully.
Problem: Puckered or wavy seam
Solution: Use narrower zigzag and hold fabric taut. Rip out and re-pin.
Problem: Repair pulls during wear
Solution: Add patch reinforcement or wider seam allowance. Seek pro if >4 inches.
Problem: Color bleed from ironing
Solution: Use cool iron with barrier cloth. Air dry instead.
Designed for knits/spandex; prevents laddering and skipped stitches on activewear.
Best for: Essential for machine sewing stretch seams without damage.
Price Range: $8-$12
High-strength nylon resists abrasion from heavy use; stretchy for active fabrics.
Best for: Primary thread for durable, flexible repairs on workout pants.
Price Range: $3-$5
Sharp, ergonomic tool for precise removal of old stitches without fabric damage.
Best for: Prep step to clean frayed seams cleanly.
Price Range: $5-$7
Compact, easy for intermediates; handles thick stretch fabrics well.
Best for: Main tool for quick, pro-level zigzag repairs at home.
Price Range: $90-$120
Prevents future fraying on cut edges; clear and flexible when dry.
Best for: Final step for long-lasting seam protection.
Price Range: $5-$8
Essential for machine sewing stretch seams without damage.
Schmetz Stretch Twin Machine Needles Size 75/11 Designed for knits/spandex; prevents laddering and skipped stitches on activewear.
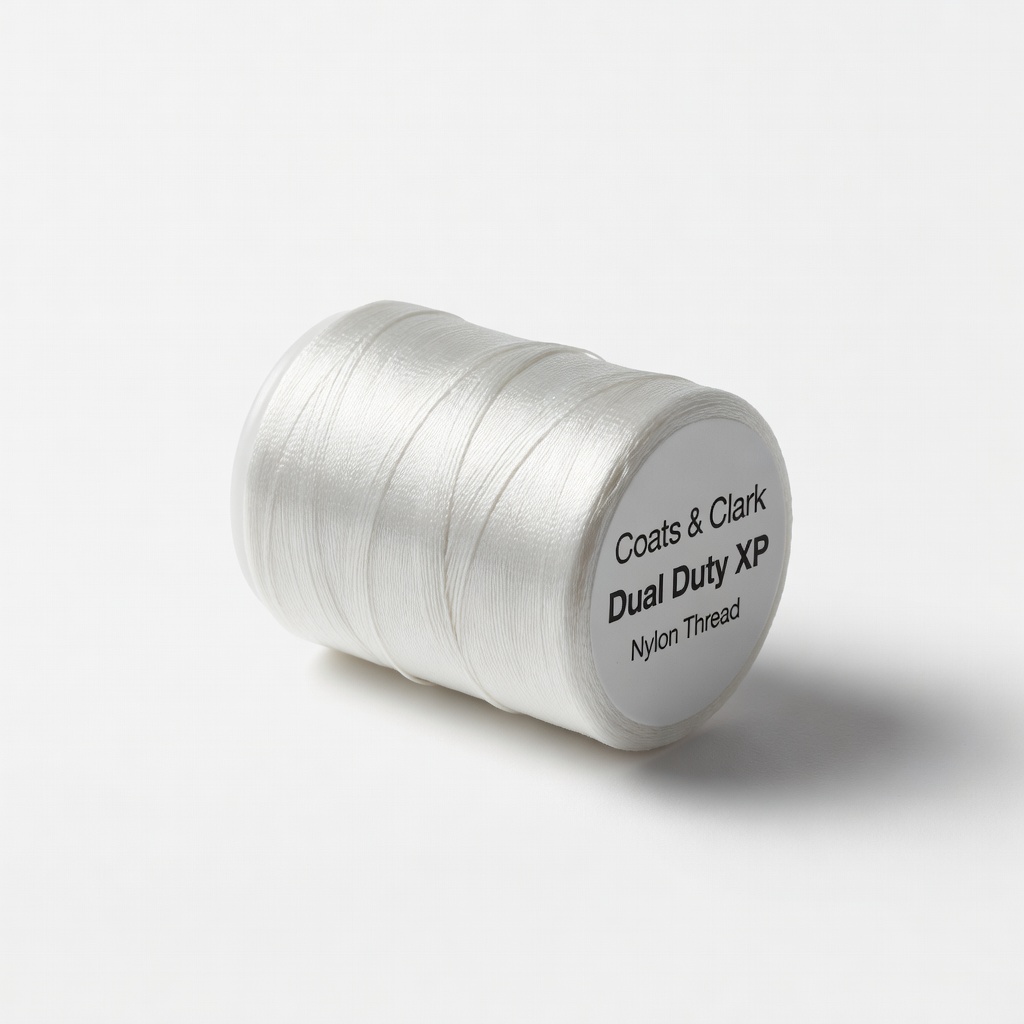
Primary thread for durable, flexible repairs on workout pants.
Coats & Clark Dual Duty XP Nylon Thread High-strength nylon resists abrasion from heavy use; stretchy for active fabrics.
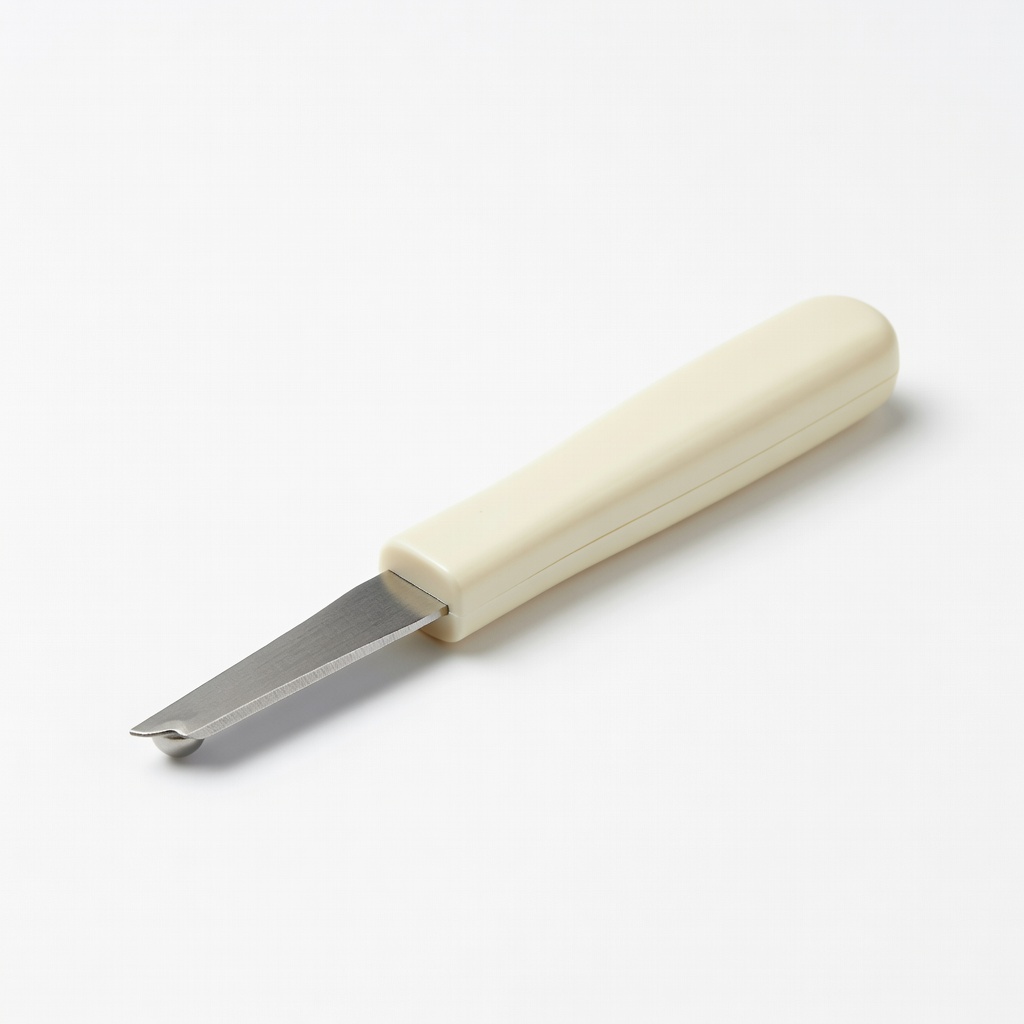
Prep step to clean frayed seams cleanly.
Dritz Deluxe Seam Ripper Sharp, ergonomic tool for precise removal of old stitches without fabric damage.
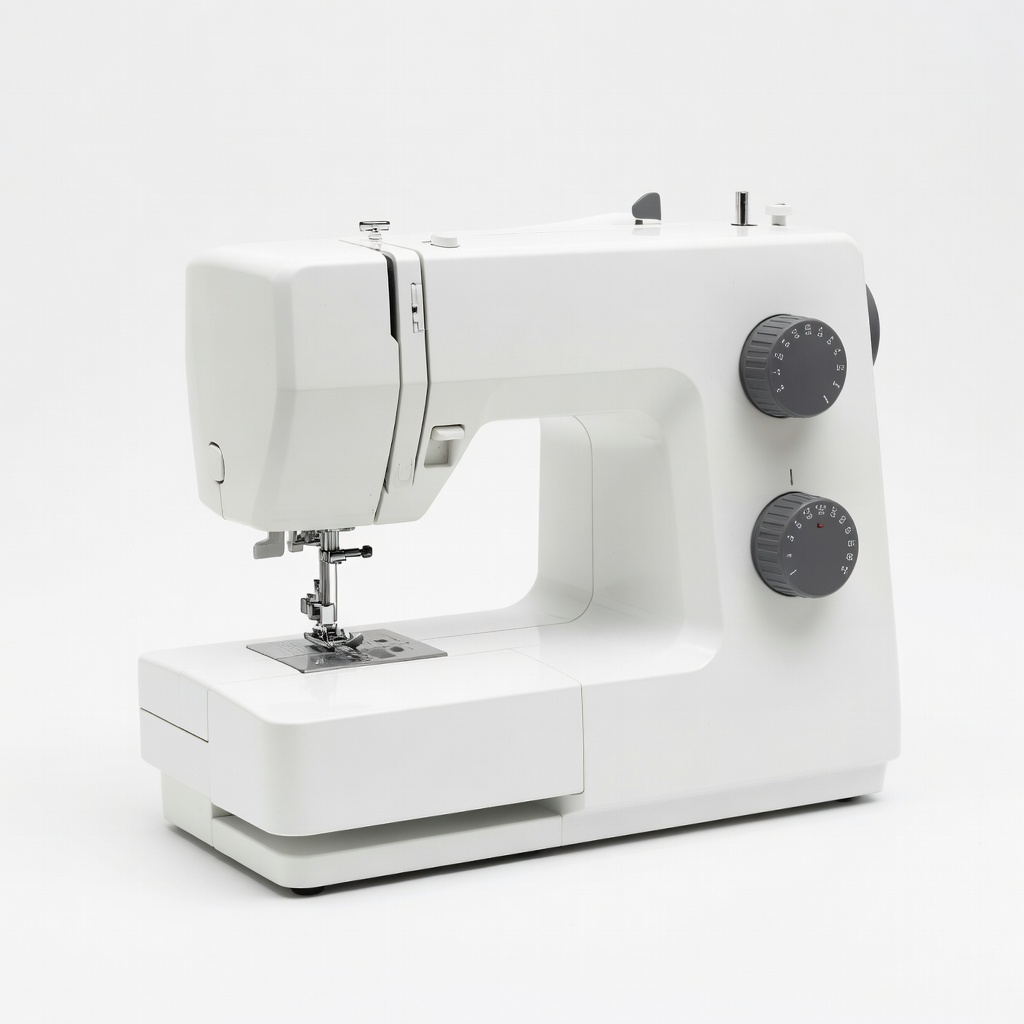
Main tool for quick, pro-level zigzag repairs at home.
Singer M2100 Sewing Machine Compact, easy for intermediates; handles thick stretch fabrics well.
Final step for long-lasting seam protection.
Dritz Fray Check Sealant Prevents future fraying on cut edges; clear and flexible when dry.