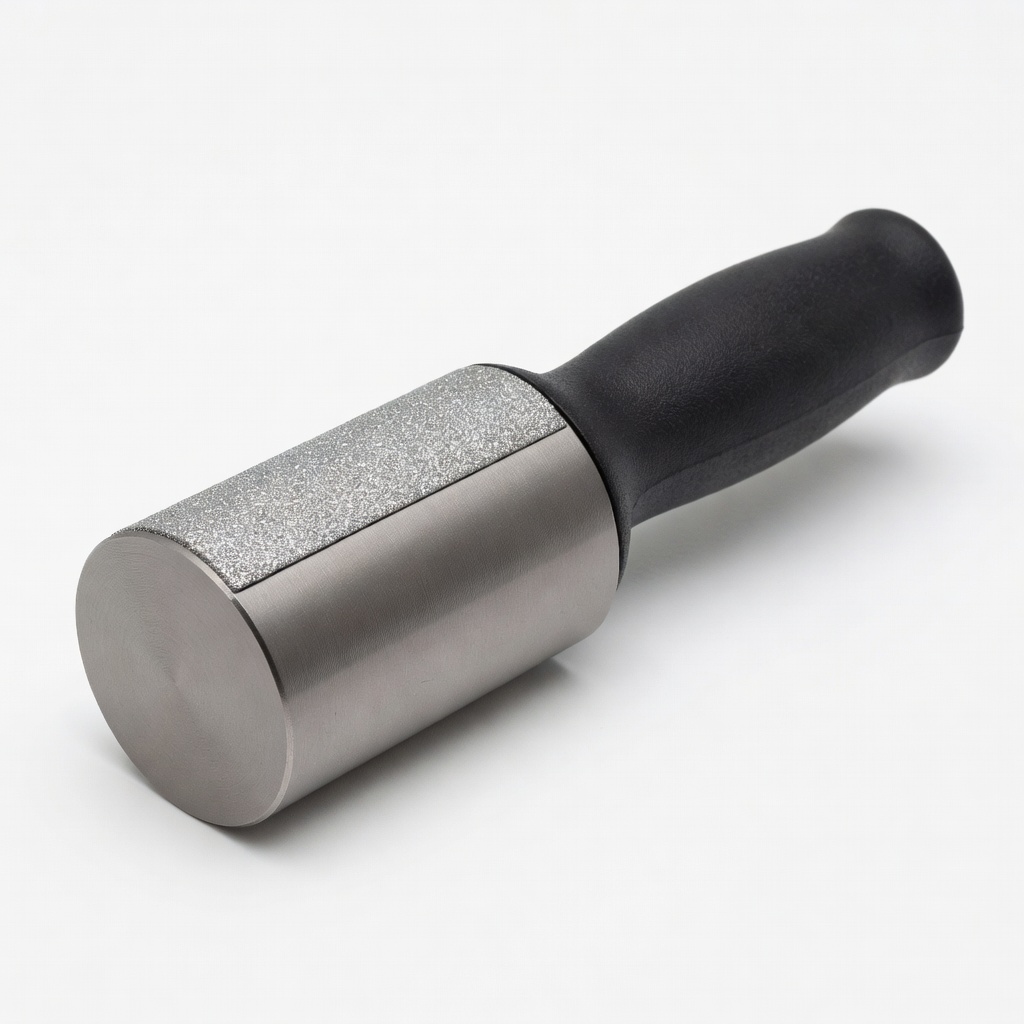
Forney 60119 Diamond Hand Dresser
Handheld for bench work or quick field repairs on frayed points.
$15-$20
Forney 60119 Diamond Hand Dresser Single-point diamond ideal for precise dressing of small mounted points without excessive material removal.
Get the App
Better experience on mobile
Learn advanced techniques to dress and restore frayed mounted points, extending their life and saving costs on replacements.
Frayed abrasive mounted points can compromise precision grinding, lead to uneven finishes, and even cause tool vibration or safety hazards in high-speed applications. For advanced users working with die grinders, rotary tools, or CNC setups, simply tossing them out means wasted money and downtime. This guide teaches you how to assess, clean, and dress frayed points to expose fresh abrasives and true their shape.
You'll master a step-by-step process using diamond dressing tools, achieving like-new performance in under 30 minutes per point. Expect professional results: smoother grinding, better control, and extended tool life by 2-3x. This advanced repair suits experienced fabricators, machinists, or hobbyists comfortable with abrasives—no prior dressing experience required, but power tool safety is a must.
The process involves inspection, cleaning, dressing, balancing, and testing. Total time: 15-30 minutes; difficulty ramps up with point size and material.
Estimated Time: 15-30 minutes per point Difficulty: advanced
Before handling any abrasives, don full PPE: safety goggles, respirator, gloves, and ear protection. Frayed points shed hazardous dust containing silica or aluminum oxide, which can cause respiratory issues or eye damage.
Set up a stable workbench with a vise to hold the mandrel securely. Why it matters: Stability prevents slips during high-speed dressing, ensuring precise work. Expect a dust-free zone—cover nearby surfaces.
Image description: Workspace with vise, PPE laid out, diamond dresser nearby.
💡 Tips:
⚠️ Warnings:
Remove the point from its mandrel using an extractor tool. Examine under bright light for fraying depth: light glaze (dull surface) is easily repaired; deep tears (>20% material loss) may need replacement.
Why assess? Determines if repair is viable—over 50% wear means discard to avoid imbalance. Success: Point spins true by hand without wobble.
Rotate slowly; note shape distortion.
💡 Tips:
Secure the mandrel in the vise. Blast with compressed air or brush gently with a nylon brush to remove loose grit and debris. Avoid wire brushes on fine points—they embed metal.
Cleaning exposes true condition and prevents dresser clogging. Expect: Dust cloud initially, then clean abrasive matrix visible.
Why? Contaminants dull the dresser prematurely.
⚠️ Warnings:
Install a fresh mandrel if needed. Mount in rotary tool at 5,000-10,000 RPM (low speed for control). Lightly contact diamond dresser tip perpendicular to the surface, using short, overlapping passes (0.001-0.002" depth).
Dress until fresh, sharp abrasives sparkle—typically 1-2 minutes per side. Why? Removes glaze/frays, exposing cutting edges for renewed aggression.
Traverse evenly for conical/cylindrical points.
💡 Tips:
⚠️ Warnings:
Continue dressing to restore original profile (refer to specs). Spin test: Chuck in tool, run at speed—watch for vibration.
Balance by lightly dressing high spots. Success: Smooth, whisper-quiet spin. Why critical? Imbalance causes chatter marks or tool failure at speed.
Advanced: Use a balancer for <0.1g variance.
💡 Tips:
Air-blow residue. Test on scrap metal: Expect aggressive cut without loading. Run 30 seconds—smooth finish confirms success.
Reinstall if passes. Why test? Validates repair before production use.
Problem: Dresser clogs quickly
Solution: Clean with aluminum scrap or dedicated dresser cleaner; use lighter passes.
Problem: Persistent vibration post-repair
Solution: Re-check mandrel runout; true further or replace shank.
Problem: Point loads during test
Solution: Dress deeper to expose more grains; check workpiece material match.
Problem: Cracks appear after dressing
Solution: Heat damage—discard and use coolant next time; seek pro if structural.
Single-point diamond ideal for precise dressing of small mounted points without excessive material removal.
Best for: Handheld for bench work or quick field repairs on frayed points.
Price Range: $15-$20
Pairs perfectly if trimming mandrels; high-quality abrasive for clean cuts.
Best for: Preparing damaged shanks before re-mounting.
Price Range: $10-$15 (12-pack)
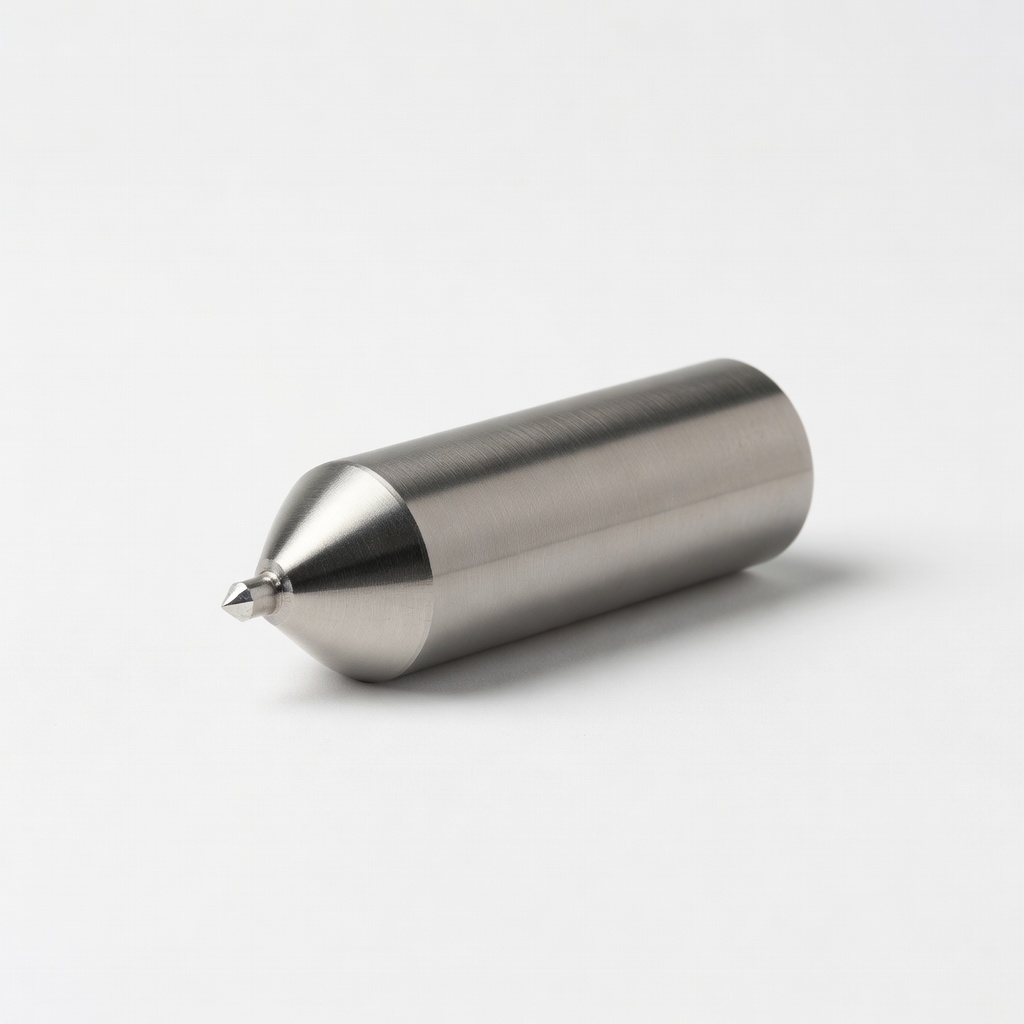
Industrial-grade for high-volume repairs; long-lasting for advanced users.
Best for: Heavy-duty dressing on larger points in shop settings.
Price Range: $40-$60
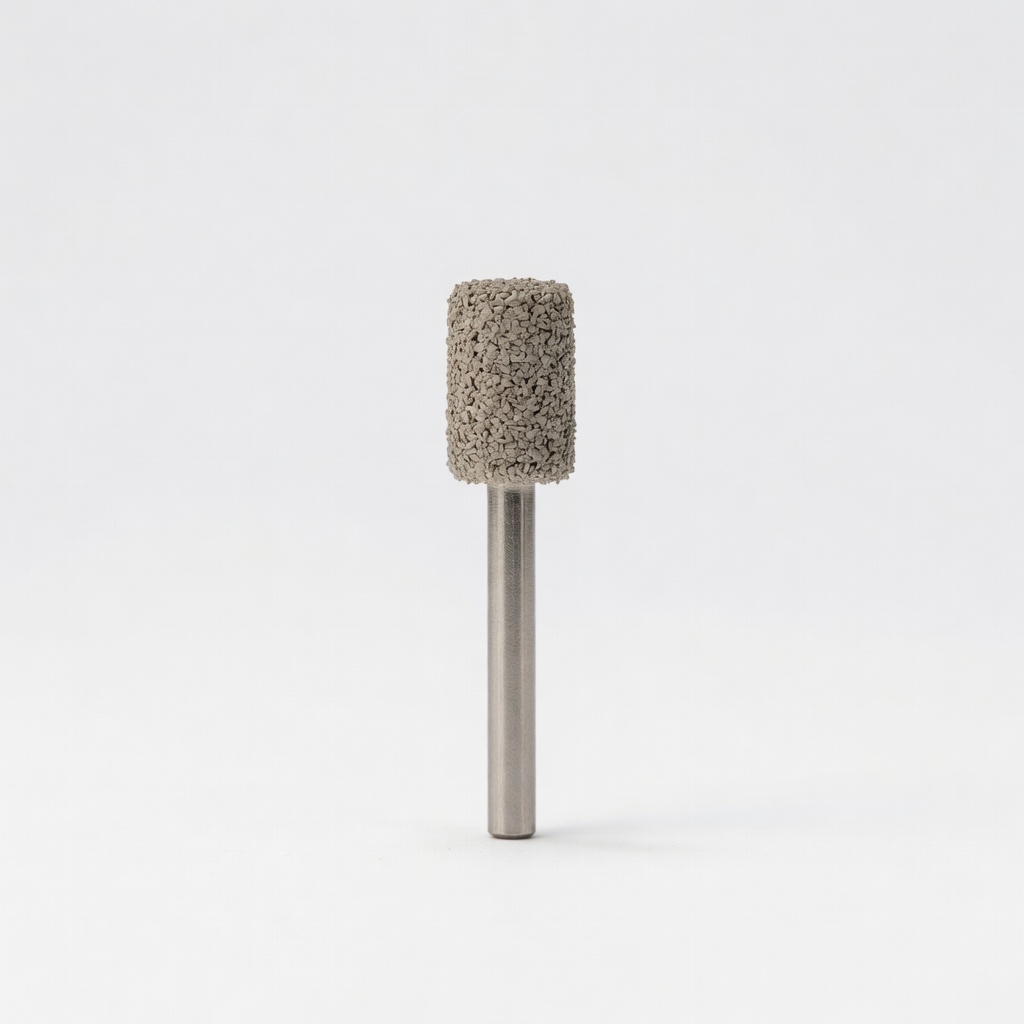
Premium replacement if repair fails; fast-cutting for benchmark testing.
Best for: Compare post-repair performance.
Price Range: $20-$30 each
Quick-change mandrels prevent damage during removal/install.
Best for: Safe handling of points during repair process.
Price Range: $10-$15
Handheld for bench work or quick field repairs on frayed points.
Forney 60119 Diamond Hand Dresser Single-point diamond ideal for precise dressing of small mounted points without excessive material removal.
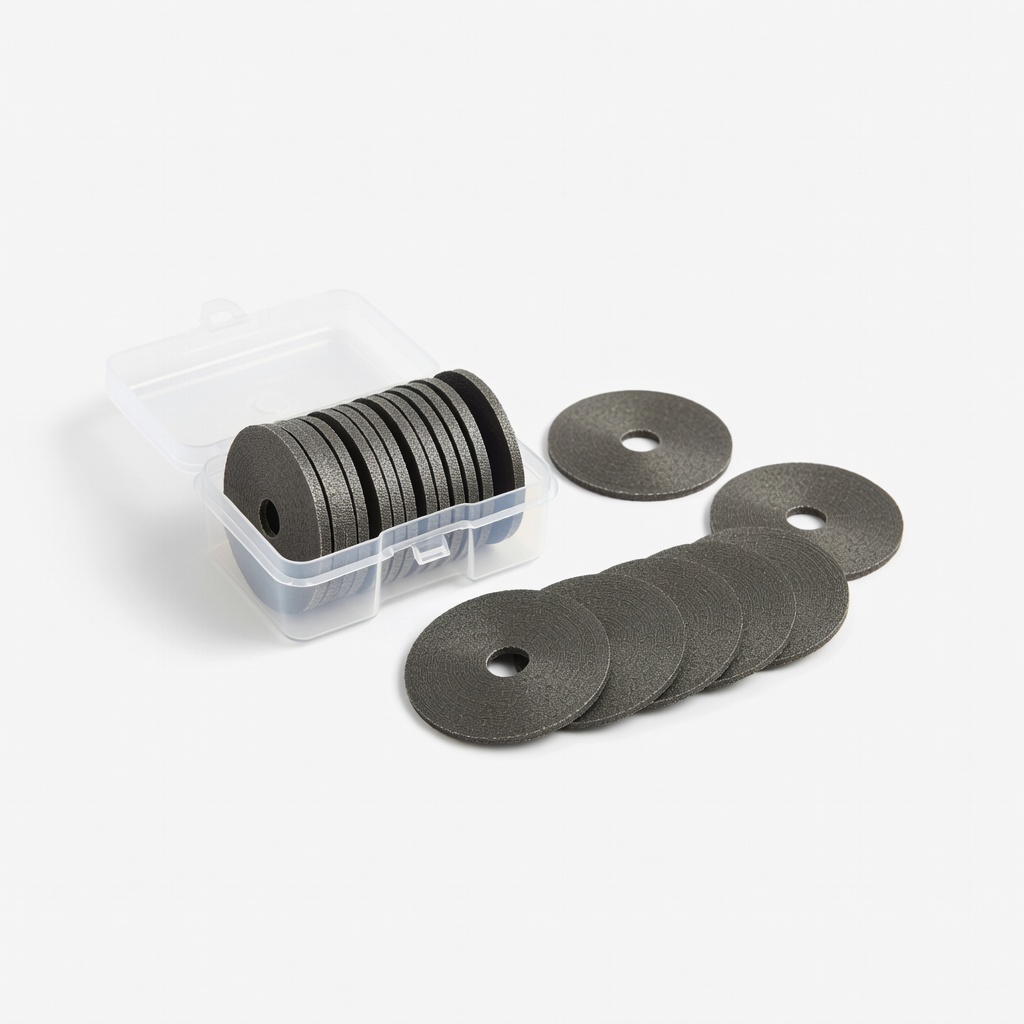
Preparing damaged shanks before re-mounting.
Dremel 408 Heavy Duty 1/2" Cut-Off Wheels (for mandrel prep) Pairs perfectly if trimming mandrels; high-quality abrasive for clean cuts.
Heavy-duty dressing on larger points in shop settings.
Norton 61463687915 Diamond Dresser Industrial-grade for high-volume repairs; long-lasting for advanced users.
Compare post-repair performance.
3M 50071 Cubitron II Mounted Point Premium replacement if repair fails; fast-cutting for benchmark testing.
Safe handling of points during repair process.
Neiko 01927A Mandrel Set Quick-change mandrels prevent damage during removal/install.