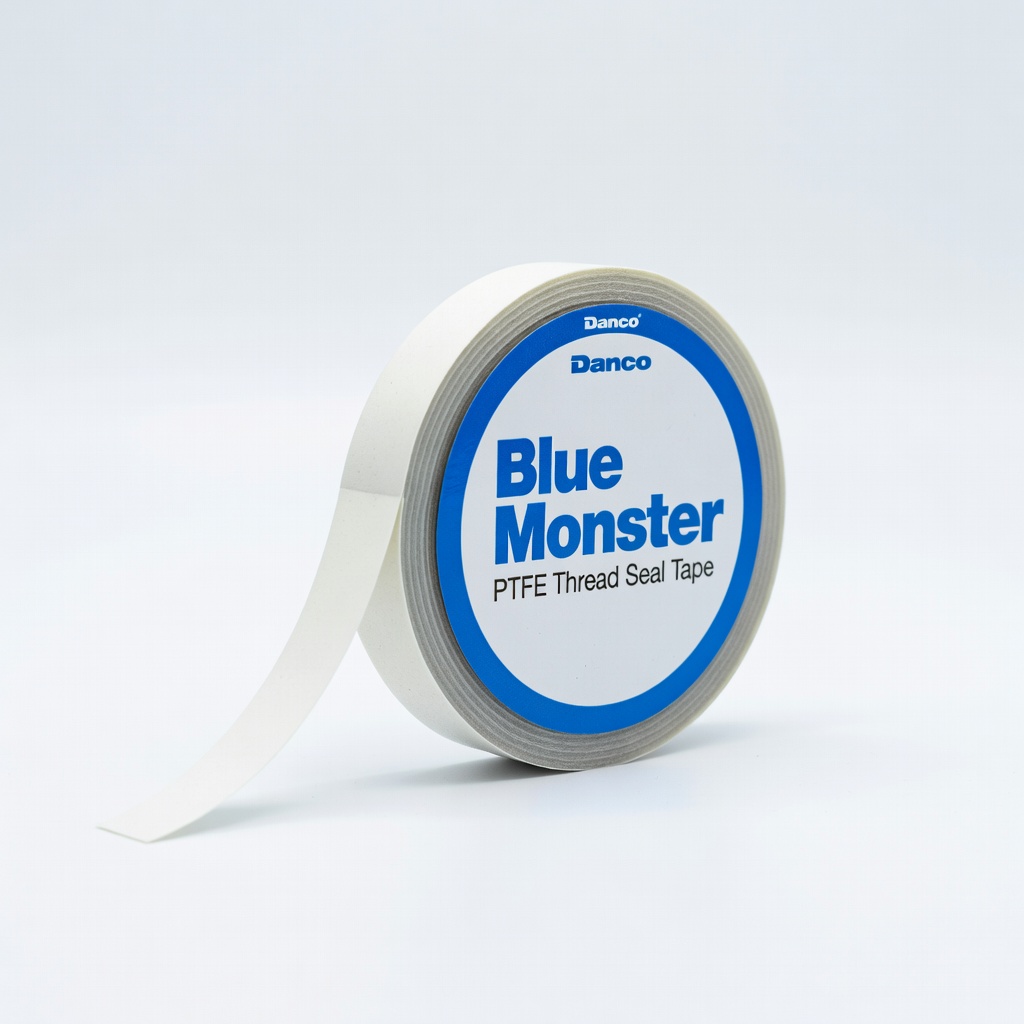
Danco Blue Monster PTFE Thread Seal Tape
Wrapping hose fittings during reconnect.
$5.99
Danco Blue Monster PTFE Thread Seal Tape Prevents leaks at threaded connections with superior sealing over basic tape.
Get the App
Better experience on mobile
Fix leaking washer, dishwasher, or fridge hoses yourself in under an hour to avoid water damage and costly plumber calls.
A sudden burst appliance hose can turn your laundry room or kitchen into a swimming pool, causing thousands in water damage and mold issues. Worn hoses on washing machines, dishwashers, and refrigerators are common culprits, especially in older homes or after years of use. Don't wait for disaster—repairing them is a straightforward DIY task that saves money and extends appliance life.
In this guide, you'll learn to identify leaks, safely disconnect hoses, repair minor damage or replace them entirely, and test for success. We'll cover rubber and braided stainless steel hoses for major appliances. Expect 30-60 minutes per hose, suitable for intermediate DIYers with basic tool comfort.
By the end, your appliances will run leak-free, giving you peace of mind and preventing future headaches.
Estimated Time: 30-60 minutes per hose Difficulty: intermediate
Start by unplugging the appliance from the wall outlet to eliminate electrical hazards. Locate the water shut-off valves behind the appliance (usually two for hot/cold on washers/dishwashers) and turn them clockwise until tight.
This prevents water flow and shocks. For fridges with icemakers, shut off the saddle valve or dedicated line. Place a bucket under the valves to catch drips.
Success looks like: No power light on appliance, valves fully closed—no hissing water.
💡 Tips:
⚠️ Warnings:
Pull the appliance out slightly (use helper if heavy) and lay towels around the base. Disconnect the drain hose (if applicable) into the bucket or floor drain to empty standing water.
Place a shallow bucket under the supply hoses. This minimizes mess.
Success looks like: Dry workspace, no water pooling.
💡 Tips:
⚠️ Warnings:
Use pliers to loosen the hose nut at the appliance inlet (counterclockwise). Hold the fitting steady to avoid damaging threads. Then, disconnect from the shut-off valve.
Inspect connections for corrosion or wear. Wipe fittings clean.
Success looks like: Hose fully removed, minimal water spillage.
💡 Tips:
⚠️ Warnings:
For minor cracks (rubber hoses): Cut out damaged section with utility knife, insert hose mender, secure with clamps. Wrap with waterproof tape or apply epoxy putty like JB WaterWeld; let cure 1 hour.
For fittings leaks or major damage: Replace entire hose. Wrap new hose threads with 4-6 wraps of Teflon tape (clockwise), hand-tighten then 1/4 turn with pliers.
Success looks like: Secure, straight hose with even clamps, no exposed damage.
💡 Tips:
⚠️ Warnings:
Attach repaired/replacement hose to appliance inlet first, then shut-off valve. Tighten snugly but not excessively.
Double-check all connections.
Success looks like: Hoses aligned without kinks, fittings secure.
💡 Tips:
⚠️ Warnings:
Push appliance back, dry area thoroughly. Run full cycle next day to confirm.
Schedule monthly inspections.
Success looks like: Appliance operational, no drips after 24 hours.
💡 Tips:
⚠️ Warnings:
undefined
undefined
undefined
undefined
undefined
undefined
undefined
undefined
Problem: Hose won't disconnect—stuck fittings.
Solution: Spray WD-40, wait 15 min, tap gently with wrench. If seized, replace valve.
Problem: Leaks persist after repair.
Solution: Reapply Teflon tape (new layer), check O-rings. Replace if internal damage.
Problem: Low water pressure post-repair.
Solution: Ensure valves fully open, no kinks. Flush lines by running hot water.
Problem: Appliance won't fill.
Solution: Verify power, inlet screens clean (remove debris with vinegar soak).
Problem: Can't find shut-off valve.
Solution: Use main house shut-off. Call plumber if corroded pipes.
Prevents leaks at threaded connections with superior sealing over basic tape.
Best for: Wrapping hose fittings during reconnect.
Price Range: $5.99
Quick, tool-free repair for rubber hose cracks up to 1/2 inch.
Best for: Patching small tears without full replacement.
Price Range: $7.99
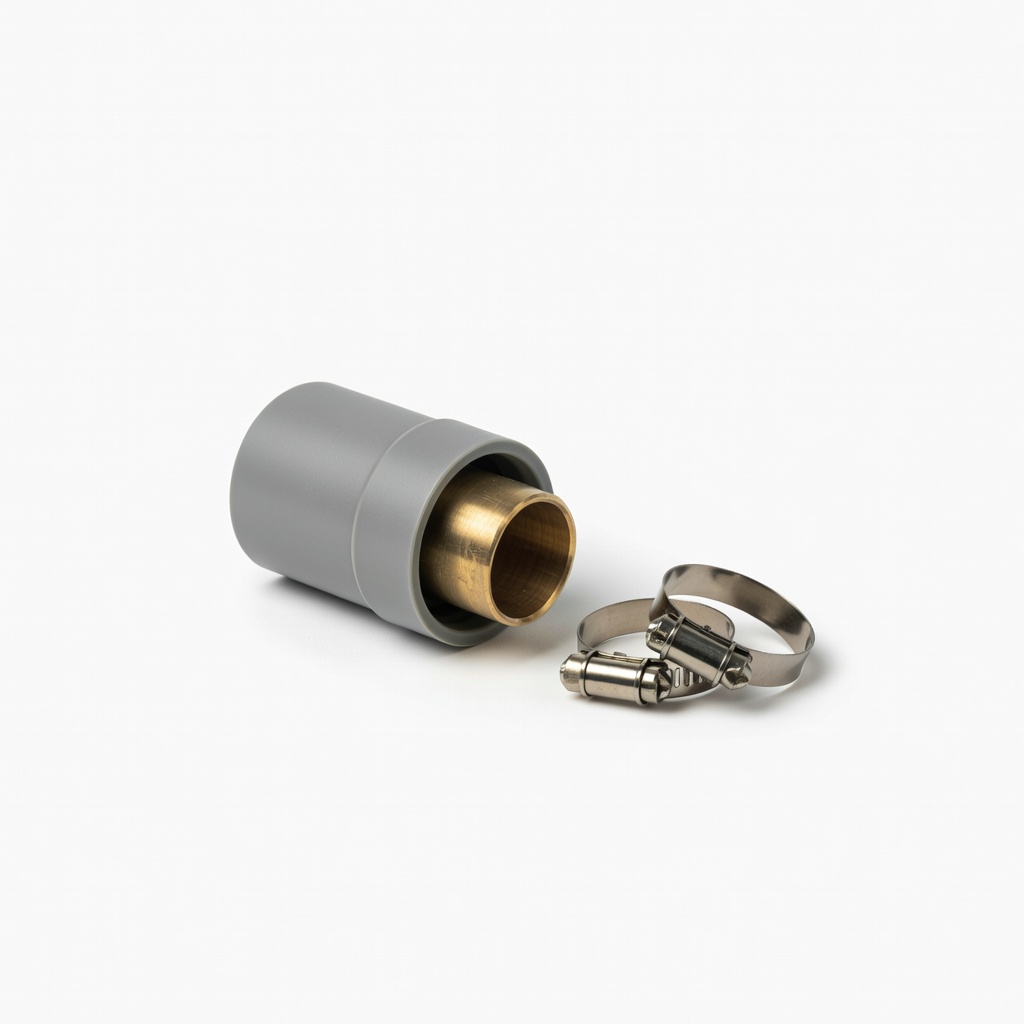
Corrosion-resistant clamps secure repairs permanently.
Best for: Clamping hose menders or patches.
Price Range: $13.99
Hardens underwater for strong, permanent hose repairs.
Best for: Filling cracks on rubber hoses.
Price Range: $6.99
Instant, flexible seal for emergency fixes until replacement.
Best for: Wrapping burst spots temporarily.
Price Range: $12.99
Wrapping hose fittings during reconnect.
Danco Blue Monster PTFE Thread Seal Tape Prevents leaks at threaded connections with superior sealing over basic tape.
Patching small tears without full replacement.
Gilmour Hose Mender Kit Quick, tool-free repair for rubber hose cracks up to 1/2 inch.

Clamping hose menders or patches.
Breeze Stainless Steel Hose Clamp Assortment (10 Pack) Corrosion-resistant clamps secure repairs permanently.
Filling cracks on rubber hoses.
J-B Weld 8272 WaterWeld Epoxy Putty Hardens underwater for strong, permanent hose repairs.
Wrapping burst spots temporarily.
Flex Tape Waterproof Repair Tape Instant, flexible seal for emergency fixes until replacement.