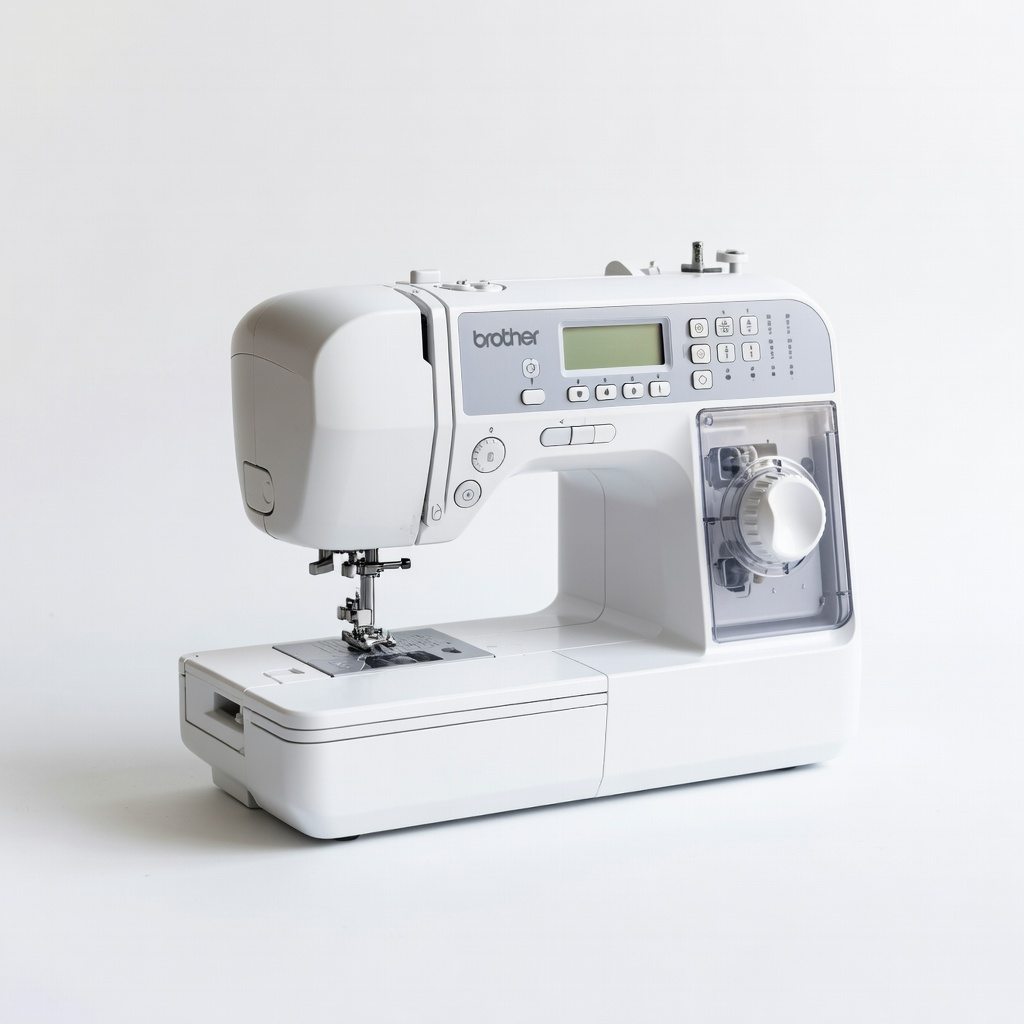
Brother CS6000i Sewing Machine
Machine-sewing durable seams on multiple sweatshirts.
$150-$170
Brother CS6000i Sewing Machine Compact machine with 60 stitches including zigzag perfect for stretch repairs; beginner-friendly for intermediates.
Get the App
Better experience on mobile
Fix split or frayed seams in your active sweatshirts with this intermediate sewing guide to save money and extend garment life.
Active sweatshirts are built for intense workouts, but constant stretching, washing, and abrasion can cause seams to fray, split, or come undone. Instead of tossing your favorite hoodie, you can repair it yourself, restoring its durability and fit for more gym sessions.
This guide teaches you to assess damage, prepare the fabric, and sew strong, stretchy repairs using techniques suited for performance fabrics like polyester-spandex blends. You'll achieve professional-looking results that withstand movement without puckering.
Expect 20-45 minutes per seam, depending on damage extent. Intermediate skills like basic sewing are needed—no advanced serging required.
Estimated Time: 20-45 minutes per seam Difficulty: intermediate
Examine the seam closely under good lighting. Check for splits, fraying, loose threads, or complete separation. Measure the damaged length with a ruler—most repairs handle 2-6 inches easily.
Why it matters: Proper assessment determines if sewing suffices or if patching/gluing is needed for larger holes. Expect minor splits to look like pulled threads; severe ones may show fabric edges separating.
Remove any loose threads with a seam ripper to prevent further unraveling.
💡 Tips:
⚠️ Warnings:
Turn the sweatshirt inside out. Spot-clean the seam with mild soap and water, then air-dry completely (no dryer heat, as it can shrink synthetics).
Why it matters: Dirt or oils weaken repairs. Expect the area to feel crisp and smooth post-drying.
Press the seam flat with an iron on low heat (no steam) using a pressing cloth to protect synthetic fibers.
💡 Tips:
⚠️ Warnings:
Match raw edges precisely, right sides together. Pin perpendicular to the seam line every 1-2 inches, starting and ending 1/2 inch beyond damage.
Why it matters: Even alignment ensures stretch recovery. Expect pins to hold without puckering if fabric is pre-pressed.
For curved seams (like underarms), use clips instead of pins to avoid distortion.
💡 Tips:
Thread machine or needle with stretch thread. For machine: Select zigzag stitch (2.5mm width, 2.5mm length) or stretch straight stitch. For hand: Use backstitch or whipstitch.
Why it matters: Straight stitches break on stretch; zigzag allows flexing. Expect test swatch to stretch 50% without popping.
Test on scrap fabric first.
💡 Tips:
⚠️ Warnings:
Sew along the pinned line, backstitching 1/2 inch at start/end for strength. Remove pins as you go, sewing 1/2 inch beyond damage on both sides.
Why it matters: Reinforcement prevents re-splitting. Expect even stitches that mimic original seam (usually 1/4-1/2 inch wide).
For hand-sewing, make stitches 1/8 inch apart.
💡 Tips:
For heavy-use areas, apply fabric glue inside seam or add an iron-on patch over the repair, fusing per instructions.
Why it matters: Adds durability for workouts. Expect no bulk if trimmed properly.
Trim excess threads and press seam open.
💡 Tips:
⚠️ Warnings:
Turn right-side out, press final seam. Stretch and wear-test: Pull, squat, and launder on gentle cycle.
Success: Seam holds stretch without gaps or breaks. If good, it's gym-ready!
Rest 24 hours if glued.
💡 Tips:
Problem: Seam puckers or skips stitches
Solution: Loosen tension, re-thread machine top-to-bottom, or switch to fresh needle.
Problem: Repair doesn't stretch
Solution: Rip out and re-sew with wider zigzag; apply conditioner for knit flexibility.
Problem: Glue won't hold
Solution: Roughen surfaces with sandpaper, clamp 24 hours; switch to sewing for activewear.
Problem: Large hole (>4 inches)
Solution: Patch first, then seam; seek tailor if structural.
Compact machine with 60 stitches including zigzag perfect for stretch repairs; beginner-friendly for intermediates.
Best for: Machine-sewing durable seams on multiple sweatshirts.
Price Range: $150-$170
Specialized ballpoint tips prevent snags on spandex blends, ensuring smooth stitches.
Best for: All machine repairs on activewear.
Price Range: $4-$6
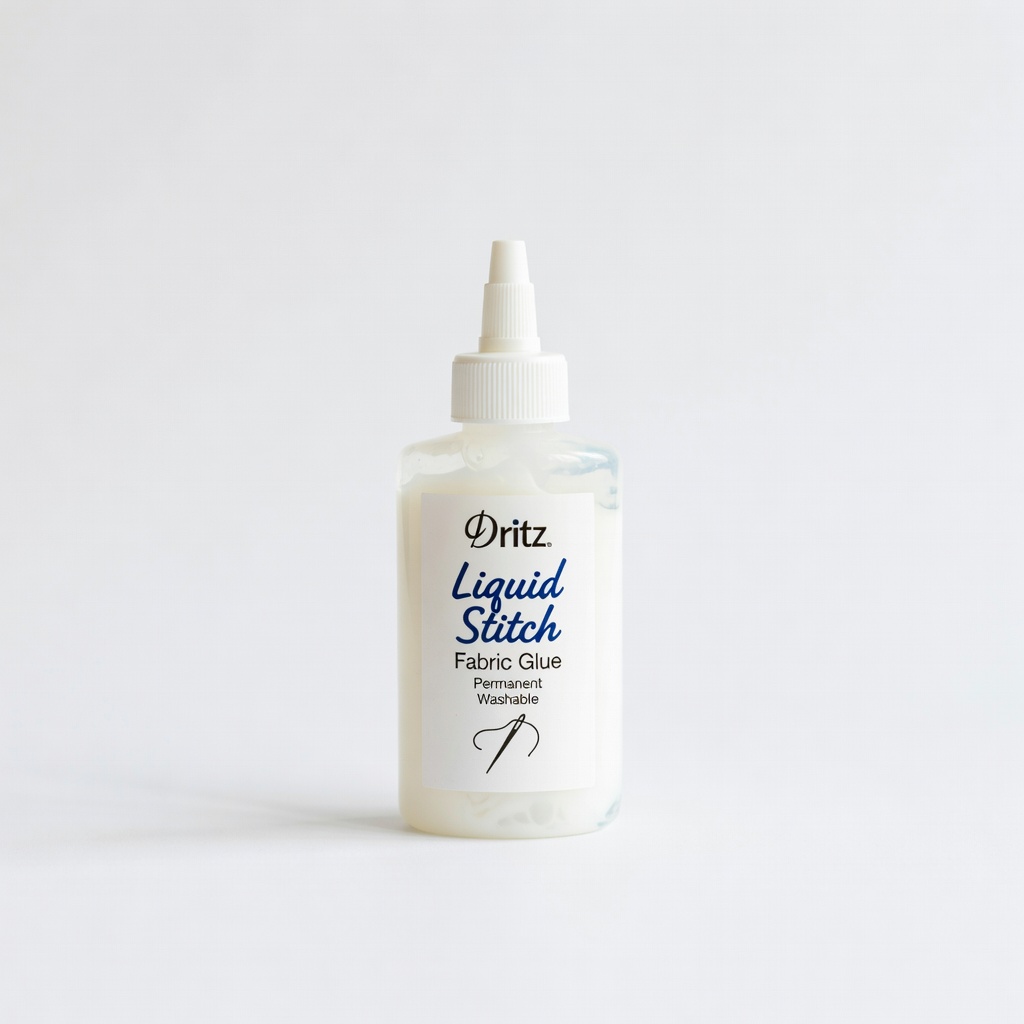
Permanent, flexible hold for quick reinforcements without sewing; machine-washable.
Best for: Backing seams or small fixes on-the-go.
Price Range: $5-$7
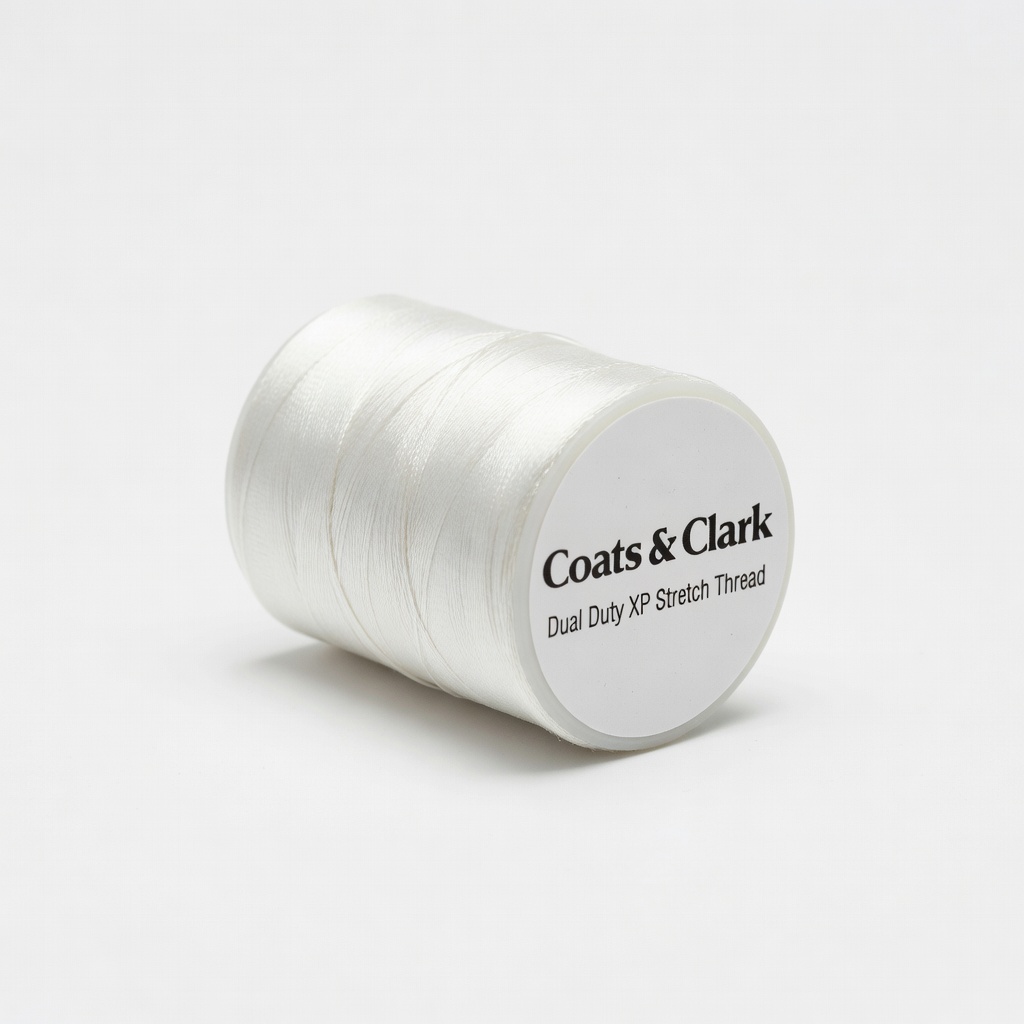
Elastic polyester thread flexes with fabric, preventing breaks in high-movement areas.
Best for: Matching colors for invisible repairs.
Price Range: $3-$5
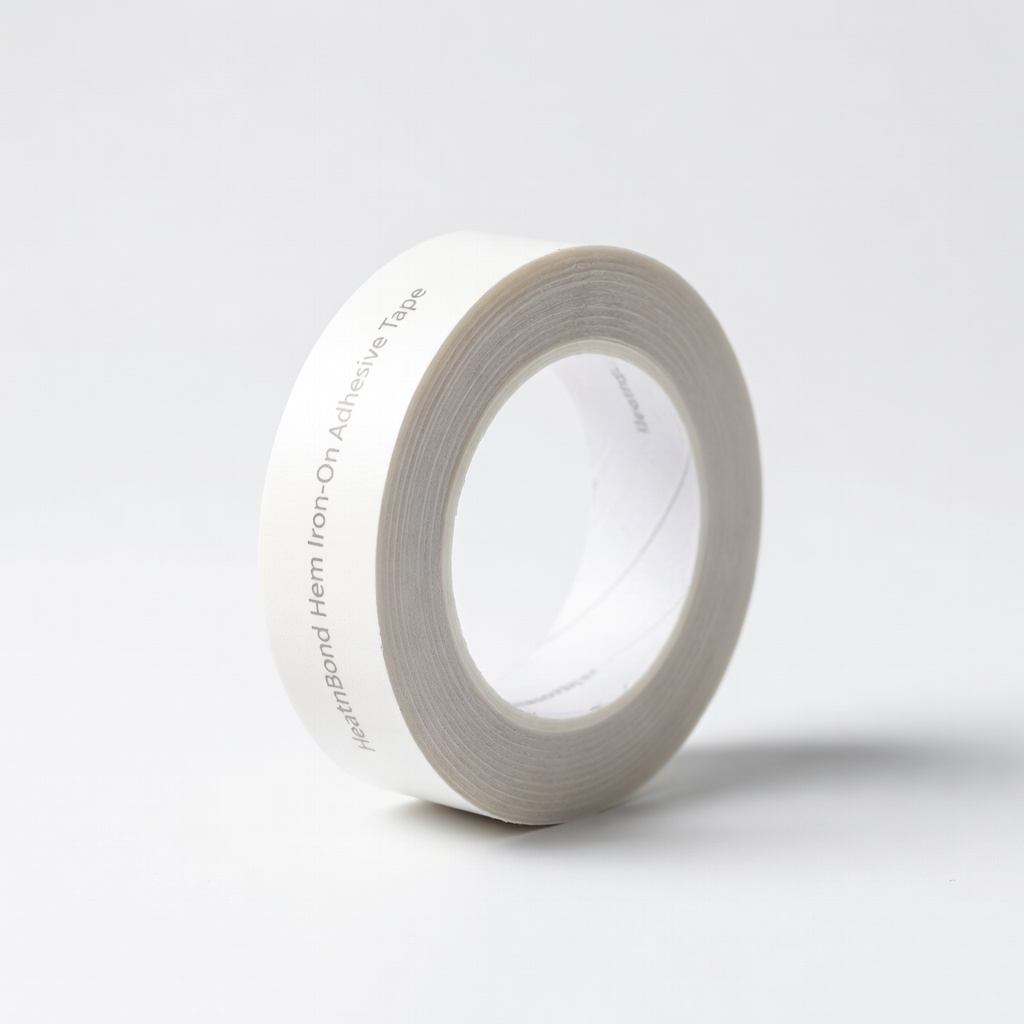
No-sew option for temporary or reinforced seams; activates with iron.
Best for: Quick fixes or when machine unavailable.
Price Range: $4-$6
Machine-sewing durable seams on multiple sweatshirts.
Brother CS6000i Sewing Machine Compact machine with 60 stitches including zigzag perfect for stretch repairs; beginner-friendly for intermediates.

All machine repairs on activewear.
Schmetz Jersey & Stretch Machine Needles Size 90/14 Specialized ballpoint tips prevent snags on spandex blends, ensuring smooth stitches.
Backing seams or small fixes on-the-go.
Dritz Liquid Stitch Fabric Glue Permanent, flexible hold for quick reinforcements without sewing; machine-washable.
Matching colors for invisible repairs.
Coats & Clark Dual Duty XP Stretch Thread Elastic polyester thread flexes with fabric, preventing breaks in high-movement areas.
Quick fixes or when machine unavailable.
HeatnBond Hem Iron-On Adhesive Tape No-sew option for temporary or reinforced seams; activates with iron.