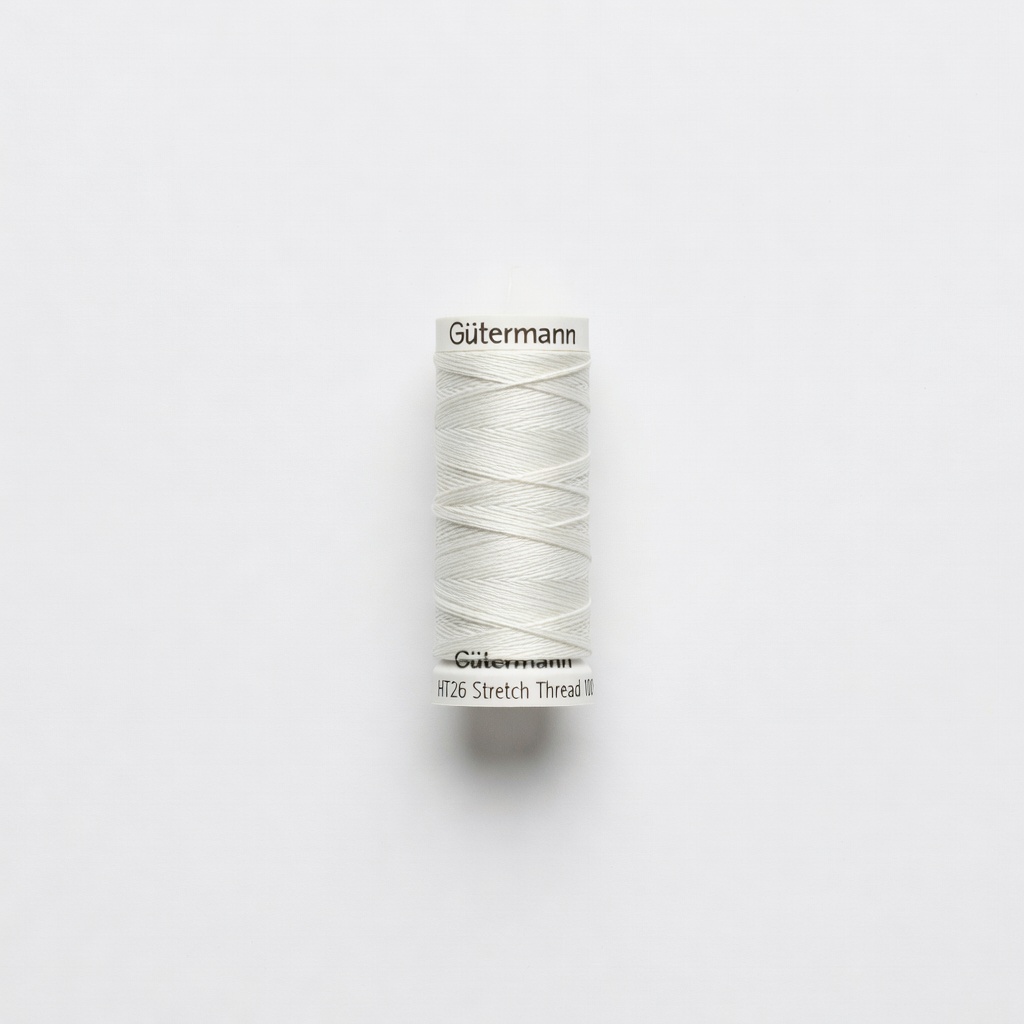
Gutermann HT26 Stretch Thread
Primary sewing thread to match shorts color.
$4.99-$6.99
Gutermann HT26 Stretch Thread Perfect for activewear knits—elastic and durable for high-movement seams.
Get the App
Better experience on mobile
Fix frayed or split seams on your active shorts easily with beginner-friendly hand-sewing techniques and save on new pairs.
Active shorts are built for intense workouts, but repeated stretching, sweating, and washing can cause seams to fray or split, especially at high-stress areas like the crotch or inseam. Instead of tossing them out, you can repair them at home and extend their life by months or years. This guide shows you how to assess and mend seams like a pro.
You'll learn a simple hand-sewing method perfect for stretchy athletic fabrics, using basic tools. No sewing machine required, though it's optional for faster results. The process focuses on strong, flexible repairs that withstand movement.
Expect to spend 30-45 minutes total. It's beginner-level—no prior experience needed. By the end, your shorts will look and perform almost like new.
Estimated Time: 30-45 minutes Difficulty: beginner
Turn your active shorts inside out and inspect the seam closely. Look for frayed edges, splits, or loose threads. Run your fingers along the seam to feel for gaps. Note the length of the repair needed—most are 2-6 inches.
Why it matters: Proper assessment prevents over-sewing and ensures a targeted fix. Success looks like identifying the exact problem area without making it worse.
If the tear is over 4 inches or the fabric is heavily damaged, consider professional help or replacement.
💡 Tips:
⚠️ Warnings:
Spot-clean the seam with mild soap and water, then air-dry completely. Trim any loose threads or ragged edges with scissors, leaving a clean 1/4-inch seam allowance.
Why it matters: Dirt or fuzz causes weak repairs and puckering. Expect a smooth, dry edge ready for pinning.
Pro tip: For stretch fabrics, avoid cutting too much to preserve elasticity.
💡 Tips:
⚠️ Warnings:
Match the frayed edges perfectly, right sides together (inside facing out). Insert pins perpendicular to the seam every 1 inch to hold it shut. Start and end with pins 1/4 inch from edges.
Why it matters: Pins keep fabric aligned for even stitches. Success: Seam lies flat without twisting or bunching.
Remove any pins as you sew later.
💡 Tips:
Cut 18-24 inches of thread, knot one end (double it for strength by threading twice). Insert through needle eye, pull to even lengths, and knot ends together.
Why it matters: Strong thread prevents breakage during workouts. Expect a secure double thread ready to go.
Use stretch thread to match activewear flexibility.
💡 Tips:
⚠️ Warnings:
Insert needle from wrong side, 1/8 inch from start. Pull through, then backstitch: Insert needle back 1/4 inch, come up ahead, repeat zigzag pattern.
Aim for 1/8-inch stitches, close together for strength. Sew past the damage by 1/2 inch, knot off securely.
Why it matters: Backstitch mimics machine durability on stretch fabric. Success: Invisible from outside, flexible when pulled.
Practice on scrap fabric first.
💡 Tips:
⚠️ Warnings:
Knot thread ends, trim excess. Apply fabric glue inside seam (optional), then press with iron on low heat (no steam) over cloth for 10-15 seconds.
Why it matters: Heat sets stitches flat and strong. Expect a crisp, professional finish.
Test stretch: Tug gently—no gaps.
💡 Tips:
⚠️ Warnings:
Turn right-side out, stretch and wear-test. Trim any stray threads. Re-sew if needed.
Success: Seam holds under movement, looks seamless.
💡 Tips:
Problem: Stitches pucker or bunch
Solution: Ease pins out gradually while sewing; use less tension.
Problem: Thread breaks easily
Solution: Switch to stretch thread and ballpoint needle; double-thread.
Problem: Seam reopens after wear
Solution: Reinforce with glue/tape or zigzag machine stitch; seek pro if >4 inches.
Problem: Can't match thread color
Solution: Use clear nylon or slightly darker shade.
Perfect for activewear knits—elastic and durable for high-movement seams.
Best for: Primary sewing thread to match shorts color.
Price Range: $4.99-$6.99
Includes ballpoint tips for stretch fabrics without snagging.
Best for: Hand-sewing thick active shorts seams.
Price Range: $2.99-$4.99
Quick reinforcement for seams without sewing; permanent hold.
Best for: Extra strength on high-wear areas like inseam.
Price Range: $5.49-$7.99
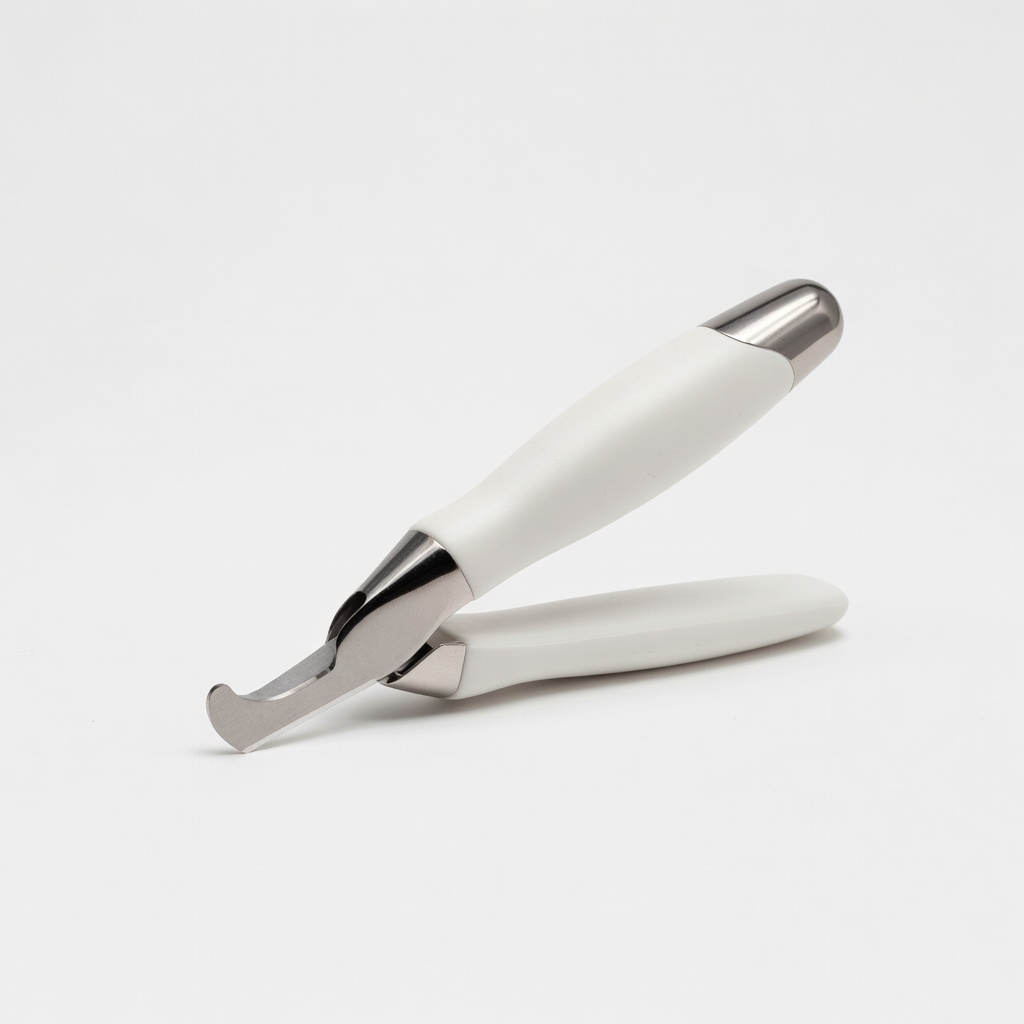
Precise for trimming without damaging surrounding fabric.
Best for: Initial cleanup of frayed edges.
Price Range: $4.99-$6.99
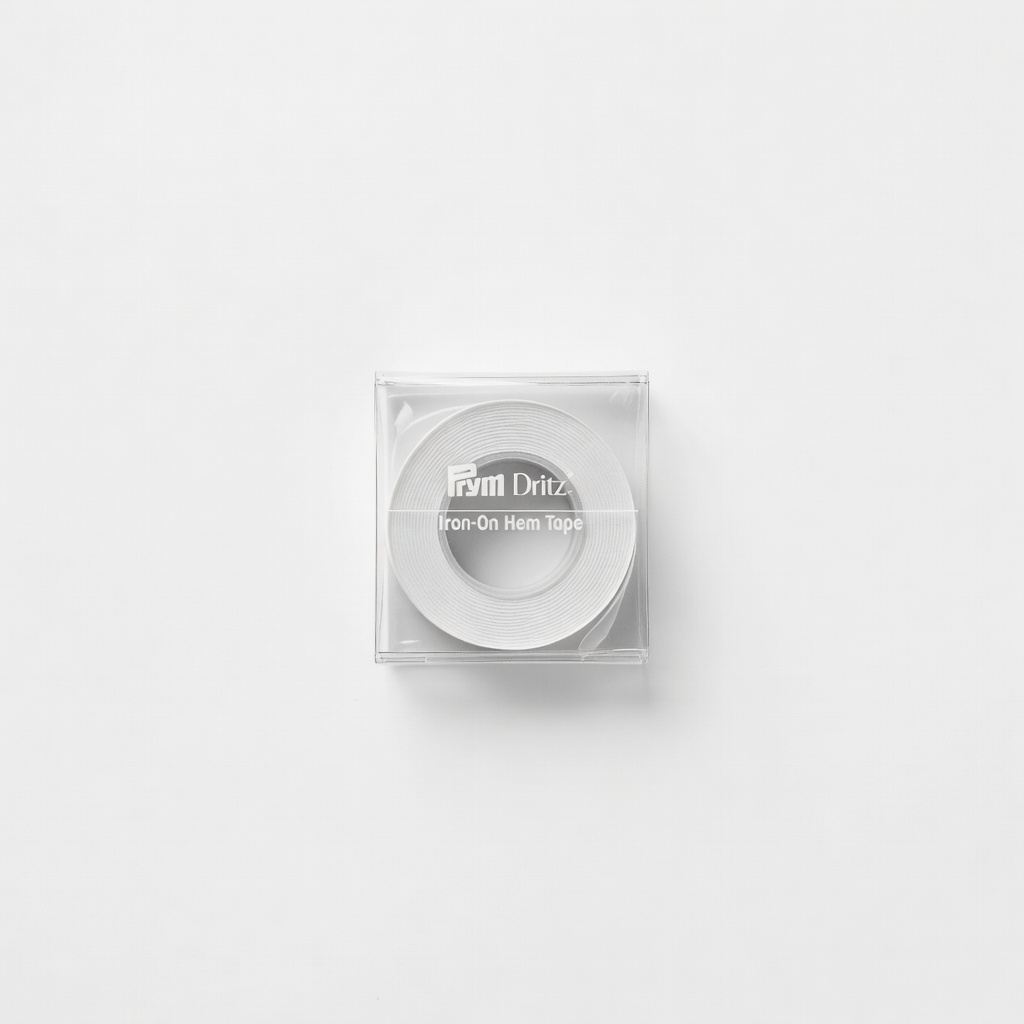
No-sew option for beginners; fuses with heat for flexible repairs.
Best for: Quick fix if hand-sewing intimidates.
Price Range: $3.99-$5.99
Primary sewing thread to match shorts color.
Gutermann HT26 Stretch Thread Perfect for activewear knits—elastic and durable for high-movement seams.

Hand-sewing thick active shorts seams.
Singer Assorted Hand Needles Includes ballpoint tips for stretch fabrics without snagging.

Extra strength on high-wear areas like inseam.
Dritz Liquid Stitch Fabric Glue Quick reinforcement for seams without sewing; permanent hold.
Initial cleanup of frayed edges.
Clover Seam Ripper Precise for trimming without damaging surrounding fabric.
Quick fix if hand-sewing intimidates.
Prym Dritz Iron-On Hem Tape No-sew option for beginners; fuses with heat for flexible repairs.