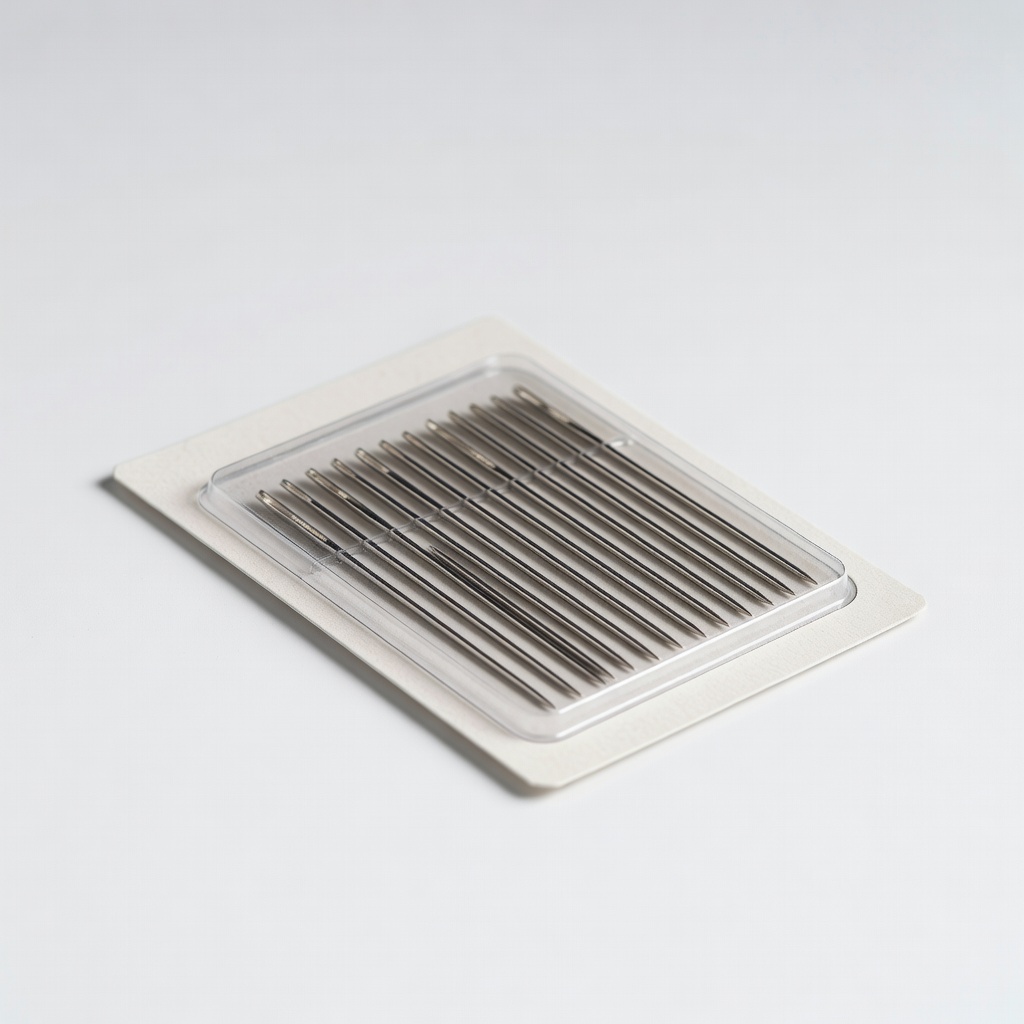
Dritz Hand Sewing Needles, Size 2-9
Essential for hand-sewing thick, layered seams.
$4.99
Dritz Hand Sewing Needles, Size 2-9 Sharp points glide through synthetic activewear without snagging stretch fibers.
Get the App
Better experience on mobile
Fix ripped seams on your active pants with simple hand-sewing steps to save money and extend their lifespan—no sewing machine needed.
Active pants are built for intense workouts, but repeated stretching, washing, and friction can cause seams to split, especially at high-stress areas like the crotch or inseams. Instead of tossing your favorite pair or paying for expensive repairs, you can fix them at home. This guide empowers beginners to repair seams confidently.
You'll learn a straightforward hand-sewing method using basic tools, focusing on durable stitches for stretchy activewear fabrics like nylon or spandex blends. The process restores strength and invisibility to the seam, making your pants look and perform like new.
Expect 30-60 minutes total, depending on the damage size. It's beginner-friendly with no prior sewing experience required—just patience and practice.
Estimated Time: 30-60 minutes Difficulty: beginner
Turn your active pants inside out and examine the seam closely under good lighting. Identify the rip length, location, and if any fabric is frayed. For active pants, check if it's a straight seam or overlocked edge.
Why it matters: Accurate assessment prevents over-sewing and ensures a strong repair. Success looks like a clean, measured rip ready for fixing—no loose threads.
Use a ruler to mark the rip ends with chalk for precision.
💡 Tips:
⚠️ Warnings:
Gently hand-wash the damaged area with mild soap and cool water to remove dirt or sweat residue. Pat dry with a clean towel and let air-dry completely (10-15 minutes).
Why it matters: Clean fabric ensures better stitch adhesion and prevents dirt from weakening the repair. Expect crisp, dry fabric that's easy to handle.
Trim any frayed threads with scissors, but avoid cutting healthy fabric.
💡 Tips:
⚠️ Warnings:
Match the ripped edges perfectly, right sides together (inside out). Use pins or clips perpendicular to the seam line, spacing them 1/2 inch apart. For stretchy active pants, pull gently to align without distorting.
Why it matters: Proper alignment creates a flat, invisible repair. Success: Edges butt together evenly, no puckers.
Add extra pins at ends for security.
💡 Tips:
Cut 18-24 inches of thread (doubles when knotted). Wax it with beeswax if available for smoothness. Insert one end through the needle eye, double it over, and tie a small knot, leaving a 2-inch tail.
Why it matters: Doubled thread adds strength for activewear stress. Expect a secure, double-stranded needle ready to sew.
Choose thread matching the pant color and fabric type (stretchy polyester).
💡 Tips:
⚠️ Warnings:
Insert needle 1/4 inch before the rip, from inside to out. Pull through, then backstitch: go back 1/8 inch into fabric, forward past first stitch, repeat. Stitch 1/8-inch apart.
Why it matters: Backstitch mimics factory seams for durability. Success: Even, tight stitches locking edges.
Use thimble to push needle through multiple layers.
💡 Tips:
⚠️ Warnings:
Sew past the rip end by 1/4 inch. Knot by looping thread around needle twice, pull tight. Trim excess, leaving 1/4 inch tails inside.
Why it matters: Secures against unraveling during workouts. Expect hidden knots inside the seam.
💡 Tips:
Turn pants right side out. Press seam with medium heat iron (no steam for synthetics), using cloth barrier. Stretch and tug gently to test strength.
Why it matters: Heat sets stitches flat. Success: Seamless look, holds under pull without gaps.
💡 Tips:
⚠️ Warnings:
Problem: Thread keeps breaking
Solution: Switch to heavier nylon thread and sharper needle. Avoid pulling too hard.
Problem: Seam puckers or gaps
Solution: Repin and ease fabric evenly. Use smaller stitches.
Problem: Stitches visible from outside
Solution: Sew closer to original seam line with matching thread. Press flat.
Problem: Rip reopens after wear
Solution: Reinforce with machine zigzag if available, or seek tailor for major damage.
Sharp points glide through synthetic activewear without snagging stretch fibers.
Best for: Essential for hand-sewing thick, layered seams.
Price Range: $4.99
All-purpose polyester thread bonds well with nylon/spandex, resists breaking.
Best for: Matching color for durable, flexible repairs on active pants.
Price Range: $3.49
Precise blade removes old stitches cleanly without damaging fabric.
Best for: Prep work for complex rips or overlocked seams.
Price Range: $6.99
Protects fingers when pushing needle through tough activewear layers.
Best for: Beginners sewing crotch or knee seams.
Price Range: $2.99
Quick reinforcement for minor rips before sewing, adds stretch bond.
Best for: Backup for weak seams or no-sew option.
Price Range: $7.99
Essential for hand-sewing thick, layered seams.
Dritz Hand Sewing Needles, Size 2-9 Sharp points glide through synthetic activewear without snagging stretch fibers.
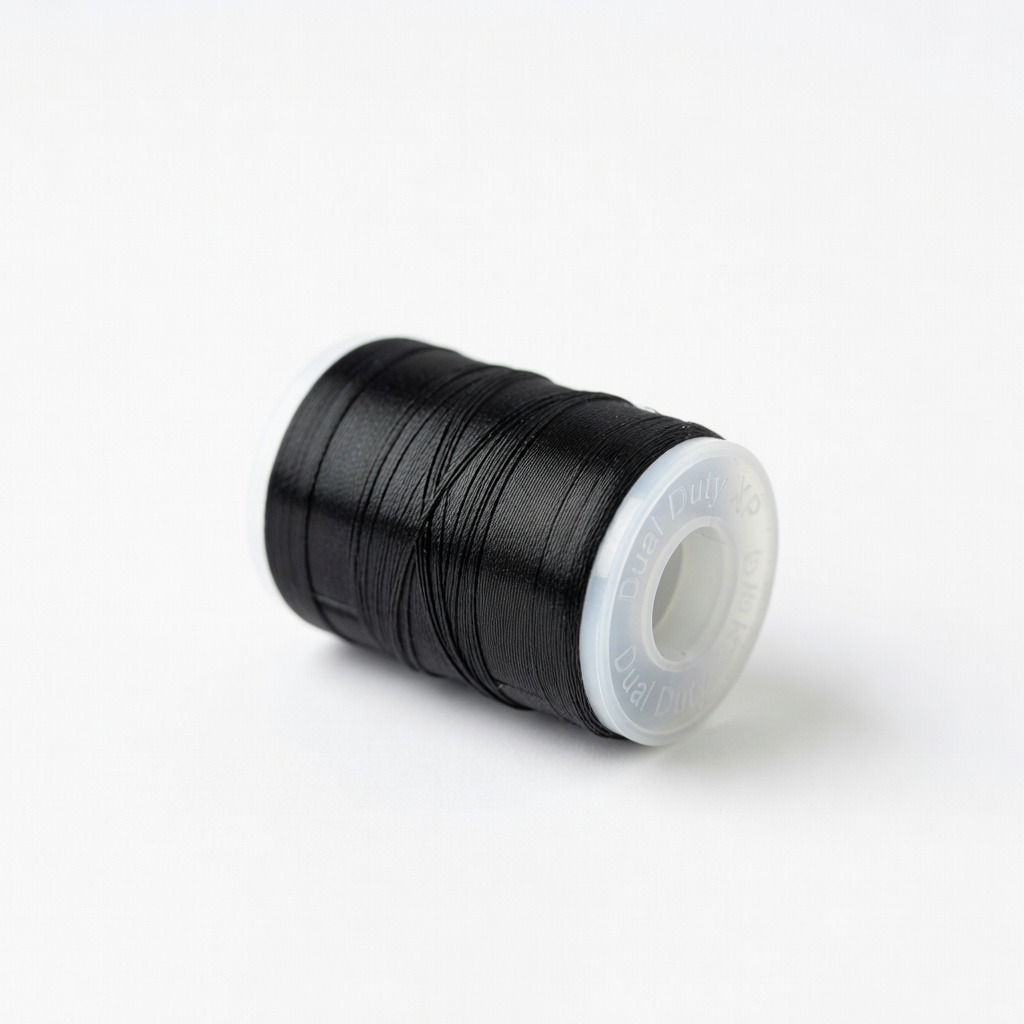
Matching color for durable, flexible repairs on active pants.
Coats & Clark Dual Duty XP Thread (Clear or Black) All-purpose polyester thread bonds well with nylon/spandex, resists breaking.
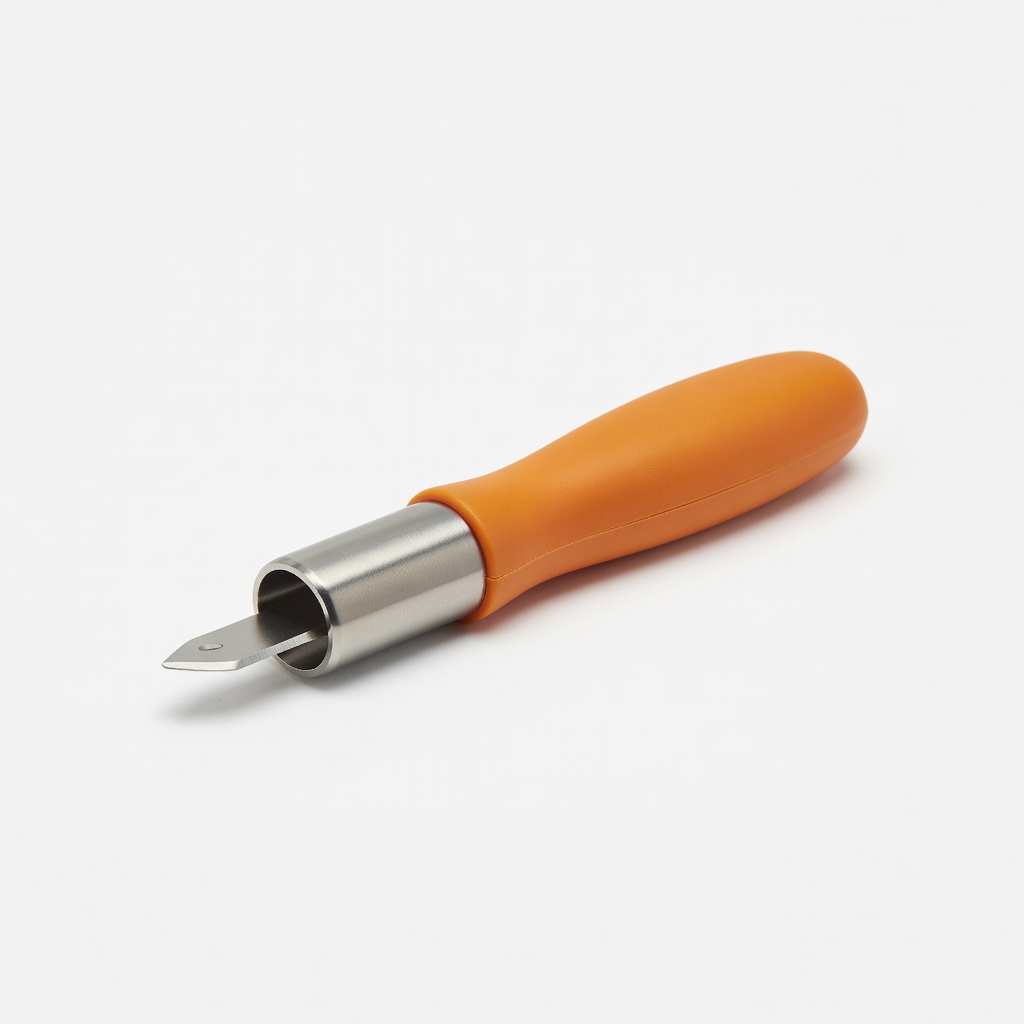
Prep work for complex rips or overlocked seams.
Fiskars Classic Seam Ripper Precise blade removes old stitches cleanly without damaging fabric.
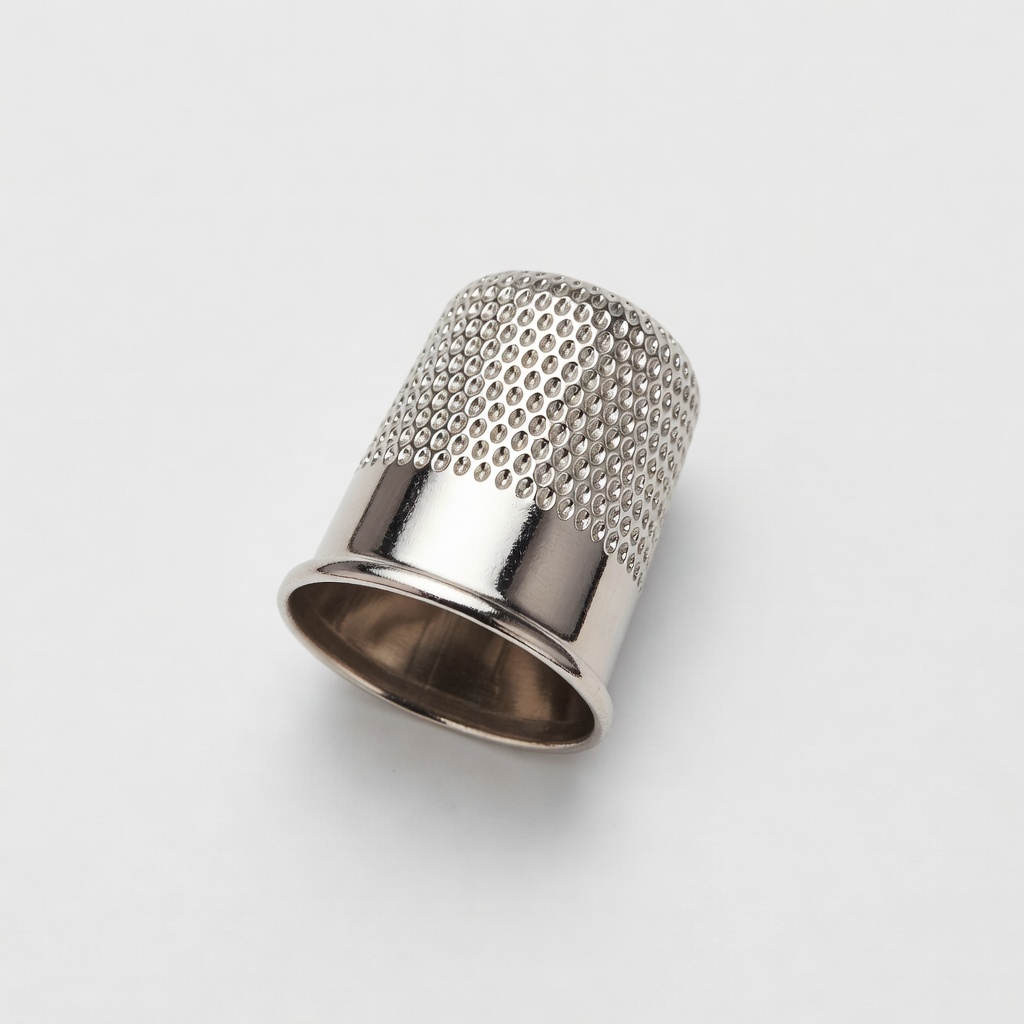
Beginners sewing crotch or knee seams.
Dritz Thimble, Medium Metal Protects fingers when pushing needle through tough activewear layers.
Backup for weak seams or no-sew option.
Beacon Fabri-Tac Fabric Glue Quick reinforcement for minor rips before sewing, adds stretch bond.