
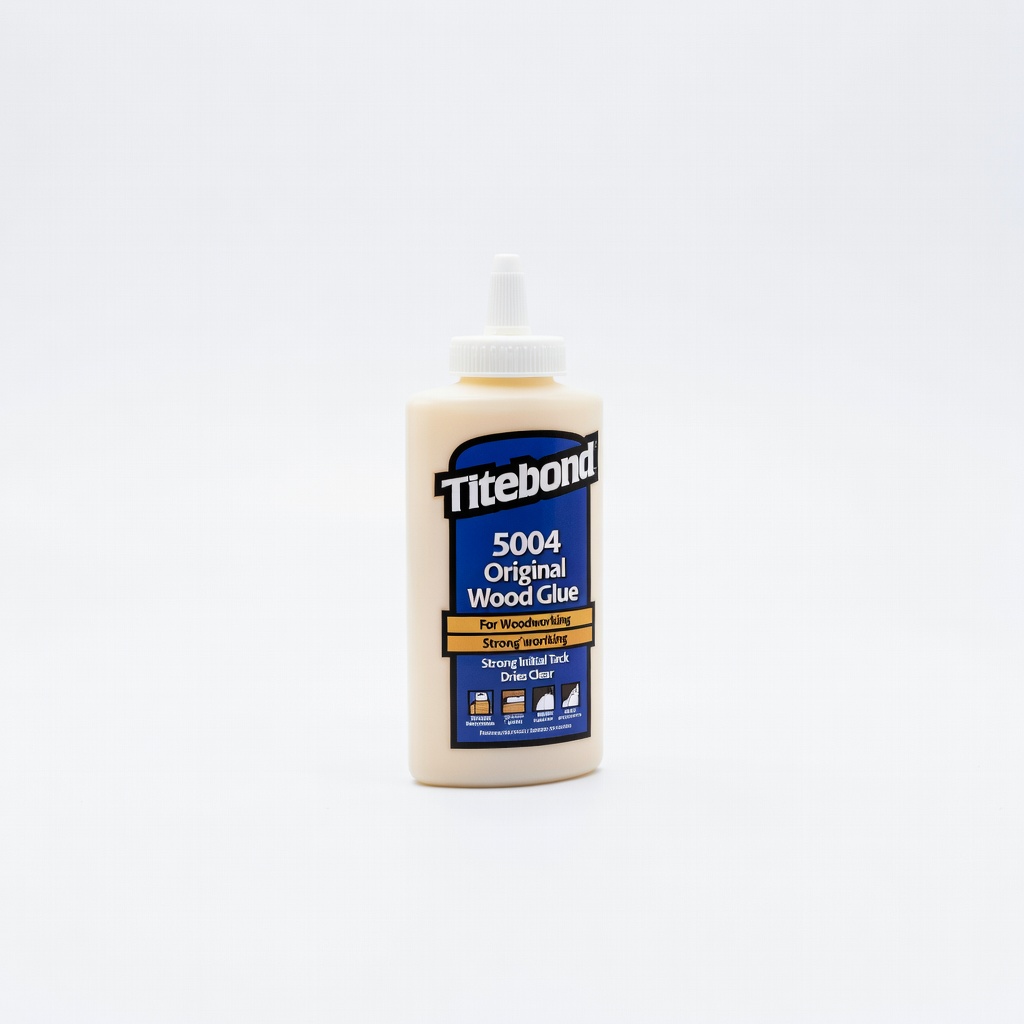
Titebond 5004 Original Wood Glue
Primary glue for all cracks; thin for injection.
$6-10
Titebond 5004 Original Wood Glue Industry standard for luthier repairs—strong, sands well, reversible with heat.
Get the App
Better experience on mobile
Master advanced techniques to fix cracks on your acoustic bass top, back, or sides, restoring structural integrity and tone in 4-6 hours.
Cracks in acoustic basses can strike fear into any player's heart—whether from dry winters, impacts, or humidity swings, they compromise tone, playability, and value. For advanced luthiers and DIYers, repairing these yourself saves hundreds in shop fees while deepening your instrument knowledge.
In this guide, you'll learn to assess damage, glue cracks with cleats for reinforcement, clamp properly, and finish seamlessly. We'll cover hairline to structural cracks on tops, backs, and sides. Expect 4-6 hours of active work plus 24-hour drying—advanced skills like body shaping and finishing required.
Success means a crack-free bass that plays and sounds like new, with no visible scars under stage lights.
Estimated Time: 4-6 hours active + 24 hours drying Difficulty: advanced
Inspect the crack under bright light: measure length, width, and depth. Classify as hairline (under 0.5mm), open, or separating at seam. Check for brace detachment or neck joint issues. Remove strings, bridge (if glued), and loosen truss rod/neck.
Why it matters: Wrong assessment leads to weak repairs. Expect photos or diagrams of crack types.
Success: Document with photos; note if cleats needed (cracks >2 inches).
💡 Tips:
⚠️ Warnings:
Gently open crack with X-acto if needed. Scrape out dirt, old glue, or finish flakes. Wipe with acetone-damp cloth (avoid soaking wood). Dry fully with low heat lamp or 48 hours in controlled humidity (45-55%).
Why: Contaminants weaken bonds. Expect wood to lighten slightly.
Success: Crack edges clean, dry, and mate perfectly when pressed.
💡 Tips:
⚠️ Warnings:
Cut spruce/maple strips to 1/2-inch wide, 1/16-inch thick, longer than crack by 1 inch each end. Taper edges to 1/8-inch thin. Shape underside to match body curve using bass body as template. Sand smooth.
Why: Cleats prevent re-cracking under string tension. For hairlines, skip or use tiny ones.
Success: Cleats flex with wood grain, no sharp edges.
💡 Tips:
⚠️ Warnings:
Place cauls inside/outside crack line. Add cleat inside if top crack. Clamp gently without glue—check alignment, even pressure, no dents. Adjust pads with soft wood.
Why: Ensures no gaps or bulges. Expect slight spring-back.
Success: Crack closes fully, body shape preserved.
💡 Tips:
⚠️ Warnings:
Work fast (5-min open time for Titebond). Thin glue with water if thick. Inject into crack with syringe or brush both sides. Add glue to cleat, insert via soundhole. Clamp immediately per dry fit, wipe excess.
Why: Full penetration bonds fibers. Expect squeeze-out.
Success: Even glue lines, no air pockets (tap for hollow sounds).
💡 Tips:
⚠️ Warnings:
Clamp 24 hours at 70°F. Scrape dried squeeze-out with scraper/chisel flush. Sand lightly (220 grit) to level.
Why: Clean surface for finish match. Expect hard glue chips.
Success: Invisible joints.
💡 Tips:
⚠️ Warnings:
Apply wood hardener to porous spots, then filler. Sand progressively to 400 grit. Feather edges. Apply 2-3 thin finish coats (matching original: lacquer/shellac), buff.
Why: Seamless cosmetic repair. Expect color match challenges.
Success: Crack invisible, gloss uniform.
💡 Tips:
⚠️ Warnings:
Re-glue bridge, install strings. Tune, check action/intociation. Play 30 mins—listen for buzzes, test tone.
Why: Verifies structural integrity. Expect setup tweaks.
Success: Plays perfectly, tone restored.
💡 Tips:
⚠️ Warnings:
Problem: Crack reopens after unclamping
Solution: Re-glue with cleat or more clamps; check for brace detachment.
Problem: Buzzing post-repair
Solution: Inspect top for high spots; re-sand and check nut/action.
Problem: Finish won't adhere
Solution: Scuff with 320 grit; use compatible sealer/primer.
Problem: Tone deadened
Solution: Ensure cleats don't bridge braces; tap-tune test.
Industry standard for luthier repairs—strong, sands well, reversible with heat.
Best for: Primary glue for all cracks; thin for injection.
Price Range: $6-10
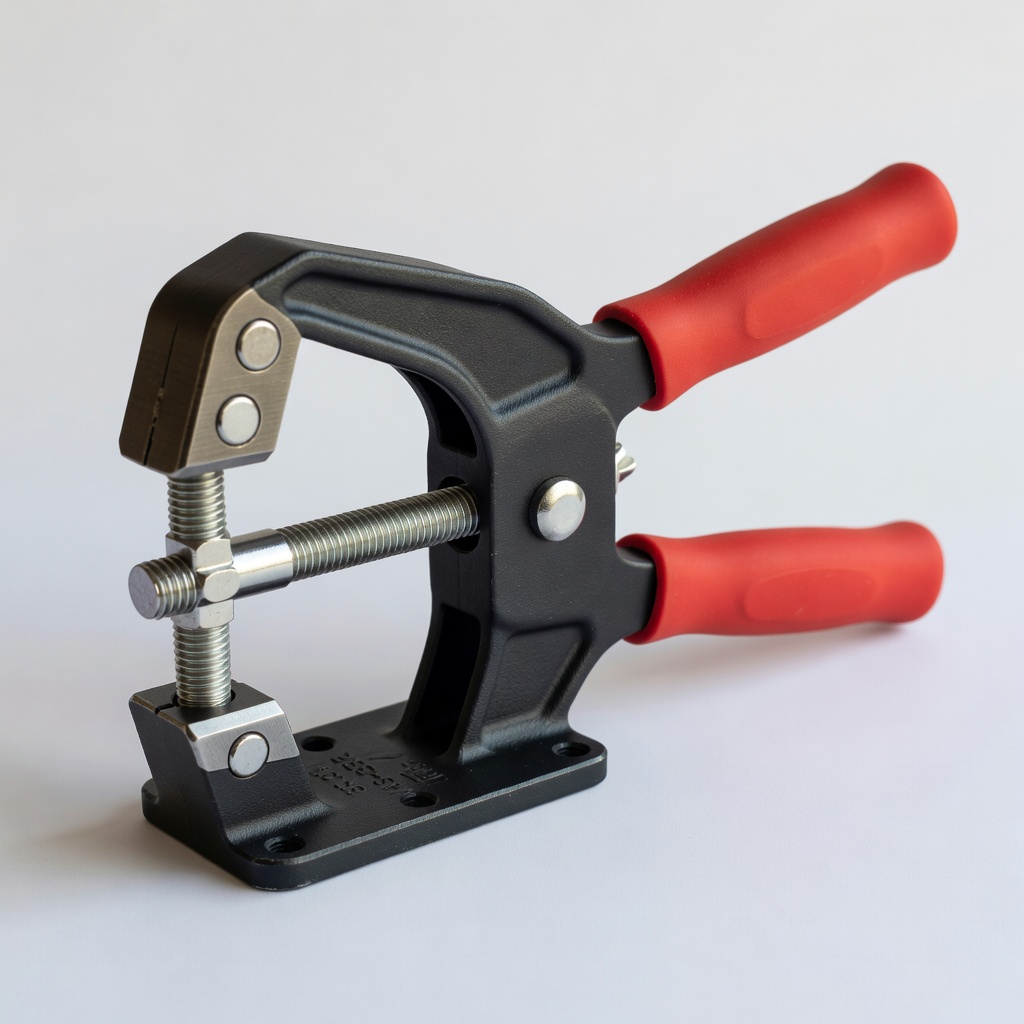
Precise pressure for curved bodies without slipping.
Best for: Side and back crack clamping.
Price Range: $25-35
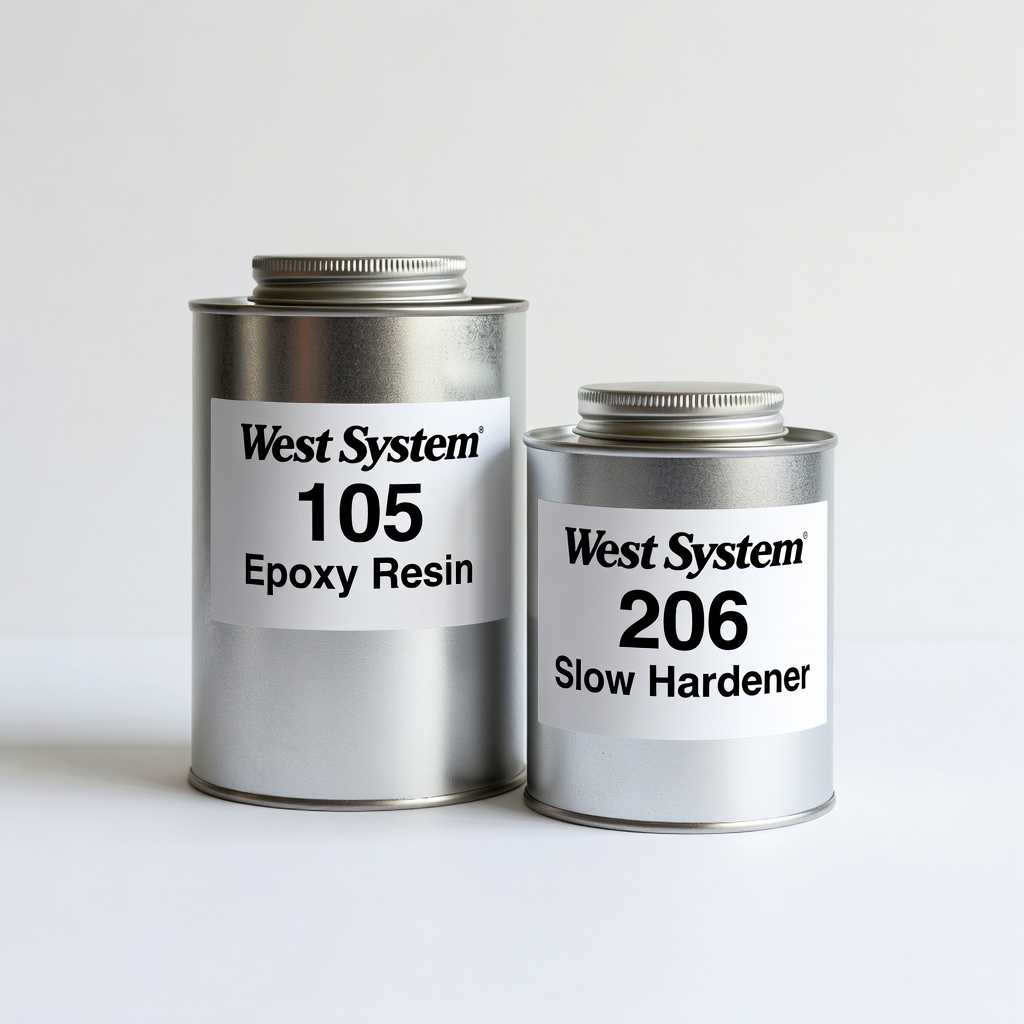
Superior for deep or impact cracks—fills voids permanently.
Best for: Structural repairs on backs/sides.
Price Range: $40-60
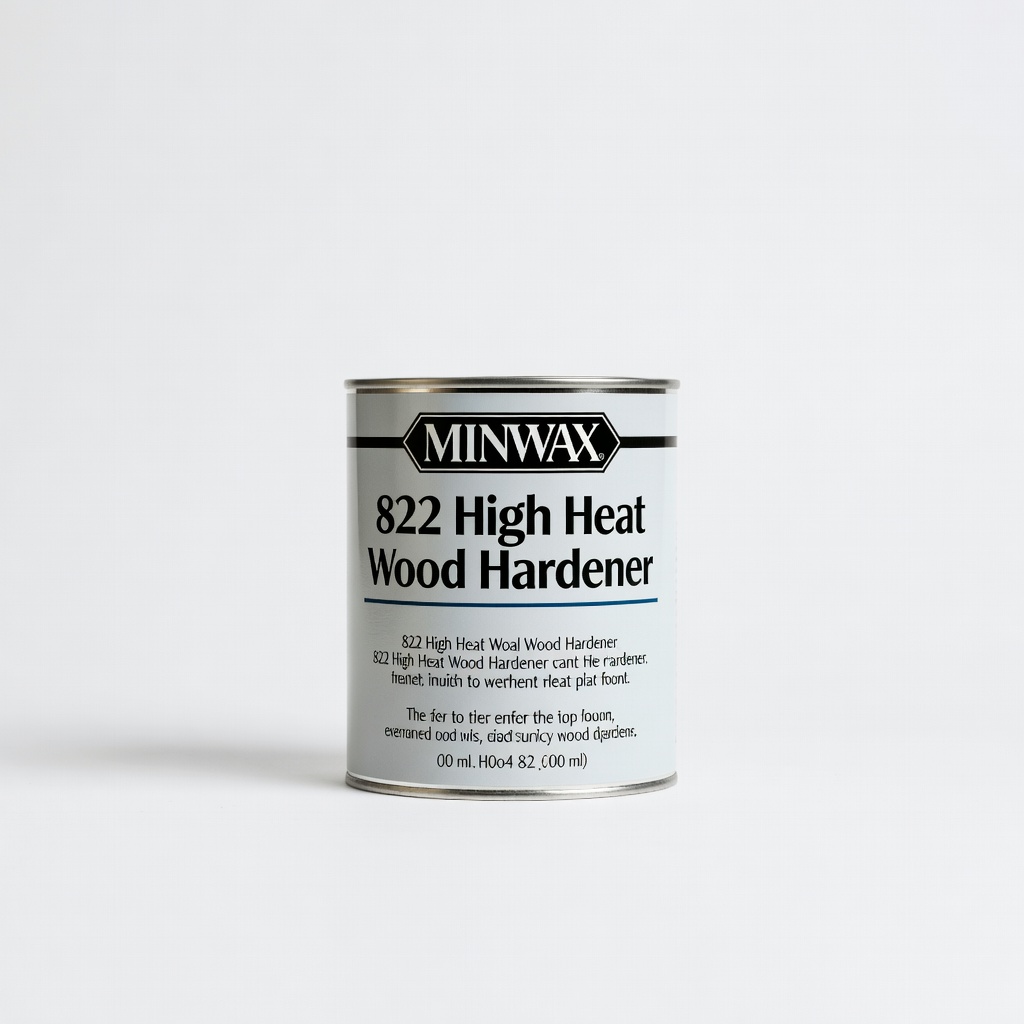
Stabilizes crumbly wood before gluing/filling.
Best for: Old or dry cracks.
Price Range: $8-12
Handy for small hairlines or holding cauls.
Best for: Precision work inside soundhole.
Price Range: $15-20
Primary glue for all cracks; thin for injection.
Titebond 5004 Original Wood Glue Industry standard for luthier repairs—strong, sands well, reversible with heat.
Side and back crack clamping.
Bessey VAS-23RE Variable Angle Edge Clamp Precise pressure for curved bodies without slipping.
Structural repairs on backs/sides.
West System 105 Epoxy Resin with 206 Slow Hardener Superior for deep or impact cracks—fills voids permanently.
Old or dry cracks.
Minwax 822 High Heat Wood Hardener Stabilizes crumbly wood before gluing/filling.
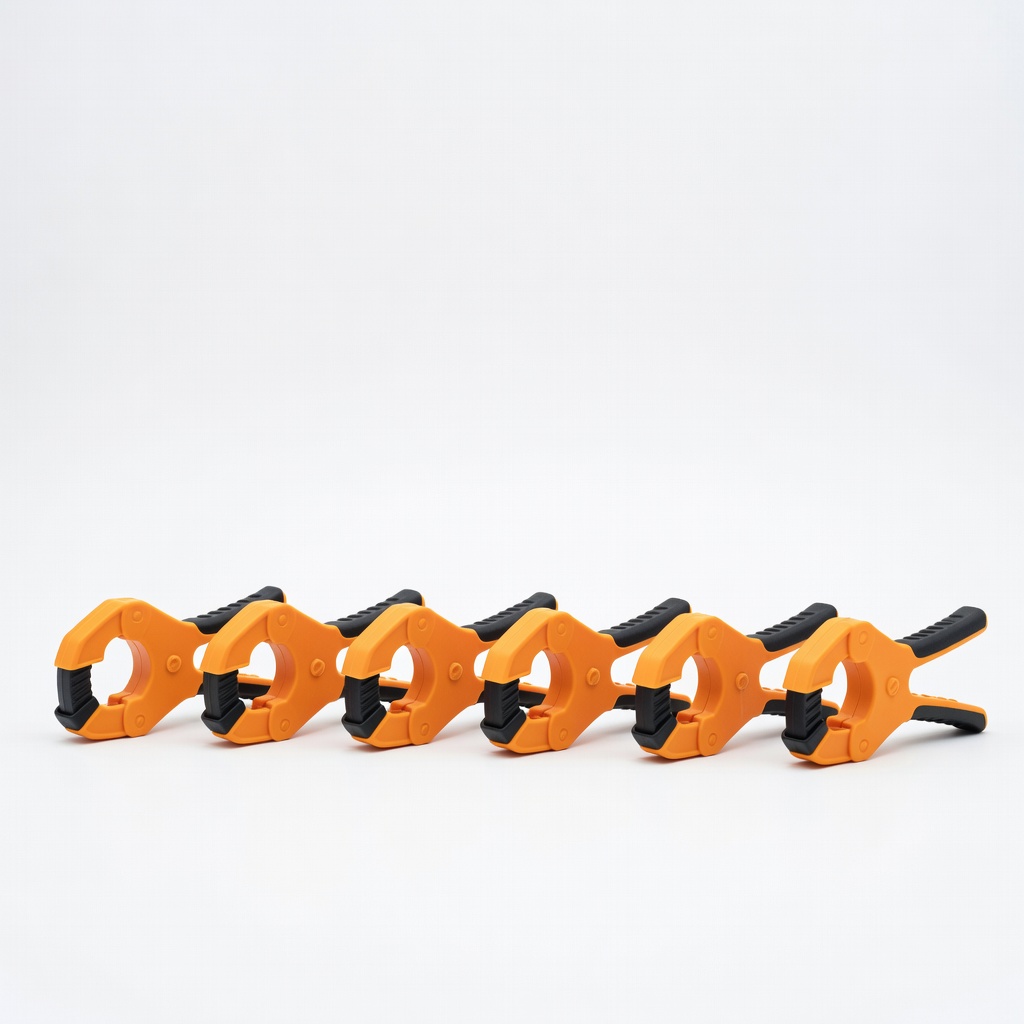
Precision work inside soundhole.
IRWIN Quick-Grip Mini Clamps (6-pack) Handy for small hairlines or holding cauls.