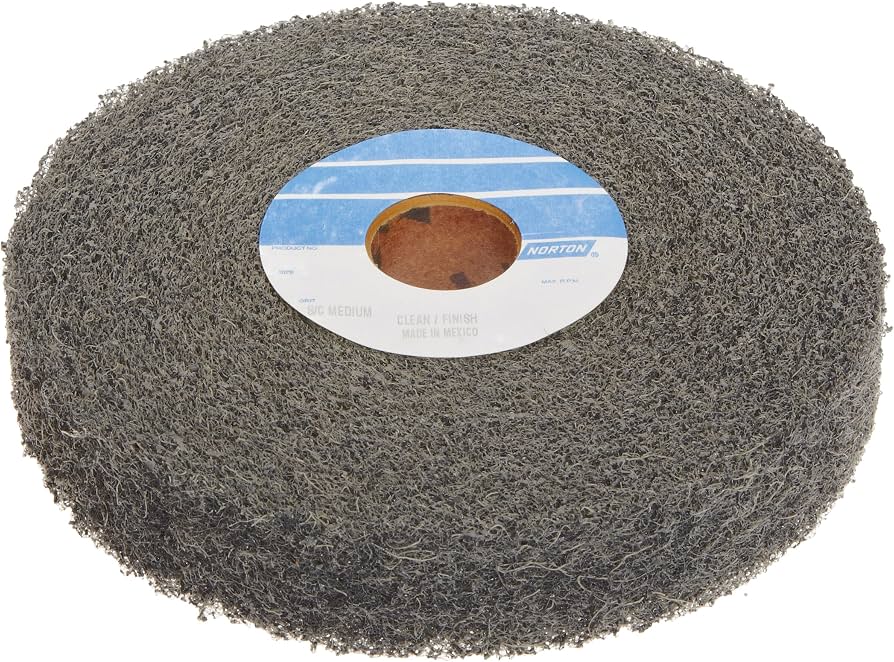
Norton 66261107800 Bear-Tex Belt Cleaner Dressing
Essential for steps 3-4 on belts/discs; lasts 50+ repairs.
$12-15
Norton 66261107800 Bear-Tex Belt Cleaner Dressing Top-rated crepe rubber stick removes glaze and clogs without damaging grit.
Get the App
Better experience on mobile
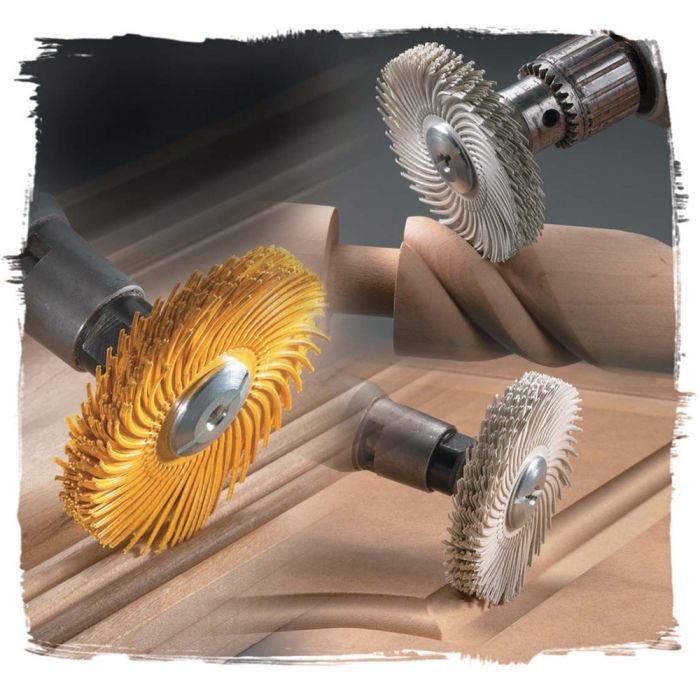
Master advanced techniques to restore worn sanding belts, discs, and pads, saving 50-70% on replacements while maintaining performance.
Abrasive finishing products like sanding belts, discs, flap wheels, and non-woven pads wear out quickly in high-volume woodworking or metalworking shops, costing pros hundreds annually in replacements. Instead of tossing them, advanced repair methods can extend their life by 2-5x, preserving grit sharpness and backing integrity.
In this guide, you'll learn precise, sequential steps to inspect, clean, deglaze, repair, and test abrasives for safe reuse. Expect pro-level results with tools you likely already own. The process takes 30-60 minutes per item and requires intermediate mechanical skills plus safety awareness—no beginner guesswork.
By the end, your repaired abrasives will cut like new, reducing downtime and waste while sharpening your finishing efficiency.
Estimated Time: 30-60 minutes per product Difficulty: advanced
Inspect the abrasive under bright light. Check for clogged grit (sawdust/resin buildup), glazing (shiny dull spots), tears in backing, missing flaps/grains, or delamination. Success looks like 70%+ intact grit coverage with minor issues—discard if over 50% compromised.
Why it matters: Prevents wasting time on irreparable items. Rotate the product slowly, noting high-wear zones (center for discs, edges for belts). Mark tears with tape.
💡 Tips:
⚠️ Warnings:
Use a shop vacuum or compressed air to remove loose debris. Follow with a soft wire or nylon brush to dislodge embedded particles. Expect clouds of dust—work in ventilated area.
This clears surface junk, exposing true condition for wet cleaning. Brush perpendicular to grit lines to avoid snagging.
💡 Tips:
Rub the cleaning stick or crepe rubber firmly across the surface in circular motions, applying moderate pressure. The stick will darken and crumble, indicating glaze removal. Continue until fresh, sharp grit appears—surface should feel aggressive again.
Why: Glazing passivates cutting edges; this exposes diamonds or minerals. For belts, flex while rubbing.
💡 Tips:
⚠️ Warnings:
Apply mineral spirits sparingly with a lint-free rag. Scrub gently, then wipe clean. Let evaporate 5-10 mins. Success: No oily residue or color transfer.
Targets polymerized resins/sap. For non-woven pads, soak briefly then rinse with water.
💡 Tips:
⚠️ Warnings:
Cut clean backing patch to match tear size. Apply contact cement to both surfaces, let tack (2-3 mins), align, and press firmly. Clamp or weight 15 mins.
Restores structural integrity for high-speed use. Trim excess with utility knife.
💡 Tips:
⚠️ Warnings:
For flap discs, cut matching flap segments from donor disc. Adhere with spray adhesive, overlapping slightly. Press and cure 20 mins.
Extends life of radial products. Align grit direction.
💡 Tips:
Mount on tool or lap against 400-grit sandpaper on flat glass. Run lightly at low speed 1-2 mins to even profile. Check flatness with straightedge.
Prevents chatter marks in finishing.
💡 Tips:
⚠️ Warnings:
Run on scrap material at operating speed. Listen for balance issues; check stock removal rate. Success: Cuts evenly like 80-90% new.
Store flat/dry. Re-inspect after 10 mins use.
💡 Tips:
Problem: Abrasive still clogs fast post-repair
Solution: Re-deglaze and ensure full solvent evap; switch to open-coat abrasives next time.
Problem: Backing tears during use
Solution: Reapply with flexible adhesive; avoid rigid patches.
Problem: Uneven cutting or chatter
Solution: Re-true surface; check tool arbor runout.
Problem: Vibration on belts
Solution: Balance by trimming heavy spots; replace if >20% damaged.
Top-rated crepe rubber stick removes glaze and clogs without damaging grit.
Best for: Essential for steps 3-4 on belts/discs; lasts 50+ repairs.
Price Range: $12-15
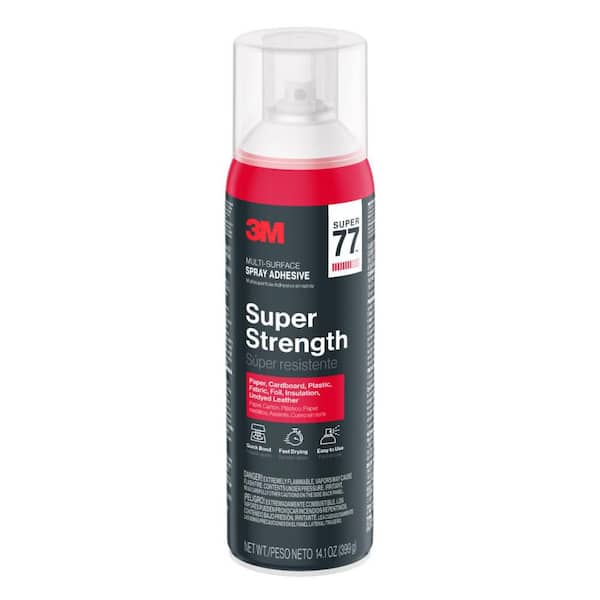
Industrial-strength, flexible bond for backings and flaps; quick tack.
Best for: Perfect for steps 5-6; bonds phenolic cloth reliably.
Price Range: $18-22
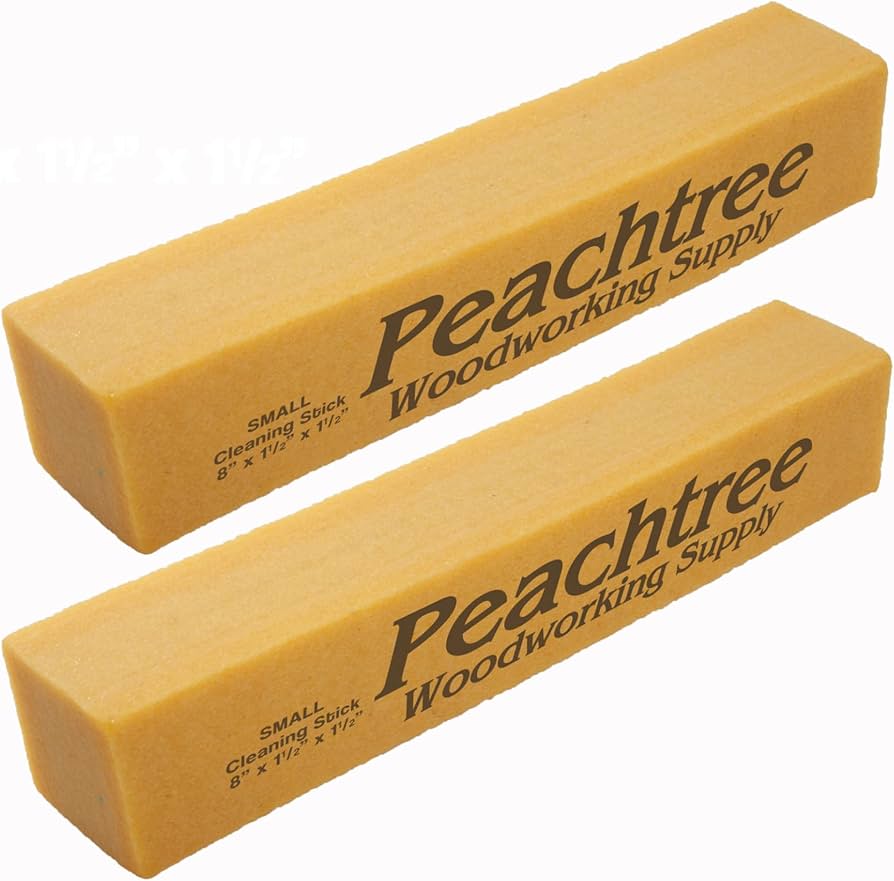
Gentle on fine grits, effective on resins; pro favorite for non-wovens.
Best for: Step 3 alternative for delicate pads/discs.
Price Range: $14-18
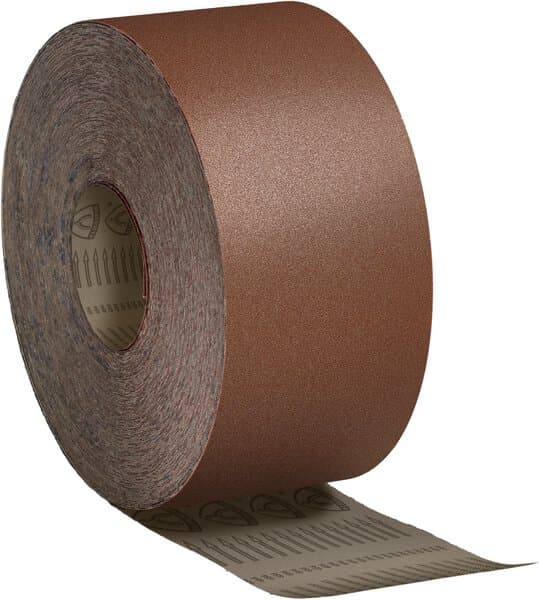
OEM-match material for durable tear repairs.
Best for: Step 5 patching; cut to size.
Price Range: $25-35 per roll
Nylon alternative to wire for safe dry cleaning.
Best for: Step 2 on soft abrasives.
Price Range: $20-30
Essential for steps 3-4 on belts/discs; lasts 50+ repairs.
Norton 66261107800 Bear-Tex Belt Cleaner Dressing Top-rated crepe rubber stick removes glaze and clogs without damaging grit.
Perfect for steps 5-6; bonds phenolic cloth reliably.
3M Super 77 Multipurpose Spray Adhesive Industrial-strength, flexible bond for backings and flaps; quick tack.
Step 3 alternative for delicate pads/discs.
Mirka 8477300111 Abrasive Cleaning Stick Gentle on fine grits, effective on resins; pro favorite for non-wovens.
Step 5 patching; cut to size.
Klingspor Phenolic Resin Backing Cloth OEM-match material for durable tear repairs.
Step 2 on soft abrasives.
3M Scotch-Brite Radial Bristle Brush Nylon alternative to wire for safe dry cleaning.