A dripping faucet is more than just an annoyance—it can waste up to 10 gallons of water a day and increase your utility bill. While calling a plumber is always an option, most faucet leaks are caused by simple worn internal parts that you can replace yourself in under an hour. With the right tools and a little patience, you can fix the problem and avoid paying a premium for a service call.
This guide will teach you how to diagnose the type of faucet you have, shut off the water safely, and replace the necessary parts—whether it's a rubber washer, O-ring, or cartridge. You'll learn the step-by-step process from start to finish, along with tips to make the job easier and mistakes to avoid.
No advanced plumbing skills required—if you can turn a wrench, you can repair a leaky faucet. Let's get started and stop that drip for good.
▸What You'll Need
- •Adjustable wrench (8-inch)
- •Screwdrivers (Phillips and flathead)
- •Allen wrench (hex key) if your handle uses one
- •Faucet repair kit or replacement parts (cartridge, O-rings, washers, etc.)
- •Plumber's grease (silicone-based)
- •Plumber's tape (Teflon tape)
- •Bucket or large bowl
- •Shop towels or rags
- •Flashlight (optional, for under-sink work)
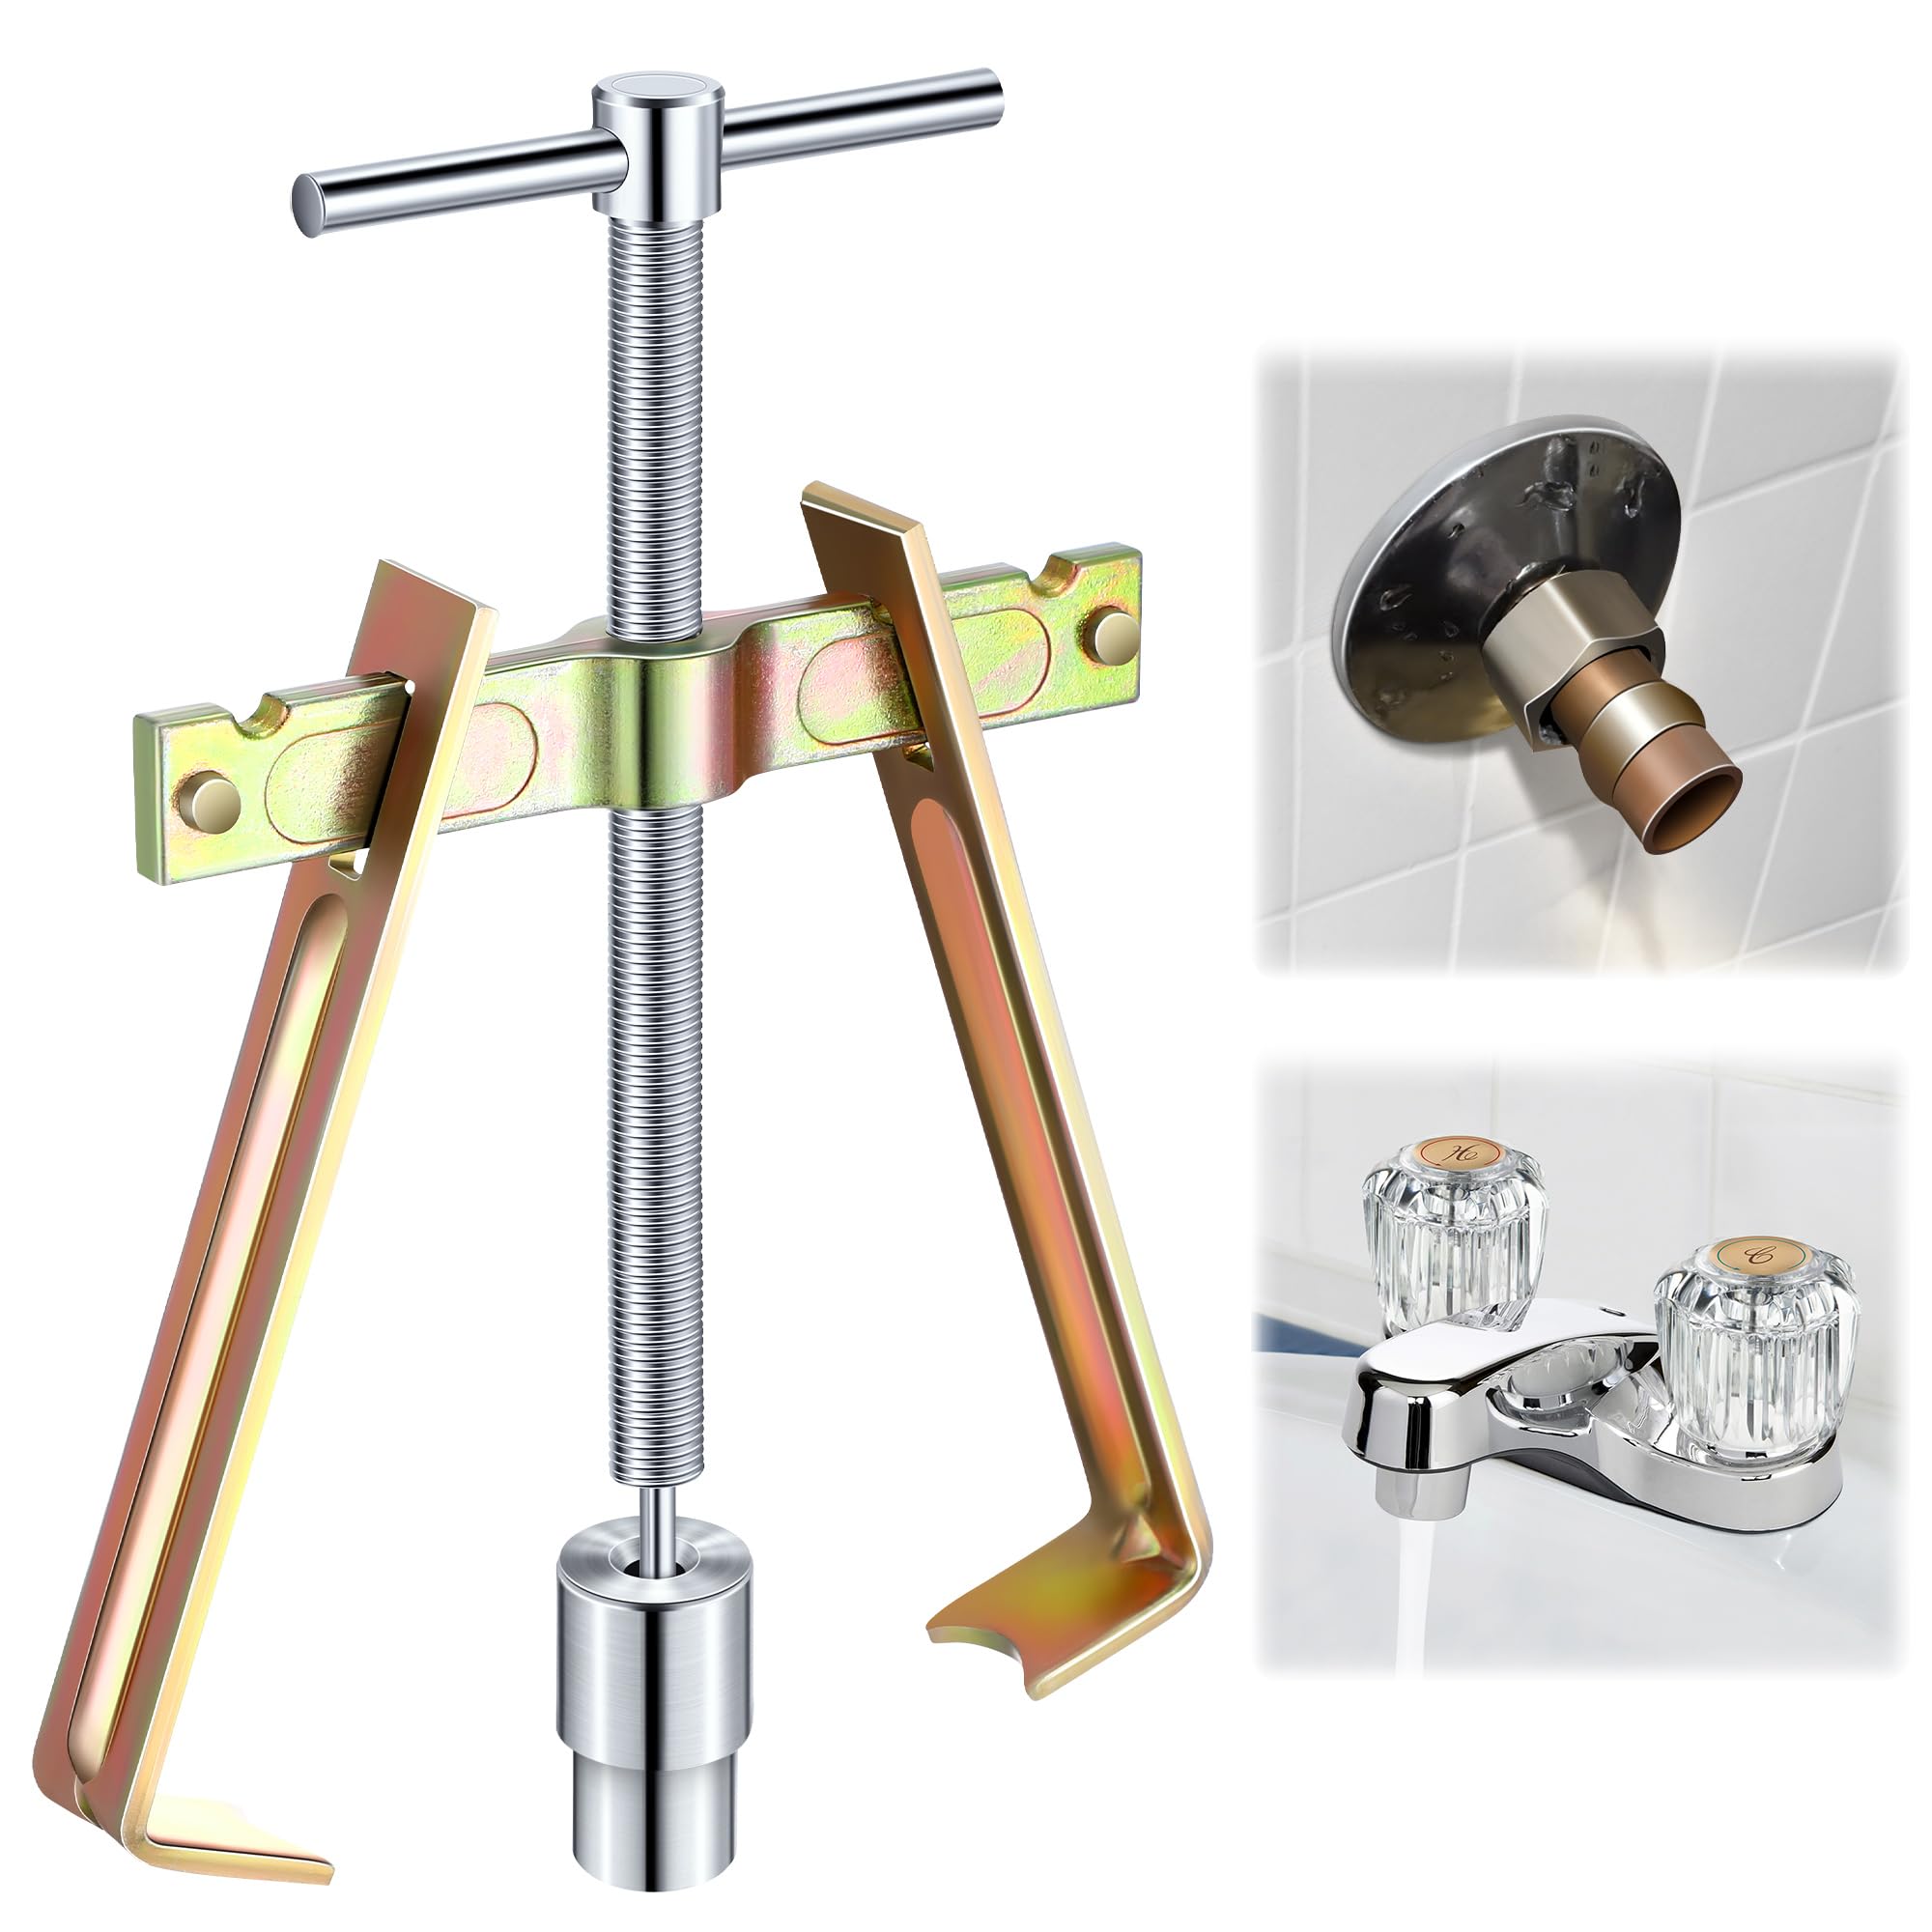
- •Handle puller (optional, if handle is stuck)
Estimated Time: 45–60 minutes (first time)
Difficulty: beginner
▸Step-by-Step Instructions
Step 1: Shut Off the Water Supply
Locate the shut-off valves under the sink—they're usually chrome or plastic knobs on the pipes going to the faucet. Turn them clockwise until they stop. If you don't have individual shutoffs, turn off the main water supply at the water meter. Then, turn on the faucet to release pressure and let any remaining water drain out. Place a bucket under the sink opening to catch any drips when you disassemble. Once no more water comes from the spout, you're ready to proceed.
💡 Tips:
- •If the shut-off valve is hard to turn, use pliers with a cloth to protect the valve.
- •Place a towel inside the cabinet beneath the pipes to catch any residual water.
⚠️ Warnings:
- •Never unscrew anything until you've shut off the water—the pressure will send water spraying everywhere.
- •If you have an emergency but can't find the shut-off valve, shut off the main water supply immediately.
Step 2: Identify Your Faucet Type
Not all faucets are the same, so you need to know exactly what you're working with before replacing parts. Look at the base and handle for clues. There are four common types: compression, ball, cartridge, and ceramic disk. Compression faucets have two separate handles and use rubber washers to seal against a seat. Ball faucets feature a single joystick-like handle and use a rotating ball to mix water. Cartridge faucets can have one or two handles and use a replaceable cartridge that contains all the moving parts. Ceramic disk faucets have a single lever and a sealed ceramic cartridge that is extremely durable. If you know the brand name (like Moen, Delta, or Pfister), note it down—it'll help you find the exact replacement part.
💡 Tips:
- •Take a photo of the faucet from all sides before disassembling—it helps when matching parts.
- •If your faucet has a brand logo, search online for 'brand + faucet parts' to find the correct repair kit.
⚠️ Warnings:
- •Don't force any parts until you're sure which type you have; forcing could bend or break delicate components.
Step 3: Gather Your Tools and Parts
Once you know the faucet type, gather the necessary tools and replacement parts. Most faucets require a set of wrenches, screwdrivers, and possibly a hex key. You'll also need plumber's grease, Teflon tape, and a pair of pliers. If your faucet uses a cartridge, washer, or O-ring, take the old part to the hardware store to get an exact match. If you've purchased a general faucet repair kit, check that it includes the right type and size of parts for your brand and model.
💡 Tips:
- •Lay a towel over the sink drain to prevent small screws or parts from falling into the drain.
- •Use a small magnetic tray to keep screws and springs organized.
⚠️ Warnings:
- •Never use oil-based grease on plastic or rubber parts—use only silicone or plumber's grease.
Step 4: Remove the Faucet Handle
Look for a screw that secures the handle. It's often hidden under a decorative cap or button that you can pop off with a small flathead screwdriver. Once exposed, remove the screw with the appropriate screwdriver (or Allen key). If the handle is stuck, gently rock it back and forth while pulling upward. A handle puller can help if it's stubborn—just attach snugly and tighten slowly. Once the handle is off, you'll see the outer cap or bonnet, which exposes the valve assembly.
💡 Tips:
- •If the handle doesn't come off, tap it lightly with a rubber mallet to break the corrosion seal.
- •If the set screw is stripped, consider using a handle puller.
⚠️ Warnings:
- •Don't overtighten or pry the handle with a large tool—you could crack the valve body.
- •Be careful not to damage the decorative cap or fluting.
Step 5: Expose the Valve or Cartridge
Depending on your faucet type, the next step varies. For a compression faucet, you'll see a packing nut or bonnet—loosen this with an adjustable wrench to access the stem. For ball faucets, take off the cap and then remove the cam and cam washer, exposing the spherical ball assembly. For cartridge faucets, use a pair of pliers to pull out the retaining clip that holds the cartridge in place; then pull the cartridge straight up. For ceramic disk faucets, you'll need to unscrew the cylinder from the control unit. Always work slowly and note the orientation of each part.
💡 Tips:
- •If you're replacing a cartridge, take a photo of the cartridge's position before removing it.
- •Use channel-lock pliers to grip the cartridge if it's stuck.
⚠️ Warnings:
- •Be careful not to scratch the valve seat or body while removing parts.
Step 6: Replace Worn Parts
Inspect the parts for wear. In a compression faucet, the rubber washer at the base of the stem might be the culprit—remove it and replace with an identical washer. Also check the seat for corrosion; if it's pitted, you may need a seat wrench to remove and replace it. In a ball faucet, replace the rubber valve seats and springs, and consider replacing the cam washer and ball if they show wear. For cartridge faucets, simply swap out the entire cartridge with a new one. In ceramic disk faucets, you can often clean the discs with vinegar to remove scale, but if the discs are cracked, replace the entire control unit. Apply a thin layer of plumber's grease to all O-rings and threads before reassembly.
💡 Tips:
- •For compression washers, ensure the new washer sits flat against the seat.
- •For cartridge faucets, lubricate the cartridge with silicone grease to make installation easier.
⚠️ Warnings:
- •Matching the exact replacement part is critical—a generic washer may not seal properly.
- •Don't over-grease; a little goes a long way.
Step 7: Reassemble the Faucet
Now reassemble in reverse order. Tighten the packing nut or bonnet snugly with a wrench, but avoid over-tightening. For ball faucets, reinstall the ball, cam, and bonnet. For cartridge faucets, push the cartridge down into the valve body, replace the retaining clip, and reinstall the adapter. Reattach the handle and tighten the screw. Be sure to align any notches or flats as they were originally.
💡 Tips:
- •Use a ratchet or adjustable wrench to keep nuts snug—not cranked down.
- •If a part doesn't slide in easily, apply a thin layer of grease to the O-rings.
⚠️ Warnings:
- •Over-tightening can crack the bonnet or strip the threads.
Step 8: Turn the Water Back On and Test
Turn the shut-off valves counterclockwise (open). Also open the faucet handle to allow air to escape. Check for drips or leaks immediately: look under the spout and around the base of the handle. If it leaks, you may need to tighten further (but not overly) or you might have missed a worn part. Let the water run for a few minutes to ensure the pressure is stable and no leaks appear. If all is dry, congratulations—you've fixed the leak!
💡 Tips:
- •Keep a towel under the faucet for the first few hours to catch any intermittent drips.
- •If you notice a trickle from the base of the handle, a new O-ring might be needed.
⚠️ Warnings:
- •If water fails to flow correctly or the handle is stiff, re-open and adjust the cartridge.
▸Pro Tips
- •Always take a photo or video before you start disassembling—it'll pay off when reassembling.
- •Keep a cup or bucket under the faucet to catch any water that still drips out during repair.
- •Soak corroded parts in white vinegar overnight to break down mineral deposits.
- •Use a drain stopper or a magnet to catch tiny screws and washers.
- •If you have plastic parts, hand-tighten only; use a wrench to firmly snug metal parts.
- •Buy a universal repair kit if you're not sure of the exact part—it'll have a variety of washers, O-rings, and springs.
- •Run the water hot and cold for 30 seconds after repair to settle the parts and check for leaks.
▸Common Mistakes to Avoid
- •Not shutting off the water supply before disassembly, causing flooding.
- •Using the wrong replacement part, such as a washer of the wrong size.
- •Over-tightening the packing nut, which can crack the faucet.
- •Forgetting to check the valve seat—the leak can come from there.
- •Forcing a stuck cartridge and damaging the valve body.
▸Troubleshooting
Problem: The faucet still drips after repair.
Solution: You may have missed a worn part, like a seat or O-ring. Re-inspect the valve, especially the seat, and replace any worn components. For a ball faucet, check the springs and valve seats for damage.
Problem: Water pressure on both sides is low.
Solution: The cartridge may not be fully seated. Remove and reinstall it, ensuring the notches align properly.
Problem: The handle won't turn smoothly.
Solution: If it's a cartridge, it may need more lubricant. If it's a compression faucet, the stem nut might be too tight.
Problem: Leak around the base of the handle.
Solution: This usually indicates a worn O-ring on the bonnet or cartridge. Replace that O-ring or gasket.
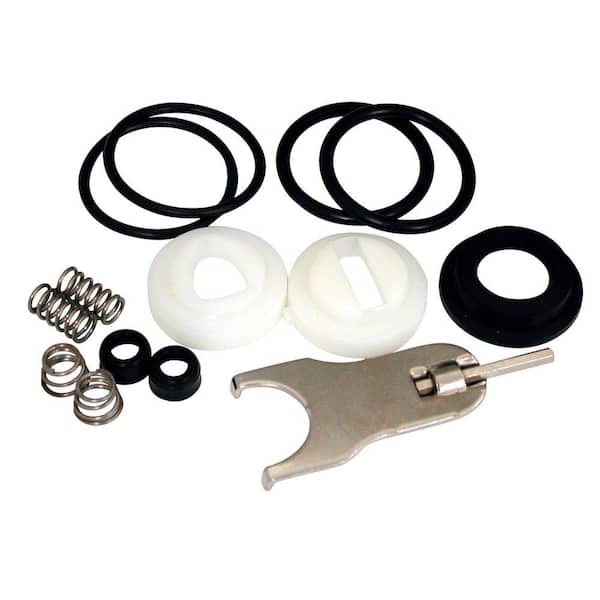
Danco Universal Faucet Repair Kit
Contains an assortment of washers, O-rings, and springs for common faucet types, making it a great starter kit.
Best for: When you're unsure which specific part is worn and want a versatile repair option.
Price Range: $10–$25
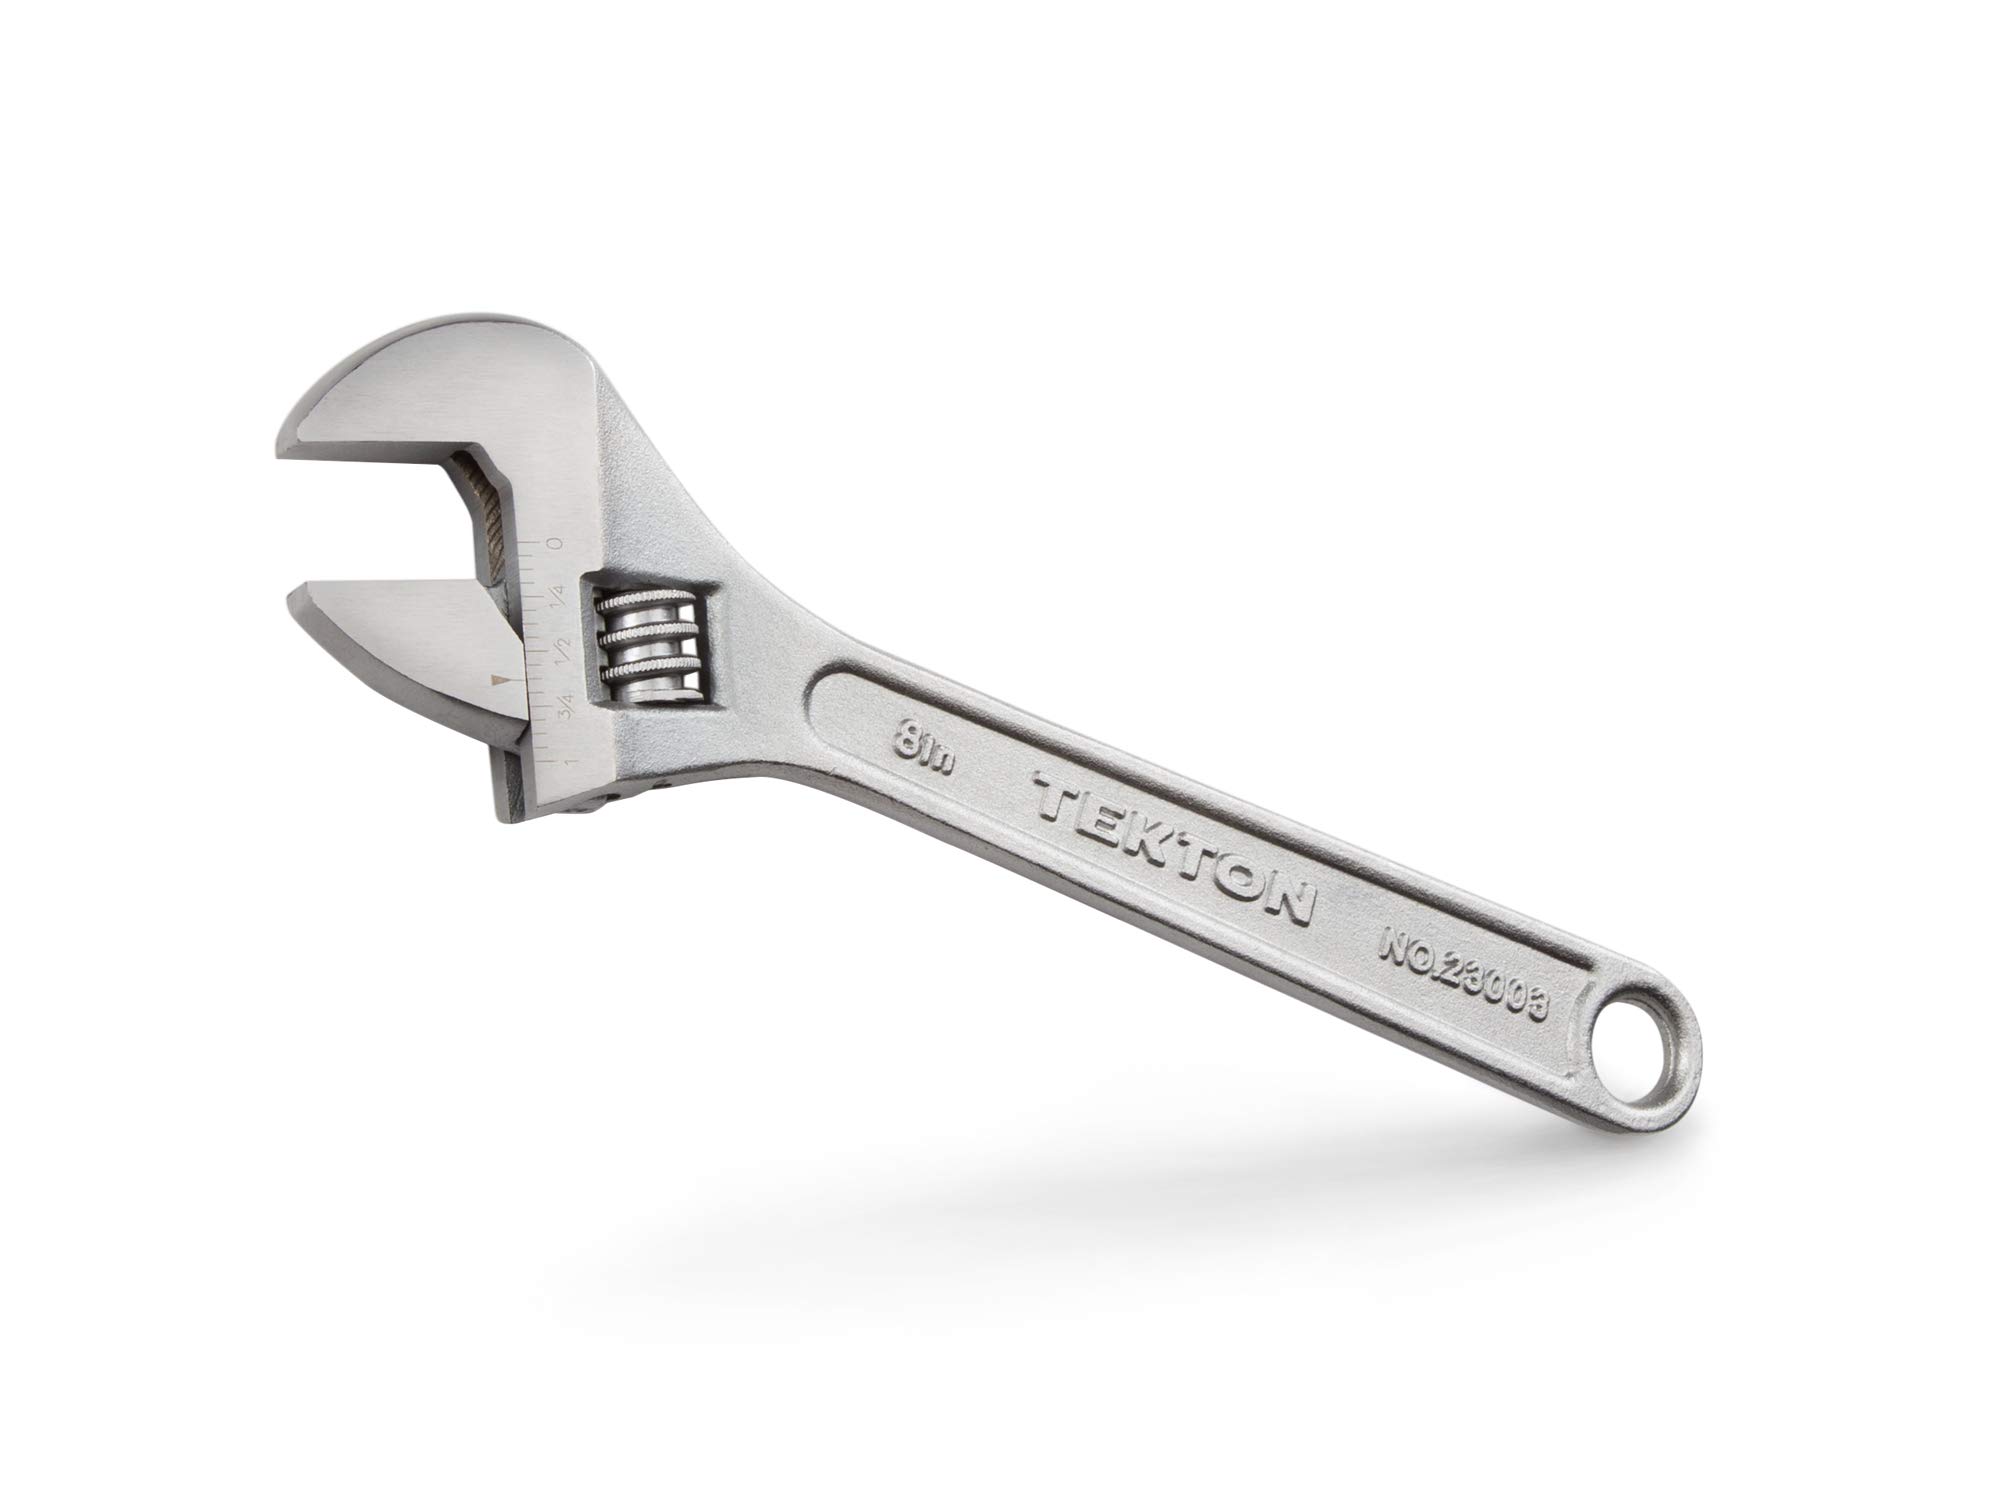
TEKTON 8-inch Adjustable Wrench
Essential for loosening packing nuts and other fittings without stripping them.
Best for: Used throughout the repair to grip and turn nuts and bolts.
Price Range: $15–$30
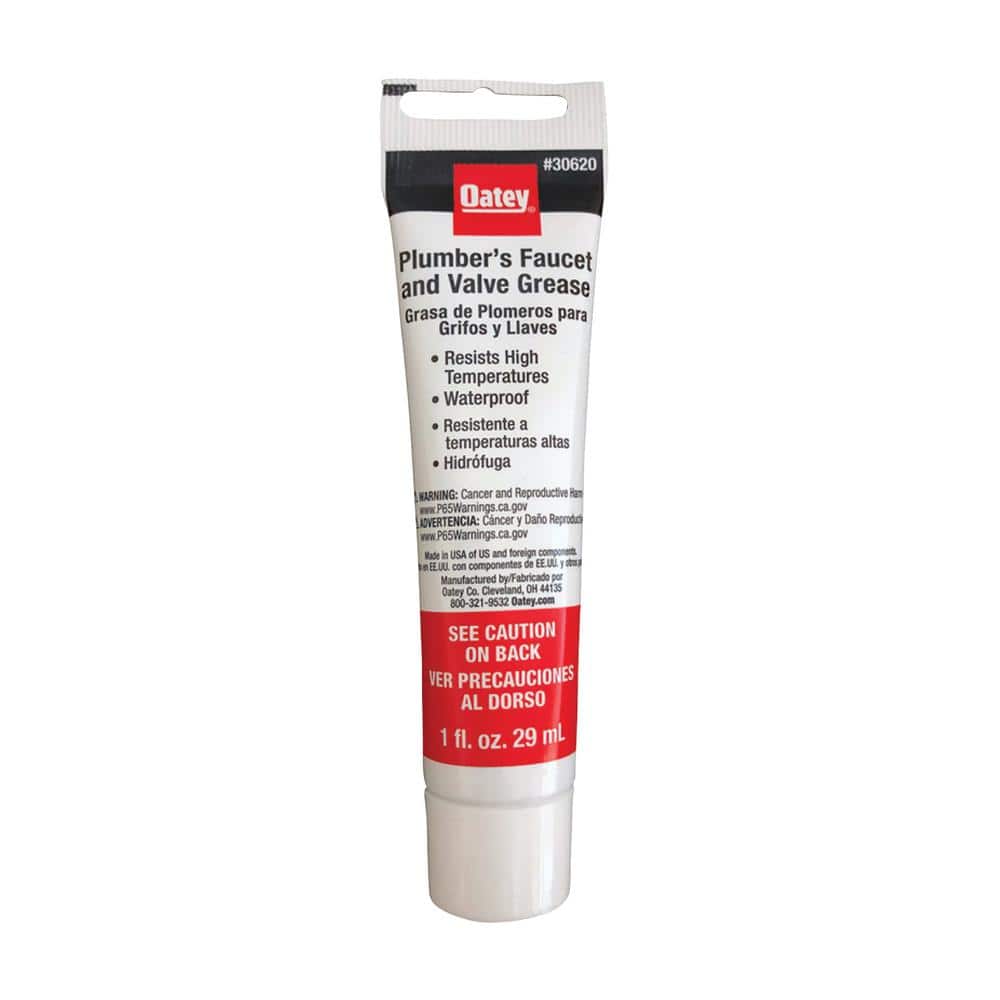
Oatey Plumber's Grease
Silicone-based grease that keeps O-rings and washers pliable, preventing cracks and leaks.
Best for: Apply to O-rings and threads during reassembly to ensure a watertight seal.
Price Range: $5–$10
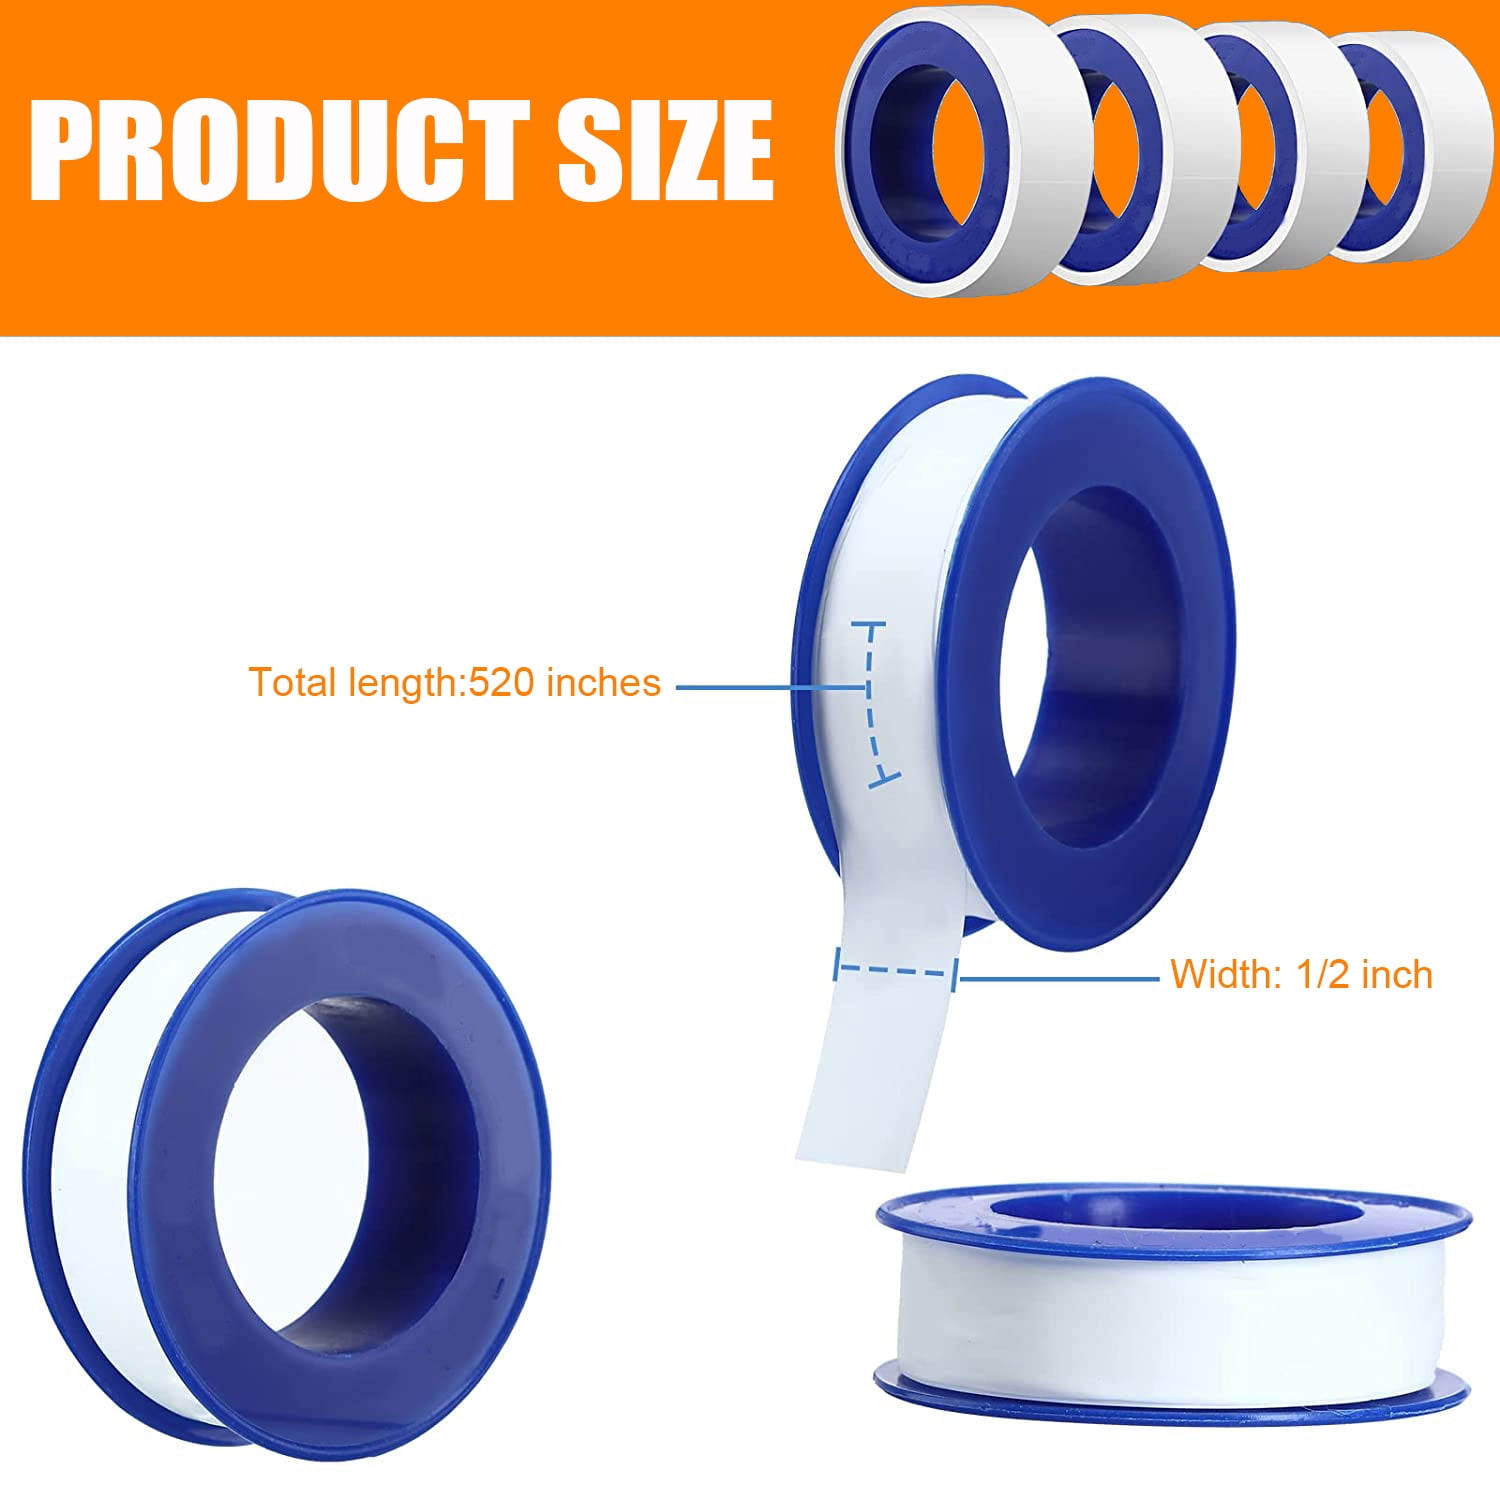
Goker Thread Seal Tape (Plumber's Tape)
Provides a leak-proof seal on threaded connections, especially useful when reinstalling supply lines.
Best for: Wrap around male threads on the faucet base or under-sink couplings.
Price Range: $5–$10
Faucet Handle Puller
Removes stubborn handles safely without damaging the valve body or finish.
Best for: If the handle is stuck due to corrosion or mineral deposits, this tool pulls it straight off.
Price Range: $10–$20