You've burned through your favorite scented candle, but the jar is too beautiful to toss. Maybe it's a unique shape, a pretty color, or simply high-quality glass. The problem is that stubborn layer of leftover wax clinging to the bottom. Don't throw it away! With a few simple techniques, you can completely remove wax from candle jars and give them a second life as planters, pen holders, or even new candles. In this guide, I'll walk you through five proven methods—from freezing to boiling—so you can choose the one that works best for you. You'll also learn what tools make the job easier and how to avoid common mistakes like cracking the glass or leaving residue.
▸What You'll Need
- •A candle jar with leftover wax (and wick base removed or trimmed)
- •Freezer (for the freezing method)
- •Boiling water or a kettle (for the hot water method)
- •Oven-safe dish or baking sheet (for the oven method)
- •Butter knife, spoon, or blunt scraper
- •Paper towels or old cloth
- •Dish soap and sponge for final cleaning
- •Optional: Heat gun or hairdryer, jar scraper tool, rubbing alcohol for adhesive residue
Estimated Time: 20 minutes to 2 hours (depending on method and wax thickness)
Difficulty: beginner
▸Step-by-Step Instructions
Step 1: Remove the Wick Base and Any Metal Pieces
Before you start removing wax, check if the wick has a metal tab at the bottom. If so, gently pry it out using a butter knife or pliers. This prevents scratching the glass later and ensures no metal is left behind. If the wick is already burned out and only a tiny tab remains, you can skip this step—just be careful not to force it.
💡 Tips:
- •If the tab is stuck, soften the surrounding wax with a hairdryer for a few seconds.
⚠️ Warnings:
- •Don't use too much force on the glass—it can crack if the tab is firmly embedded.
Step 2: Choose Your Wax Removal Method
There are several effective ways to remove wax from candle jars. The best method depends on the type of wax (soy, paraffin, beeswax) and how much time you have. Here are the top three options:
- •Freezing Method: Pop the jar in the freezer for 1-2 hours. The wax contracts and becomes brittle, so it often pops out in one piece with a gentle tap.
- •Hot Water Method: Pour boiling water into the jar, let it sit until the wax melts and floats to the top, then let it cool and remove the solidified wax disk.
- •Oven Method: Place the jar upside down on a baking sheet lined with foil in a 200°F oven. The wax melts and drips out onto the sheet.
For most beginners, the freezing method is the safest and least messy. The hot water method works well for soy wax, and the oven method is great for large amounts of wax.
💡 Tips:
- •For the freezing method, ensure the jar is completely dry on the outside to avoid ice sticking.
⚠️ Warnings:
- •Never pour hot water into a cold jar—thermal shock can cause the glass to shatter. Let the jar come to room temperature first.
Step 3: Freezing Method: Freeze and Tap Out the Wax
Place the candle jar in the freezer (upright) for at least 1-2 hours, or until the wax is completely frozen and hard. Remove the jar and tap it firmly on a countertop covered with a towel. The wax should fall out as a solid chunk. If it doesn't come out easily, use a butter knife to gently pry it loose. This method works best for soy and paraffin waxes. You can also use an ice cube to speed things up by placing it directly on the wax inside the jar before freezing (it helps contract the wax faster).
💡 Tips:
- •If the wax is stuck, run warm water on the outside of the jar for a few seconds—just the outside—to slightly expand the glass while the wax stays cold.
⚠️ Warnings:
- •Don't hit the jar against a hard surface; use a towel to cushion and prevent breakage.
Step 4: Hot Water Method: Melt and Lift the Wax
Boil water in a kettle or pot. While the water is heating, place the candle jar in a heat-safe bowl or sink. Slowly pour the boiling water into the jar, filling it about halfway. The hot water will melt the wax, causing it to float to the top. Let it sit for 10-15 minutes until all the wax has melted and risen. Allow the water to cool completely (or place it in the fridge) so the wax hardens into a disk on the surface. Then, simply lift out the wax disk and wipe away any remaining residue. For stubborn bits, repeat the process.
💡 Tips:
- •Add a drop of dish soap to the water to help break down oily residue.
⚠️ Warnings:
- •Always pour boiling water slowly to avoid splashing. Never leave unattended.
Step 5: Oven Method: Melt Wax Away with Low Heat
Preheat your oven to 200°F (93°C). Line a baking sheet with aluminum foil or parchment paper. Place the candle jar upside down on the sheet so the wax can drip out. Put it in the oven for about 10-15 minutes, but check frequently—the wax should melt slowly, not smoke. Once most of the wax has dripped out, carefully remove the jar using oven mitts. Let it cool slightly, then wipe the inside with paper towels to remove residual wax. This method is excellent for thick, stubborn wax but uses more energy.
💡 Tips:
- •For safety, place the jar on a smaller tray inside the baking sheet to catch drips.
⚠️ Warnings:
- •Never exceed 200°F—high heat can crack the glass or cause the wax to catch fire. Never leave the oven unattended.
Step 6: Clean Off Residual Wax and Adhesive
After removing the bulk of the wax, you'll likely have a thin film or sticky residue left behind. Use a paper towel to wipe away any loose bits. For stubborn residue, apply a small amount of rubbing alcohol or cooking oil to a cloth and rub gently. Then wash the jar with warm soapy water and a sponge. Rinse thoroughly and dry. If the label left adhesive, use a label remover or a mixture of baking soda and oil to scrub it off.
💡 Tips:
- •For soy wax, a paste of baking soda and water works wonders on residue.
⚠️ Warnings:
- •Avoid using abrasive scrubbers on painted or frosted glass to prevent scratching.
Step 7: Final Inspection and Reuse Options
Once the jar is clean and dry, inspect it for any remaining wax or residue. Hold it up to the light—if you see a haze, repeat the cleaning step. Your jar is now ready for a new life! You can use it as a drinking glass (if it's food-safe), a plant pot (add drainage holes), a makeup brush holder, a storage container for office supplies, or even a new candle vessel. If you plan to make candles again, ensure the jar is completely free of old scent and residue to avoid mixed fragrances.
💡 Tips:
- •To remove any lingering scent, soak the jar in a solution of baking soda and warm water for an hour.
⚠️ Warnings:
- •Not all candle jars are heat-safe for making new candles—check if the glass is tempered or labeled for candle use.
▸Pro Tips
- •If using the freezing method, wrap the jar in a plastic bag before freezing to prevent odors from transferring.
- •For a quick clean, use a heat gun or hairdryer on high to melt wax and wipe it away with paper towels.
- •To remove stubborn labels, apply a mixture of equal parts cooking oil and baking soda, let it sit for 5 minutes, then scrub.
- •Save the wax you remove! You can melt it down and pour into molds for fire starters or new candles.
- •If the jar has a narrow neck, use a chopstick or skewer to help pry out the frozen wax.
- •Always let glass cool down gradually after heat methods to avoid thermal shock.
- •For beeswax, use the oven method at a slightly higher temperature (225°F) but watch closely as beeswax has a higher melting point.
▸Common Mistakes to Avoid
- •Pouring boiling water into a cold jar: This can cause the glass to crack due to sudden temperature change. Always warm the jar with hot tap water first.
- •Using too much force with a metal tool: Scratching or chipping the glass is easy if you're not careful. Use plastic scrapers or blunt tools.
- •Leaving wax in the oven too long: Overheating can cause wax to smoke, release fumes, or ignite. Set a timer and check often.
- •Not removing the wick tab first: The metal can rust or scratch the glass if left in during removal.
- •Assuming all jars are microwave-safe: Never microwave a candle jar to melt wax—uneven heating can shatter the glass.
▸Troubleshooting
Problem: Wax won't come out after freezing.
Solution: Tap the jar more firmly on a folded towel, or run warm water on the outside of the jar for 10–20 seconds to slightly expand the glass. You can also re-freeze for another hour.
Problem: Wax residue remains after hot water method.
Solution: Pour boiling water again with a drop of dish soap, let cool, then remove the new wax disk. For sticky residue, use rubbing alcohol or an oil-based cleaner.
Problem: The glass jar cracked during the process.
Solution: Sadly, a cracked jar cannot be safely reused. Discard it or use for a non-functional craft. To prevent cracks, always avoid rapid temperature changes.
Problem: The label adhesive is impossible to remove.
Solution: Try a commercial adhesive remover like Goo Gone, or make a paste of baking soda and coconut oil. Let it sit for 10 minutes, then scrub with an old toothbrush.
Candle Wax Remover Tool Kit
This set includes a plastic scraper, a wick puller, and a silicone mat designed to safely remove wax without scratching glass.
Best for: When you frequently repurpose candle jars and want specialized tools that make the job faster.
Price Range: $10–$20
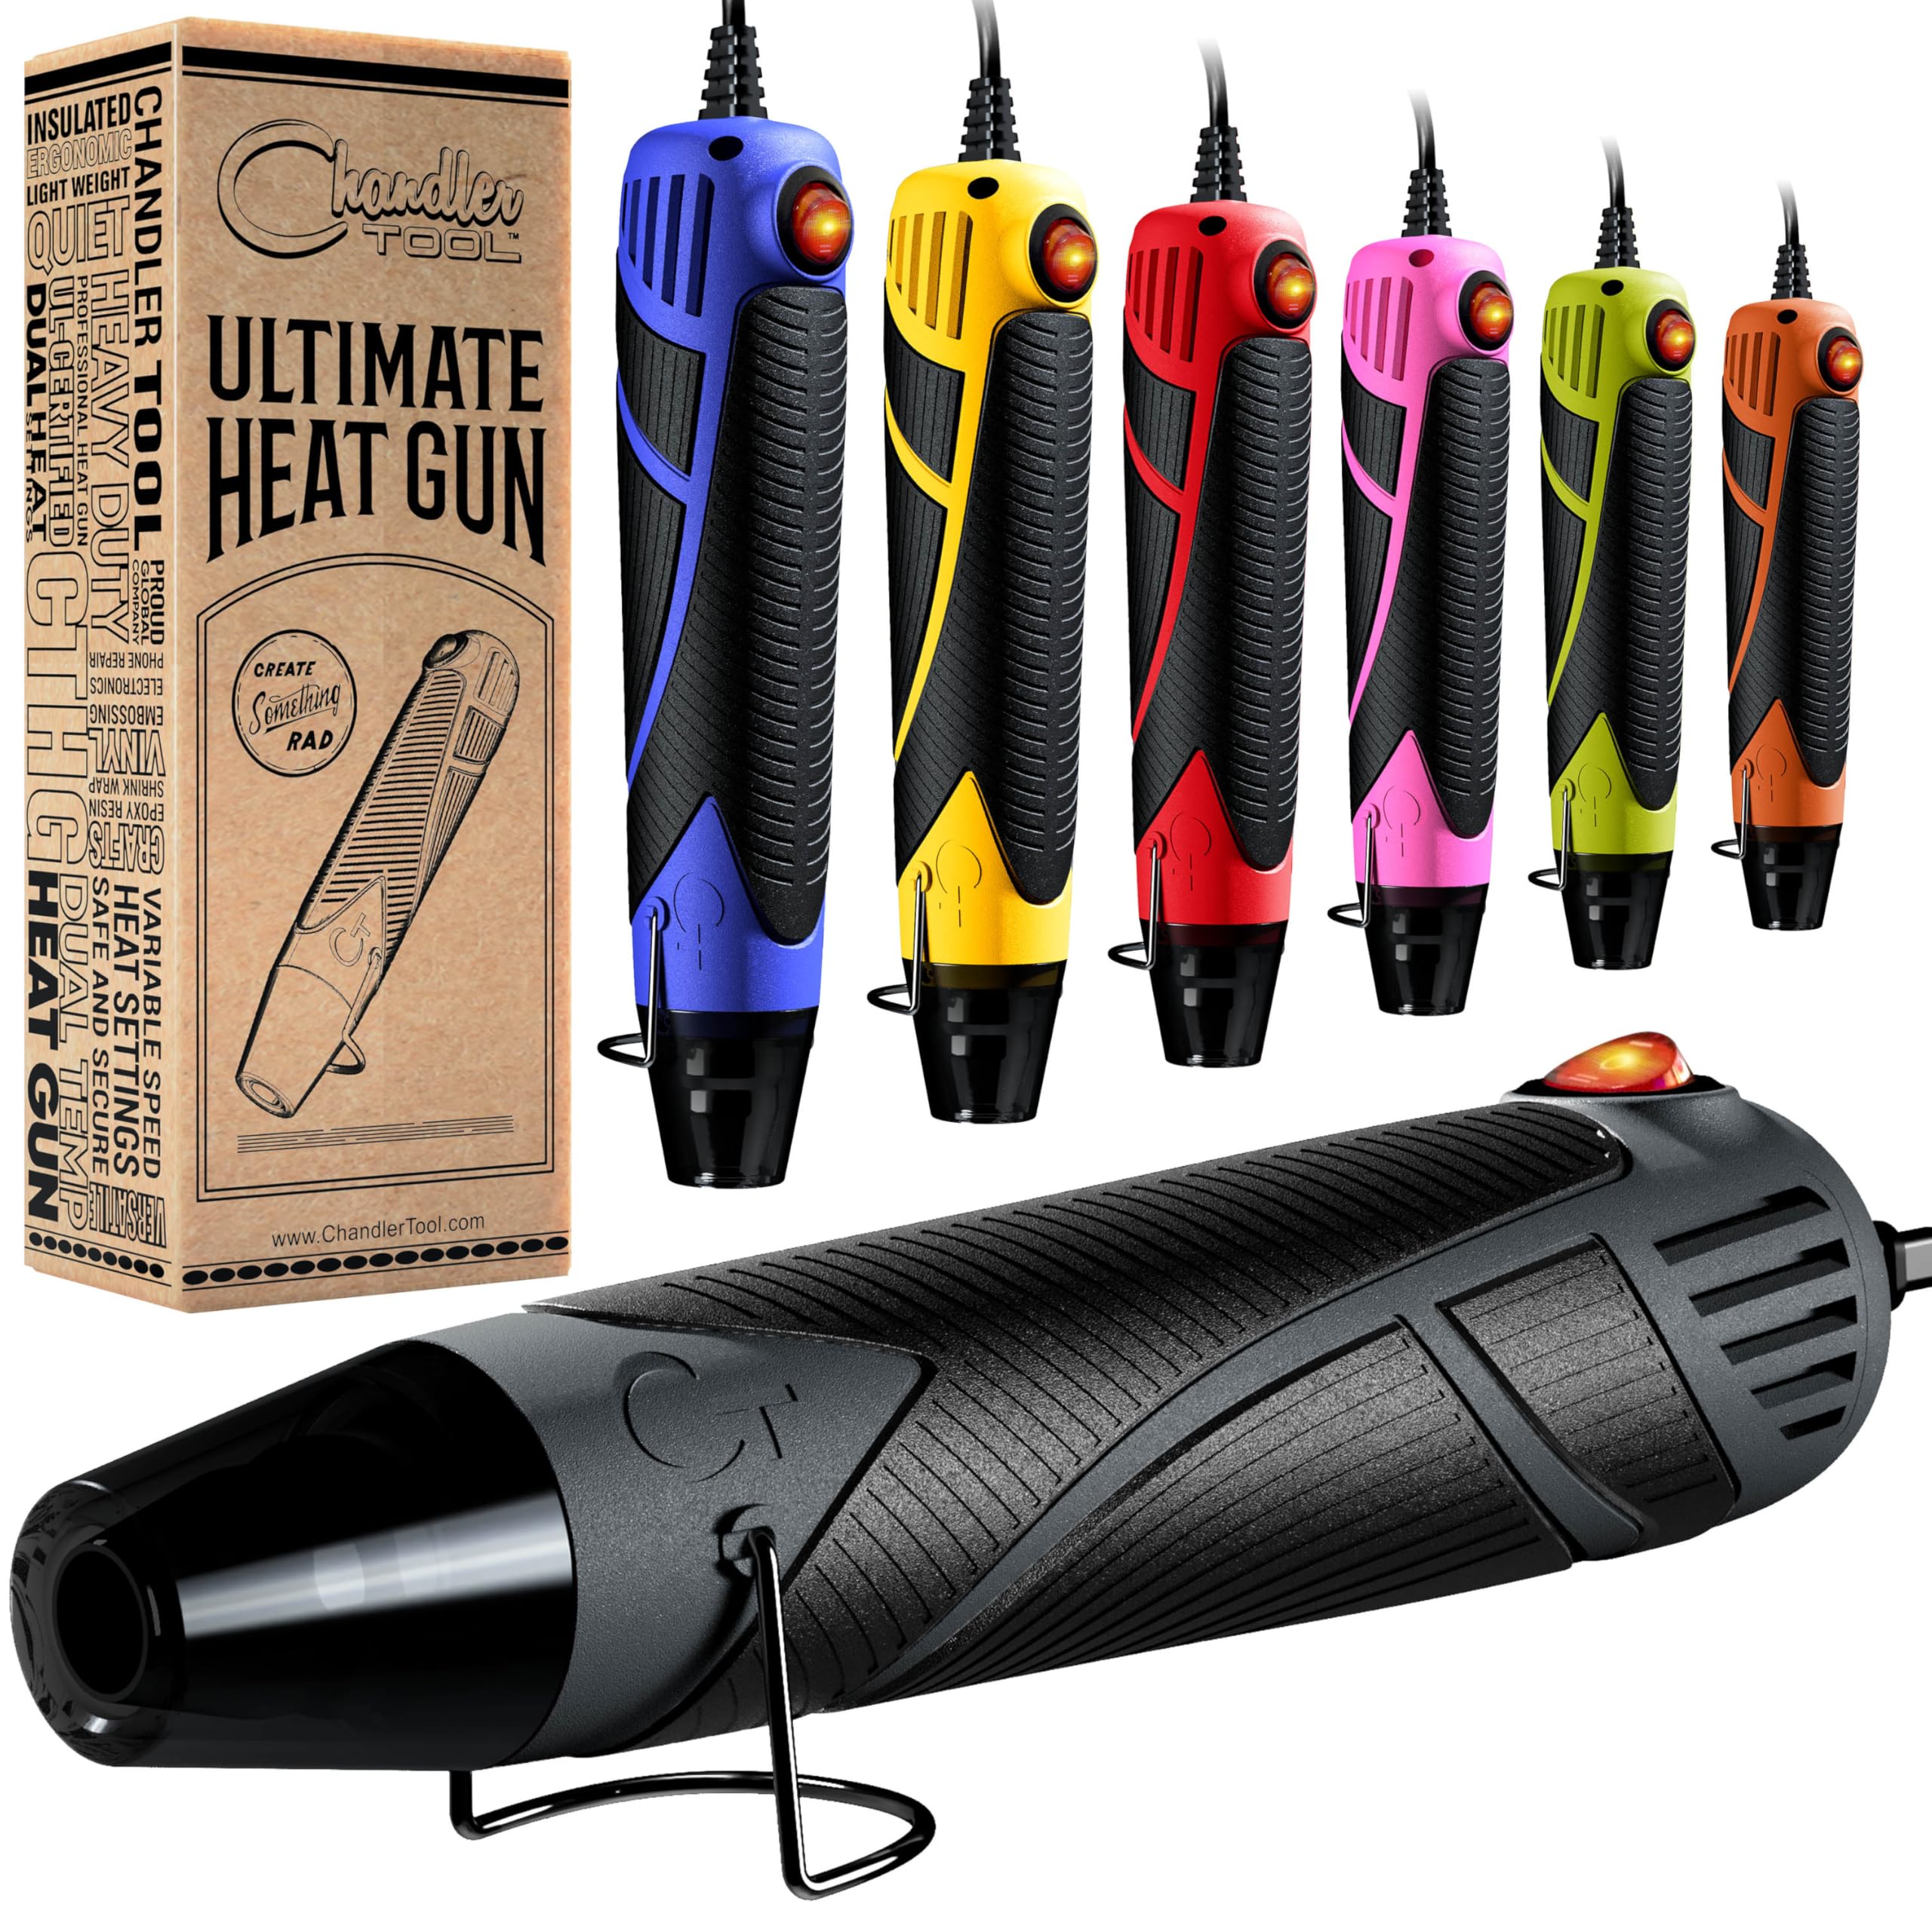
Heat Gun for Crafting
A heat gun provides controlled heat to melt wax quickly without the mess of boiling water or the time of freezing.
Best for: Perfect for thick wax layers or multiple jars at once. Also useful for other DIY projects.
Price Range: $15–$30
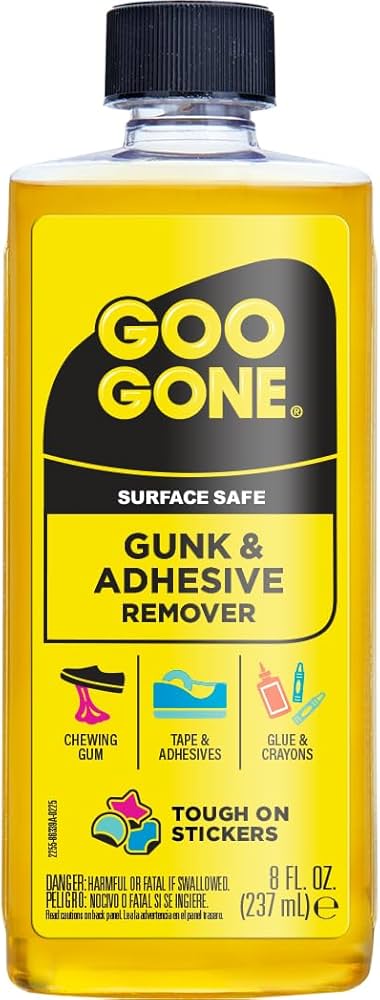
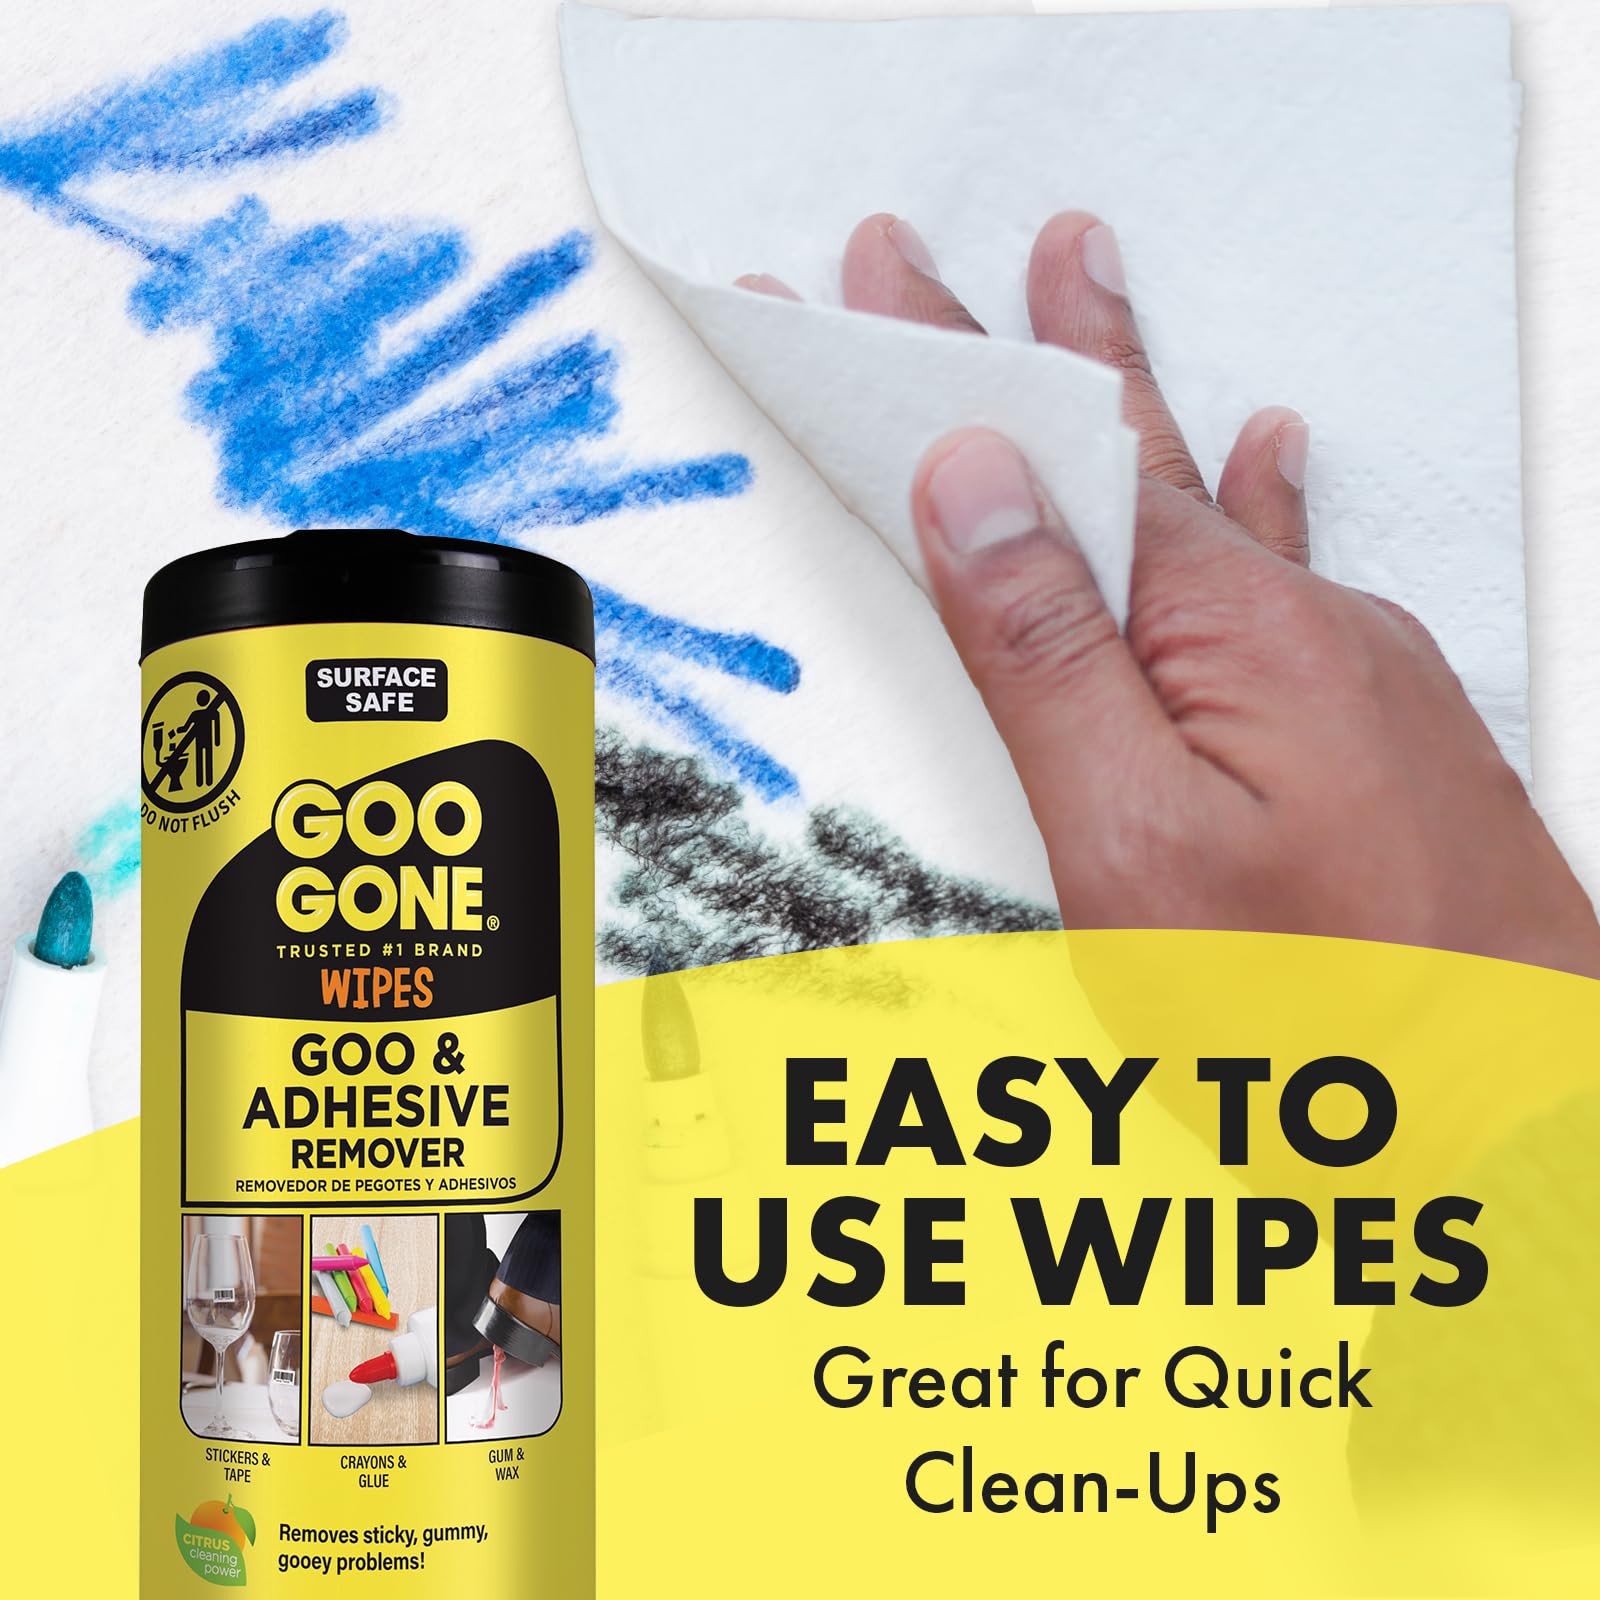
Goo Gone Adhesive Remover
Effectively dissolves sticky residue from labels and wax without damaging glass.
Best for: After removing bulk wax, use on stubborn adhesive or oily residue left behind.
Price Range: $5–$10
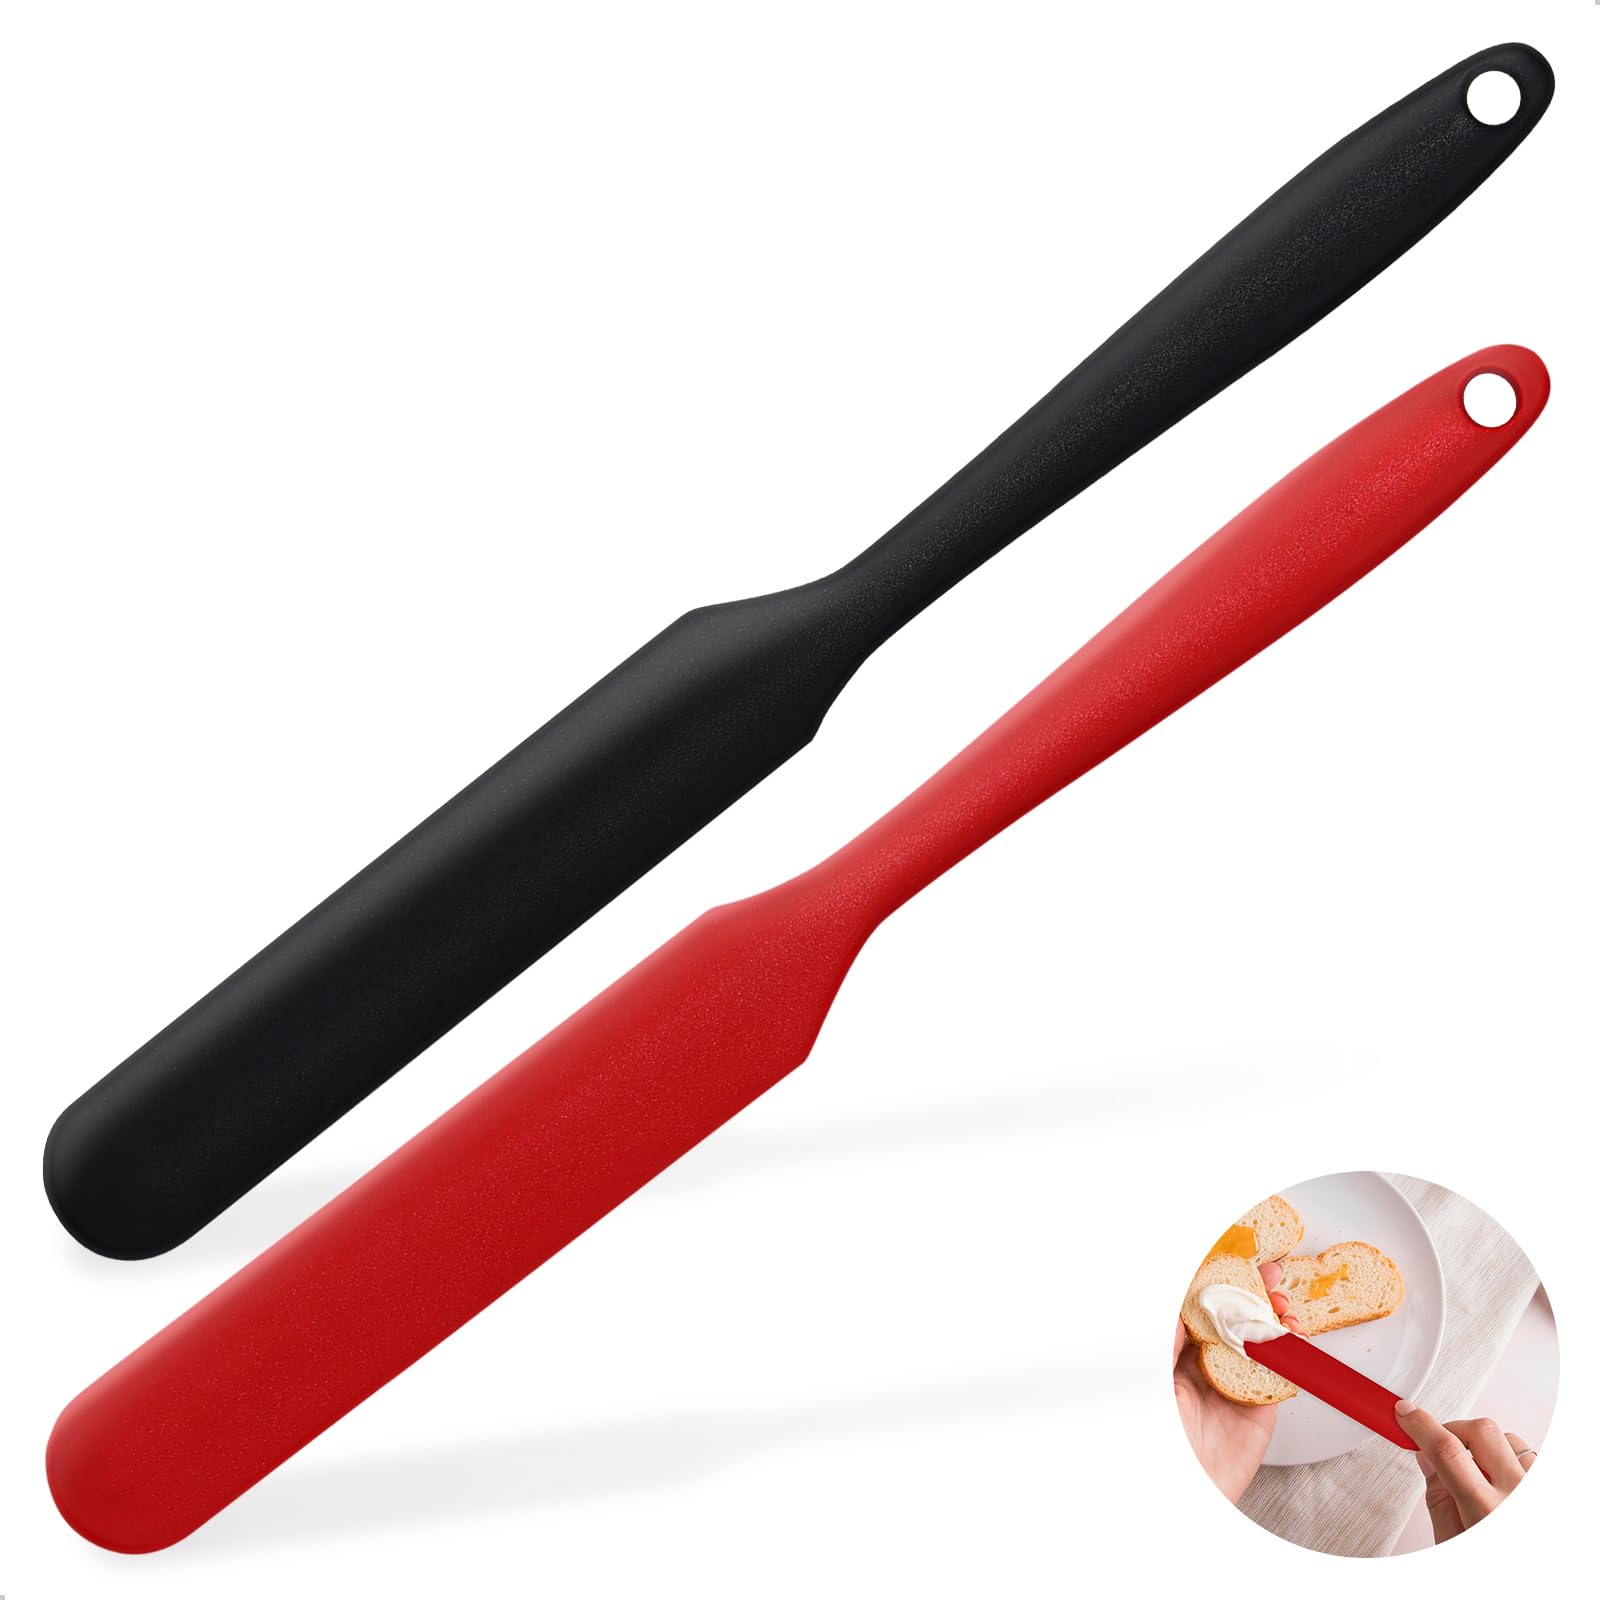
Silicone Jar Scraper Spatula
A flexible, heat-resistant spatula that can reach into corners and scrape wax without scratching.
Best for: Ideal for scraping out soft wax after heating or for cleaning narrow jars.
Price Range: $6–$12
Label Remover and Cleaning Wipes
Pre-moistened wipes that remove label residue and clean the jar in one step.
Best for: Quick clean-up after wax removal, especially if you're processing many jars at once.
Price Range: $8–$15