
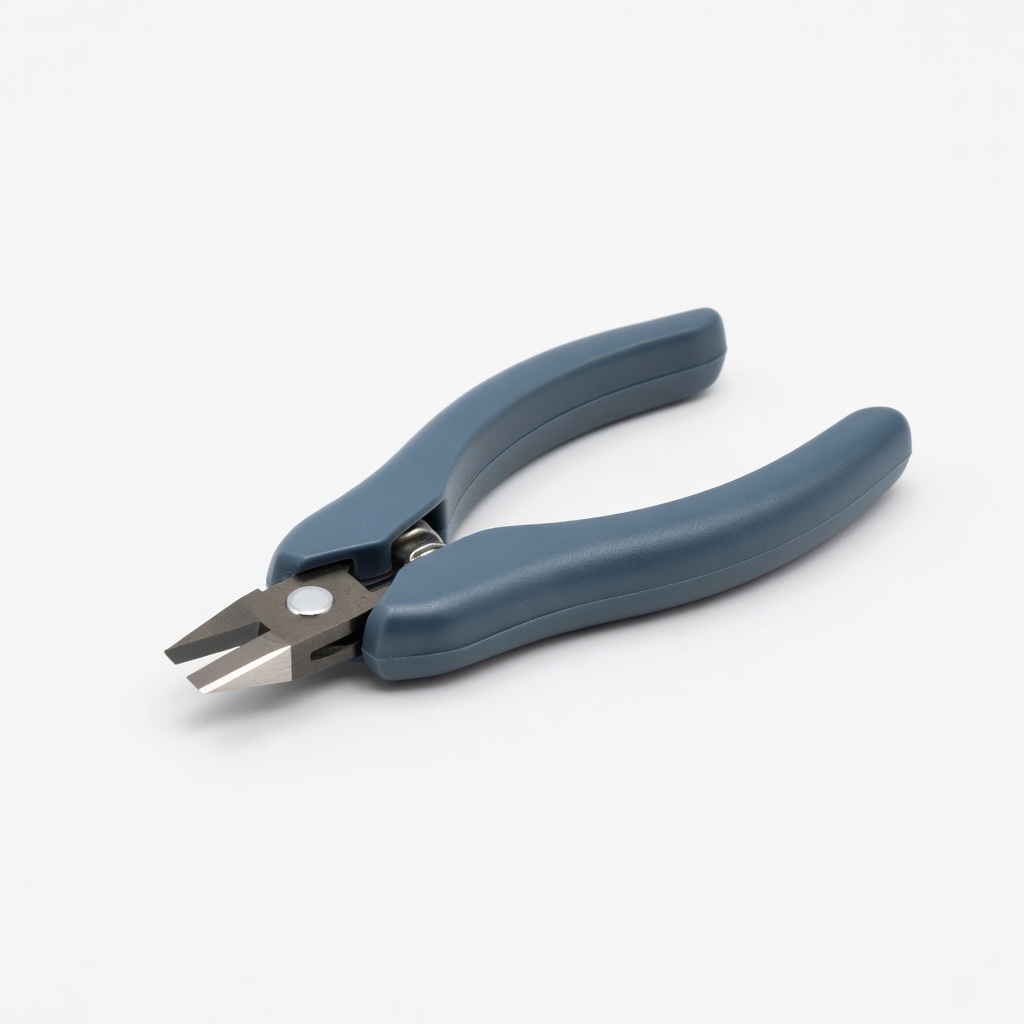
Hakko CHP-170 Micro Flush Cutter
Trimming stubs on detailed models like miniatures.
$5-7
Hakko CHP-170 Micro Flush Cutter Ultra-precise cuts flush to surface without marring resin.
Get the App
Better experience on mobile
Master clean support removal for flawless resin 3D prints with step-by-step techniques that minimize damage and save time.
Resin 3D printing produces stunningly detailed models, but those pesky supports often leave behind rough stubs, marks, or even damage your print if removed incorrectly. As an intermediate printer, you've likely battled snapped tips or scarred surfaces—frustrating when your print took hours to create. This guide solves that with proven methods to remove supports cleanly.
You'll learn safe, sequential steps from initial cleanup to final polishing, achieving smooth, professional results. The process combines mechanical removal, sanding, and chemical aids, taking 20-45 minutes per print depending on size and support density. No advanced skills needed beyond basic resin handling.
Expect some trial-and-error at first, but follow these steps for 90% success on your first try. Let's turn rough prints into display-ready masterpieces.
Estimated Time: 20-45 minutes per print Difficulty: intermediate
Set up in a well-ventilated area to avoid inhaling resin fumes. Lay down paper towels or a disposable mat to catch drips. Put on nitrile gloves immediately—uncured resin is toxic and can cause skin sensitization.
Why it matters: Proper prep prevents contamination, slips, and health risks. Success looks like a clean, organized station with no skin exposure.
Tip: Keep a trash bin nearby for support scraps.
💡 Tips:
⚠️ Warnings:
Gently flex the build plate or use a scraper to detach the print. If stuck, warm the plate slightly with a heat gun on low (avoid direct flame).
Supports are easiest to remove pre-wash. Expect some resistance—resin bonds strongly. Success: Print fully detached without cracking.
This step avoids stressing supports later.
💡 Tips:
⚠️ Warnings:
Submerge the print in 99% IPA for 3-5 minutes, agitating gently with a brush. Rinse under running water or in a second IPA bath. Use an ultrasonic cleaner if available for thoroughness.
Uncured resin gums up tools and hides support joints. Dry with compressed air or lint-free cloth. Success: Shiny, tack-free surface ready for handling.
Pro note: Dispose of used IPA responsibly.
💡 Tips:
⚠️ Warnings:
Examine the print under magnification. Identify main supports (tree-like) vs. light ones. Start from tips, working toward the model to leverage natural break points.
Planning prevents gouging delicate areas. Mark fragile spots with a marker if needed. Success: Mental map of removal order.
💡 Tips:
⚠️ Warnings:
Grip support tips with needle-nose pliers or flush cutters. Twist and pull gently away from the model at a 45-degree angle. Break off chunky sections first.
This shears cleanly without torque on the print. Expect snaps—resin is brittle post-cure. Success: Major supports gone, stubs <2mm.
💡 Tips:
⚠️ Warnings:
Use flush cutters to snip stubs as close as possible without nicking the model. Angle blades parallel to the surface.
Precision here minimizes sanding. Success: Stubs flush or slightly protruding.
💡 Tips:
⚠️ Warnings:
Lightly scrape residual nubs with a fresh #11 blade. Use short, controlled strokes. For flat areas, slice parallel.
Removes the last 0.5mm. Success: Smooth transitions, no visible scars.
💡 Tips:
⚠️ Warnings:
Start with 220-grit sandpaper wet (in soapy water), progress to 400, then 600. Sand in circles over marks. Buff with 2000-grit or microfiber.
Blends imperfections seamlessly. Success: Glass-smooth, matte-to-shiny finish.
Final step for pro results.
💡 Tips:
⚠️ Warnings:
Wipe with IPA, then UV cure for 2-5 minutes. Inspect under light for missed spots.
Hardens and reveals flaws. Success: Durable, flawless print ready for paint/use.
💡 Tips:
⚠️ Warnings:
Problem: Supports won't break cleanly
Solution: Ensure fully cured and cleaned; score joint with knife first.
Problem: Surface gouges after removal
Solution: Fill with UV resin, cure, then sand smooth.
Problem: Brittle print cracking
Solution: Under-cured—extend UV time; check exposure settings.
Problem: Tool slips damaging print
Solution: Sharpen/replace tools; use magnification.
Ultra-precise cuts flush to surface without marring resin.
Best for: Trimming stubs on detailed models like miniatures.
Price Range: $5-7
Sharp, controllable for scraping nubs without gouges.
Best for: Fine-tuning curved or textured surfaces.
Price Range: $5-10
High purity cuts through uncured resin fast, no residue.
Best for: Cleaning before/after removal.
Price Range: $20-25
Progressive grits in handle for quick polishing.
Best for: Sanding multiple prints efficiently.
Price Range: $10-12
Thick, powder-free for safe resin handling.
Best for: All steps to protect skin.
Price Range: $12-15
Trimming stubs on detailed models like miniatures.
Hakko CHP-170 Micro Flush Cutter Ultra-precise cuts flush to surface without marring resin.
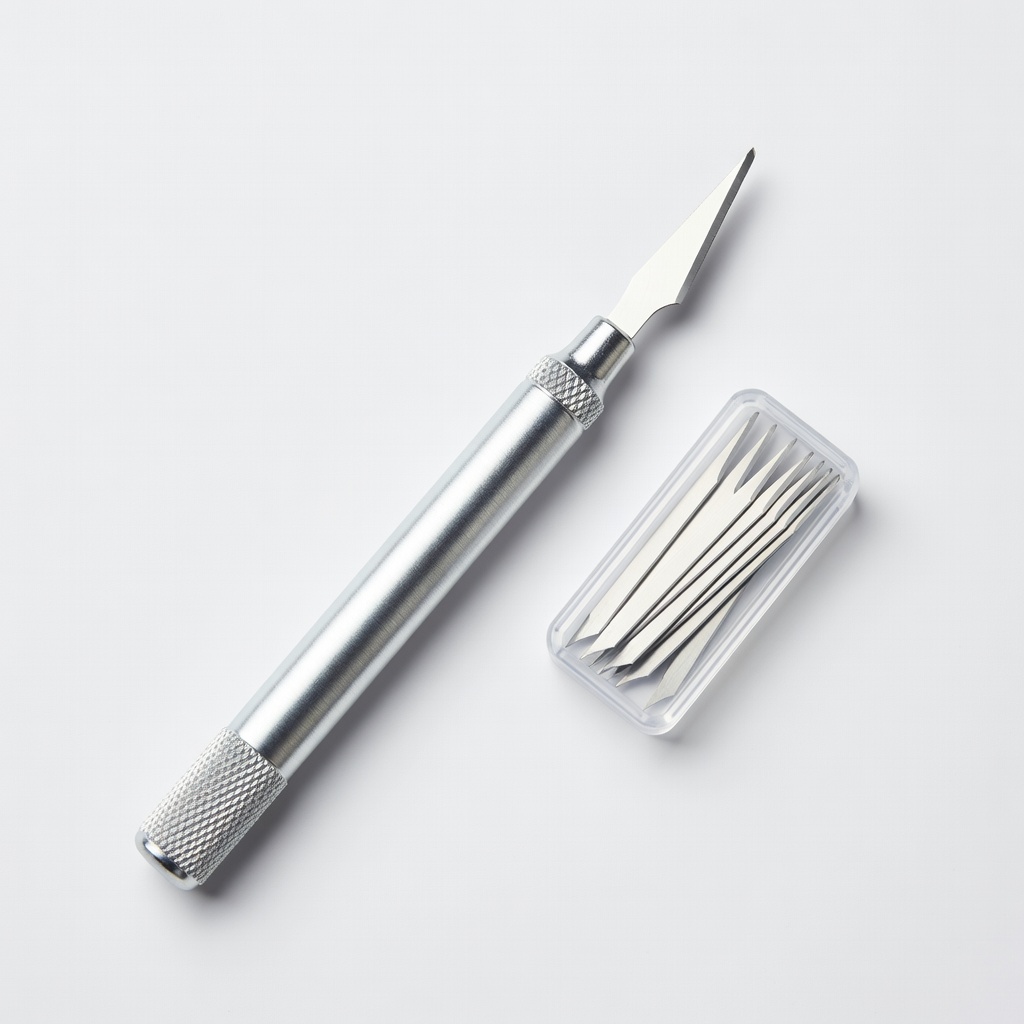
Fine-tuning curved or textured surfaces.
X-ACTO #1 Precision Knife with #11 Blades Sharp, controllable for scraping nubs without gouges.
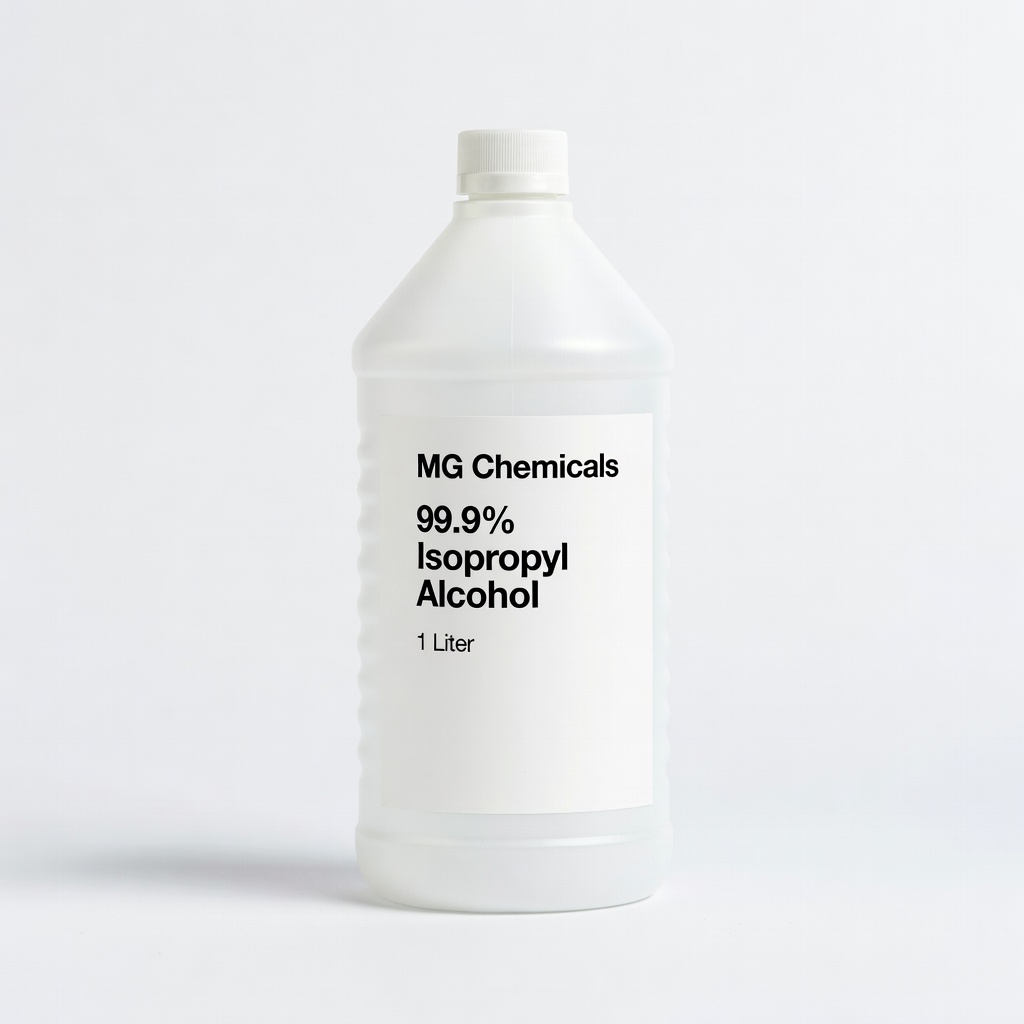
Cleaning before/after removal.
MG Chemicals 99.9% Isopropyl Alcohol (1 Liter) High purity cuts through uncured resin fast, no residue.
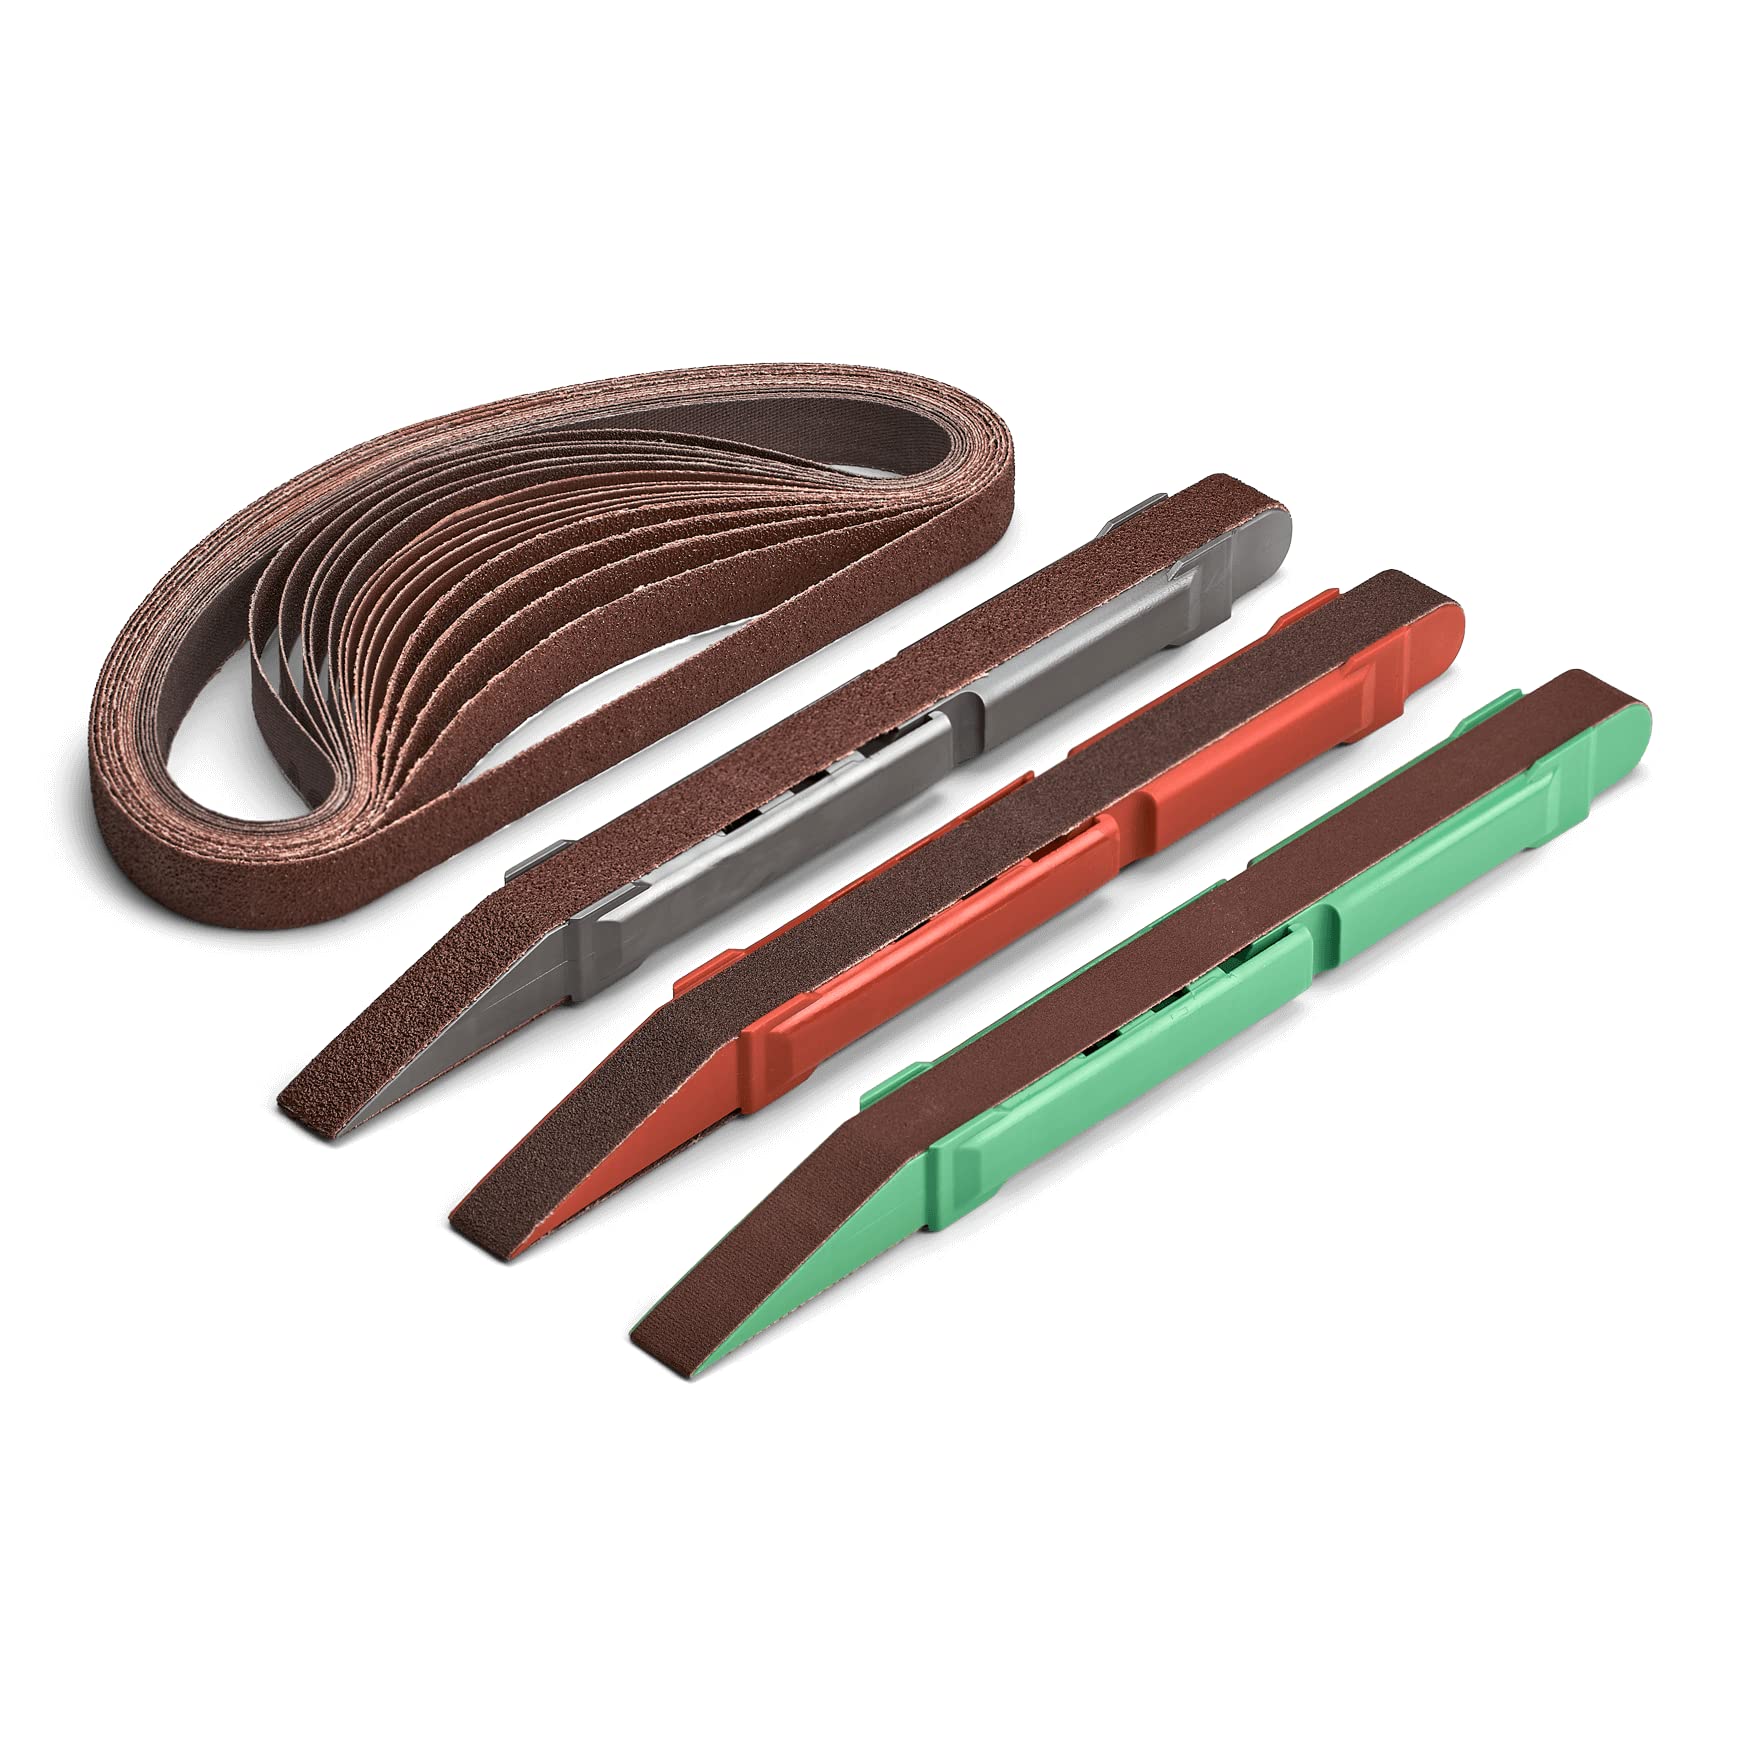
Sanding multiple prints efficiently.
TBTeek Sanding Sticks Set (10pcs) Progressive grits in handle for quick polishing.
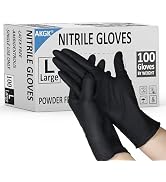
All steps to protect skin.
AMZCHEF Disposable Nitrile Gloves (100ct) Thick, powder-free for safe resin handling.