One of the most frustrating parts of 3D printing is removing supports without ruining the surface of your print. Whether you're printing a complex miniature or a functional part, supports are often necessary, but they often leave unsightly nubs, gouges, or rough spots behind. This guide walks you through the entire support-removal process, from selecting the right tools to finishing techniques that leave your prints looking almost injection-molded.
You'll learn a step-by-step method that works for PLA, ABS, PETG, and resin prints, with tips for both simple and highly detailed models. We'll cover what you need, how to approach tricky areas, and the mistakes most beginners make so you can avoid them. By the end, you'll be able to remove supports quickly and cleanly, with minimal to no scars—no matter what your slicer throws at you.
▸What You'll Need
- •Flush cutters (small, sharp side-cutting pliers)
- •Needle-nose pliers or precision tweezers
- •Exacto knife or hobby knife (optional, for fine work)
- •Deburring tool (for cleaning holes and edges)
- •Heat gun or hair dryer (for stubborn supports)
- •Sandpaper or sanding sponges (120-400 grit)
- •Safety glasses
- •Work mat or cutting mat
- •Magnifying lamp (optional, for detailed work)
- •IPA or warm soapy water (for cleaning residue)
Estimated Time: 15-30 minutes per print (small prints faster, larger assemblies may take an hour)
Difficulty: beginner
▸Step-by-Step Instructions
Step 1: Prepare Your Workspace and Safety Gear
Support removal can involve sharp tools, small plastic shards, and sometimes heat—so it’s important to set yourself up in a well-lit, clean area. Lay down a cutting mat to protect your surface and make cleanup easier. Wear safety glasses to keep your eyes safe from flying pieces, especially when clipping support stubs.
If you’re using a hair dryer or heat gun, make sure you have a stable, fire-proof surface and keep the tool away from flammable materials. Have a small container nearby to collect removed supports. Good lighting is critical because you need to see the exact contact points where the support meets your print. A desktop lamp or adjustable arm lamp works well.
💡 Tips:
- •Work near your printer so you can re-examine the part while it's still positioned just as it printed.
- •If you have a vise or clamp, use it to hold the part steady for two-handed work.
- •Place a soft cloth or foam pad under your part to avoid scratching the build surface.
⚠️ Warnings:
- •Never point a knife or cutter toward your body.
- •Be careful with heat guns—always check that the setting is appropriate for the filament type (PLA softens at lower temperatures than ABS).
Step 2: Inspect the Print and Locate All Support Contact Points
Before you start snipping, examine the entire print to identify every place where support meets the model. Some supports are meant to be removed easily, while others may have fused more firmly due to overheating or a low support interface. Look for flat areas, overhangs, bridges, and internal cavities—these are the typical trouble zones.
If your slicer allows, you can generate a 'support blocker' or review the .gcode preview to see exactly where supports attach. Knowing the geometry in your head helps you decide the best strategy for each area. For example, thick, solid supports near edges can be cut flush, while lattice-style supports inside hollow areas might be better twisted out using pliers.
💡 Tips:
- •Use a bright LED flashlight to see into tiny crevices.
- •Try to visualize which supports are load-bearing and which are just 'safety' supports—remove the latter first.
- •If the model has a fragile tip, plan to remove supports around it last to avoid breakage.
⚠️ Warnings:
- •Don’t assume supports are all the same thickness—some sla prints have delicate lines that you can tear too easily.
Step 3: Loosen the Supports with Your Fingers or Tweezers
Many supports break away with a simple wobble and pull. Start gently: hold the support with needle-nose pliers or your fingers and give it a slight twist. This is especially effective for prints with a 'support interface'—a thin layer between the support and the model that breaks like perforated paper.
If a support doesn't give immediately, don't yank it. You might snap the part instead. Instead, use your pliers to grasp the support as close to the model as possible and gently wiggle it back and forth. This widens the opening at the contact point, making it easier to clip cleanly.
💡 Tips:
- •For PLA, supports often pop off cleanly if you flex them along the layer direction.
- •If you printed with a raft, the supports usually separate from the raft with less effort.
- •Work in a pattern: remove the smallest supports first to give your fingers more room to reach big ones.
⚠️ Warnings:
- •Never pull a support toward the print—always pull it away or outward to avoid ripping off a layer of the model.
Step 4: Clip Remaining Supports with Flush Cutters
Flush cutters are the most important tool for support removal because their flat cutting face allows you to snip a support right at the surface without leaving a protruding stub. Angle the cutter so the flat side points down against the print, so the cut is level with the surface.
For each support, place the jaws around the support as close to the model as possible, then squeeze with a single, steady motion. You don’t need brute force—sharp cutters will do the job with a clean snip. Try to make an indentation slightly below the surface if you plan to sand or fill later; this leaves extra material to work with and avoids a hollow dip.
💡 Tips:
- •Use smaller flush cutters for tight spaces; large cutters can gouge delicate areas.
- •Cut in small bites: if the support is thick, trim it halfway first, then make a final flush cut.
- •For resin prints, dip your cutters in warm water periodically to keep the resin from sticking.
⚠️ Warnings:
- •Don’t use ordinary scissors—they will crush the support and leave a jagged edge.
- •Keep your cutters sharp; dull blades tear the material and make scars more likely.
Step 5: Remove Hugging Supports with Heat (If Needed)
Some supports, especially those with a large contact area, don't want to let go. In that case, gently warm the area to soften the plastic. A hair dryer on medium heat works for PLA and ABS; for PETG you can use a heat gun set to a low temperature. Aim the heat at the support (not the entire print) for 5-10 seconds until the plastic becomes slightly pliable, then use pliers to peel it away.
Heating reduces the strength of the connection because the softening point is around the glass transition temperature of the filament. If you are working with resin prints, don't use heat—instead use a sharp hobby knife and a gentle rocking motion. Heat can warp or cure resin unexpectedly.
💡 Tips:
- •Test the temperature on a piece of waste material first to ensure you don't melt your part.
- •Use a soft brushing motion with the heat source—never hold it still in one spot.
- •If you have a soldering iron with a blunt tip, you can carefully melt a stubborn nub, then scrape it flat with a spatula.
⚠️ Warnings:
- •Overheating will deform the print or cause it to sag—keep the heat source moving and brief.
- •Keep a bowl of cold water nearby to quench the part if it starts to soften too much.
Step 6: Smooth Away Contact Marks with Deburring and Sanding
After all supports are removed, you'll still have small bumps or tiny indentations at the former support contact points. First, use a deburring tool to scrape off any high spots or plastic flash. The sharp edge of the deburring tool removes material like a tiny plane, leaving a flat surface.
Next, sand the area with fine-grit sandpaper (120, 220, then 400). Wet sanding is especially good for ABS and PLA—just dip the sandpaper in water and sand in a circular motion. This creates a slurry that fills microscopic gaps and leaves a smoother finish. Work your way through the grits, rinsing the surface between changes. You don't need to sand the entire part—just the spots where supports were removed.
💡 Tips:
- •Use a sanding sponge to conform to curved surfaces.
- •For filigree parts, use a small piece of folded sandpaper instead of a large sheet.
- •If a deep divet remains, fill it with a thin coat of wood filler or epoxy putty, then sand level.
⚠️ Warnings:
- •Avoid excessive sanding, which can rub off embossed details or round off sharp corners.
- •Wear a dust mask when dry sanding PLA or resin—plastic dust is fine to inhale.
Step 7: Final Inspection and Finishing (Optional)
Give your print a thorough once-over under bright light. Run your fingertips over every former support contact point—they should feel smooth. If you spot any remaining nubs, repeat the clipping/sanding steps. For particularly visible models, consider a quick surface treatment: wipe with isopropyl alcohol to remove oils, then apply a primer or clear coat to unify the finish.
If your print is functional (e.g., a mechanical part), also examine hidden holes and channels. A deburring tool is perfect for reaming out interior support remnants that you can't see. Once you're satisfied, wash the part with warm soapy water (especially for resin) and let it dry completely.
💡 Tips:
- •Use a UV light to cure resin prints fully after support removal—this also hardens any slightly soft spots.
- •For PETG, rubbing a little acetone (carefully) can help smooth micro-scratches.
- •Photograph your finished print with the light from the side to spot imperfections you might otherwise miss.
⚠️ Warnings:
- •If your print is structurally stressed, don't overheat it during final cleanup—you could lower its strength.
- •Never use aggressive solvents on PLA—it degrades quickly.
▸Pro Tips
- •Tune your slicer's support interface: setting a 0.2mm separation layer (usually 'Z distance') makes supports pop off with far less force.
- •For resin printers, use a non-contact support pattern with 'touch points' smaller than 0.4mm to reduce scars.
- •Print a test block with the same filament and try different support styles to find the easiest-to-remove combo.
- •Always cut supports at an angle (45 degrees) if you plan to fill with primer—the wider area hides the seam better.
- •When using heat, a few seconds of warm air on the support rather than the model prevents warping of thin walls.
- •Use a hardened steel blade in your hobby knife for resin prints—resin dulls carbon steel quickly.
- •Keep your flush cutters clean and oiled; they'll stay sharper longer and make cleaner cuts.
- •If a support breaks off inside a hole, use a tapping screw to pull it out—pierce the plastic and twist it free.
▸Common Mistakes to Avoid
- •Pulling supports straight off with your hands without cutting—this often tears a layer of the print off.
- •Using a knife too aggressively and chamfering the edge in areas where you intended a sharp corner.
- •Sanding with coarse paper too heavily and creating a groove in the model.
- •Trying to remove supports when the print is still hot from the bed—the plastic is softer and deforms easily.
- •Leaving the support interface thickness too close (like 0mm) in the slicer, causing supports to weld to the part.
- •Forgetting to wear eye protection when snipping—support pieces fly at high speed.
▸Troubleshooting
Problem: Supports are almost fused to the print and won't break off.
Solution: Apply targeted heat with a hair dryer for 10-20 seconds, then carefully use tweezers to peel. If that doesn't work, use a hobby knife to slice through the interface, cutting around the support perimeter. For resin, submerge the print in hot water (not boiling) for a minute to soften the resin supports.
Problem: Deep gouges appear after cutting.
Solution: You're likely using dull cutters or applying too much force. Sand the area to level the edges, then fill with epoxy putty or a drop of resin (for SLA prints). Repeat sanding until smooth. Next time, use a lower support density and a proper interface.
Problem: Small pieces of support are stuck in internal cavities.
Solution: Use a bent paper clip or a pair of long tweezers to dislodge them. If the cavity is tiny and inaccessible, drill a 1mm hole on the underside to punch the piece out, then close the hole with a bit of glue or resin.
Problem: The print cracks or breaks during support removal.
Solution: This often happens when supports are too strong or the part is too thin. Reduce support density and use a 'snap-in' interface. If the print is broken, you can bond it with cyanoacrylate glue (for PLA/ABS) or resin when using SLA. To prevent this, consider orienting the part to minimize overhang stress and increase wall thickness.
Problem: Support scars are still visible after sanding.
Solution: You may not have sanded through the entire layer line indentation. Use a fine filler primer (spray) to fill the subtle texture, then light sand. For a smooth finish, apply a coat of UV resin (for resin prints) or 3D printing smoothing solvent like PolySmooth, and cure it after.
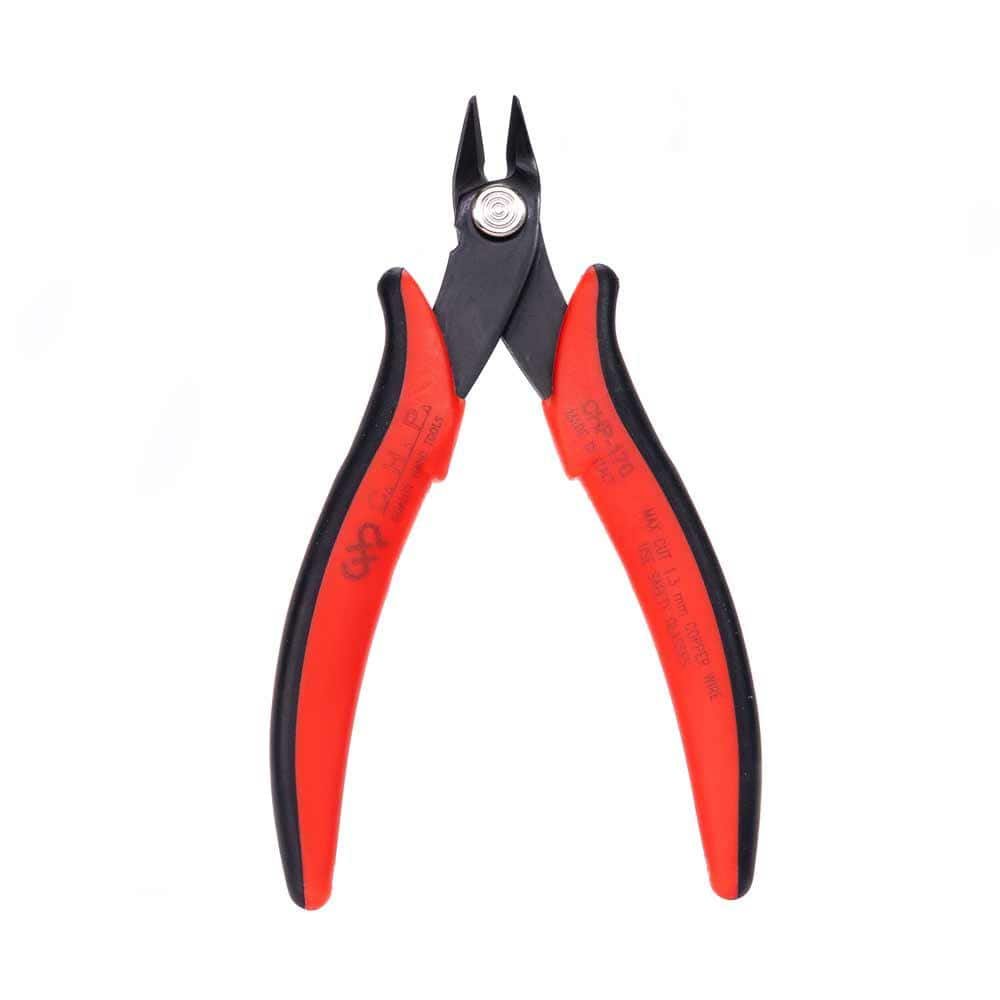
Hakko CHP-170 Professional Flush Cutter
Sharp, durable, and precisely ground to cut flush at the surface. The narrow jaw fits tight spaces and leaves minimal stubs.
Best for: Best for clipping supports off PLA, PETG, and resin prints, especially for cleaning detailed parts.
Price Range: $8-$15
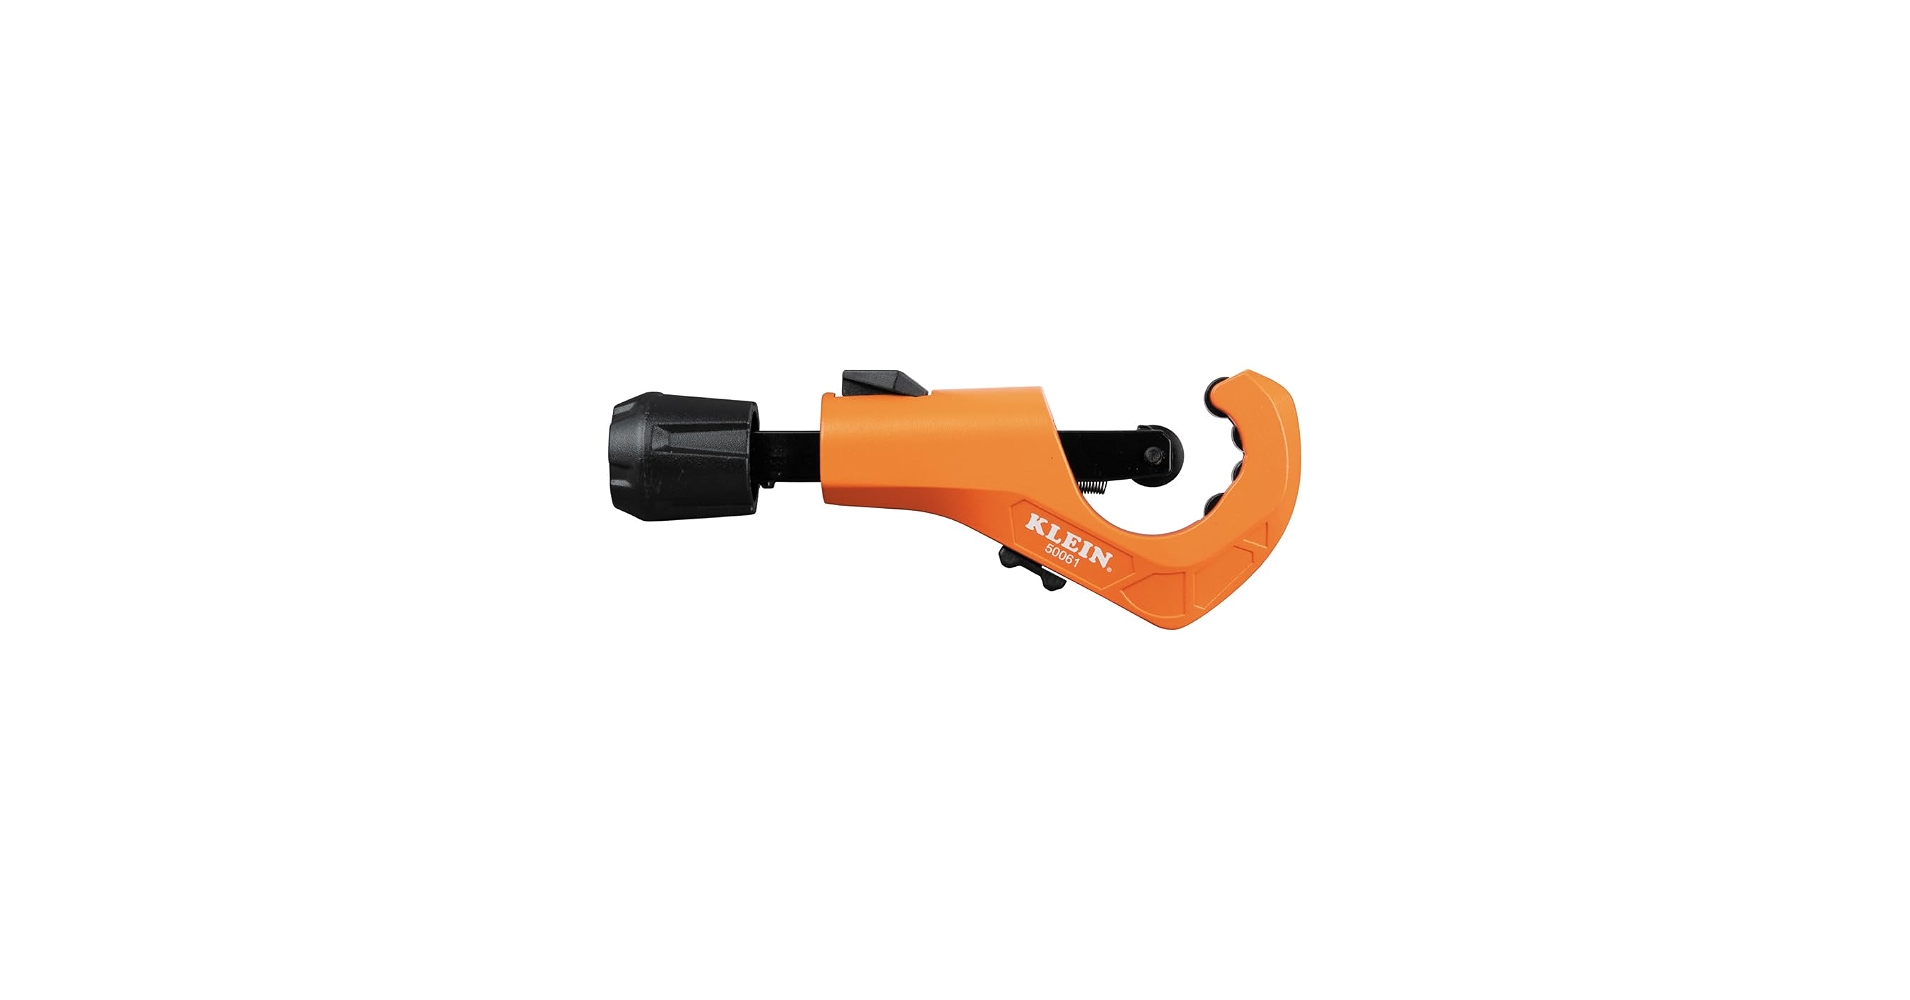
Klein Tools 31501 Deburring Tool
A quick and safe way to scrap off support remnants from holes and curved surfaces, with a reversible blade for pull or push motion.
Best for: Ideal for finishing off the last bits of plastic inside threaded holes, channels, or around curves.
Price Range: $10-$15
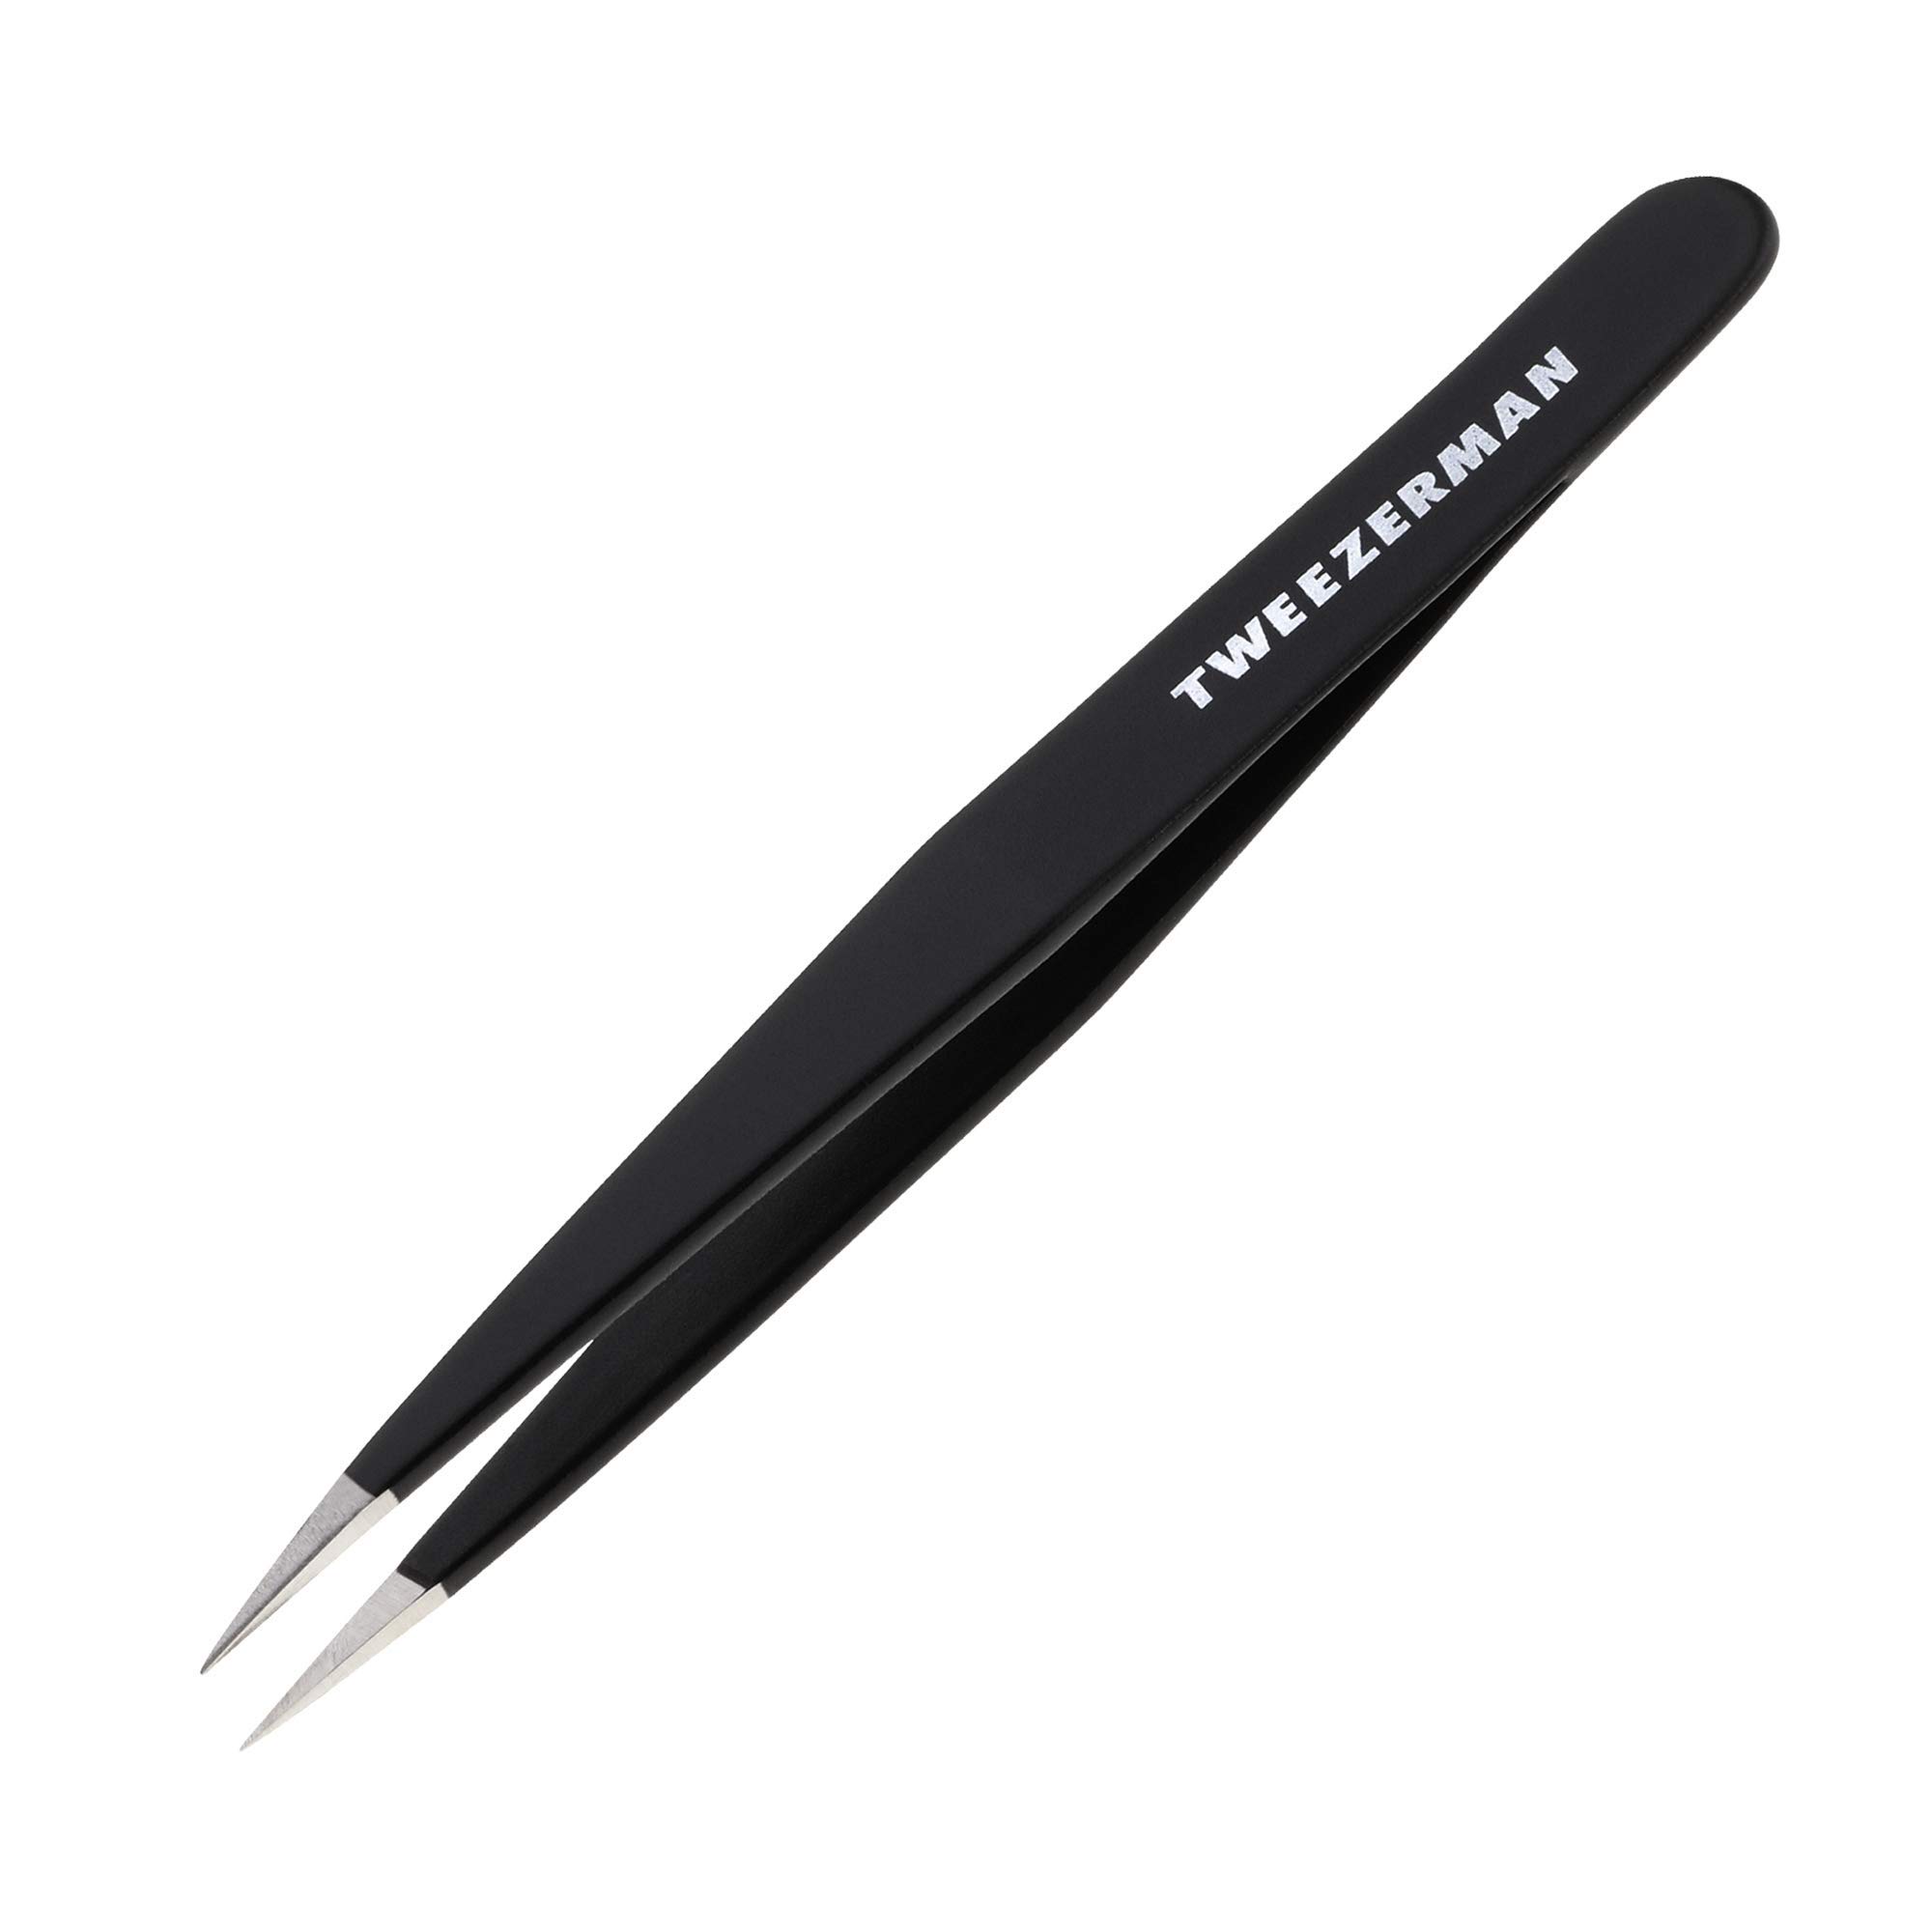
Tweezerman Pointed Precision Tweezers
Feather-light and perfectly aligned, they let you grab tiny support stubs without tearing the model surface.
Best for: Perfect for removing supports from miniatures, jewelry, or highly detailed prints where precision is critical.
Price Range: $10-$20
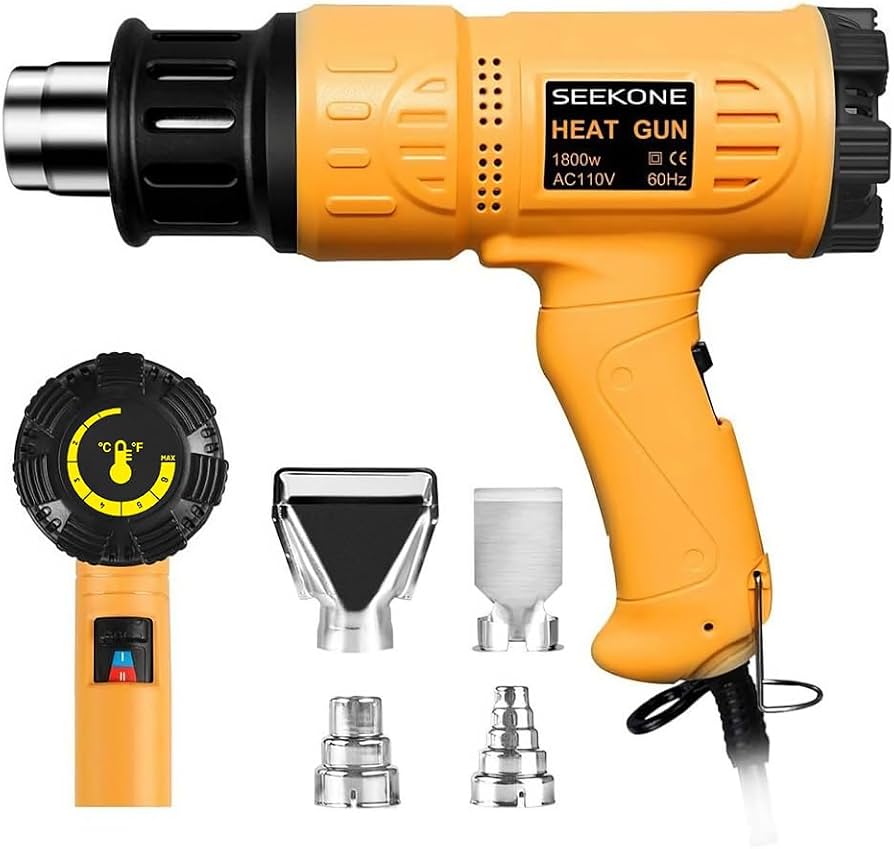
Seekone Heat Gun with Temperature Control
Offers adjustable temperature and a wide nozzle, so you can soften supports without overheating the main part.
Best for: Great for stubborn PLA, ABS, or PETG supports that are too firmly attached—use at 100-150°C for a few seconds.
Price Range: $20-$35
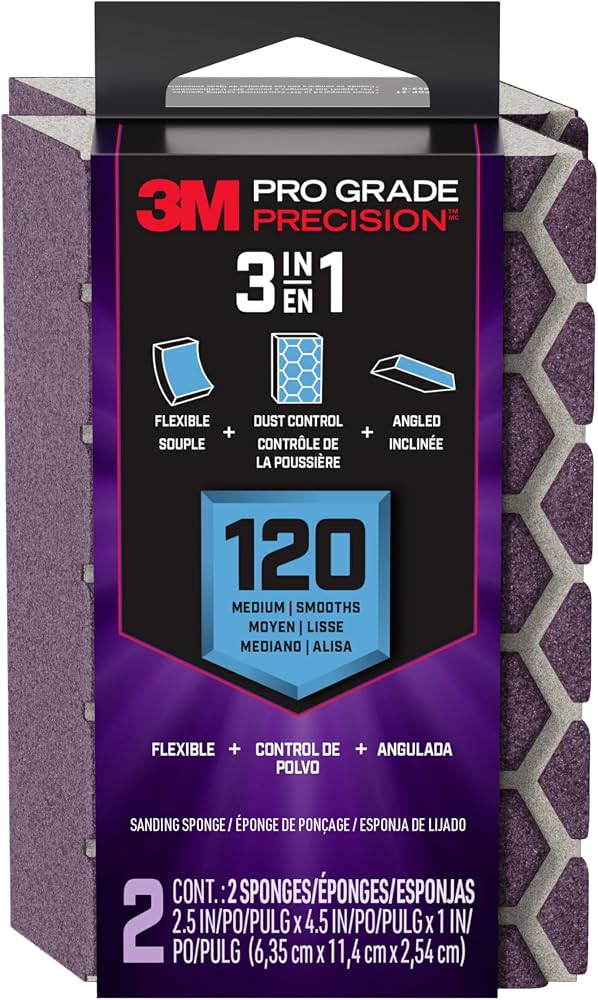
3M Sanding Sponges (Assorted Grit 120-400)
Foam-core sanding sponges contour to the print’s shape, giving you uniform pressure without creating flats or grooves.
Best for: Use after removing supports to sand the contact points smoothly; ideal for curved surfaces where paper sandpaper is awkward.
Price Range: $8-$12