Your go-to cast iron skillet is a family heirloom — and it's currently looking more like an abstract art project than a kitchen tool. The orange rust creeping across the surface is the most common problem cast iron cookers face, but it's also one of the easiest to fix. Whether you pulled a rusty pan out of a thrift store, left a wet skillet on the drying rack overnight, or inherited a piece that's been sitting in a garage for decades, this guide covers the full restoration path.
You'll learn how to evaluate how deeply the rust has penetrated, remove it with a safe vinegar or chemical soak, scrub the surface back to bare iron, dry it fast, and re-season it so it's good as new — actually better, because you'll know exactly what's on your cooking surface. This isn't a one-day hack; it's the tried-and-true restoration process recommended by cast iron experts and collectors.
Most of the steps use simple household items like vinegar, steel wool, and cooking oil. The whole project takes a mostly passive afternoon — the soaking and the oven do the heavy lifting while you go about your day. Difficulty is intermediate only because it requires a bit of patience and attention to small details, like timing and wiping oil thin. Whether you have a $6 yard sale skillet or a $200 vintage piece, the process remains the same.
▸What You'll Need
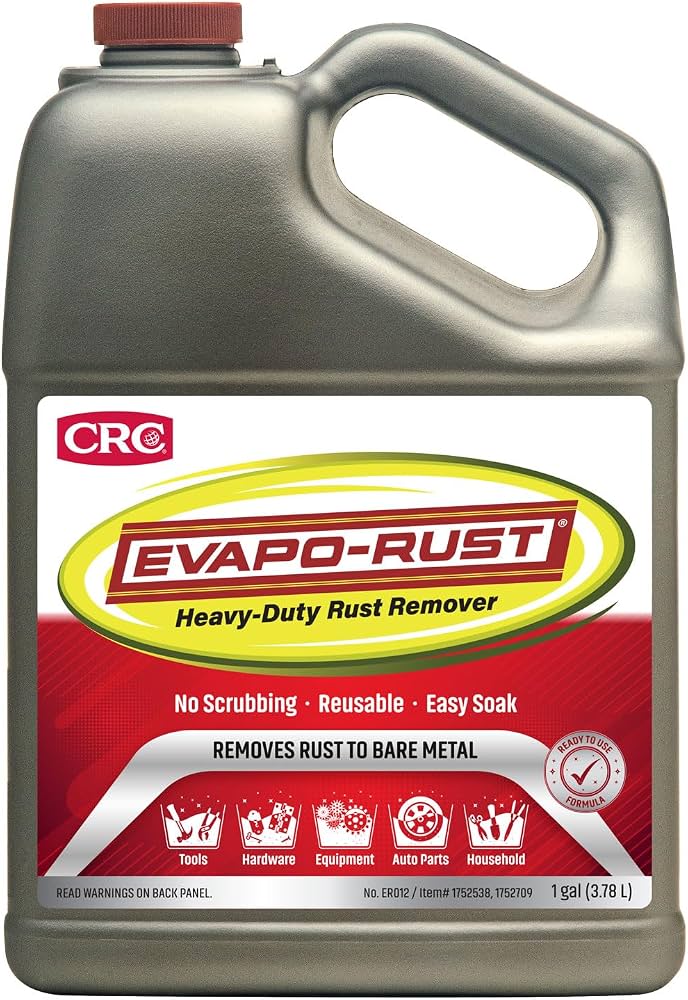
- •White vinegar (or Evapo-Rust if you prefer a chemical remover)
- •Plastic tub or large container large enough to submerge the skillet
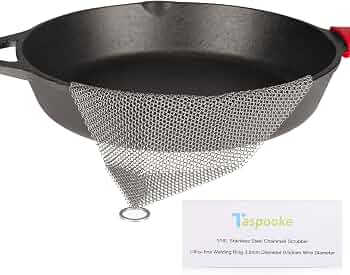
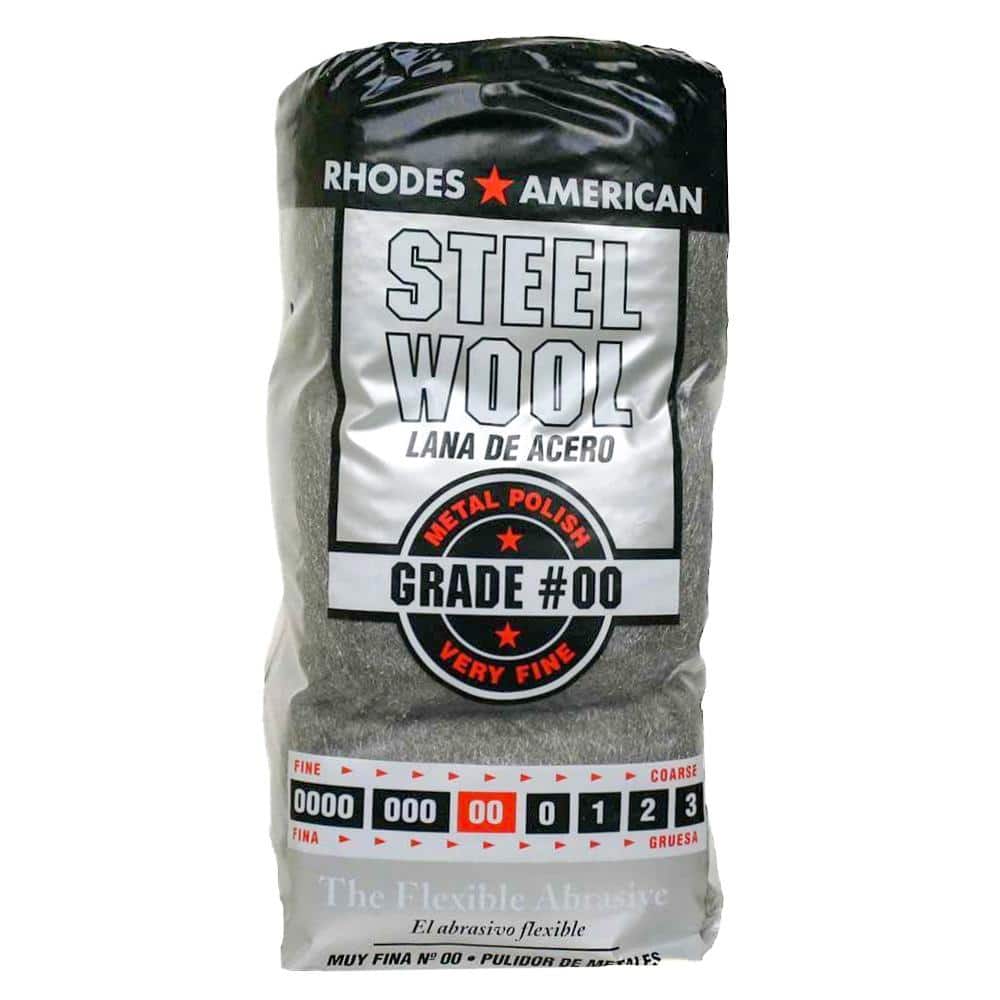
- •Fine-grade steel wool (00 or 000 gauge) or a cast iron chainmail scrubber
- •Stiff-bristled nylon brush
- •Dish soap (optional, for the initial wash)
- •Lint-free cloths or paper towels
- •High-smoke-point oil (flaxseed, grapeseed, vegetable, or canola)
- •Oven capable of reaching 450°F (230°C)
- •Aluminum foil (to catch drips during seasoning)
Estimated Time: Approximately 1–2 hours of active work, plus 30 minutes to 2 hours of soaking and 1 hour of oven time. You can complete the whole process in a single afternoon.
Difficulty: intermediate
▸Step-by-Step Instructions
Step 1: Assess the Severity of the Rust
Before you grab any products, take a close look at your pan. Hold it under bright light so you can see the full picture. Light rust looks like a dusty orange surface that rubs off onto your fingers — that'll come off with a simple scrub. Heavy rust appears as rough, flaky, dark brown or black patches, sometimes with pits you can feel with your thumbnail.
This assessment determines your approach. Light rust means a quick baking soda scrub or a short vinegar soak. Heavy rust calls for a longer soak or a chemical rust remover like Evapo-Rust, followed by some elbow grease. You'll also want to check the pan's structural integrity — if you see deep pitting or hairline cracks, the pan may be beyond saving and not safe for cooking.
💡 Tips:
- •Test the rust level by gently scraping the surface with the edge of a butter knife; if the flakes come off easily, it's surface rust, which is the best case.
- •Photograph the pan first so you can track your progress.
⚠️ Warnings:
- •If you find cracks or large chips, don't attempt a cooking restoration — the pan could break and ruin a stove.
Step 2: Remove Loose Debris and Grease
Start with a clean slate. Run the skillet under hot water and scrub it with a stiff-bristled brush or a chainmail scrubber to knock off any loose food, grease, and flaking rust. Your goal here is to strip the pan down to its bare iron so the rust treatment can reach every corroded spot.
You don't need soap for this step — hot water and a good scrubber will handle most of the grime. If the pan is heavily coated in carbonized gunk, use a scraper designed for cast iron to pry off the thick buildup. Once the surface looks clean-ish, rinse thoroughly and pat dry. Don't let it air-dry, or flash rust will form on the exposed iron before you begin.
💡 Tips:
- •Warm the pan on the stove for a minute before washing to loosen hardened grease, but let it cool before you grab the brush.
- •Skip the dishwasher — the high heat and detergent will strip any remaining seasoning and promote rust.
⚠️ Warnings:
- •Be careful with hot water on a very cold pan; extreme temperature change can crack cast iron.
Step 3: Soak the Pan in a Vinegar Solution (or Use a Chemical Rust Remover)
For most rust situations, a vinegar soak is the tried-and-true method. Mix a solution of equal parts white vinegar and water in a plastic tub or your sink. Vinegar's mild acetic acid dissolves the iron oxide (rust) without harming the underlying metal — but it's not a set-it-and-forget-it operation. The acid stays active, so watch the clock.
Submerge the skillet completely in the solution. Check it every 15 to 20 minutes and give the rusty spots a gentle scrub with a nylon brush to see how much rust is lifting. Light rust will break down in 30 to 45 minutes. Heavier rust may need 1 to 2 hours total. If you're working with a decorative or detailed pan, or you're nervous about acid damage, a safer alternative is a chelating rust remover like Evapo-Rust — it reacts only with the rust and won't eat into the iron even if you leave it overnight.
💡 Tips:
- •Place the tub somewhere well-ventilated — vinegar fumes get strong.
- •Weight the pan down with a brick or heavy plate to keep it fully submerged.
⚠️ Warnings:
- •Never soak cast iron in vinegar for more than 2 hours. Left too long, the acid starts to etch the iron surface, leaving it pitted and rough.
- •Do not use this method on enamel-coated cast iron; vinegar will dull the enamel.
Step 4: Scrub Off the Remaining Rust
Once the soak has loosened the rust, it's time to bring it off. Pick up fine-grade steel wool — 00 or 000 works best — or a chainmail scrubber if the rust is stubborn. Scrub in the direction of the grain if you can see it, but a circular motion works just fine. You should see gray, metallic iron appearing beneath the orange rust almost immediately.
Work over the sink under running water to keep the iron shavings from embedding in the surface. A good test: a clean paper towel rubbed across the surface should come away with no orange residue. If you're still seeing rust, repeat steps 3 and 4 rather than forcing it with heavier abrasives like sandpaper, which will scratch the smooth finish you need for a solid seasoning layer.
💡 Tips:
- •For tight corners and engraved details, use a stiff nylon brush or a dedicated cast iron drill brush.
- •Add a pinch of baking soda to your scrubbing water — it neutralizes the vinegar acid.
⚠️ Warnings:
- •Avoid sandpaper or angle grinders on antique pans; the smooth original finish is part of the pan's value and performance.
Step 5: Rinse and Dry Immediately
With the rust gone, the window for flash rust is wide open. Bare cast iron will oxidize within minutes if you leave it damp, so move quickly. Rinse the pan under hot water to wash away every trace of vinegar and rust debris, then dry it thoroughly.
A secondary drying step makes all the difference: place the pan on a stove burner over low heat for 3 to 5 minutes, or pop it in a 200°F (95°C) oven for 10 minutes. This drives moisture out of the microscopic pores of the iron. Once the pan is warm and bone-dry, you're one step away from a fully restored skillet.
💡 Tips:
- •Keep a lint-free towel or paper towels close before you start rinsing — speed matters here.
- •If you see a faint orange haze appear as it dries, rub it off quickly with fine steel wool and apply a thin layer of oil right away.
⚠️ Warnings:
- •Do not skip the heat-drying step. Air-drying leaves moisture trapped in the iron that will cause rust to bloom overnight.
Step 6: Apply a Thin Layer of Oil and Season the Pan
Now you get to build a brand-new seasoning layer. Add a small amount of oil — about a teaspoon — to the warm, dry pan. Flaxseed oil is the go-to for a rich, glossy finish, while vegetable, canola, or grapeseed oil are more forgiving and less prone to flaking. Rub the oil all over the pan, inside and out, including the handle, using a paper towel or a clean lint-free cloth.
The trick is thinness: after coating, take a fresh paper towel and try to wipe all the oil off. If you managed to get near-perfect removal, that's perfect. Excess oil pools during baking and polymerizes into those sticky, gummy patches everyone hates. Place the pan upside-down on the middle oven rack, with a sheet of aluminum foil on the rack below to catch drips. Bake at 450°F (230°C) for 1 hour, then turn off the oven and let the pan cool inside naturally. Repeat this oil-and-bake cycle 2 or 3 times to build a durable non-stick coating.
💡 Tips:
- •Set a timer and hang around the house while the pan is in the oven — a smoke alarm is common during seasoning, so crack a window.
- •Use the pan's own natural temperature range: flaxseed prefers 450°F; some oils like grapeseed do better at 500°F. Check the oil's smoke point.
⚠️ Warnings:
- •Never use olive oil or butter for the oven seasoning step — they're too low in smoke point and will make the pan sticky and rancid-smelling.
- •Avoid seasoning on the stovetop with this method; an oven holds the temperature steady for the necessary hour.
Step 7: Cool, Test, and Store Your Restored Skillet
After the final oil-and-bake cycle, let the pan cool completely in the oven. You'll know the seasoning worked if the surface is a shiny, dark bronze or black finish that feels smooth to the touch. The pan is now ready to cook with — but don't test it with something delicate like scrambled eggs right away. Start with high-fat foods like bacon or fried chicken to help the seasoning lock in over the first few uses.
For storage, let the pan cool fully after every use, then wipe it with a whisper-thin coat of oil and hang it or store it with a paper towel between stacked pans. Moisture is the enemy: keep it away from humid conditions and never store food in it. With a little routine care, you'll go years without seeing the orange monster again.
💡 Tips:
- •Cook some cornbread as your first post-restoration meal — it's a traditional first cook that doesn't stick and darkens the seasoning.
- •Run a paper towel over a stored pan before each use; if it comes away orange, do a quick scrub and re-oil.
⚠️ Warnings:
- •Don't store the pan with the lid on tightly — some airflow prevents trapped moisture rust.
▸Pro Tips
- •Act fast at the first sign of rust: a few minutes of scrubbing early beats an hour-long soak later.
- •Use a 1:1 vinegar-water ratio for soaking; full-strength vinegar is overkill and risks pitting.
- •After every wash, dry the pan on the stove burner and apply a drop of oil while it's warm — this single habit prevents 90% of rust issues.
- •Reserve a set of fine-grade steel wool (00/000) specifically for rust removal — never use coarse steel wool, which scores the iron.
- •If you cook acidic foods (tomato, citrus) in your cast iron, rinse and re-oil the pan promptly; acid strips the seasoning and exposes iron to rust.
- •Use a chainmail scrubber for daily cleaning — it's abrasive enough to remove stuck-on residue without tearing the seasoning layer.
- •On humid days, apply a slightly heavier oil layer before storing — extra protection against moisture in the air.
- •Add a silica gel packet to your cast iron storage cabinet to absorb ambient moisture.
▸Common Mistakes to Avoid
- •Soaking in pure vinegar for hours: The acetic acid eventually eats the iron itself, leaving a rough, pitted surface. Keep to a dilute solution and check frequently.
- •Letting the pan air-dry after washing: The water trapped in the iron's pores flash-rusts within minutes. Always heat-dry on the stove or in the oven.
- •Pouring a half-cup of oil when seasoning: Too much oil polymerizes into a sticky, tacky film that never cures. Wipe it off like you're trying to remove it.
- •Using sandpaper or a power sander to remove rust: These tools remove iron along with the rust, leaving pits and scratches that catch food and cause sticking. Fine steel wool is plenty.
- •Skipping the re-seasoning step: Removing rust exposes raw iron; if you cook on it without seasoning, rust will return within days.
▸Troubleshooting
Problem: I see faint orange flash rust on the pan after drying.
Solution: Act immediately — scrub with fine steel wool, wipe oil on, and season again. Once flash rust appears, repeat the cleaning and seasoning process for that spot.
Problem: The pan is still rusty after a 1-hour vinegar soak.
Solution: Dump the exhausted solution and repeat. Heavily rusted pans may need 2-3 rounds of soak-and-scrub before you see clean gray metal.
Problem: The seasoning looks blotchy or sticky after baking.
Solution: Blotchiness means the oil layer was uneven and the pan cooled too quickly. Warm the pan, wipe off residue with a paper towel, and re-bake at a steady 450°F for another hour. Stickiness usually means too much oil was left on before baking.
Problem: The pan has a lingering vinegar odor.
Solution: Rinse again with hot water and a little baking soda; the basic soda neutralizes the acetic acid. Then heat the pan dry and re-wipe with oil.
Problem: My antique cast iron pan has very deep rust pitting.
Solution: For heirloom pans, consider taking it to a professional restoration service — they use electrolysis and dip-tank methods that are safe for historic pieces and won't disturb the original surface.
Bannock Cast Iron Chainmail Scrubber
The fastest, most durable way to scrub off loosened rust and clean daily cooking residue without damaging the seasoning layer.
Best for: Use after the vinegar soak to scrub remaining rust, and for routine cleaning of your restored pan.
Price Range: $15-$20
Evapo-Rust Original Rust Remover (1-gallon)
A safer alternative to vinegar for heavily rusted pans; it chemically removes only the rust and is non-toxic and water-based.
Best for: For heavily rusted pans where vinegar would need repeated soaking and might risk pitting.
Price Range: $25-$35
Gator Wool Fine Steel Wool Pads (00 Grade)
Fine-grade steel wool is the right abrasive for rust removal — it scrubs corrosion away without gouging the iron beneath.
Best for: The main scrubbing tool for the rust-removal step. Use 00 or 000 gauge under running water.
Price Range: $8-$15
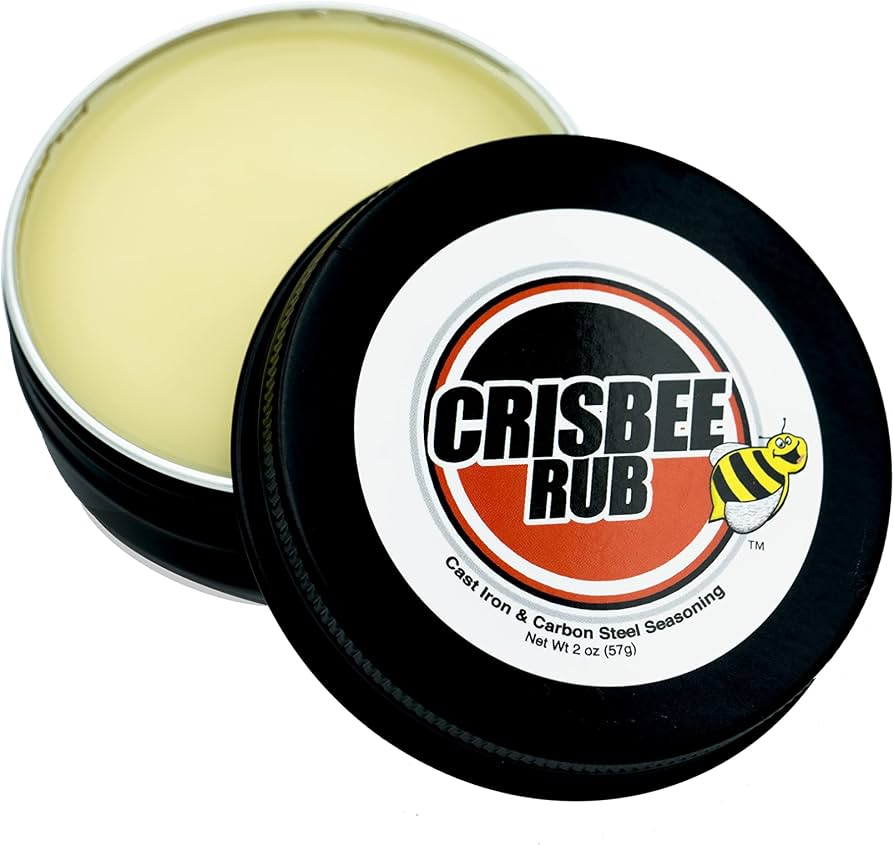
Crisbee Cast Iron Seasoning Wax
A convenient, high-smoke-point seasoning blend that simplifies the re-seasoning step with a swipe-on formula.
Best for: As an alternative to oil for the post-rust-removal re-seasoning. Apply a thin coat and bake.
Price Range: $10-$15
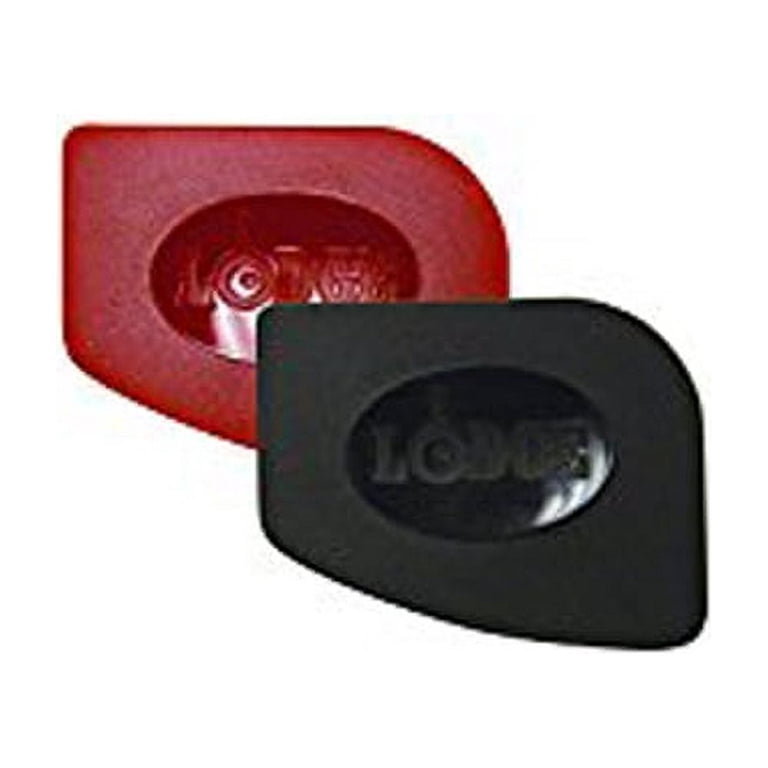
Lodge Cast Iron Pan Scraper (2-Pack)
A simple metal scraper to remove cooked-on residue before rust treatment or after cooking, keeping the pan smooth and clean.
Best for: Loosening caked-on food and grease in step 2 before you start the rust remover.
Price Range: $6-$10